
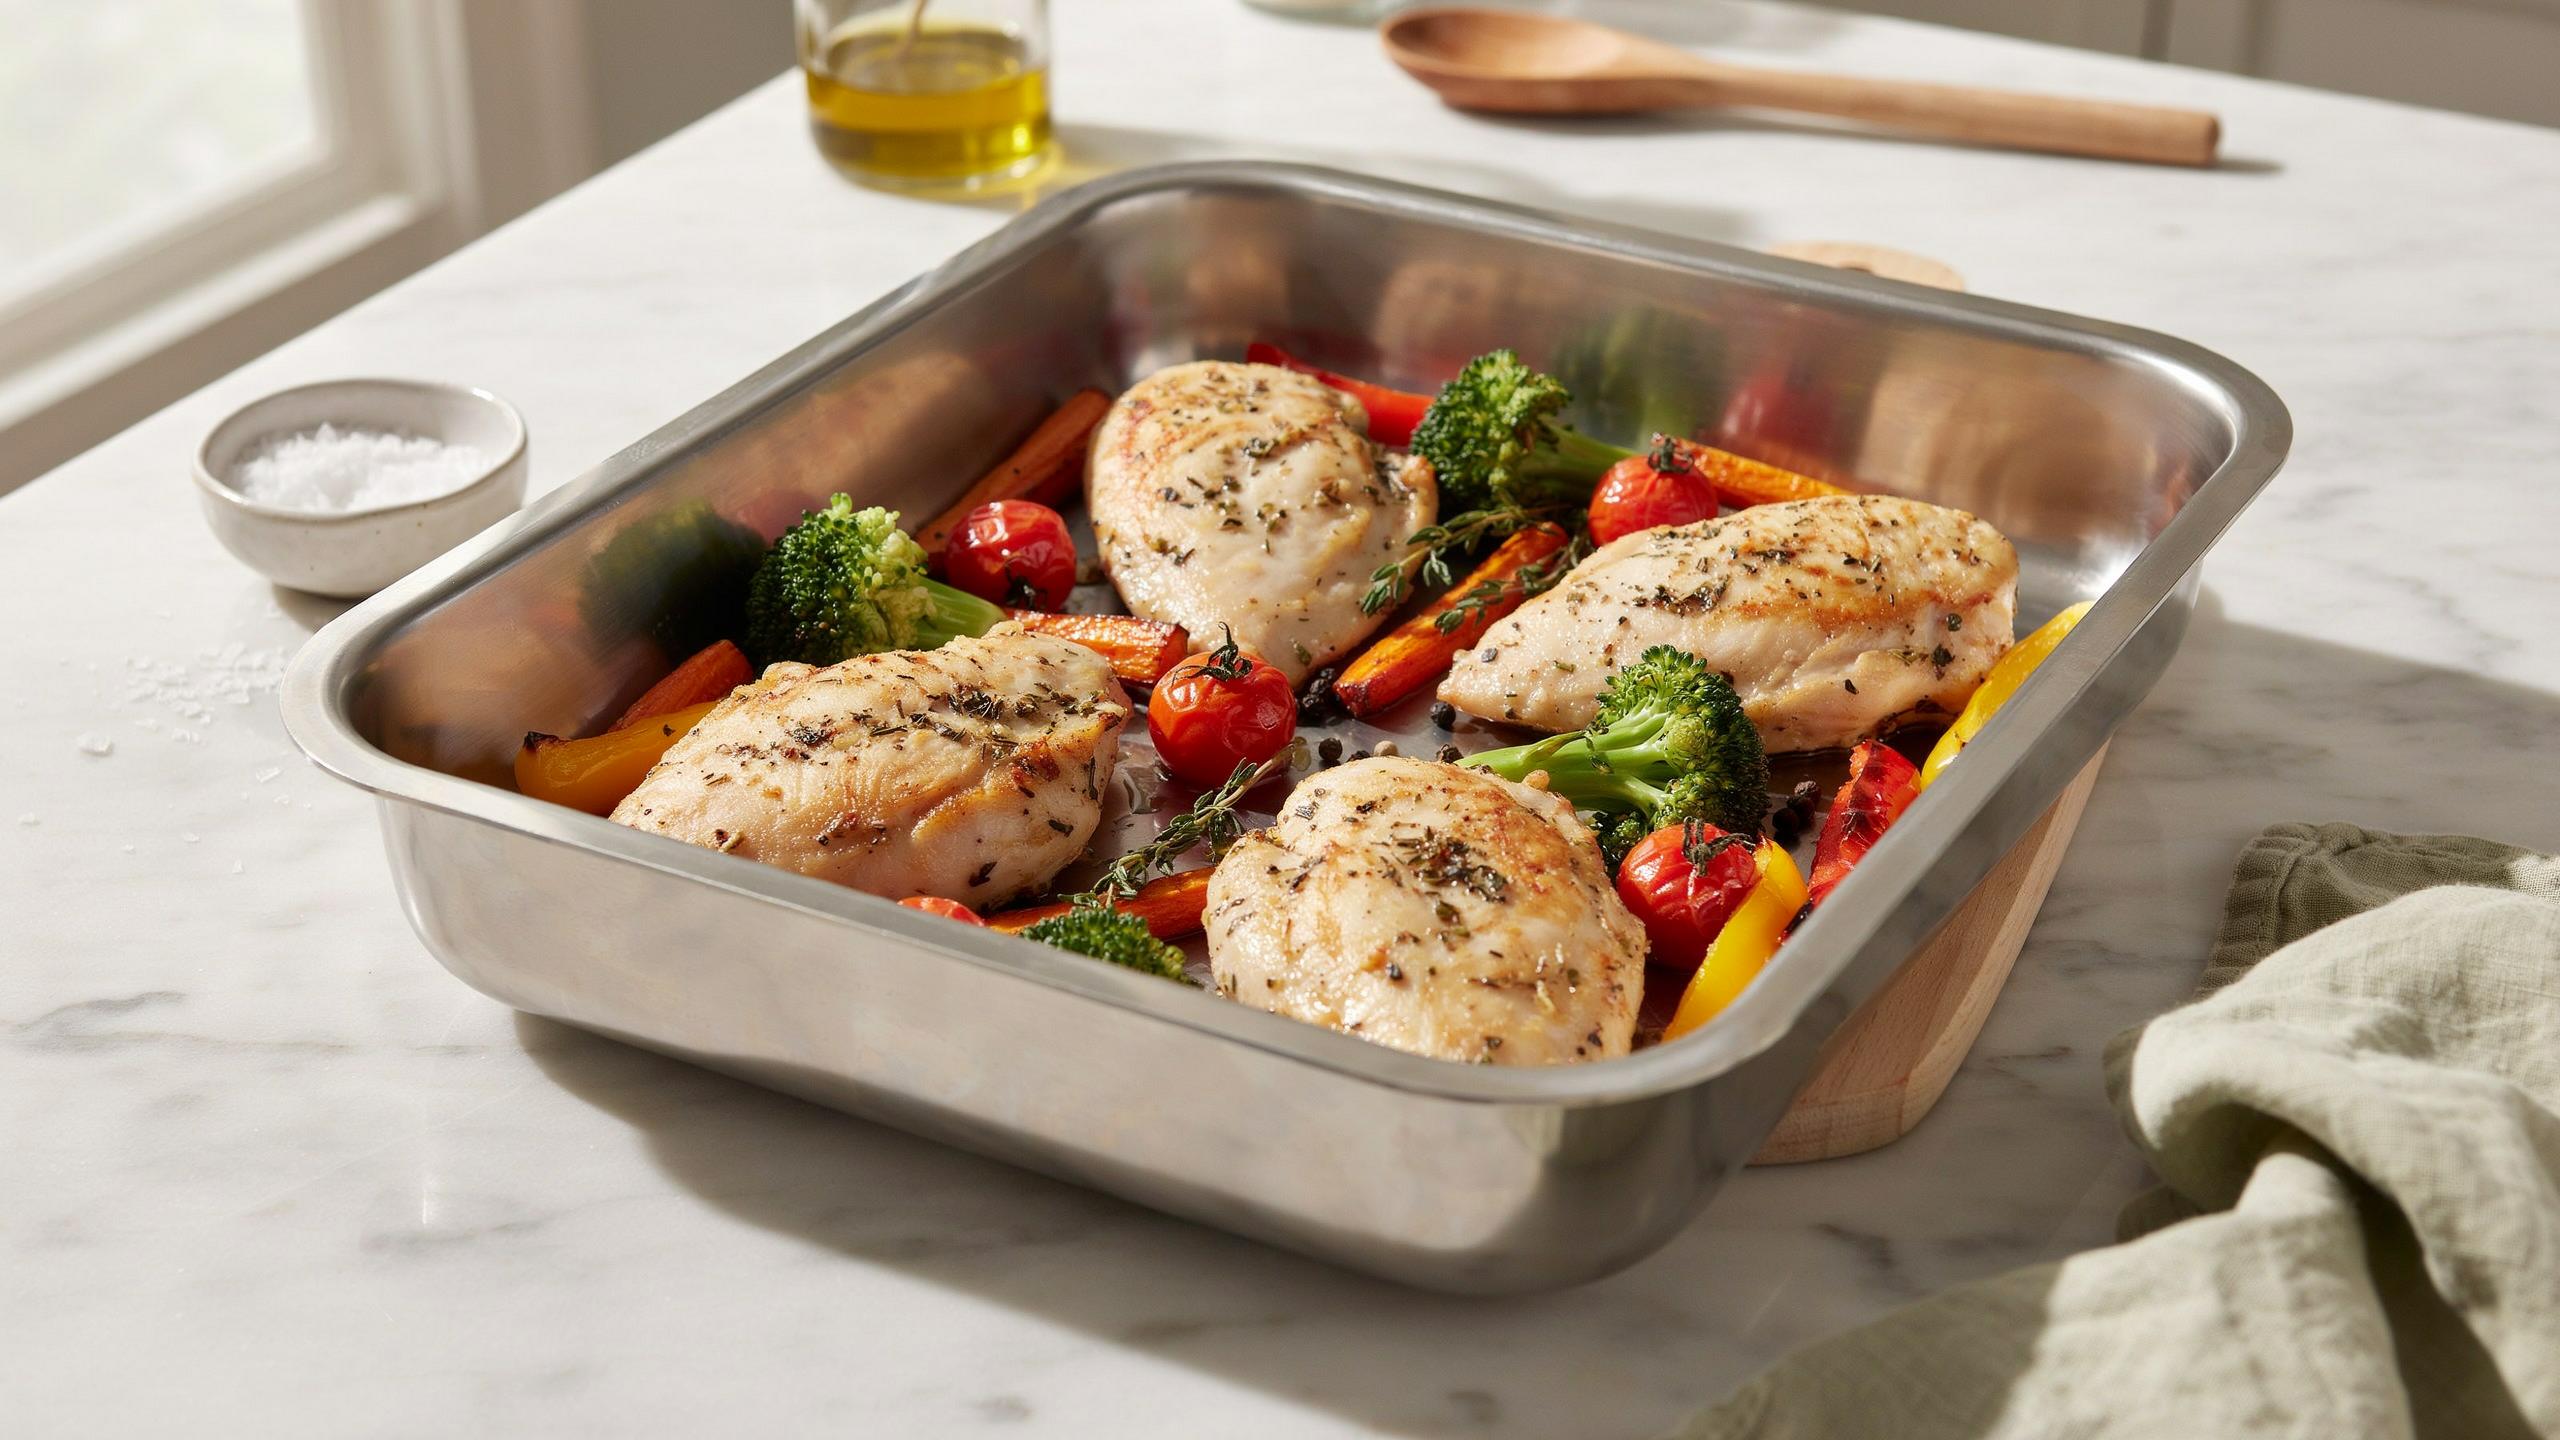
The Alchemy Of Efficiency Protocol For Meal Prep Baked Chicken
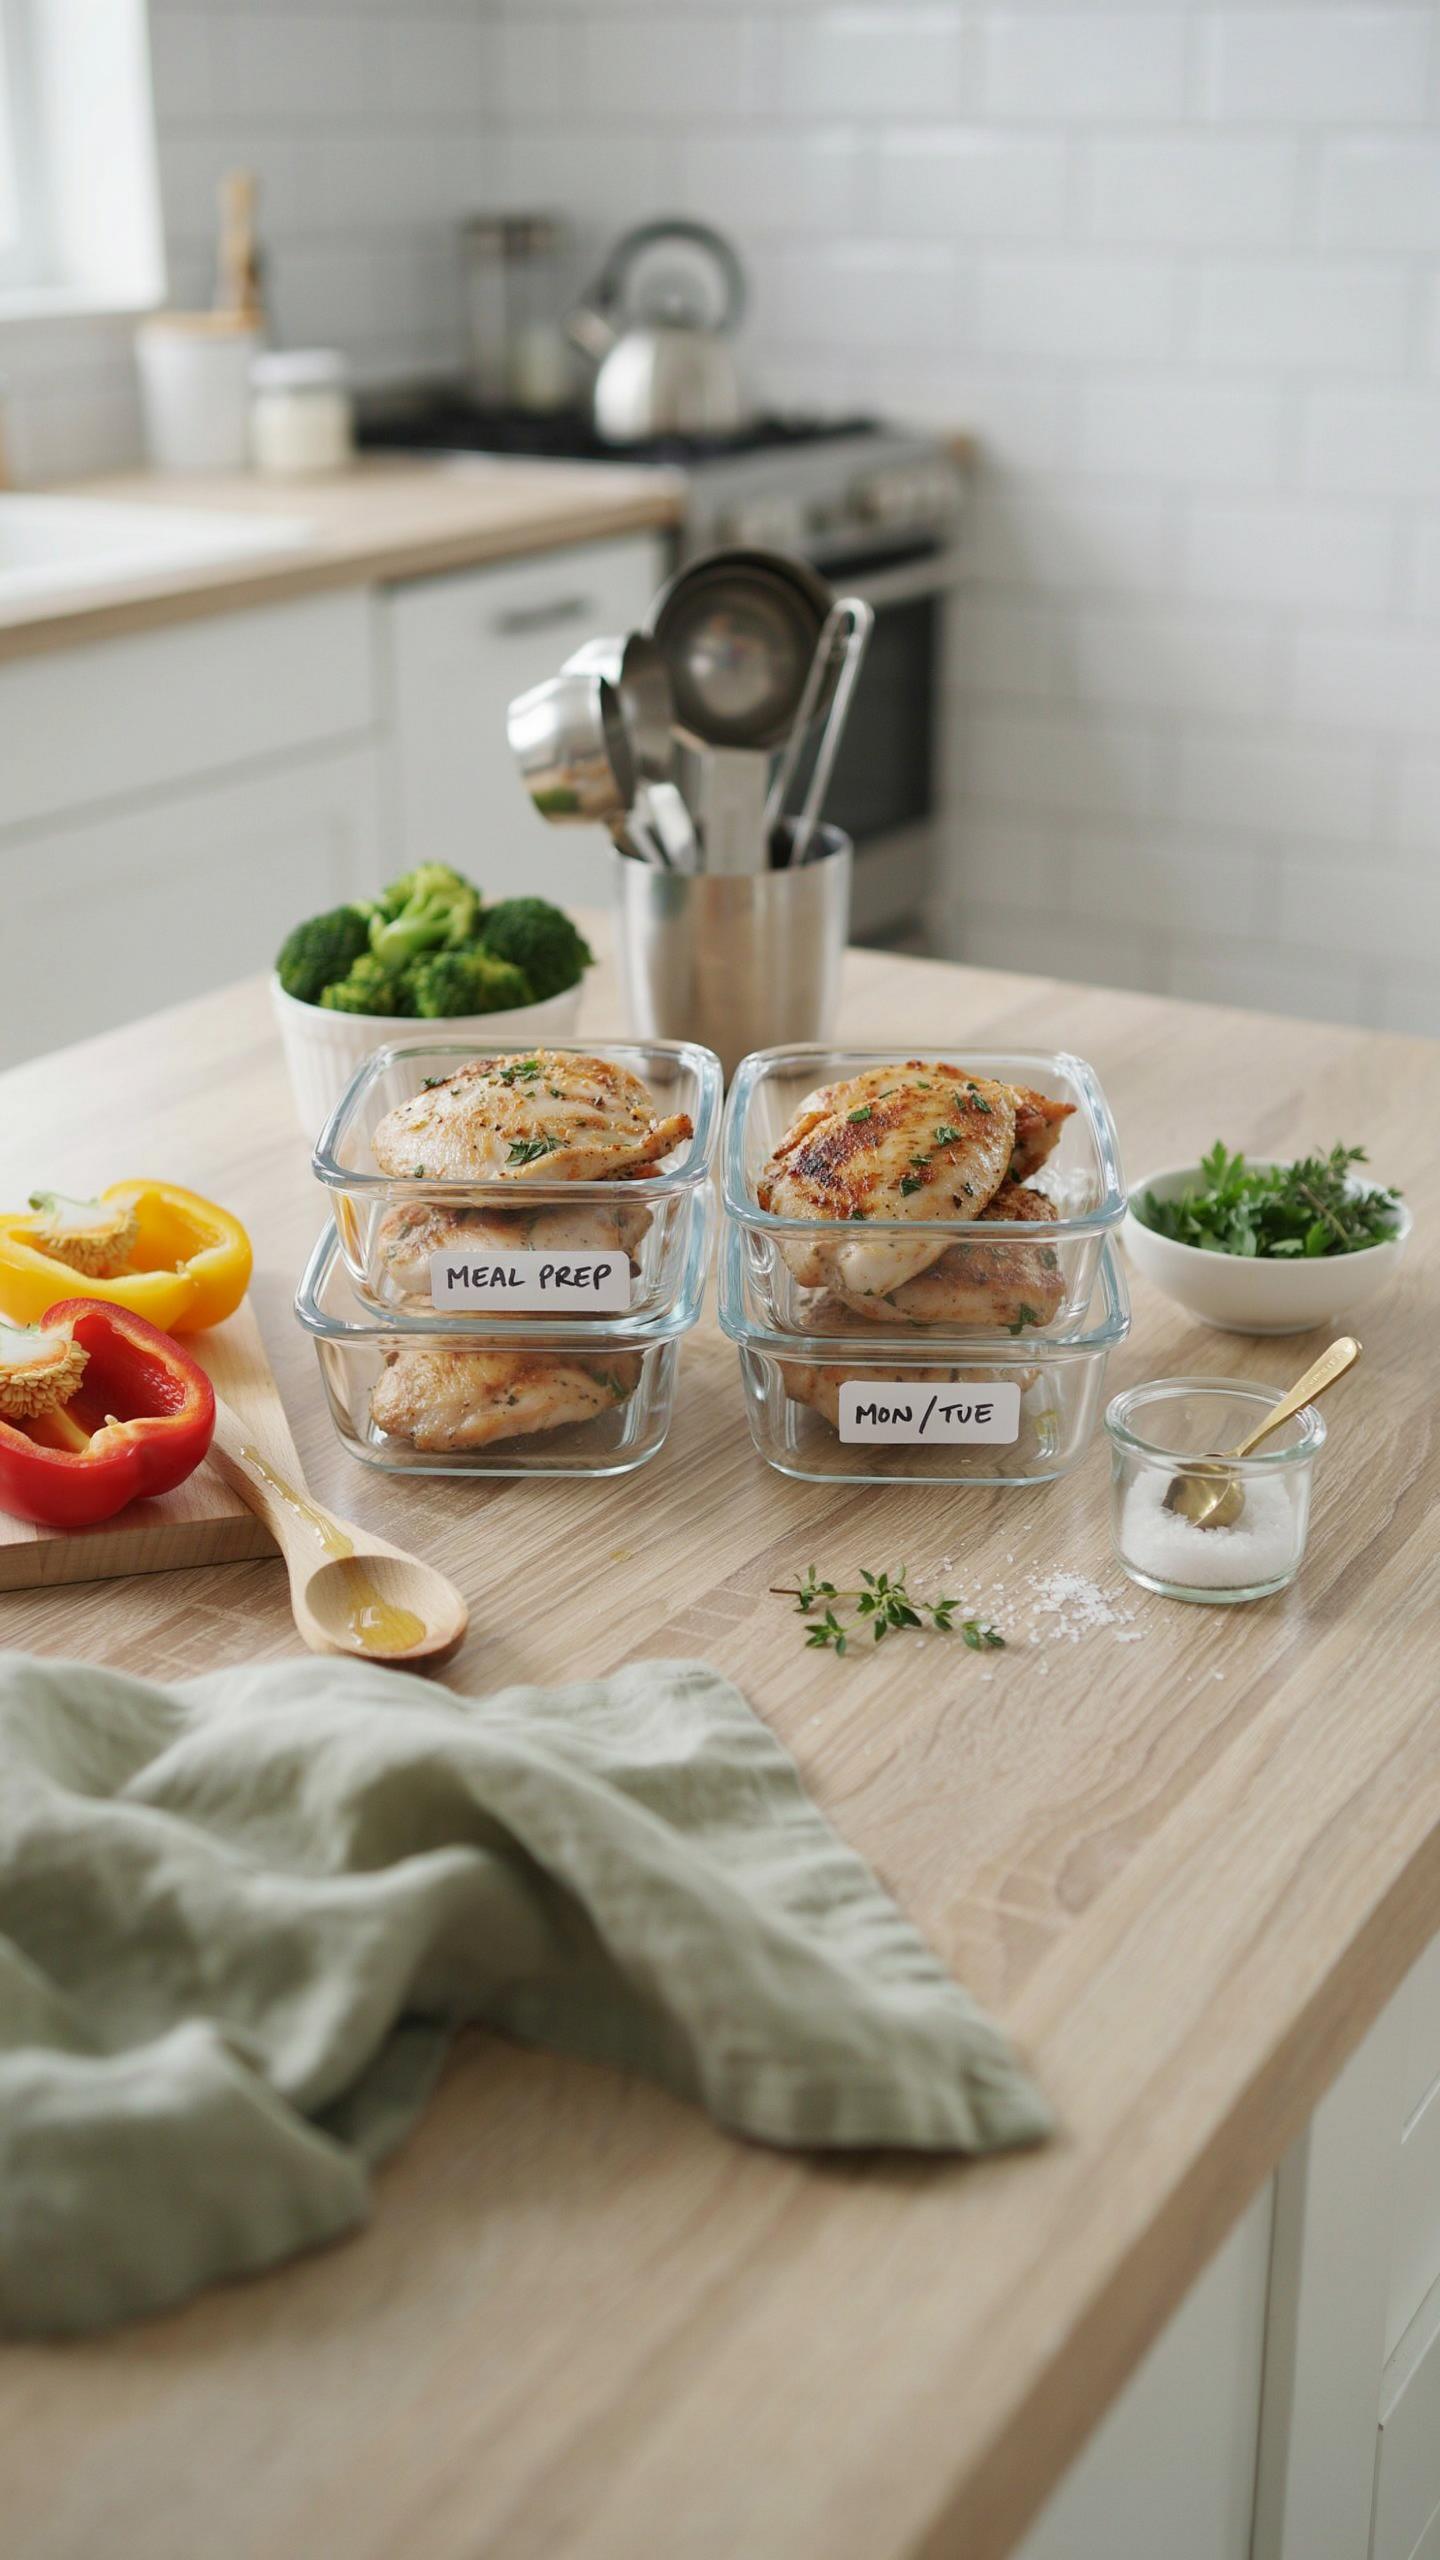
Build Flavor Through Acid And Fat Ratios
You want this to taste like food you’d actually eat, not punishment for poor planning. The mechanism is simple: acid denatures protein fibers slightly, allowing oil to penetrate deeper, which means the chicken stays moist and absorbs seasoning instead of tasting like wet cardboard. This is basic chemistry, not culinary opinion.
- Lemon juice or vinegar base: Acid opens the protein structure. Use one part acid to two parts oil minimum. Apply directly to raw chicken before layering vegetables.
- Extra virgin olive oil: Fat carries flavor compounds. Cheap oil leaves chicken tasting hollow. One-quarter cup per four chicken breasts prevents dryness during oven time.
- Salt timing: Salt the chicken 12 to 24 hours before cooking, or wait until the moment you bake. Salting in between denatures proteins without enough time for reabsorption, creating a wet surface that won’t brown.
- Garlic and herbs as fat vehicles: Minced garlic and dried oregano, thyme, or rosemary don’t work alone. They need fat to transfer flavor into the meat. Mix them into your oil and acid base, never dry.
- Aromatics for pan depth: Sliced onions or bell peppers release moisture that steams the chicken from below. This moisture rises, condenses on the pan’s lid, and drips back down, creating a self-basting environment.

Most people ignore ratio and wonder why their chicken turns into a sponge. The one variable that matters most is fat content relative to cooking time. Too lean a cut plus too little oil equals a failed batch.
Stack The Pan For Unbroken Texture
Layering isn’t decoration, it’s a thermal and moisture management system. Bottom vegetables create a moisture barrier between the pan and the chicken, preventing the bottom from overcooking into jerky while the center stays raw. This solves the central problem of one-pan cooking: heat doesn’t distribute evenly from a flat metal surface.

Onions and carrots on the bottom, chicken skin-side up in the middle layer, smaller quick-cooking vegetables like zucchini or broccoli on top. The chicken sits at the pan’s center zone where heat stabilizes around 350 to 375 degrees during a 35 to 40 minute bake at 425 degrees. The top vegetables finish in the last 15 minutes when the chicken’s internal temperature stabilizes. This prevents the chicken from spending extra time at high heat after it reaches 165 degrees, which dries it out. Cook to temperature, not to time, but structure your pan so the geometry does the work.
Debunking Easy Juicy Baked Chicken Breast Myths
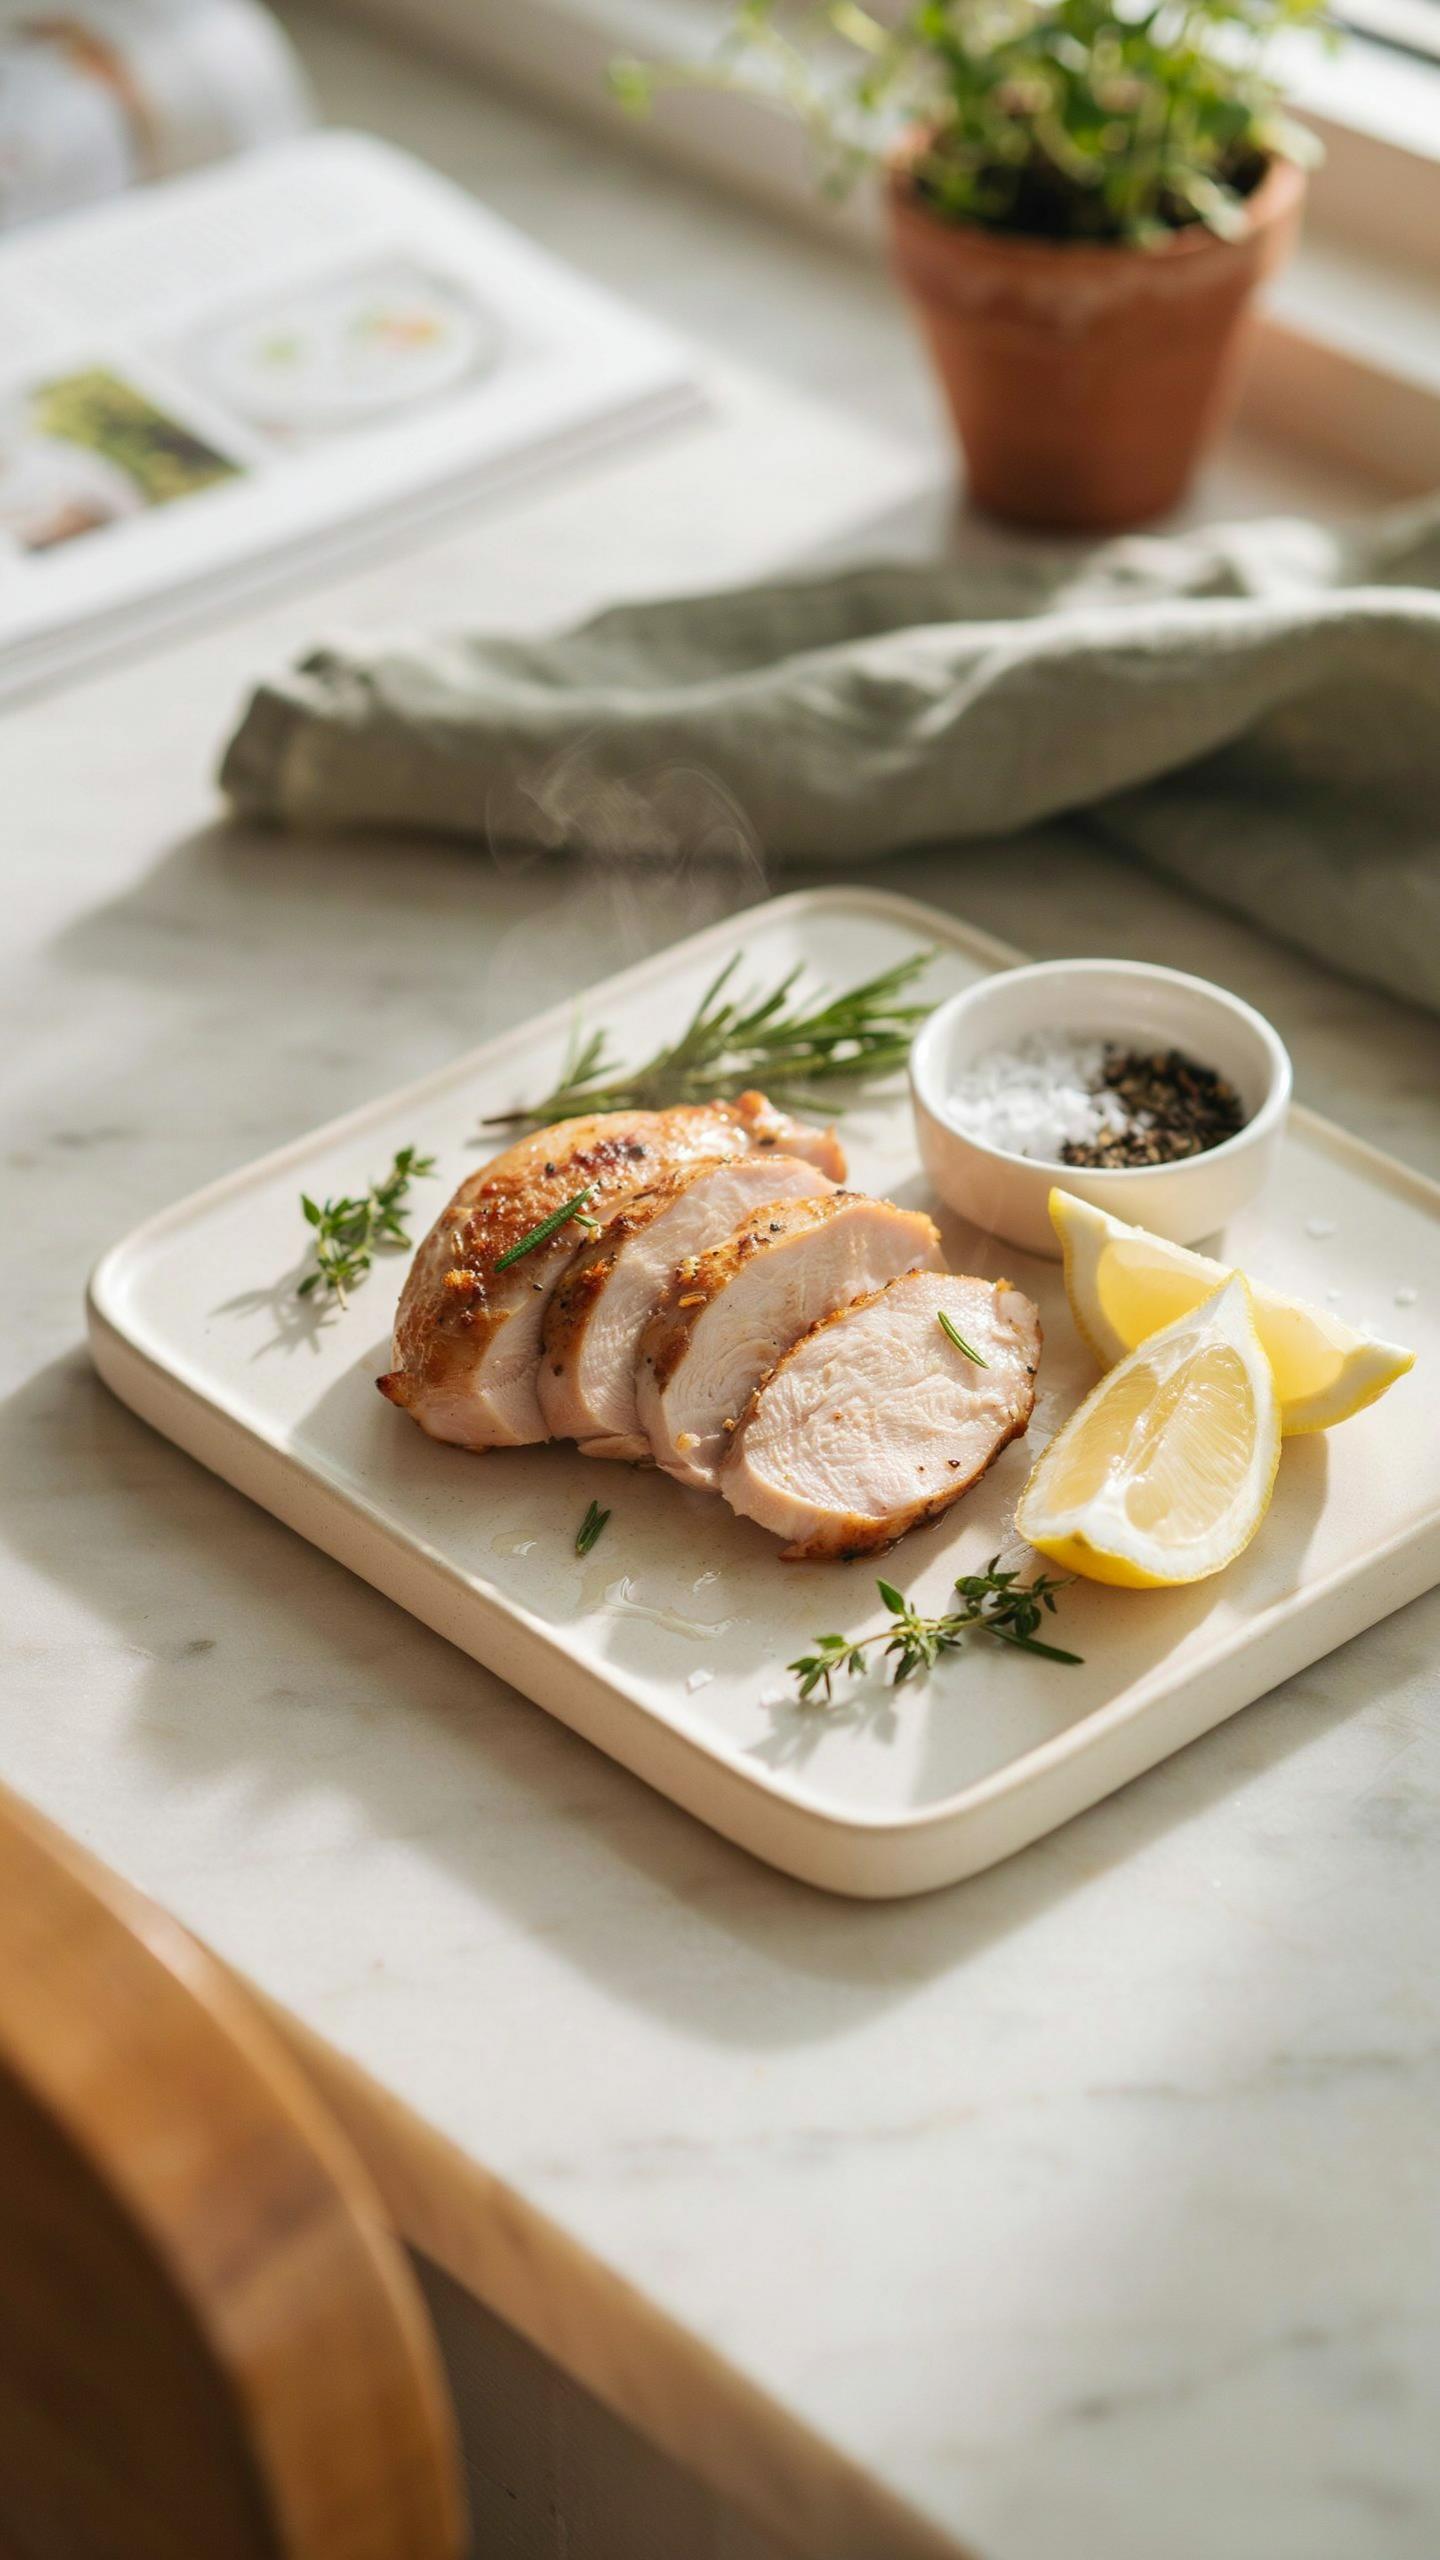
Why Marinade Doesn’t Work The Way You Think
You want marinade to be the fix because it sounds simple and scientific. It’s not. Marinades operate on surface diffusion, not penetration. Acid and salt sit on the outside of the breast, seasoning maybe a millimeter deep. The interior stays bland because protein molecules don’t absorb liquid the way you’ve been told. Thirty minutes or eight hours makes almost no difference for flavor depth beyond that surface layer.
The real mechanism at work here is osmosis and denaturation, borrowed from basic chemistry. Osmosis moves water across membranes, but chicken breast is dense muscle tissue, not a porous sponge. What actually happens is the salt breaks down surface proteins and holds moisture there temporarily. The flavor you taste comes from the crust that forms during baking, not from anything that traveled inward. Stop marinating for hours and focus on seasoning the bird right before it enters the oven.
The Rest Period Actually Determines Juiciness
Most advice says rest the chicken after cooking, and that’s true but incomplete. The rest period works through carryover cooking and protein relaxation, two separate mechanisms nobody bothers to explain. When you pull the breast from the oven at 165 degrees, the interior keeps climbing another 3-5 degrees. Resting lets that heat distribute evenly instead of shocking the surface fibers into contraction.
The bigger factor is protein structure. Hot muscle fibers contract and squeeze out moisture. Time allows those fibers to relax and reabsorb the liquid that tried to escape. A ten-minute rest on a cutting board reduces the amount of liquid that pools when you slice into the meat. This is not optional for meal prep baked chicken. Your resting time directly controls whether your containers have dry chicken or chicken that stays moist through day four.
The Bang Bang Chicken Recipe Oven Beyond Basic Flavor
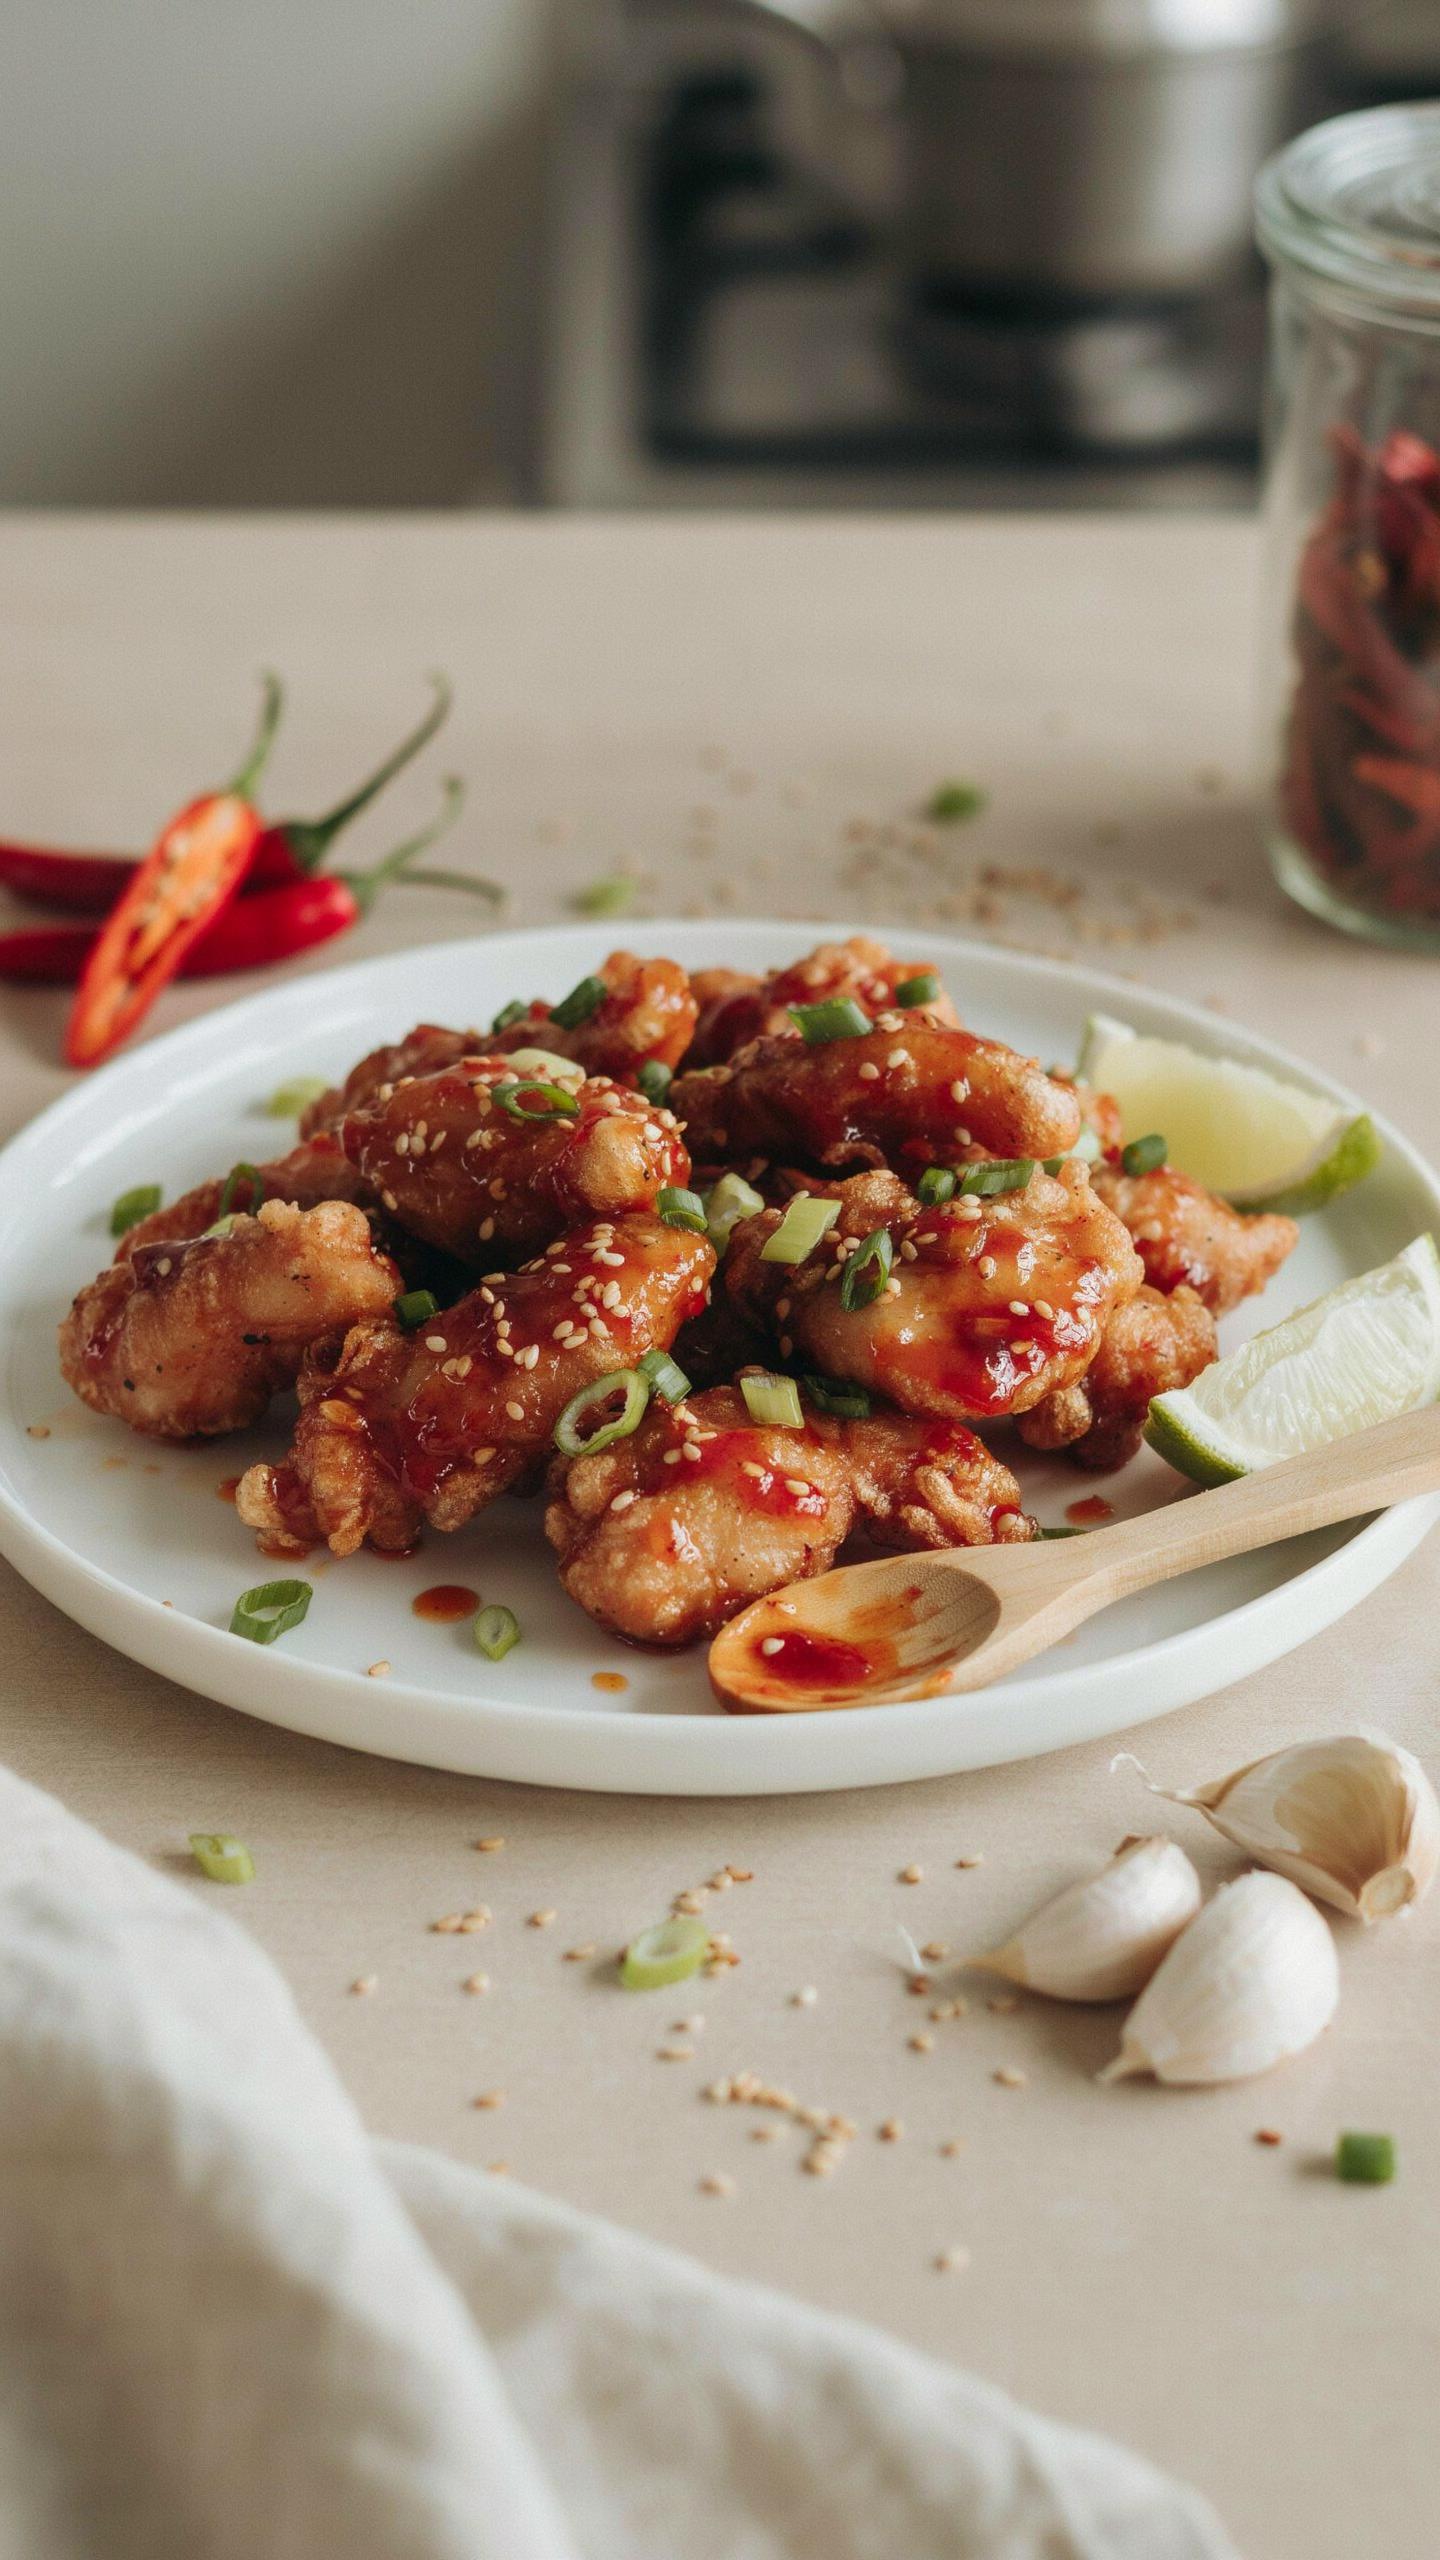
Umami Bombs: Sauces That Transform, Not Merely Coat
You want your meal prep to taste like you didn’t phone it in. That’s the real fear here. Most people slap generic teriyaki or ranch on chicken and call it done. This fails because they’re treating sauce as decoration instead of mechanism. In chemistry, umami is the fifth taste that triggers satiation and repeat cravings. Applied to baked chicken: umami compounds like glutamates and nucleotides from soy, fish sauce, tomato paste, and aged ingredients don’t just flavor the surface. They penetrate the protein during the final baking minutes and rewire how your brain processes the meal as satisfying.
The bang bang sauce works specifically because it layers umami through three channels at once: mayo provides fat-soluble umami delivery, sriracha adds fermented depth, and honey balances acid with sweetness to keep receptors firing. Mix these components, brush them on chicken in the last eight minutes of baking instead of before, and the sauce adheres to moisture instead of sliding off or burning. The mechanism is heat-driven osmosis. Baste once at the eight-minute mark of a twenty-minute bake, not multiple times. This timing gives you sauce saturation without charring the surface into bitterness.
Textural Contrast: The Unsung Hero Of Meal Prep Satisfaction
Texture determines whether you finish a meal or push it away halfway through. Baked chicken alone is monotonous, regardless of sauce quality. The solution is not complexity. Add one textural element that breaks monotony: crispy onions, toasted breadcrumbs, or raw vegetable slaw mixed into the pan during the last two minutes. This isn’t garnish. It’s structural engineering. The contrast between soft chicken, tender vegetables, and one deliberately crispy component triggers multiple sensory pathways, which translates to feeling fuller longer and wanting the meal again.
One pan baked chicken becomes monotextural by design, so you must interrupt it intentionally. Slice raw red onions thin and toss them in the pan alongside the chicken for the final bake stage. The onion stays raw enough to deliver crunch while the pan heat softens the base slightly. This single addition separates mediocre meal prep from something people actually crave on day four. Layer the onion on top of the chicken after plating, never mixed underneath, so each bite guarantees the contrast rather than losing it in the food.
Oven Baked Chicken Breasts The Temperature Fallacy
Where Your Oven Actually Lies
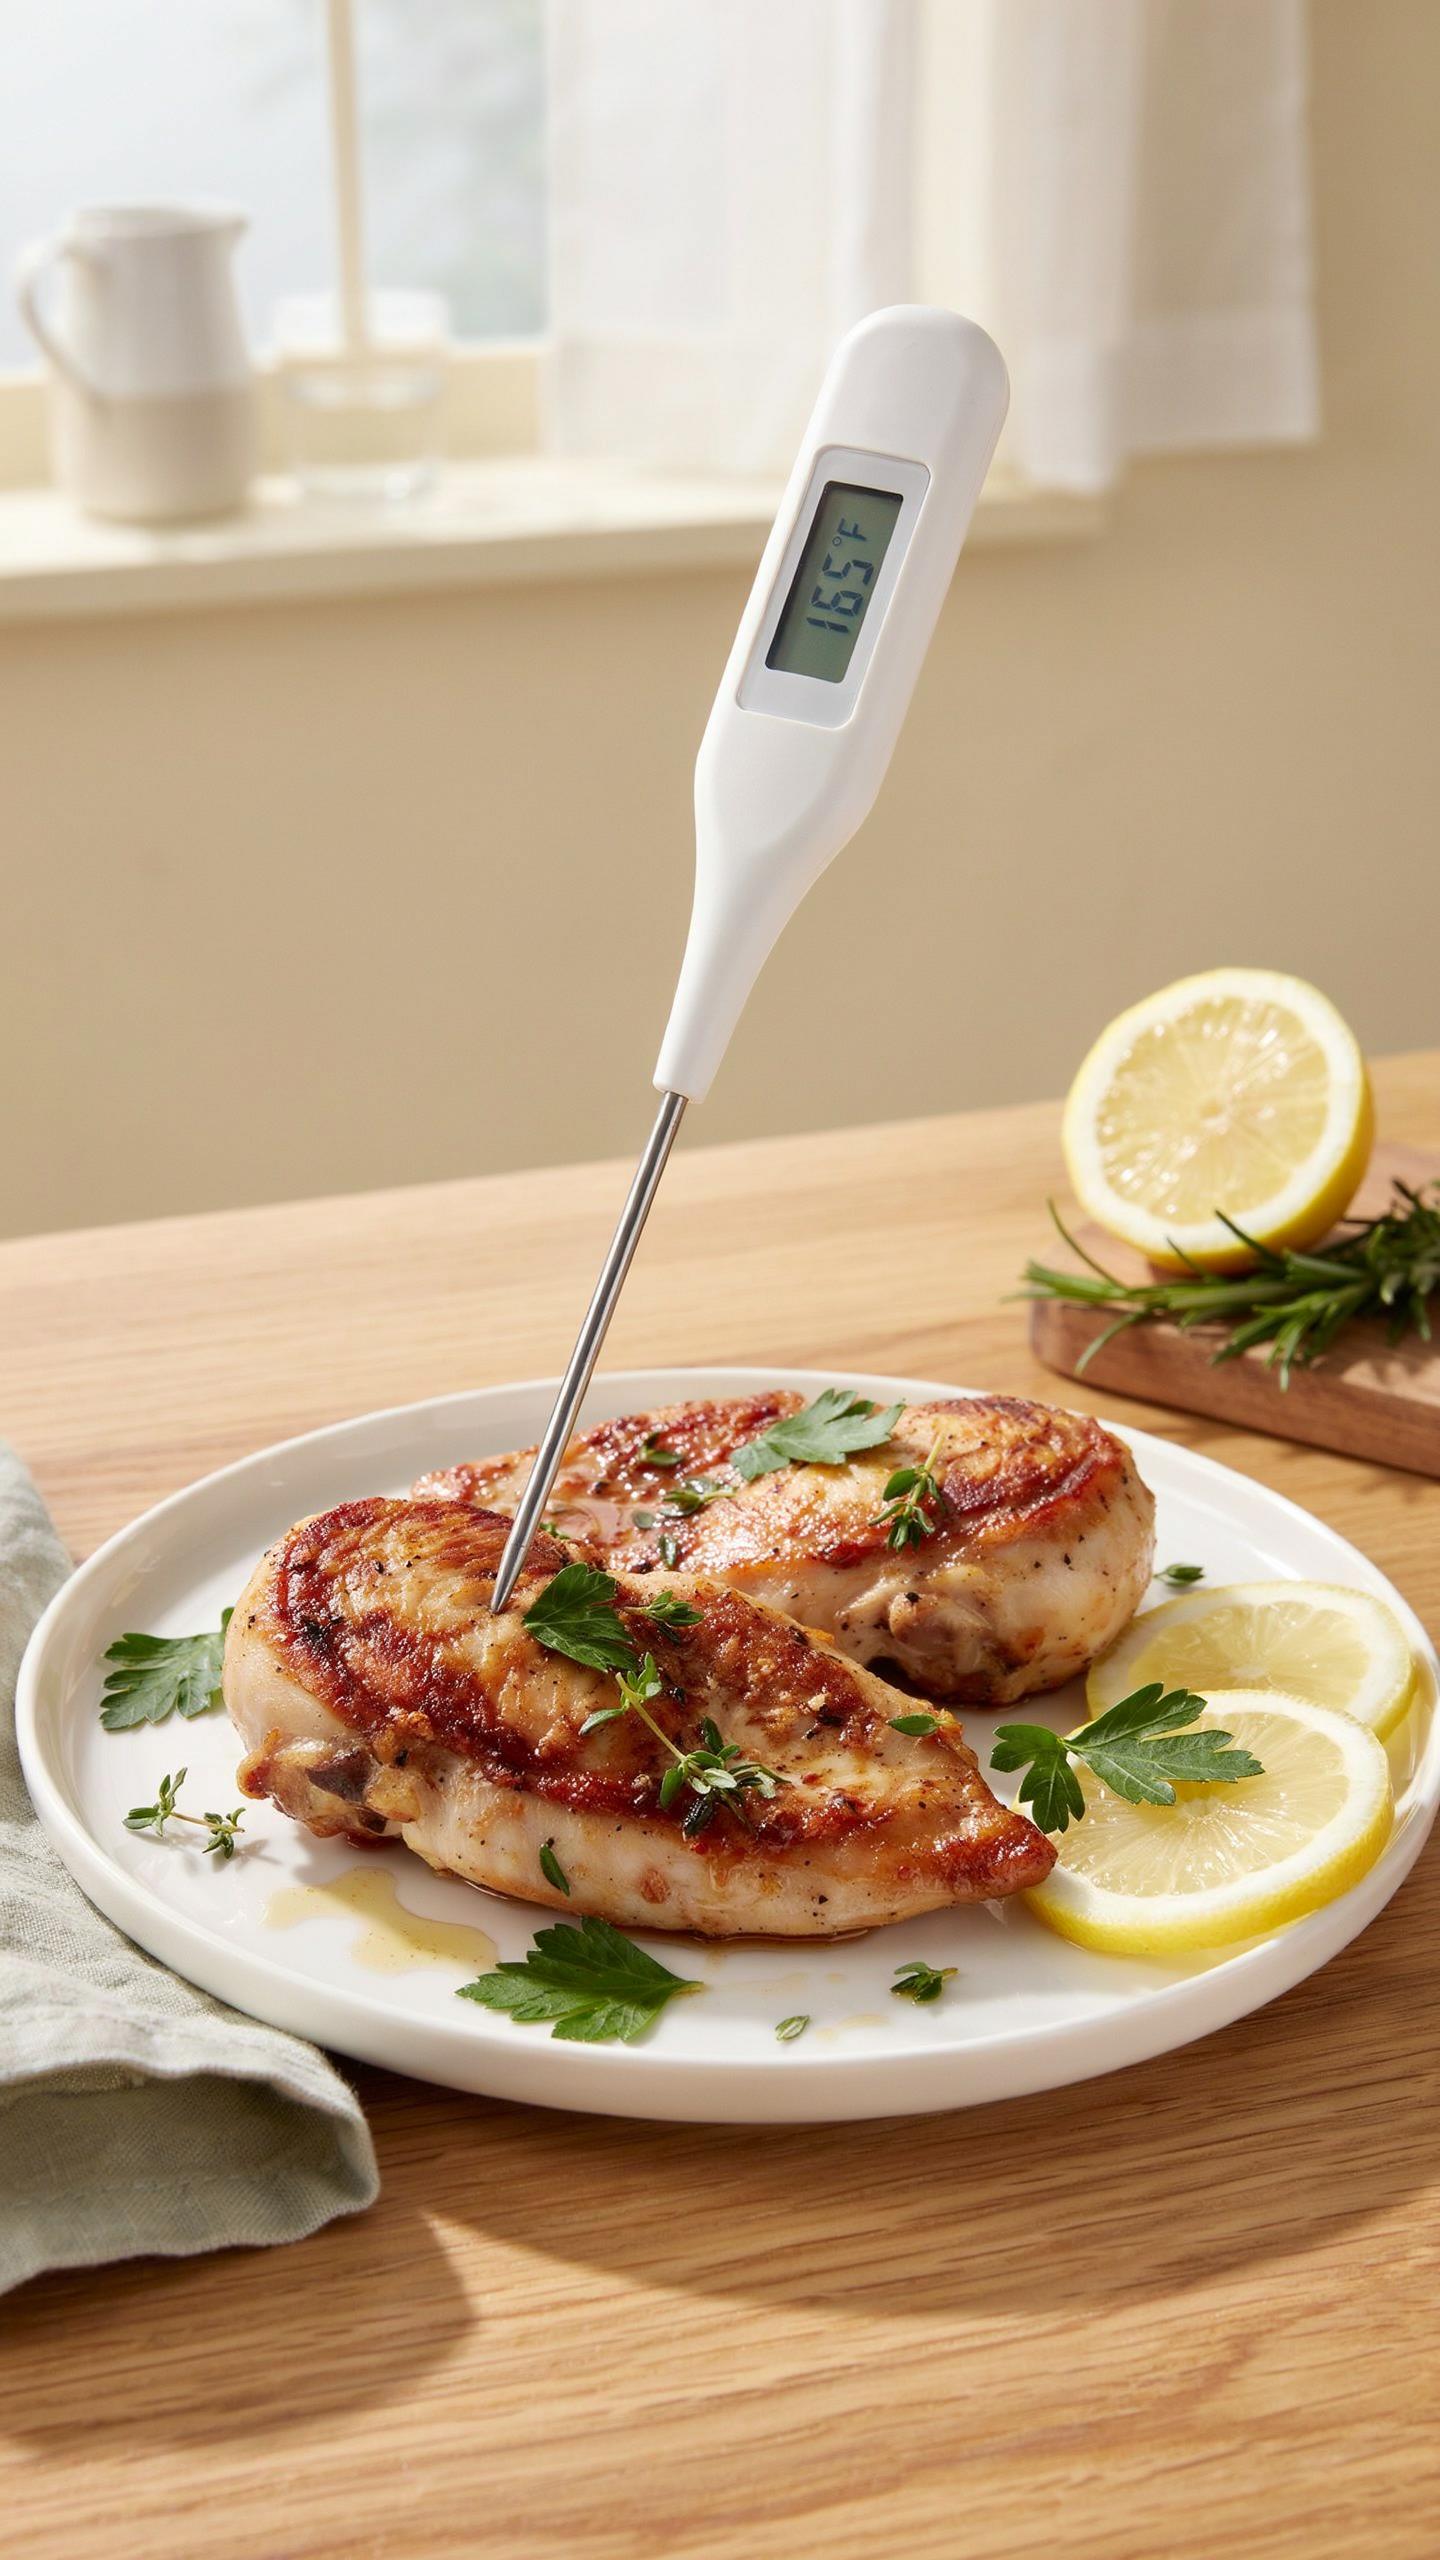
You want a foolproof number because you’re tired of dry chicken ruining your meal prep week. Here’s what nobody says: your oven doesn’t bake at 375°F. It bakes at whatever temperature the heating element closest to your chicken decides to deliver that day. Most home ovens have a 25 to 50 degree variance between zones. The back left corner runs hotter than the front right. Your thermometer reads the air, not the chicken’s surface.
Thermal imaging reveals the real pattern. Position matters more than temperature setting. Place thicker breasts toward the back where radiant heat concentrates. Rotate the pan halfway through, moving front chicken to back. This compensates for the uneven heat your oven actually produces, not the temperature you set it to. Bake at 375°F, but trust the mechanism of heat distribution, not the dial.
Carryover Cooking: The Invisible 5 Degrees
Most meal prep guides miss this entirely: your chicken keeps cooking after you pull it from the oven. This is thermodynamics in action, the same principle that explains why steak rests before cutting. When you remove chicken at 160°F internal temperature, the residual heat in the meat’s outer layers conducts inward for another 3 to 5 minutes. That carries you to 163 to 165°F, which is your target.
Pull breasts at 157°F if your thermometer is accurate. Set it in the pan for 5 minutes before transferring to storage containers. This prevents overcooking and keeps chicken tender across your entire week’s meals. Underestimating carryover heat is why batch cooking chickens end up rubbery by Wednesday. Time the removal, not just the temperature.
Baked Chicken Recipes Oven Mastering The Maillard Reaction
Why Dry Heat Wins Over Everything Else
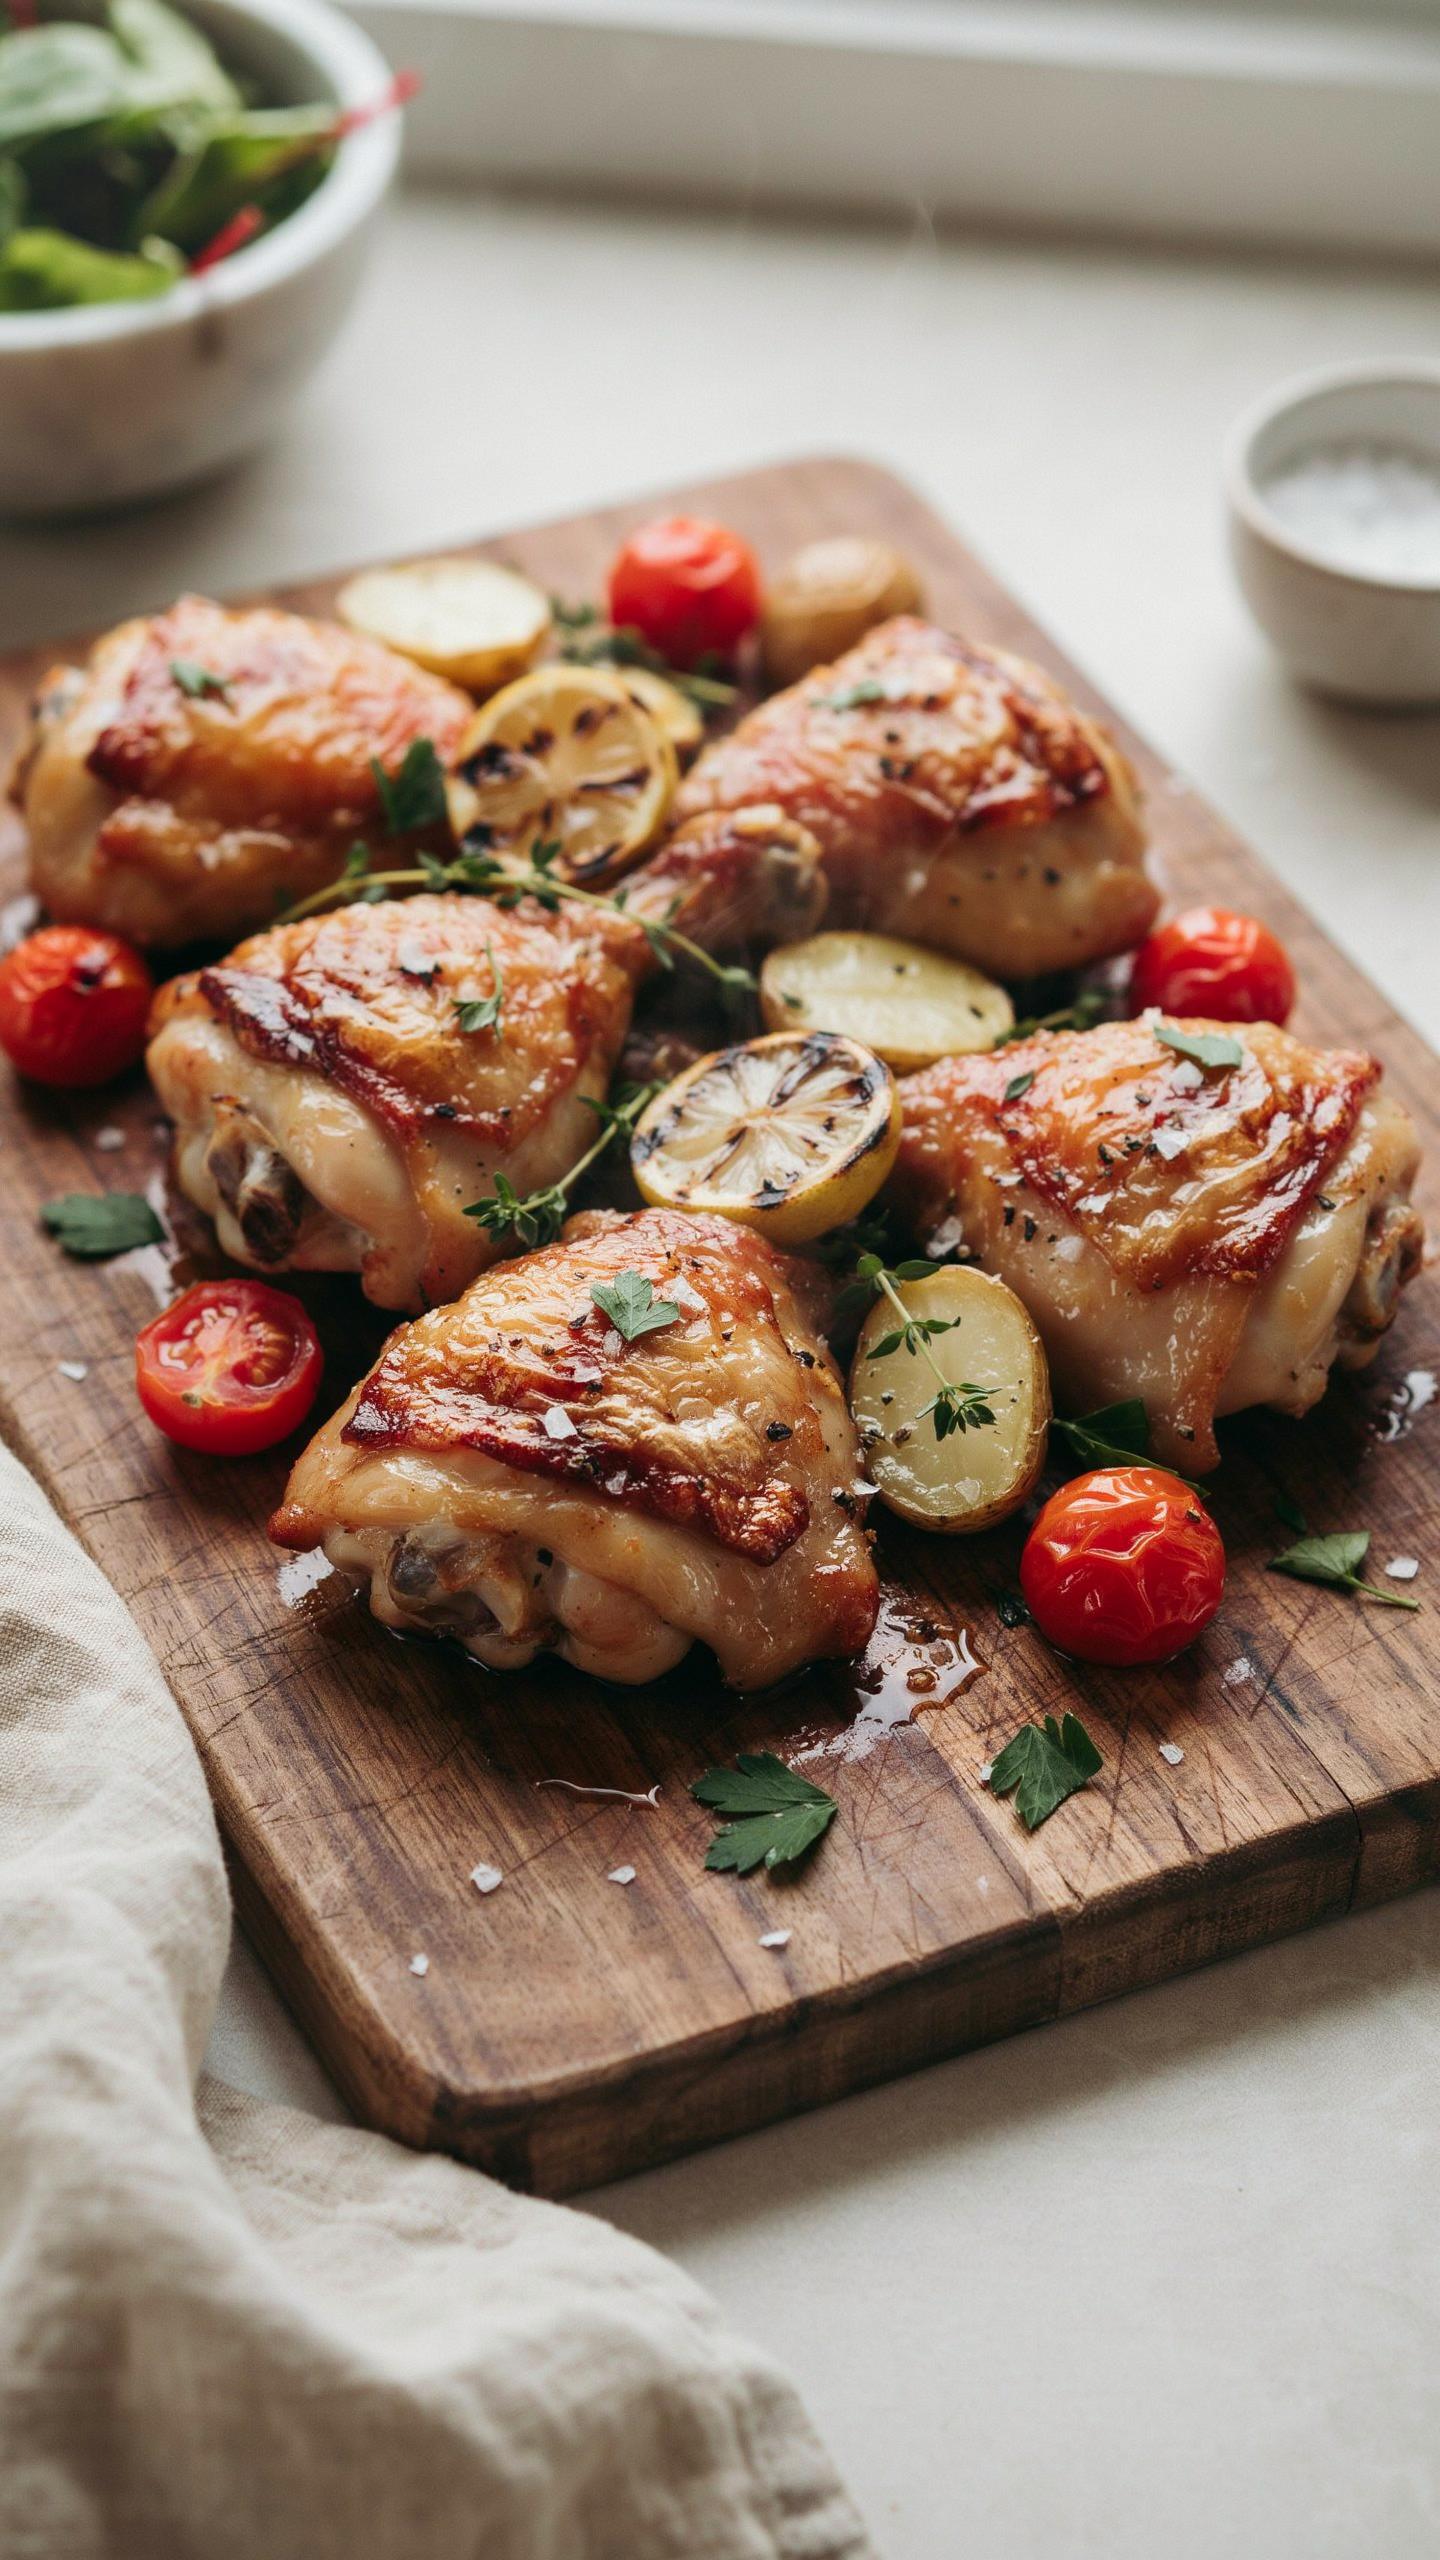
You want browning because you think it looks better. That’s not the real reason it matters. Browning is a chemical transformation that makes chicken taste substantially different, and wet heat prevents it from happening. The Maillard reaction requires a surface temperature above 300 degrees Fahrenheit. Steam from braising, poaching, or covered baking keeps the surface below 212 degrees. Oven baking at 425 to 450 degrees removes moisture and drives browning. This is where flavor gets built, not added.
Dry heat dominance means exposing your chicken directly to hot air without a lid, without liquid, without steam. Pat the chicken dry before it hits the pan. Moisture on the surface competes with browning and extends cooking time. A single sheet pan at temperature will develop a crust in 20 to 25 minutes depending on thickness. The exterior browns while the interior stays moist because hot metal transfers heat faster than air circulation alone. This is the only method that delivers both textural contrast and flavor depth in meal prep.
Convection Placement Changes Everything
Physics has a concept called resistance. In convection cooking, heat travels from the oven’s heating element through moving air to your pan. The oven’s fan matters less than oven position. Most ovens have hotter zones near the back and cooler zones near the front door. Conduction, the direct transfer of heat through the pan to the chicken, handles most of the actual cooking. Convection provides supplemental heat and air circulation. Understanding this distinction shifts where you place your sheet pan for consistent results.
Position your baking sheet on the middle rack, slightly toward the back. This placement captures heat moving downward from the top element while the pan’s direct contact with the rack drives conduction from below. Don’t rotate the pan mid-bake. Front-of-oven placement gives you uneven browning because cool air from the door interferes with surface temperatures. Back-of-oven placement risks over-browning the edges before the center cooks through. The middle-back sweet spot requires no babysitting and delivers uniform browning across your entire batch. Set timer for 22 minutes at 425 degrees, check internal temp at 165 degrees, pull it out.
The Set And Forget Lie Of Meal Prep Baked Chicken
Watch For Actual Doneness, Not Time
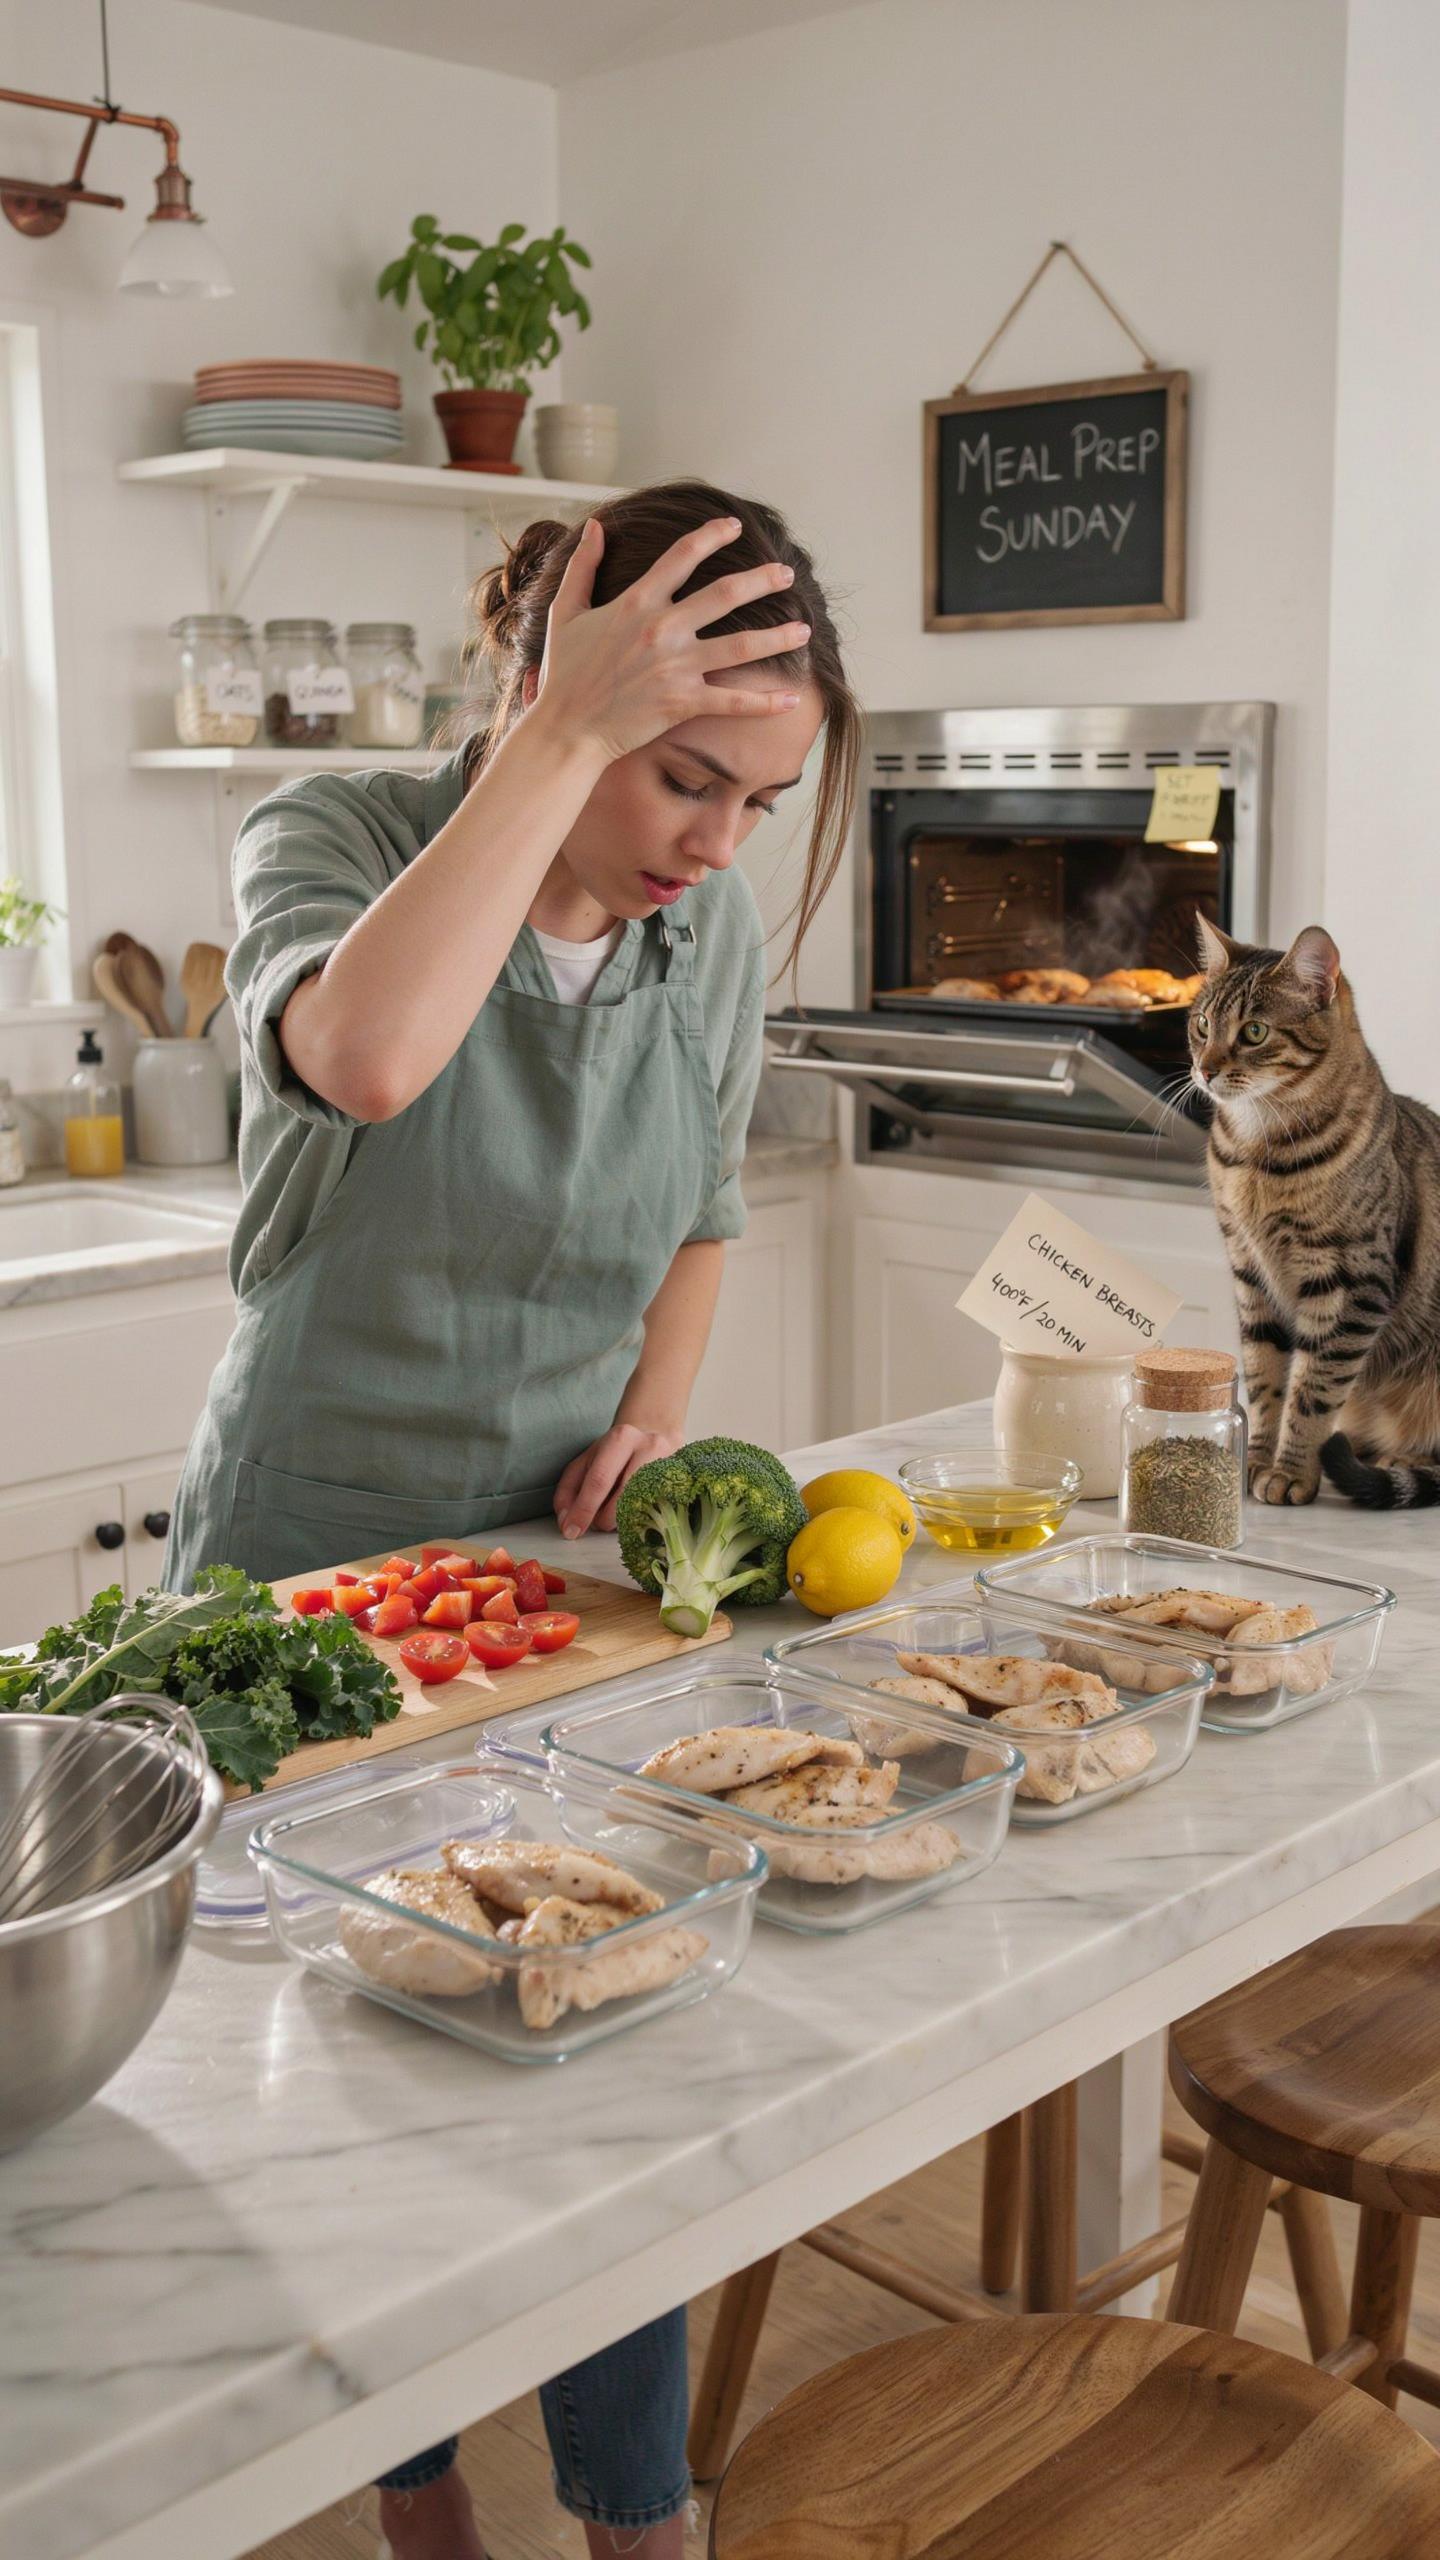
You want to believe a timer solves this so you can zone out and feel productive. It doesn’t. Cooking time is a guess based on someone else’s oven, chicken thickness, and starting temperature. Borrowing from thermodynamics, chicken reaches doneness through heat transfer, not elapsed minutes. The mechanism is simple: visual cues tell you when carryover cooking ends and the protein stabilizes. At 165°F internal temp, the chicken stops cooking the moment it leaves the oven.
Look for these signs before pulling the pan: the surface loses its wet sheen and turns opaque gold, the thickest part of the breast feels firm when pressed, and juices run clear when you cut the thickest piece. Skip the color-only check. Pale chicken can still be underdone inside. Combine visual confirmation with an instant-read thermometer placed in the thickest breast without touching bone. This removes guesswork entirely.
Rotate And Redistribute At Halfway
The “set and forget” advice ignores airflow. Ovens have hot spots. Chicken on the back cooks faster than chicken on the front. At the midpoint, pull the pan out and rotate it 180 degrees, then flip each breast over. This takes 90 seconds and prevents dry edges paired with undercooked centers.
The second check matters more than the first. By halfway through, you can see which pieces are browning too fast and which are lagging. If pieces are uneven in size, move thinner ones toward the cooler front. If the pan’s edge is browning aggressively while centers stay pale, lower your oven temp by 25°F and add five minutes. This adjustment keeps texture consistent across the batch.
Chicken Breast Recipes Baked The Strategic Cut
Why Thickness Matters More Than Seasonings
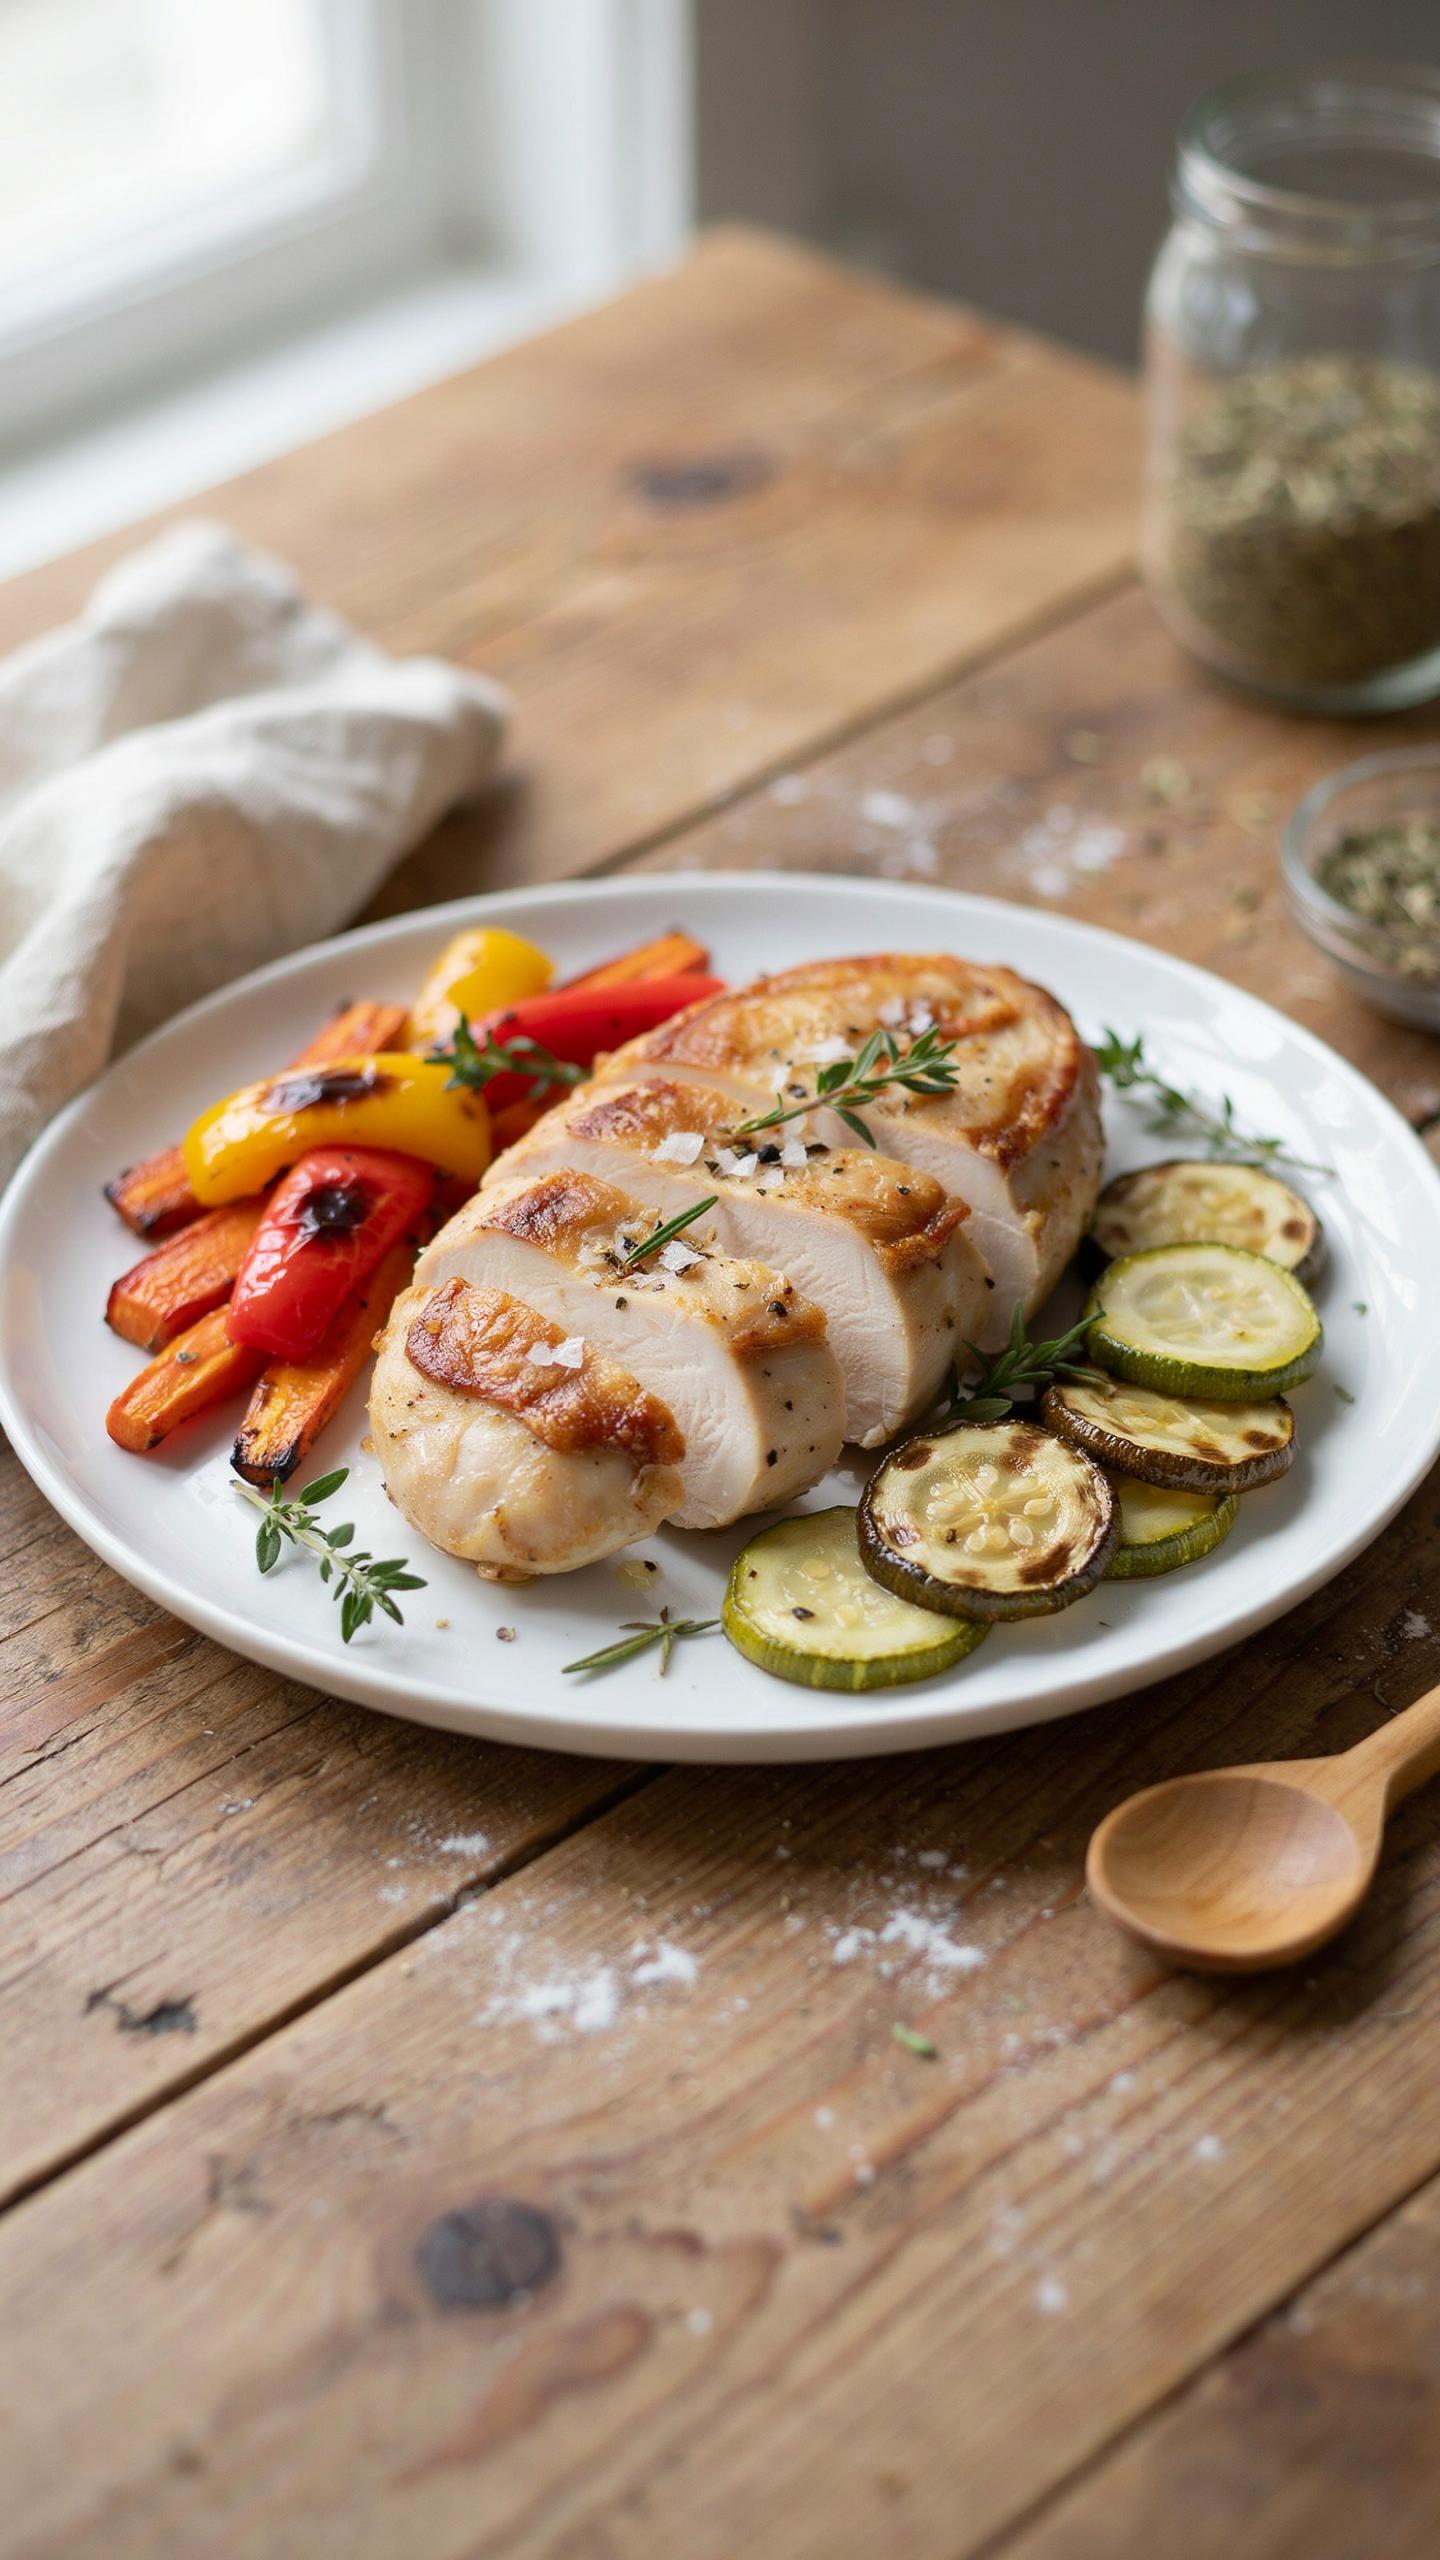
You want the recipe that makes you look disciplined without actually requiring discipline. The real problem isn’t flavor—it’s that chicken breasts cook unevenly, leaving you with dry edges and raw centers. Thickness uniformity is a thermodynamic problem. Heat penetrates from the outside inward at a fixed rate. Thin spots finish cooking before thick spots. All breasts the same thickness means all breasts finish together. This is why thickness control determines success or failure in one-pan meal prep.
The common advice says to just throw them in and monitor timing. Wrong. One batch of breasts will have natural variance—some thinner, some thicker from how they were cut at the butcher. If you treat them as one unit and bake by time alone, you guarantee inconsistency across your meal prep week. The fix is brutal simplicity: standardize thickness before the pan. This single move removes the guesswork and makes your oven timing reliable every single time.
Pound For Consistency, Not Tenderness
Pounding chicken isn’t about making it more tender. It’s about making it uniform. Meat science shows that mechanical force redistributes moisture and breaks down fiber density, yes, but that’s secondary. Your actual target is creating flat, even thickness across every breast so heat delivers uniformly. Place the breast between plastic wrap or in a bag. Use a meat mallet’s flat side, not the textured side. Strike from the center outward with controlled pressure, not force.
The mistake people make is pounding unevenly—hammering the thin end into oblivion while barely touching the thick end. You’re aiming for consistent quarter-inch thickness across the entire surface. This takes about six to eight strikes per breast, applied methodically. Once you’ve pounded, your breasts are now geometrically similar. Your oven delivers the same heat exposure to each one. The result is predictable doneness and no dried-out edges compensating for undercooked centers. Check internal temperature at 165 degrees Fahrenheit. All breasts hit that mark within the same narrow window.
Baked Chicken Sauce Recipes Architecting Flavor Profiles
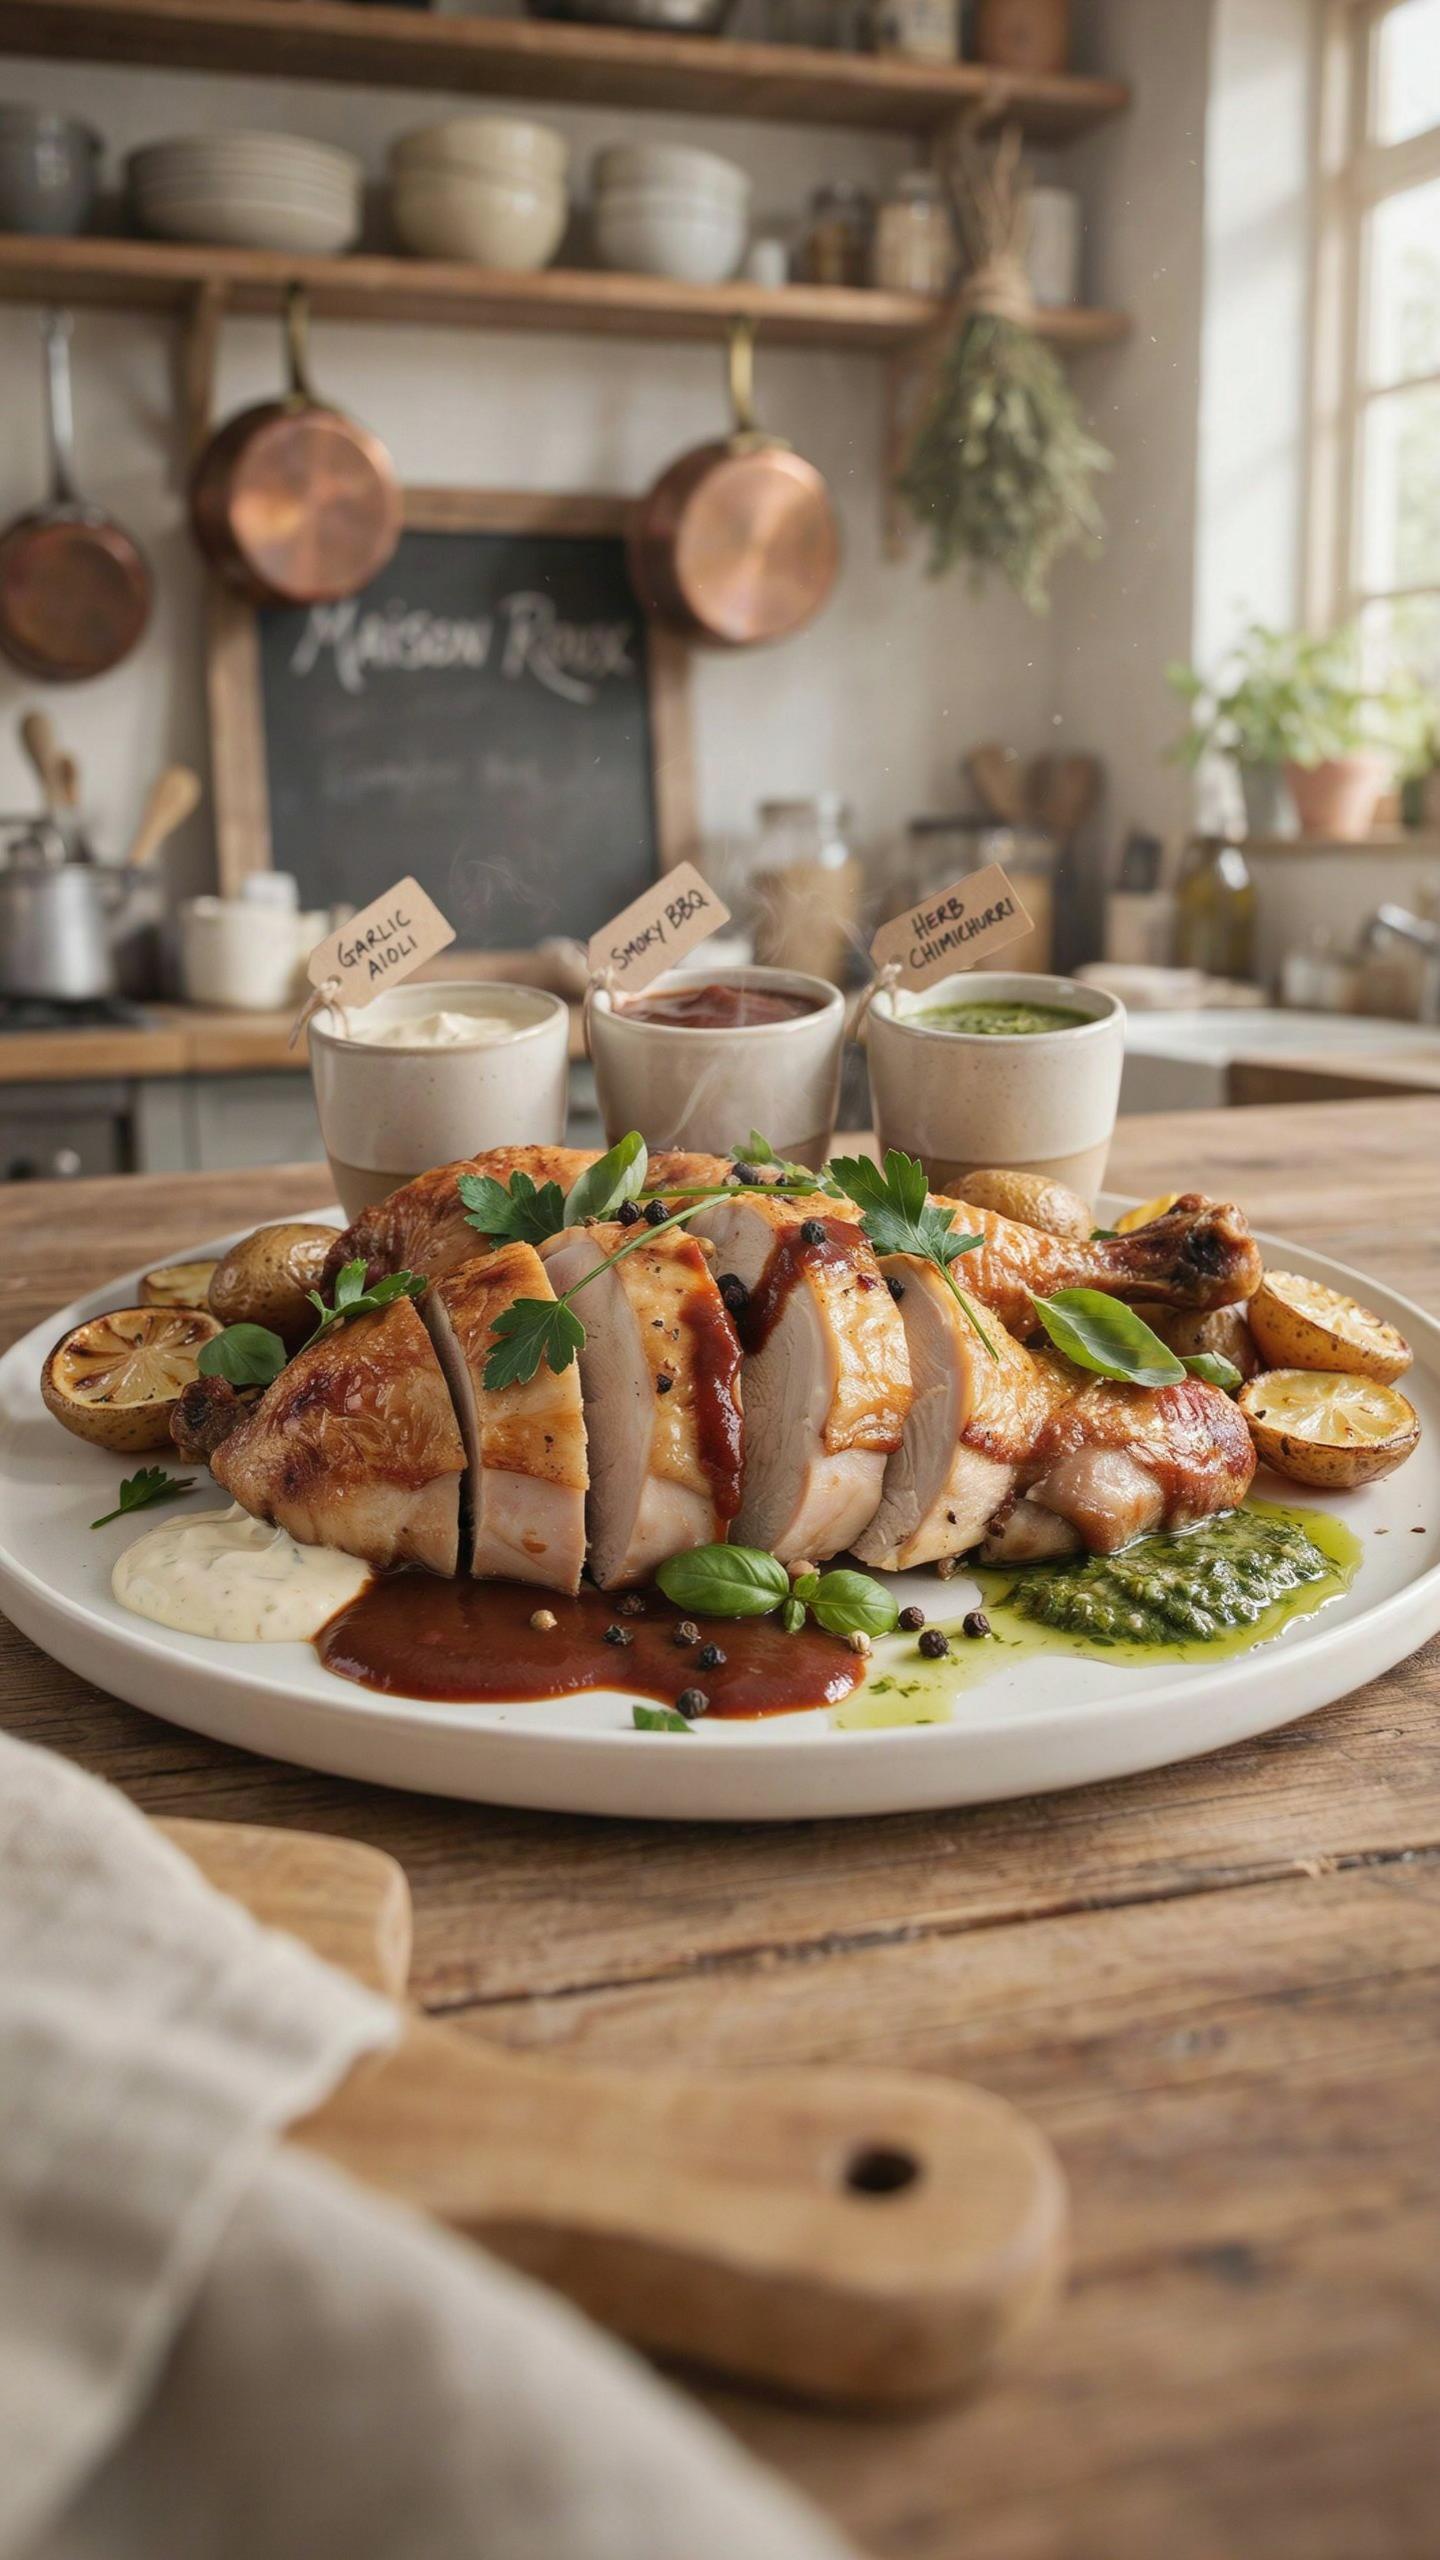
The Three Layer Flavor Build
You want your sauce to taste expensive and intentional instead of one-note and forgettable. Here’s what actually matters: flavor works like music production. You need bass notes, midrange presence, and brightness. The bass is what sticks around. The midrange is what people taste first. The brightness is what makes them want another bite.
Base notes are salt, fat, and slow-cooked aromatics. They anchor the entire sauce and create duration on your palate. Middle notes are the primary flavor source: tomato, soy, vinegar, herbs. Top notes are fresh acid, citrus, or volatile aromatics that hit fast then fade. Each layer has a different job.
- Salt in rendered fat: Creates the foundation that holds all other flavors. Salt dissolves into fat differently than water, building deeper perception of flavor complexity.
- Garlic and onion caramelization: Develops umami compounds through heat exposure over time. These become the glue holding middle and top notes together.
- Tomato or soy: Your primary middle note. Choose based on the mood you want. Tomato reads lighter, soy reads heavier and more savory.
- Fresh herbs or lemon zest: Applied at the end. These volatile compounds evaporate quickly but create the impression of freshness and prevent the sauce from feeling one-dimensional.
- Finishing acid: Lemon juice or vinegar added last. This creates brightness that makes the sauce taste alive instead of flat, without making it sour.
The mistake most people make is treating sauce as a single entity instead of a sequence. They dump everything in at once and wonder why it tastes flat. Your oven time is dedicated to rendering base notes. Your finish is dedicated to sealing in middle notes and adding top notes. This is the difference between a sauce that tastes good and one that tastes designed.
Acid And Fat: The Non Negotiable Equation
Most sauce advice stops at “add acid for brightness.” That’s incomplete. Acid and fat exist in tension, and that tension is what creates dynamic flavor instead of one that lands and sits.
Fat coats your mouth. Acid cuts through that coating. Without fat, acid tastes sharp and thin. Without acid, fat tastes heavy and cloying. A 1:1 weight ratio doesn’t work because they interact differently on the palate. You need roughly three parts fat to one part acid by volume, then adjust downward by taste. Olive oil or butter provides the fat base. Lemon juice or vinegar provides the acid. Start conservative with acid. You can always add more. You cannot remove it.
The real mechanism is this: acid dissolves the proteins on your tongue’s taste receptors differently than fat does. Together, they create what tastes like complexity because your mouth is receiving competing signals that resolve into one coherent flavor. When the ratio is off, one signal dominates and the sauce becomes one-dimensional. Your tasting protocol is simple: make the sauce, let it cool slightly so your mouth can register temperature independently from flavor, then taste before adjusting acid. Never season a hot sauce and judge it. Heat distorts your perception of balance.
The One Pan Paradox True Minimalist Efficiency
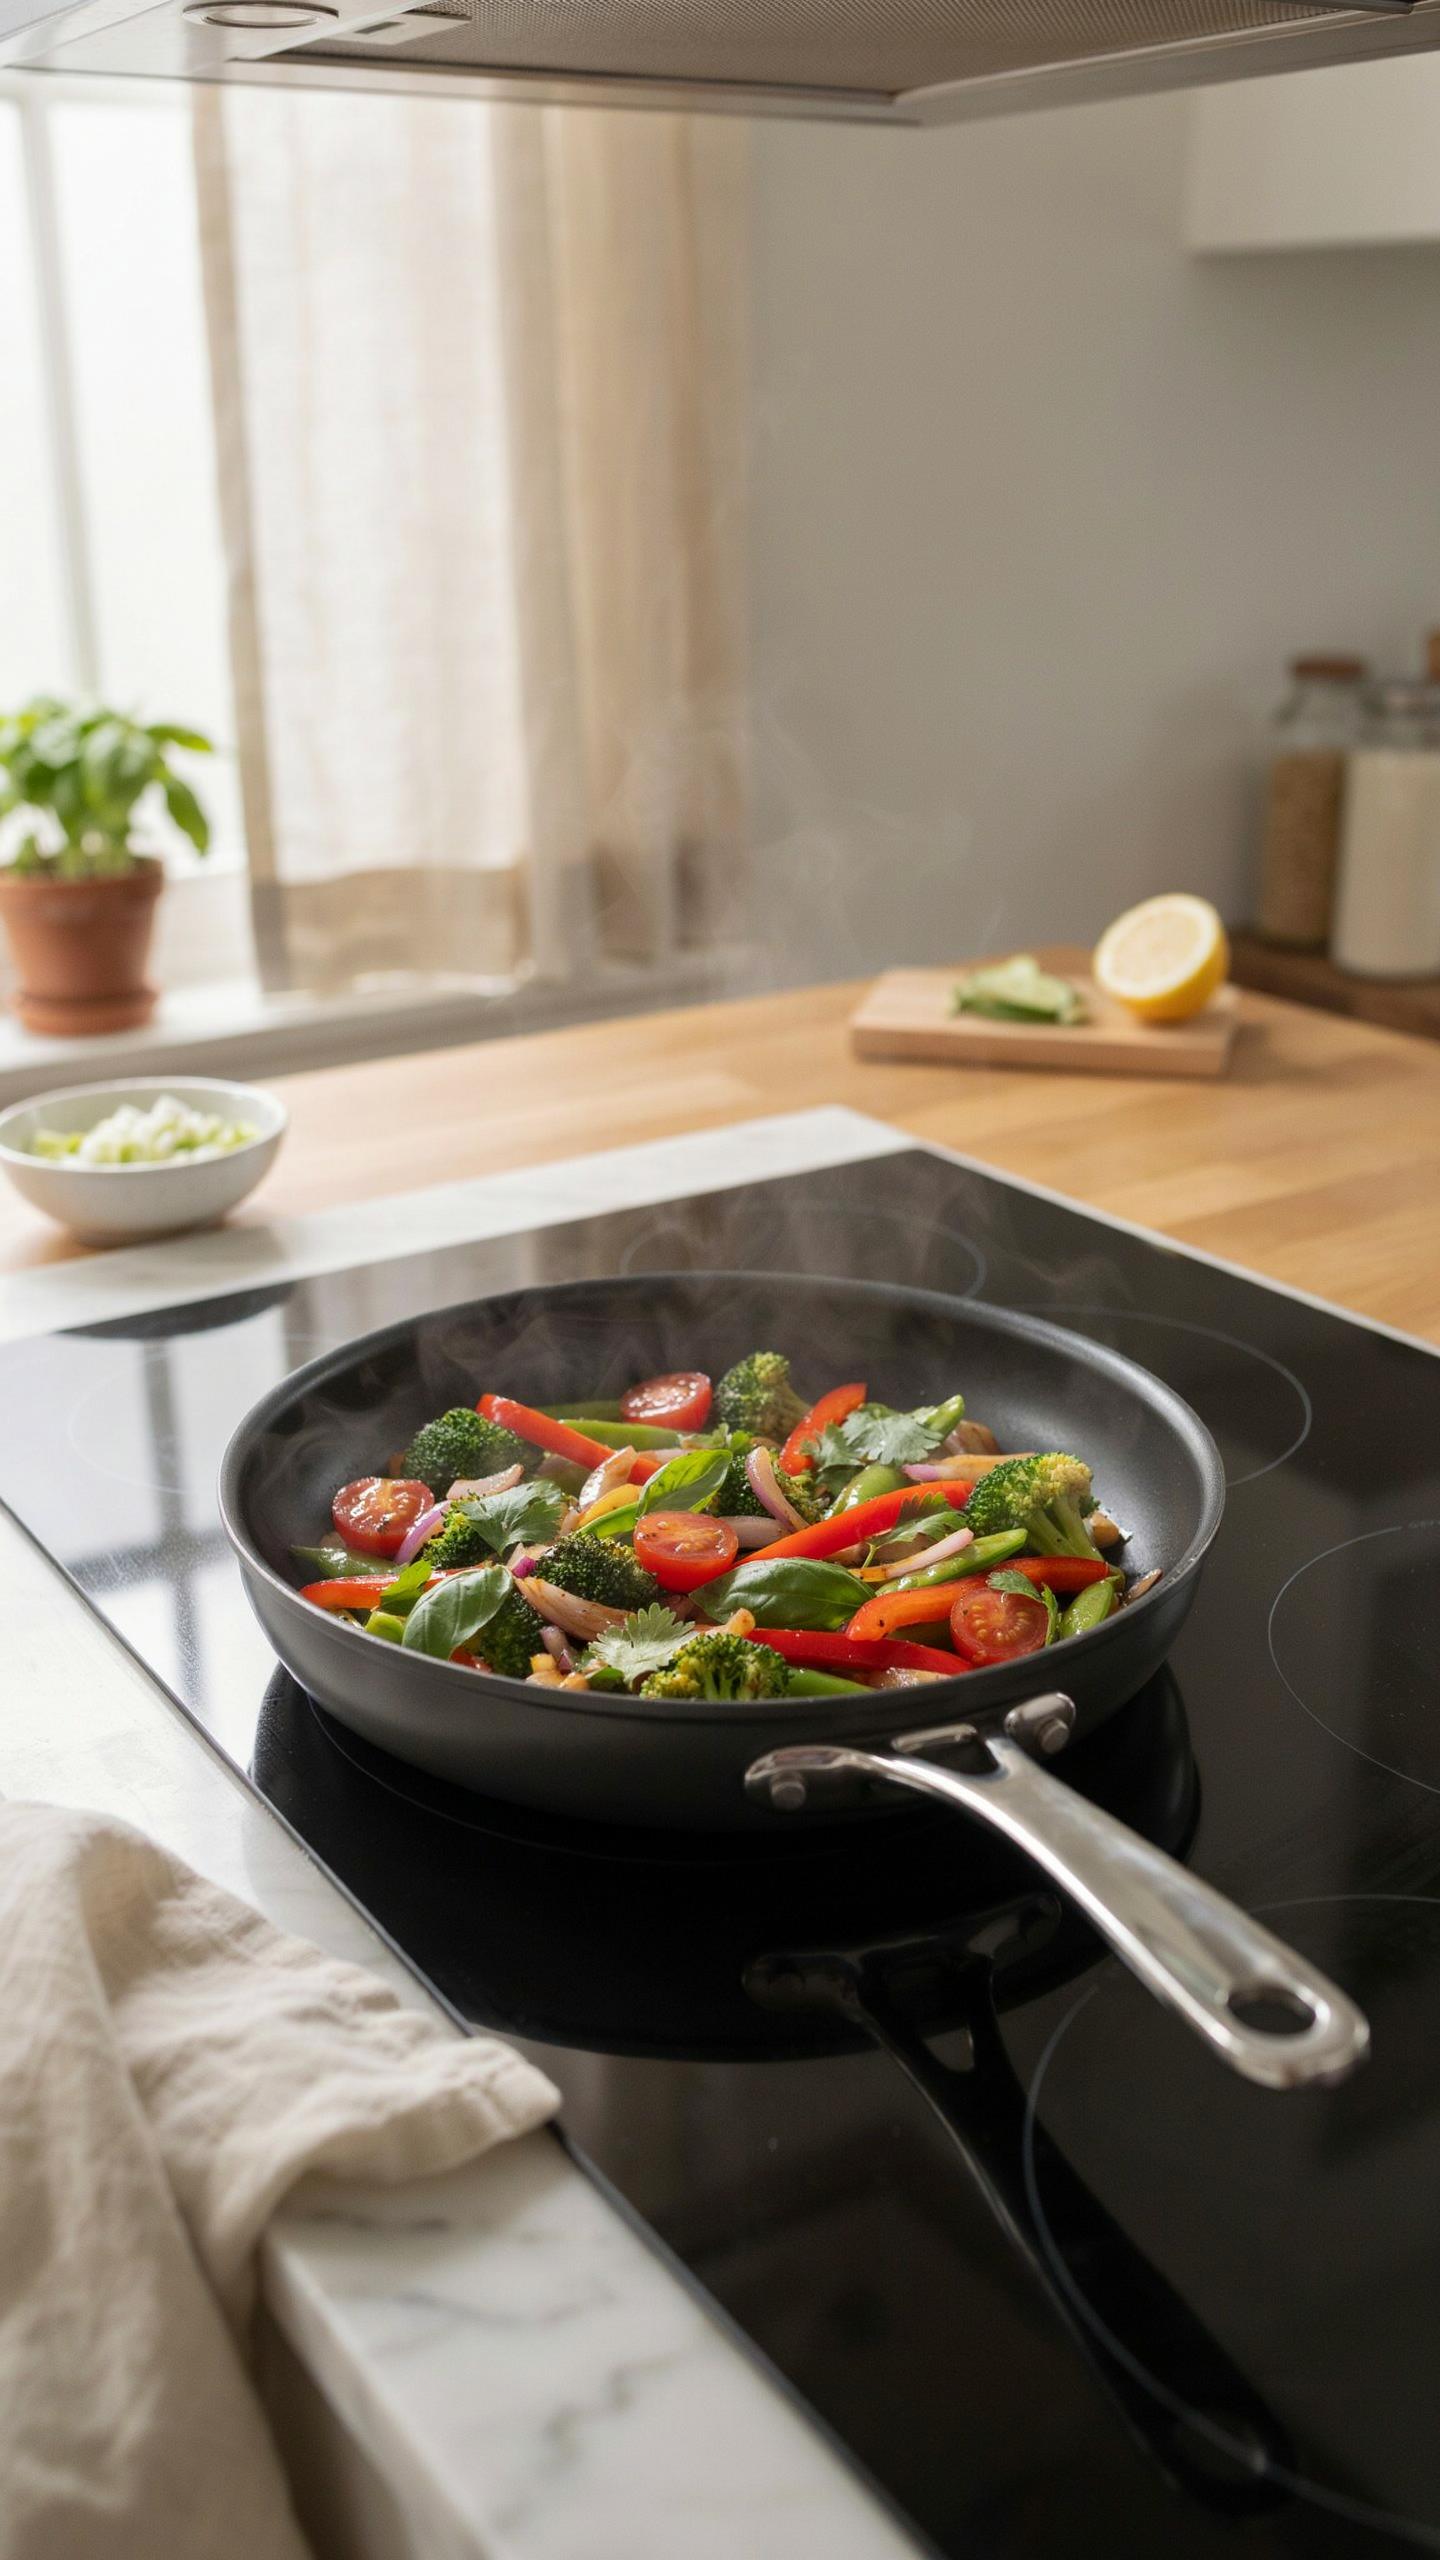
Pan Material Determines Your Cook Time
You want one pan because you think it saves effort. The real reason you need to care: pan material decides whether your chicken finishes in 35 minutes or 50. Physics calls this thermal mass. In baked chicken meal prep, thermal mass is the pan’s ability to absorb heat and hold it steady, which directly controls how evenly your chicken cooks and how fast it reaches safe internal temperature.
Stainless steel and cast iron dominate meal prep for one reason: they retain heat aggressively. Aluminum conducts heat faster but loses it just as quick, creating hot spots and uneven browning. A heavy-bottomed stainless steel sheet pan distributes oven heat uniformly across the entire surface, meaning your chicken on the back cooks at the same rate as chicken in the front. This eliminates the need to rotate pans mid-cook. Cheap, thin pans force you to babysit your batch and pull pieces early.
Radiant Heat Does The Heavy Lifting
The common advice is wrong: baking chicken isn’t about conduction alone. Radiant heat from your oven’s heating elements does most of the work. Conduction is what touches the pan; radiation is what cooks the chicken from all angles. Your oven runs at 400 degrees, and that energy travels as electromagnetic waves that penetrate chicken skin and muscle tissue simultaneously, not just from contact points below.
Here’s what changes your protocol: place chicken skin-side up on a bare sheet pan with no oil on the surface. The exposed skin receives direct radiant energy from above while the pan conducts heat from below. Oil blocks radiant transfer and creates steam, which slows browning. Skip the oil until you’re ready to move to storage. This dual-energy approach cooks 8-12 chicken breasts in one pass without rotating, without opening the oven door, without the false efficiency of crowding them together.
From Juicy Baked Chicken Breast To Culinary Command
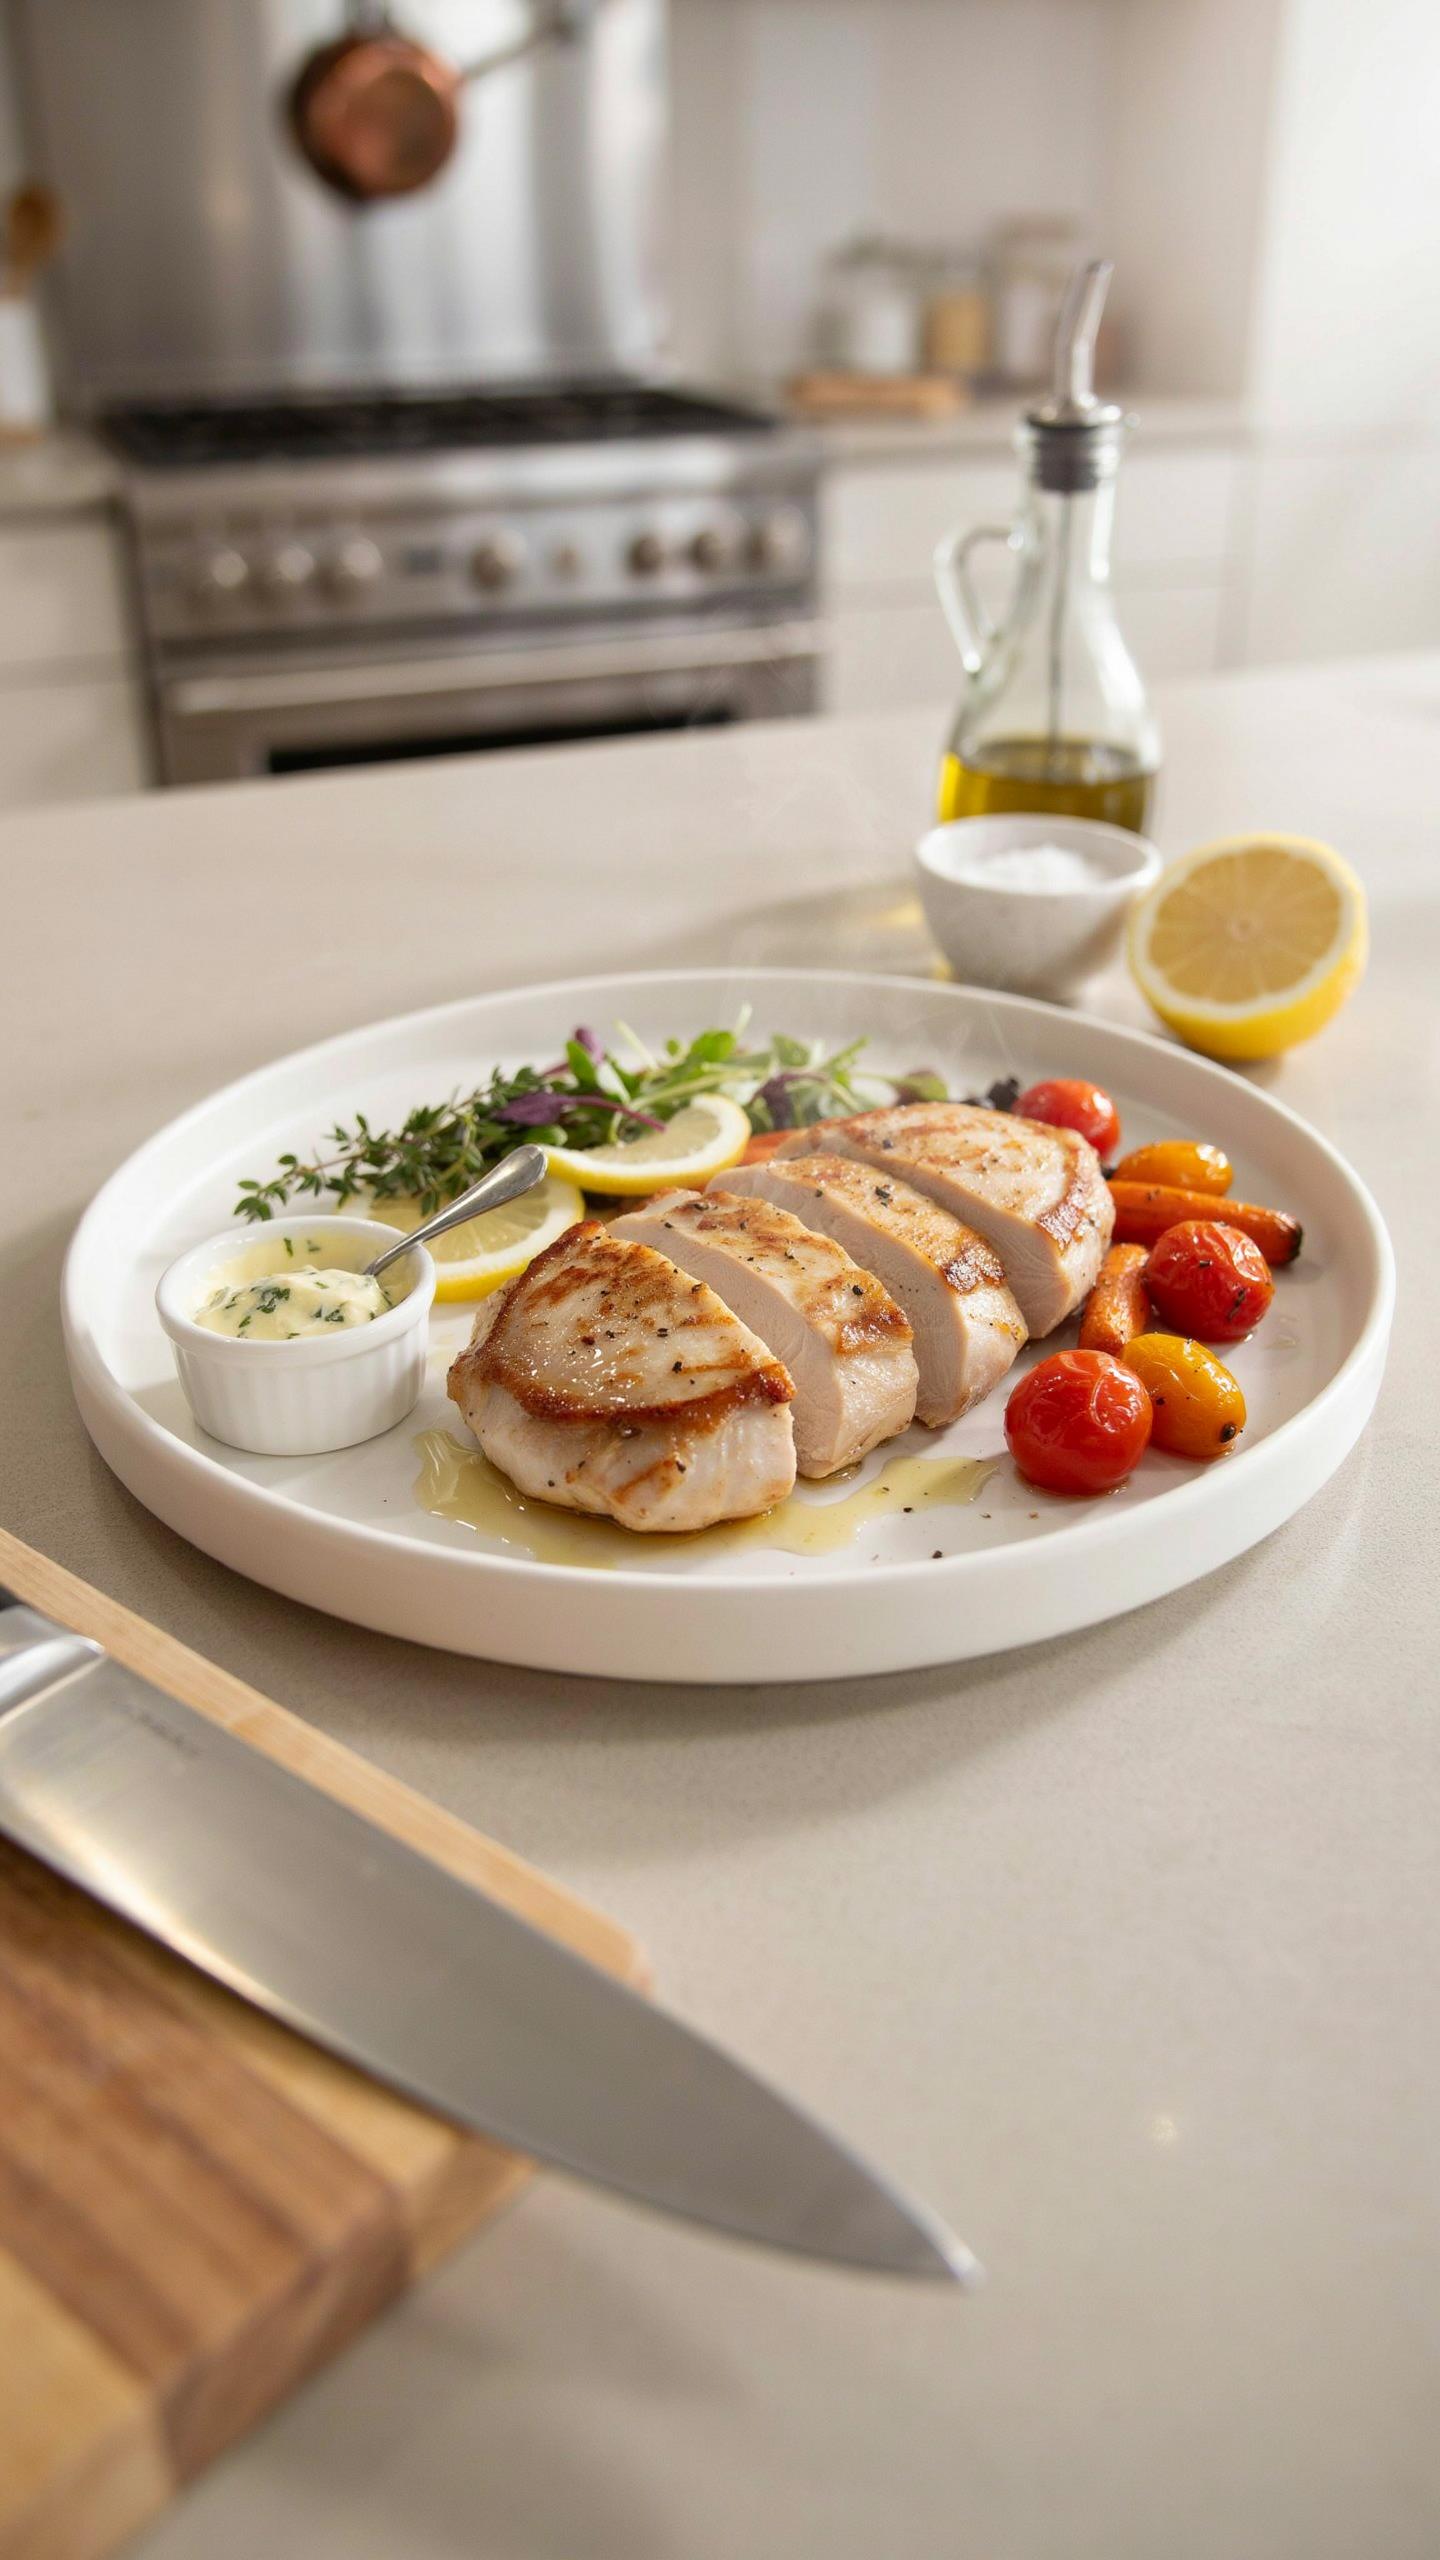
The Feedback Loop That Actually Works
You want consistency without thinking about it every time. That’s the real ask here. The mechanism is simple: you’re running a feedback system, not following a static recipe. Each bake generates data. Your oven temperature, your pan placement, your chicken thickness, your timing—they all interact. You notice the results and adjust one variable. That’s iteration. Most people bake chicken the same way twice and call it mastery. They’re wrong.
Track what actually happened: doneness level, moisture, crust quality, internal temperature at the thickest part. Write the specifics down immediately after you eat. Temperature in Fahrenheit. Cook time to the minute. Rack position. Pan type. Your baseline data becomes your control. When you change one thing next time, you’ll know what caused the difference. That’s how you stop guessing.
Building Your Personal Recipe Playbook
Stop waiting for the perfect recipe to exist elsewhere. You’re building one through your own kitchen. A playbook isn’t pretty formatting—it’s decision shortcuts based on repeated outcomes. You document what worked because you’ll forget the exact timing and temperature in three weeks. Most people skip this step, then restart from scratch every cycle. You won’t.
Create a single document with your five best bake sessions. Include: oven temperature, rack position, pan material, chicken weight or thickness, cover method (foil or uncovered), total time, internal temperature result, texture outcome. Add a one-line note on what you’d change next. After five solid runs, patterns emerge. You’ll notice that 375 degrees with foil for 28 minutes beats 425 uncovered for 22. Your playbook becomes the system you execute without second-guessing. Execute the same protocol each week and your results stop varying.
The real obstacle isnt time its your unwillingness to treat your kitchen as a lab

You already know baked chicken meal prep works. You’ve read enough. What stops you is fear of wasting food or boring yourself into compliance. Stop treating cooking like a chore you endure. Pick one spice blend you’ve never used. Buy a rotisserie chicken today, shred it, divide it into containers with rice and whatever vegetable is on sale. Do it once. You’ll realize the only thing standing between you and a body that matches your goals is one pan and the guts to start.