
What Is Quinoa And Why Is It Perfect For Meal Prep
The Nutritional Profile That Makes Quinoa A Meal Prep Staple
Quinoa provides a complete protein profile containing all nine essential amino acids. Most plant foods lack at least one of these building blocks. This makes quinoa a superior base for vegetarian and vegan meal prep. It offers roughly eight grams of protein per cooked cup. This density ensures you stay full longer than when eating simple carbohydrates or white rice.

The grain also delivers high levels of fiber and iron. High fiber content helps regulate blood sugar throughout the work day. It prevents the energy crashes often caused by processed grains. Quinoa contains significant amounts of magnesium and manganese for metabolic health. This complex carbohydrate burns slowly in the body. It provides steady energy for hours after consumption which is vital for productivity.
Why Quinoa Stores Better Than Rice Or Pasta During The Week
Quinoa maintains a firm texture after several days in the refrigerator. Cooked rice often becomes hard or dry when chilled. Pasta tends to get mushy or stick together when stored with sauces. Quinoa has a unique outer coating that preserves its structural integrity. It resists absorbing excess moisture from surrounding ingredients. This makes it the ideal foundation for cold grain salads.

You can reheat quinoa multiple times without losing its quality. It stays fluffy and light even after five days in a sealed container. Rice requires specific moisture levels to reheat properly or it turns brittle. Quinoa handles temperature changes without turning into a sticky mass. This durability saves time and reduces food waste for busy professionals. It functions as a reliable anchor for any weekly meal plan.
How To Make Quinoa Choosing The Right Type Before You Cook
White, Red, And Black Quinoa — What The Differences Mean For Meal Prep
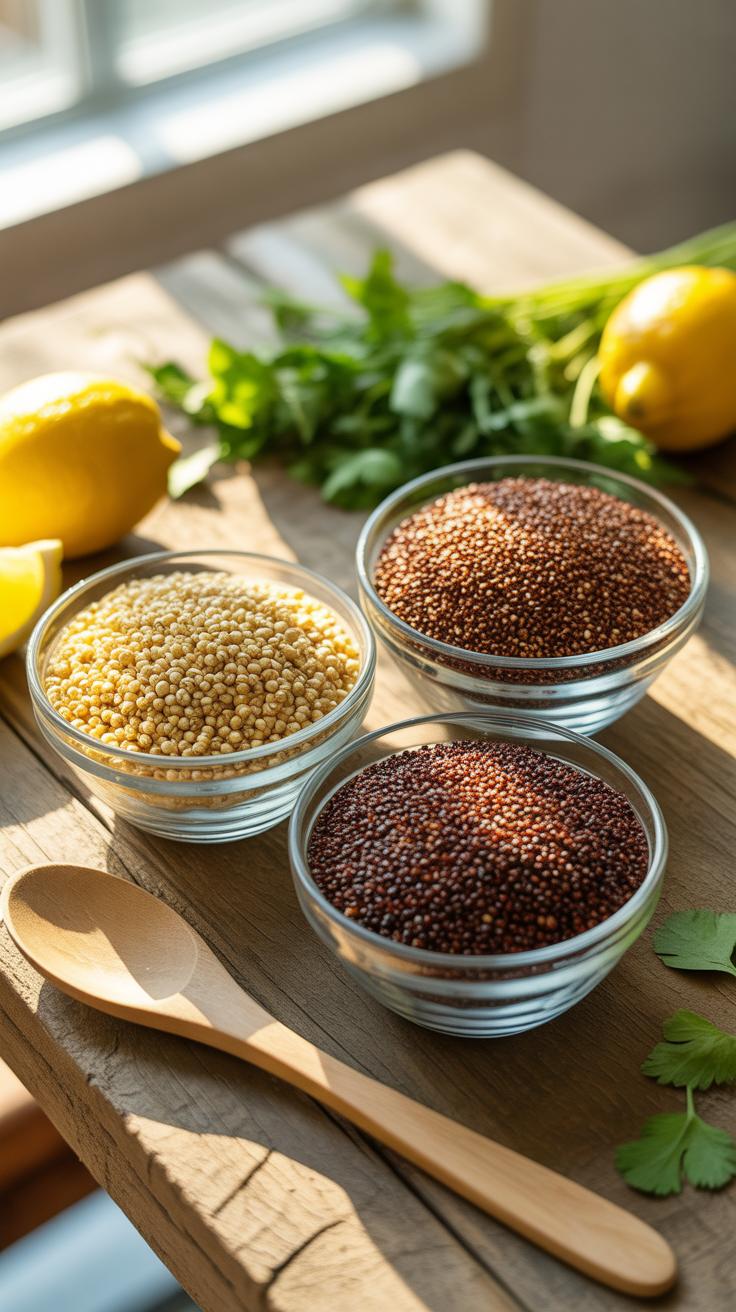
White quinoa is the most common variety found in stores. It has the softest texture and the mildest flavor profile. This type cooks the fastest and fluffs up significantly. Use white quinoa if you want a neutral base for bowls or breakfast porridges. It absorbs sauces better than other types but can become mushy if overcooked during your weekly meal prep.
Red and black quinoa offer a distinct advantage for cold storage. These varieties have a thicker outer hull that maintains structural integrity. Red quinoa has a nutty taste and stays firm in salads. Black quinoa is the earthiest and holds its crunch longest. Choose these darker grains for cold grain salads or dishes that you plan to reheat multiple times throughout the busy week.
How To Select High Quality Quinoa And What To Look For On The Label
Examine the packaging for a pre-rinsed label to save time. Quinoa grows with a natural coating called saponin which tastes bitter. Most commercial brands polish the grain to remove this layer before bagging. High-quality quinoa should look uniform in color and size. Check the bottom of the bag for excessive dust or broken fragments. These signs indicate old stock or poor processing methods.
Prioritize organic certification to avoid pesticide residue on these small seeds. Look for fair trade symbols to ensure ethical sourcing from South American regions like Peru or Bolivia. Always check the expiration date on the bag. Quinoa contains natural oils that can turn rancid over time. Fresh grain has a faint nutty scent. Avoid any product that smells sour or musty when you open the seal.
The Essential First Step Rinsing Quinoa The Right Way
Why Saponins Make Rinsing A Non Negotiable Step Before Cooking
Quinoa seeds possess a natural coating called saponin. This chemical compound acts as a built-in defense mechanism against birds and insects in the wild. Saponins have a distinctively bitter and soapy taste. If you fail to remove this coating, your meal prep will taste like chemicals. This bitter flavor ruins the profile of any dish regardless of the seasonings or sauces you apply later.
Modern commercial processing often involves pre-washing the grain. Do not trust the packaging labels implicitly. Residual saponins frequently remain in the crevices of the seeds. These leftovers cause digestive distress for some people and create a foam during the boiling process. Rinsing ensures a clean flavor and better texture. Hard data shows that removing saponins is the only way to achieve a neutral and nutty base.
How Long And How Thoroughly You Should Rinse Quinoa For Best Results
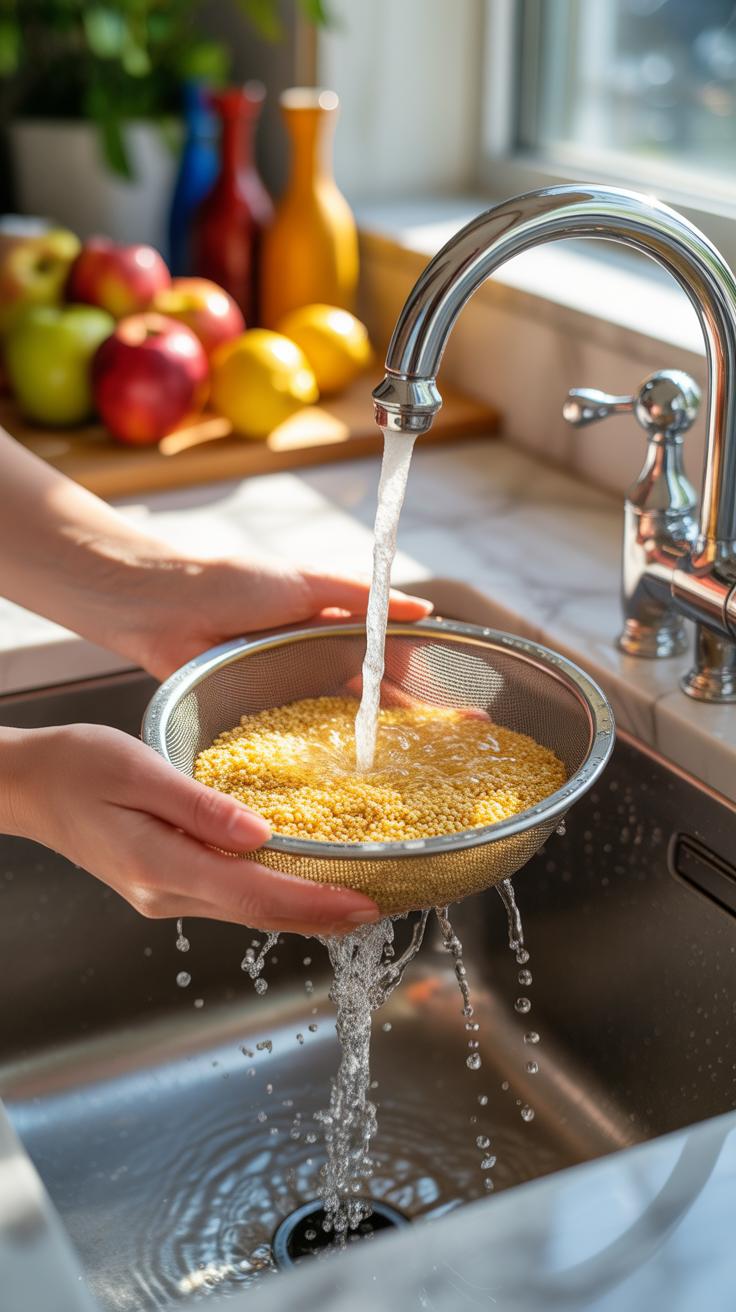
Effective rinsing requires specific equipment and timing. Use a fine-mesh strainer to prevent the small seeds from falling through the holes. Place the quinoa under cold running water for at least sixty seconds. Move your hand through the grain to ensure every seed makes contact with the water. You should continue this process until the water running through the strainer is completely clear and bubble-free.
The presence of foam indicates that saponins are still active on the surface. Agitation is the key to a successful rinse. Rub the seeds against the mesh of the strainer while the water flows. This friction breaks the bond between the seed and its bitter coating. Once the water looks like plain tap water, drain the quinoa thoroughly. Removing excess moisture now prevents the quinoa from becoming mushy during cooking.
How To Cook Perfect Quinoa On The Stovetop Every Single Time

The Correct Water To Quinoa Ratio That Guarantees Fluffy Results
The precise water-to-quinoa ratio is the foundation of texture control. Most packaging recommends a two-to-one ratio, but this often leads to soggy grains. For meal prep, use a 1:1.75 ratio. This means one cup of dry quinoa requires one and three-quarters cups of liquid. This slight reduction in water prevents the germ from over-saturating. It ensures each grain remains distinct and firm after cooling.
Consistency matters when scaling for bulk preparation. Always measure the dry quinoa before rinsing to keep the ratio accurate. Excess water trapped in the wet grains after rinsing can ruin the texture. If you choose to use chicken or vegetable broth instead of water, maintain the same 1:1.75 measurements. Liquid volume dictates how well the grain absorbs heat and expands without bursting the outer bran coating.
Step By Step Stovetop Cooking Instructions For Perfectly Cooked Quinoa
Strategic stovetop execution prevents the common pitfalls of scorching or clumping. Mastery of heat levels allows you to control the evaporation rate and the hydration of the grain. High heat initiates the boil, but a low simmer finishes the work. You must treat the resting phase with the same importance as the active boiling phase. This process guarantees a high-quality product ready for refrigerated storage.
- Rinse the Grain: Use a fine-mesh strainer to wash the quinoa under cold running water for thirty seconds. This removes saponin, a natural coating that causes a bitter or metallic taste. Skipping this step ruins the flavor profile of the meal.
- Initial Boil: Combine the measured liquid and rinsed quinoa in a saucepan over medium-high heat. Place the pot on the burner and wait for a full rolling boil. Do not cover the pot during this initial heating phase to monitor the water level.
- Simmer and Cover: Reduce the heat to the lowest possible setting once the water boils. Cover the pot with a tight-fitting lid to trap the steam inside. Simmer the quinoa for exactly fifteen minutes or until the liquid is fully absorbed by the grain.
- The Rest Phase: Remove the pot from the heat source but keep the lid sealed tight. Let the quinoa sit undisturbed for ten minutes. This allows the internal steam to finish hydrating the grains without the risk of burning the bottom of the pot.
- Fluff with Fork: Lift the lid after the resting period and use a fork to gently lift and separate the grains. Do not use a spoon, as it can smash the quinoa into a gummy paste. Fluffing adds air and stops the cooking process instantly.
Proper cooling is the final tactical step for successful meal prep. Spread the hot quinoa onto a large rimmed baking sheet in a thin, even layer. This maximizes the surface area and encourages rapid steam evaporation. Rapid cooling prevents the quinoa from becoming mushy when you pack it into airtight containers. Only move the quinoa into the refrigerator once it reaches room temperature.
How To Cook Quinoa In A Rice Cooker For Hands Free Meal Prep
Why A Rice Cooker Is One Of The Best Ways To Cook Quinoa In Bulk
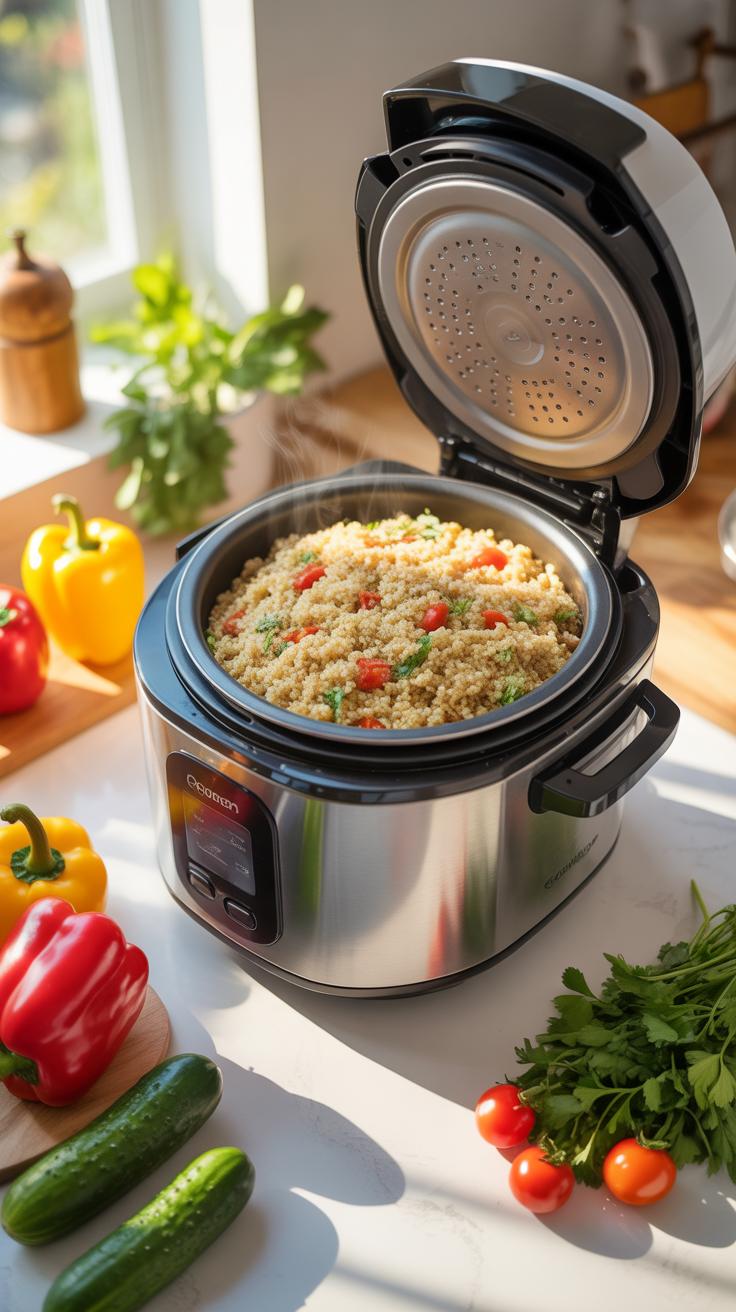
A rice cooker provides consistent thermal regulation that a stovetop cannot match. It uses built-in sensors to detect when the liquid fully absorbs into the grain. This automation eliminates the risk of scorched bottoms or unevenly cooked batches. You gain valuable time to prep proteins or vegetables while the machine handles the grain. It is the most efficient choice for high-volume meal prep.
Reliability is the primary tactical advantage when scaling your food production. Using a dedicated appliance ensures the quinoa maintains a uniform texture across multiple containers. You avoid the constant monitoring required by boiling water on a burner. This hands-free approach creates a repeatable process for your weekly nutrition plan. It simplifies your workflow and reduces the cognitive load during busy cooking sessions.
Rice Cooker Settings, Water Ratios, And Timing For Quinoa Done Right
The standard ratio for a rice cooker is two parts liquid to one part dry quinoa. Rinse the grain thoroughly to remove the bitter saponin coating before adding it to the pot. Use the white rice setting on most digital machines for optimal results. If your device has a brown rice setting, avoid it as it runs too long for this specific seed.
The cooking cycle typically lasts between fifteen and twenty minutes depending on the volume. Once the machine switches to the warm setting, let the quinoa rest for five minutes. This step allows the steam to finish the hydration process. Fluff the grains with a plastic paddle to prevent clumping and preserve the delicate structure. Successful meal prep relies on these precise mechanical steps.
Ways To Season Quinoa So It Actually Tastes Good
How To Make Quinoa Taste Good By Cooking It In Broth Instead Of Water
Water is a neutral solvent that provides zero flavor to the seed. Quinoa has a natural bitterness from saponins that water cannot mask effectively. Replacing water with chicken, beef, or vegetable broth infuses the grain with salt and aromatics from the inside out. This method ensures every bite has a savory foundation. It eliminates the need for heavy sauces later.
Sodium content in broth acts as a flavor enhancer for the natural nuttiness of the grain. Using a bone broth adds protein and a richer mouthfeel due to the gelatin content. For a plant based option, use a mushroom stock to provide deep umami notes. Always match the liquid to your final meal prep goal to ensure the flavors remain cohesive.
Just as my grandmother taught me that a well-stocked larder is the heart of a peaceful home, mastering the simple ritual of simmering a golden pot of quinoa ensures love and nourishment are ready for the week ahead.
Herbs, Spices, And Simple Seasoning Combinations That Elevate Quinoa
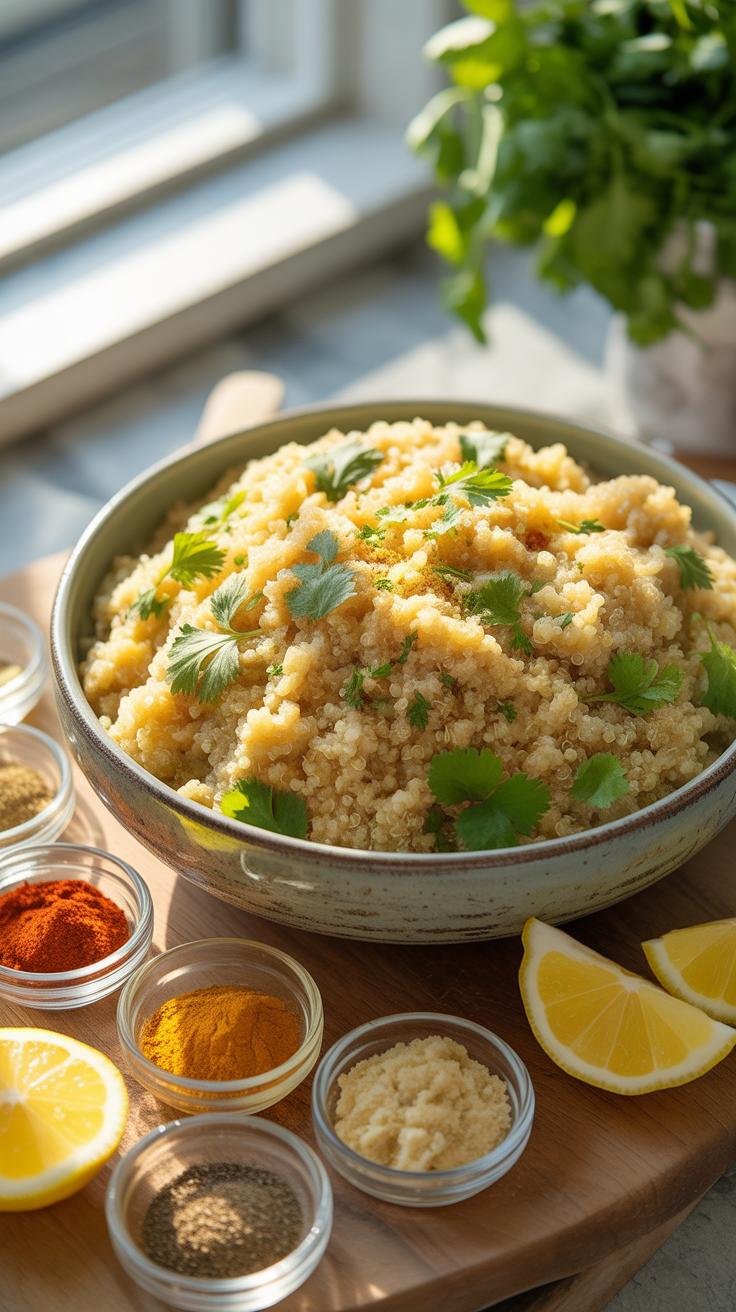
Dry spices require heat and moisture to bloom their essential oils and flavor compounds. Adding spices directly to the cooking liquid allows the quinoa to absorb these flavors during the expansion phase. This creates a uniform taste profile throughout the entire batch. Fresh herbs should wait until the cooling phase to prevent wilting and loss of bright, volatile aromatic oils.
- Cumin and Corriander: This combination provides an earthy and warm profile suitable for Mediterranean or Southwestern dishes. Use ground versions for even distribution. These spices complement the natural nutty flavor profile found in red and white quinoa varieties during the simmering process.
- Garlic and Onion Powder: These powders provide a consistent savory base without the texture of chopped aromatics. They distribute evenly across thousands of small seeds. Use these when you need a versatile grain that works across different meal types throughout your entire training week.
- Turmeric and Black Pepper: Turmeric adds a vibrant yellow color and mild earthy bitterness to the grain. Black pepper contains piperine which increases the bioavailability of the turmeric compounds. This pairing offers a visual upgrade and a functional health boost for standard meal prep containers.
- Lemon Juice and Parsley: Acid cuts through the heavy starch feel of the grain and brightens the overall dish. Add fresh lemon juice and chopped flat leaf parsley after the cooking process ends. This prevents the herbs from turning bitter and keeps the citrus notes sharp.
- Smoked Paprika: This spice adds a deep red hue and a distinct wood smoke aroma to the batch. It mimics the flavor of grilled foods and pairs well with roasted vegetables. Use it sparingly to avoid overpowering the delicate taste of the quinoa seeds.
Balance your seasoning choices by considering the final protein source in your meal prep containers. Bold spices like chili powder work best with beef or black beans. Lighter herbs like dill or chives better suit fish and poultry. Proper seasoning during and after the cooking process prevents flavor fatigue during the week. Consistency in seasoning ensures every meal remains palatable.
Best Way To Cook Quinoa In Large Batches For The Whole Week
How Much Quinoa To Cook Per Person When Scaling Up For Meal Prep
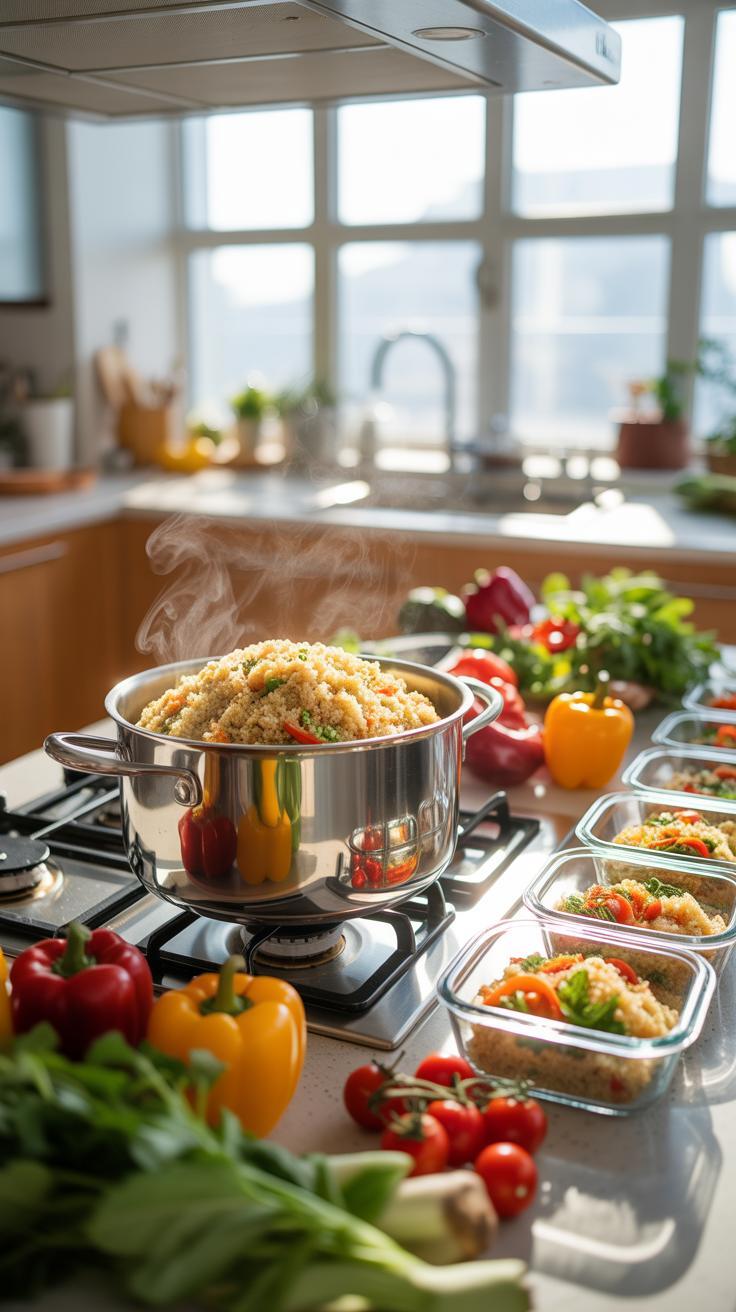
Standard meal prep calculations require one quarter cup of dry quinoa per serving. This amount yields roughly three quarters of a cup once cooked. Scaling for a five day work week means measuring one and a quarter cups of dry grain for a single person. Always maintain a strict two to one water to grain ratio regardless of the total volume you cook.
Precision prevents food waste and ensures consistent texture across the entire batch. Use a dry measuring cup for the grain and a liquid measuring cup for the water. If you prepare meals for two people over five days, you need two and a half cups of dry quinoa. This volume fits perfectly in most standard five quart pots without boiling over during the process.
Batch Cooking Techniques That Keep Quinoa Fresh And Fluffy All Week
Stop the cooking process immediately once the grain absorbs the liquid. Remove the pot from the heat source and let it sit covered for five minutes. This steam period allows the remaining moisture to distribute evenly without making the bottom layer mushy. Use a wide fork to fluff the grains gently. This action separates the individual seeds and prevents clumping during storage.
Spread the hot quinoa onto a large rimmed baking sheet in a thin layer. Rapid cooling is the secret to maintaining texture for seven days. Leaving a massive pile of hot grain in a bowl creates trapped steam. This steam turns your meal prep into a gummy mass within forty eight hours. Transfer the cooled quinoa to airtight glass containers only after it reaches room temperature.
How To Store Cooked Quinoa To Maximize Freshness And Safety
Refrigerator Vs. Freezer Storage: How Long Cooked Quinoa Actually Lasts
Cooked quinoa stays safe and fresh in the refrigerator for five to seven days. You must maintain a consistent temperature of forty degrees Fahrenheit or lower to prevent bacterial growth. Watch for signs of spoilage like a slimy texture or a fermented smell. If you do not plan to eat the batch within one week, you should move it to the freezer immediately.
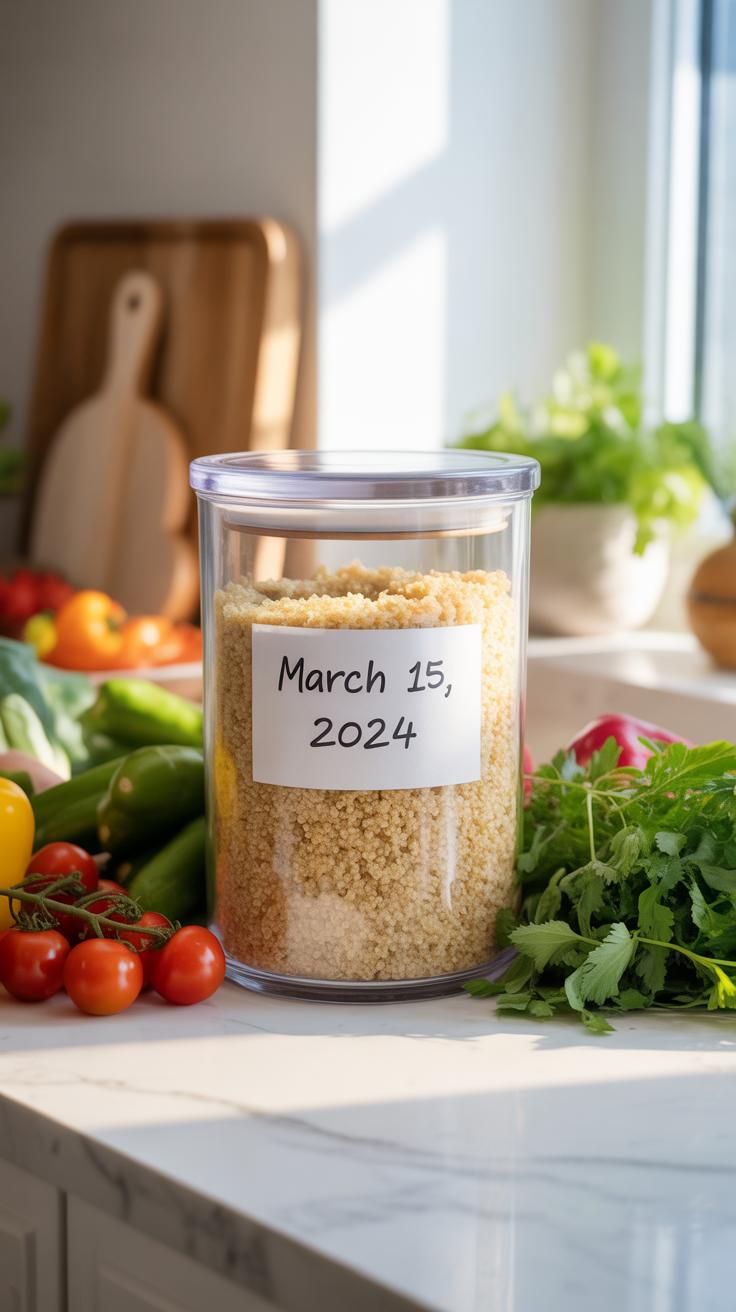
Freezing cooked quinoa extends its shelf life for up to ten months without significant nutrient loss. This method works well for large scale meal prep because the grains maintain their structure when thawed properly. Store the quinoa in half cup portions to make reheating fast and efficient. Always label your containers with the date to ensure you follow a first in first out inventory system.
The Right Containers And Cooling Methods To Preserve Quinoa Texture
Cooling your quinoa quickly is the most critical step for food safety and texture. Spread the hot quinoa onto a large baking sheet in a thin layer. This maximizes surface area and lets steam escape fast. If you trap the steam in a deep bowl, the quinoa becomes mushy and overcooked. Move the cooled grains into airtight containers once they reach room temperature.
Select glass containers or BPA free plastic bins with tight locking lids. Glass is superior because it does not retain odors or leach chemicals during reheating. Ensure the seal is airtight to prevent the grain from drying out or absorbing fridge smells. Leave a small amount of space at the top if freezing. This allows the water content in the grains to expand without breaking the seal.
Quinoa Recipes That Make Weekly Meal Prep Exciting And Versatile
High Protein Quinoa Bowl Recipes Perfect For Lunch And Dinner Prep
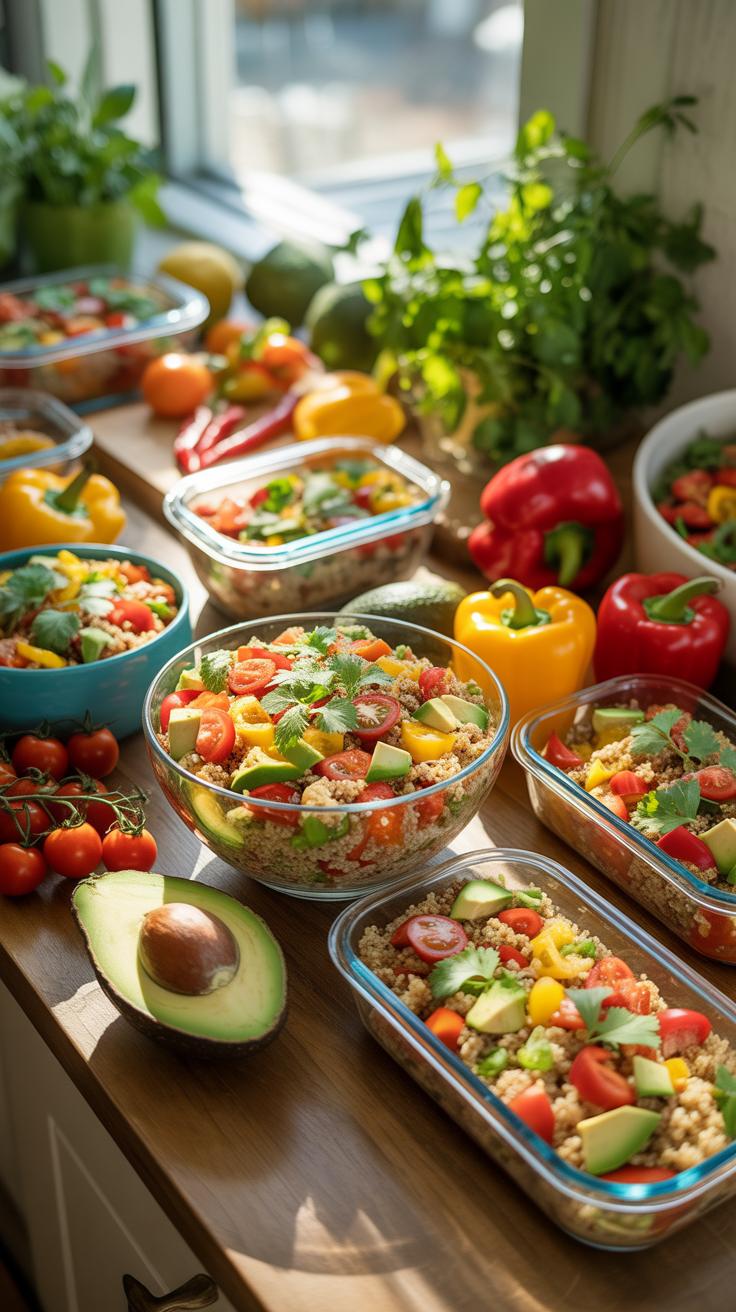
Maximize protein intake by pairing quinoa with lean meats or legumes. Use a foundation of chilled quinoa to build Mediterranean bowls. Add grilled chicken, chickpeas, feta cheese, and cucumbers. This combination provides a complete amino acid profile essential for muscle repair. Quinoa stays firm in the fridge for five days. This makes it the ideal base for heavy dressings that soften other grains.
Switch to a Southwest profile for variety. Combine your prepped quinoa with black beans, roasted corn, and grilled steak strips. Use lime juice as a natural preservative to keep the ingredients fresh. Quinoa absorbs the flavors of the proteins and spices without becoming mushy. This structural integrity is why professional chefs use it for large scale meal prep. It maintains texture after reheating in a microwave.
Breakfast Quinoa Recipes That Give You A Nutritious Start To The Day
Replace oatmeal with quinoa to increase your morning protein count. Treat cooked quinoa like a hot cereal by simmering it with dairy or plant based milk. Add cinnamon and salt to balance the natural nuttiness of the seed. Quinoa provides more fiber than many processed breakfast grains. This slow burning fuel prevents mid morning energy crashes. It holds up better than oats when stored in jars.
Prepare cold breakfast parfaits for a faster tactical morning routine. Layer cooked quinoa with Greek yogurt and fresh berries in glass containers. The quinoa provides a dense texture that resists the moisture from the yogurt. This prevents the meal from turning into a liquid mess by mid week. You can eat these straight from the refrigerator. This method saves time and ensures a balanced glycemic load to start your workday.
Cook Quinoa How To Troubleshooting Common Quinoa Cooking Mistakes
Why Your Quinoa Turns Out Mushy, Dry, Or Bitter And How To Fix It
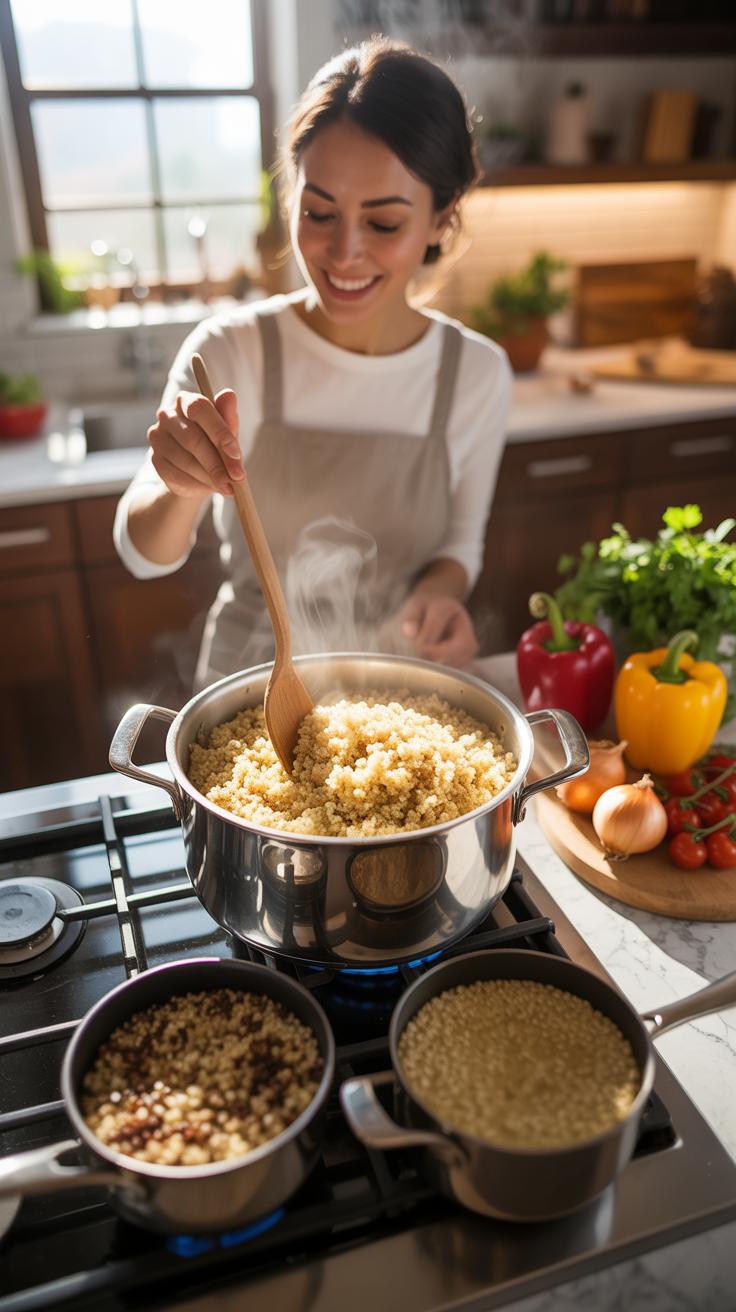
Mushy quinoa results from excess water or overcooking. Most people use too much liquid. Use a strict one to two ratio of grain to water. If the texture is soggy, you failed to drain the grain or vent the steam. Bitter flavors come from saponin. This natural coating protects the seed in nature but tastes like soap. You must rinse the raw quinoa under cold water.
Dry quinoa happens when the heat is too high or the lid fits poorly. High heat evaporates liquid before the seed absorbs it. Use a tight lid to trap steam during the cooking process. If the seed is crunchy, add two tablespoons of water and simmer for five more minutes. Fluff the grains with a fork immediately after the rest period to prevent clumping.
How To Reheat Meal Prepped Quinoa Without Losing Texture Or Flavor
Microwaving quinoa often leads to dry, hard grains. To fix this, add a teaspoon of water or broth per cup of cooked quinoa. Cover the dish with a damp paper towel before heating. The towel creates a steam chamber that restores moisture to the seed. Heat in thirty-second intervals and stir between rounds. This ensures even temperature distribution across the entire batch.
For the best texture, reheat quinoa in a skillet over medium heat. Add a small amount of olive oil to the pan first. This method crisps the exterior while keeping the inside soft. Avoid reheating the same portion multiple times as this breaks down the structural integrity. Only take out the amount you plan to eat. This strategy maintains the quality of your remaining meal prep.
Frequently Asked Questions

Why is my meal-prepped quinoa always mushy or bitter?
Achieving the perfect texture is key when learning how to cook quinoa for meal prep. Bitterness is usually caused by saponin, a natural coating you must rinse off under cold water before boiling. To avoid a mushy result, use a strict 1:2 ratio of quinoa to liquid and fluff the grains with a fork immediately after cooking to release trapped steam and maintain individual, firm pearls.
How do I store and reheat quinoa so it tastes fresh all week?
Once you understand how to cook quinoa for meal prep, storage is the next vital step. Allow the grains to cool completely before sealing them in airtight glass containers to prevent condensation. Quinoa lasts up to five days in the refrigerator. To reheat without drying it out, add a teaspoon of water or broth and microwave it covered for sixty seconds to restore its fluffy, light texture.
Is quinoa an affordable choice for weekly meal planning compared to rice?
While the initial price per bag is higher than white rice, quinoa is a highly cost-effective nutritional investment for your lifestyle. Because it is a complete protein packed with fiber, it keeps you full much longer, meaning you often need smaller servings per meal. Buying in bulk from warehouse stores or health food aisles significantly lowers the cost, making it a budget-friendly staple for consistent, healthy meal prepping throughout the month.