
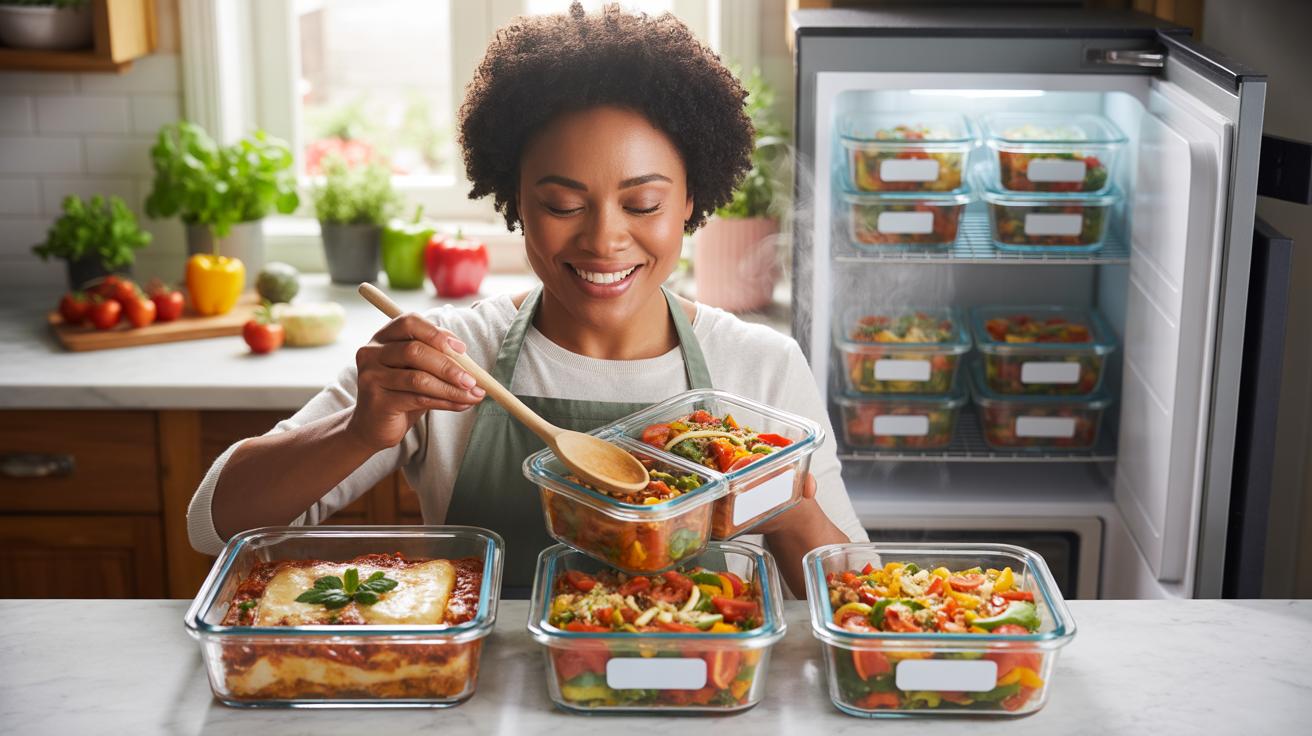
How To Freeze Meals The Right Way Core Principles Every Home Cook Should Know
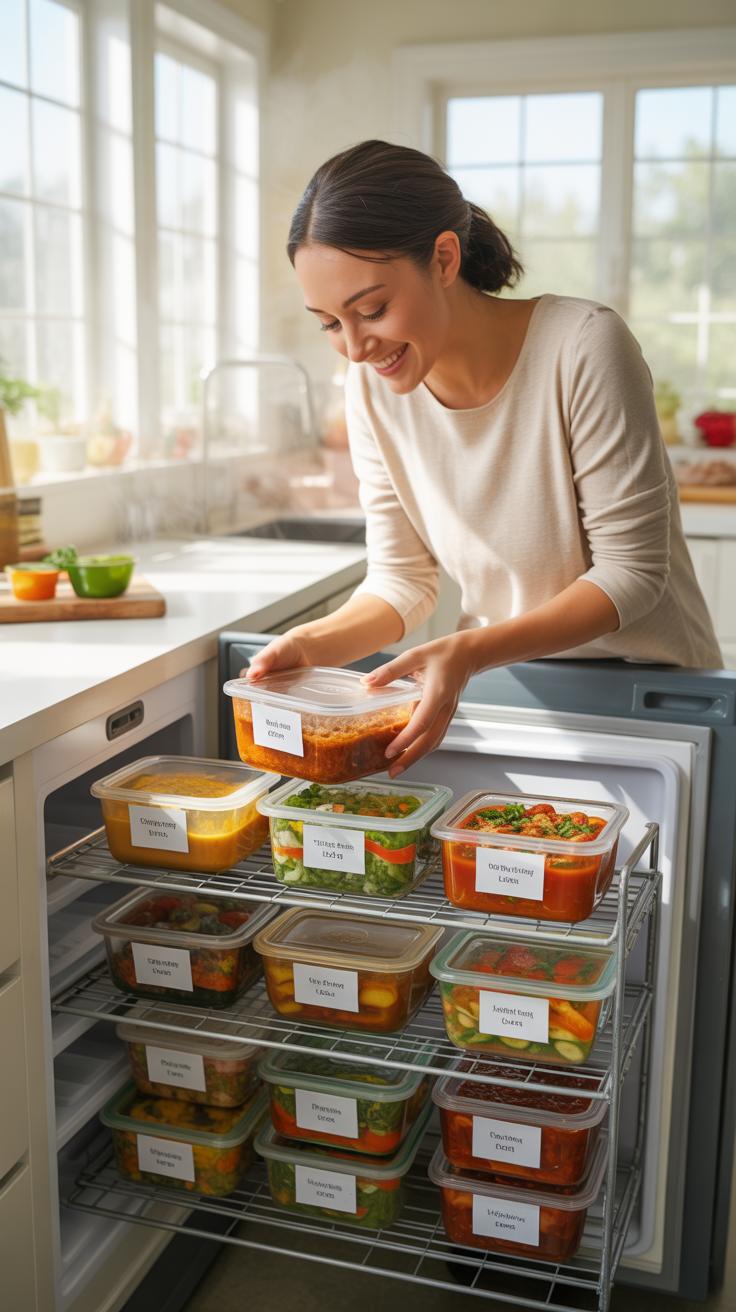
Understanding How Freezing Affects Food Texture, Flavor, And Nutrients
Freezing turns water into ice crystals. Large crystals damage cell walls in vegetables and meats. This damage causes mushy textures once you thaw the food. Blanching vegetables before freezing stops enzyme activity. This process preserves the original color and crispness. You must minimize air exposure to prevent freezer burn. Oxygen contact dehydrates food surfaces and ruins the overall flavor profile.

Nutrient loss occurs primarily through oxidation and heat. Proper freezing locks in vitamins at their peak freshness. Most minerals and fat-soluble vitamins remain stable in sub-zero temperatures. You lose water-soluble vitamins like Vitamin C during the initial prepping and blanching phases. High moisture content in sauces helps protect proteins from drying out. Consistent temperatures prevent the repeated ice formation that degrades your ingredients over time.
The Ideal Freezer Temperature And Why 0°F ( 18°C) Is The Golden Standard
Standard food safety requires a temperature of 0 degrees Fahrenheit or lower. This specific threshold stops the growth of bacteria and yeast. It does not kill pathogens but puts them in a dormant state. Keeping your unit at this level ensures the longevity of your meal prep inventory. Fluctuations in temperature lead to partial thawing. This cycle creates larger ice crystals that destroy food quality.

Food scientists established the 0°F standard to maximize shelf life and safety. Above this temperature, chemical reactions in the food occur much faster. These reactions cause fats to go rancid and colors to fade. Use a dedicated freezer thermometer to verify your appliance performance. Internal sensors often provide inaccurate readings. Maintaining this cold environment is the only way to sustain long-term nutritional value and flavor.
Meal Prep Healthy Freezer Meals Choosing The Right Foods That Freeze Well
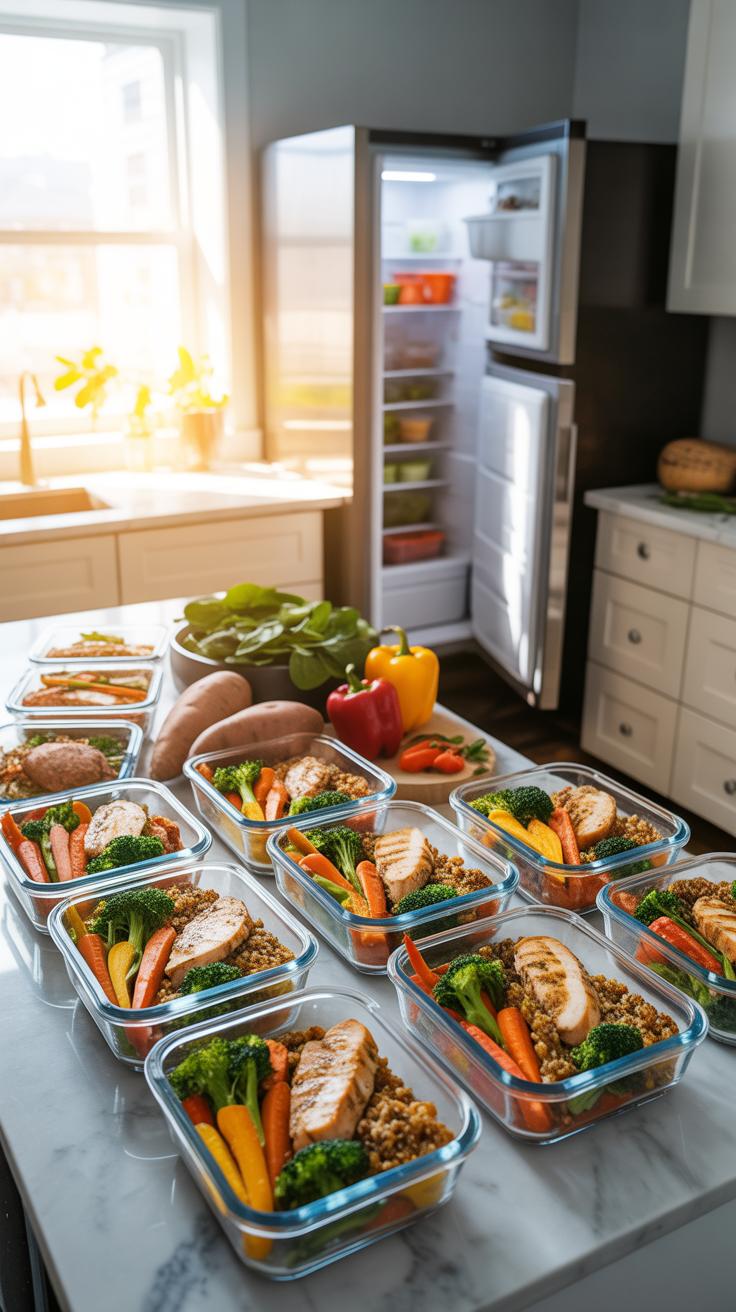
Foods That Freeze Exceptionally Well Versus Foods You Should Avoid Freezing
Successful freezing depends on the water content and cell structure of the food. Lean proteins like chicken breast and ground beef maintain integrity when frozen properly. Starchy vegetables such as peas, corn, and carrots also hold up well. Use these as your base. They withstand the formation of ice crystals without losing their bite. Choose high protein and low moisture items to ensure the best results.
Avoid freezing high water produce like cucumbers, lettuce, or celery. These items turn to mush upon thawing because their cell walls rupture. Dairy products such as sour cream and yogurt often break or curdle. Fried foods lose their crispness and become soggy. Stick to hearty stews, thick sauces, and baked casseroles for the most consistent quality. These dishes mask any minor texture changes that occur during storage.
How Blanching Vegetables Before Freezing Preserves Color Texture And Vitamins
Blanching is a critical step for preserving vegetable quality in the freezer. This process involves boiling vegetables briefly and then plunging them into ice water. It stops enzyme actions that cause loss of flavor and color. It also cleans the surface and wilts the product for easier packing. Without this step, your vegetables will continue to age even at sub zero temperatures.
This technique helps retain essential vitamins that would otherwise degrade over time. It softens the cell walls slightly to prevent them from bursting during the freezing process. Use precise timing for each specific vegetable to avoid overcooking. Proper blanching ensures your greens stay bright and your roots stay firm months later. Do not skip this step if you want restaurant quality results from your meal prep.
Meal Prep Ideas For Freezer Planning A Full Week Of Balanced Ready To Go Meals
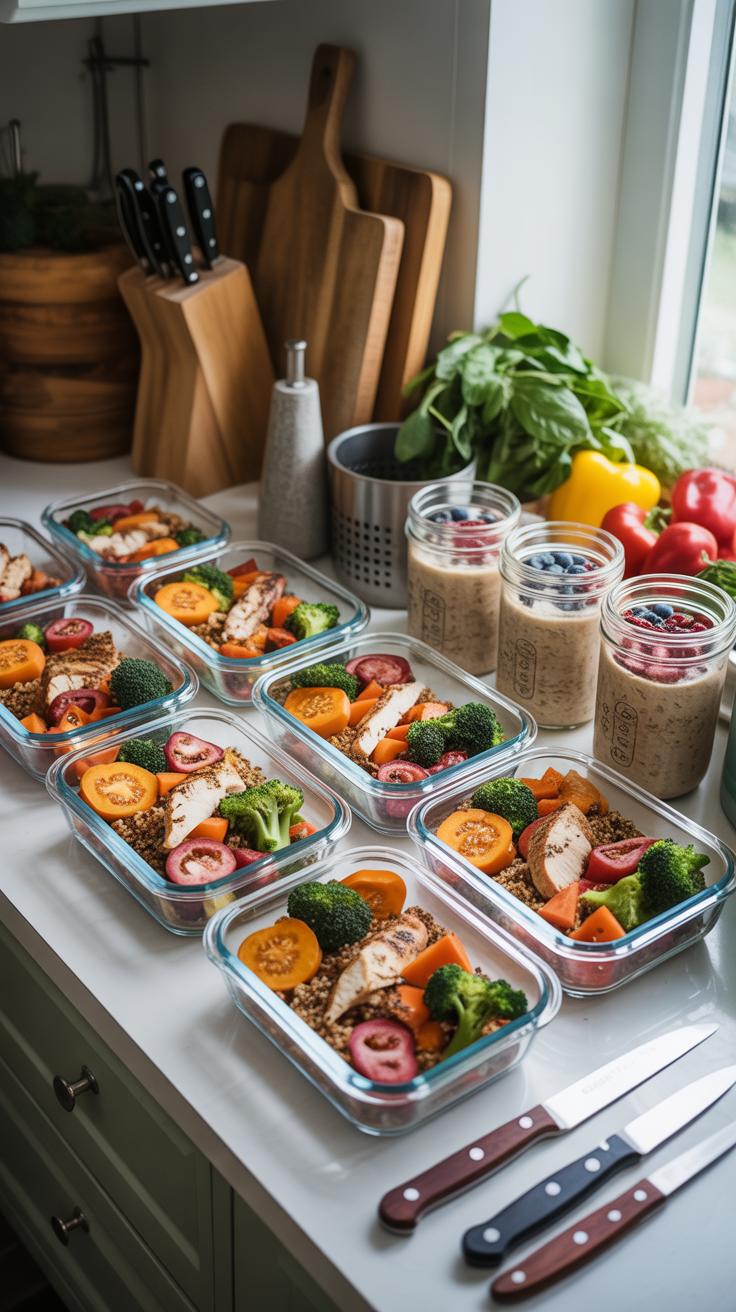
How To Build A Balanced Freezer Meal Rotation Covering Breakfast, Lunch, And Dinner
Effective freezer planning requires a structural approach to macronutrients. You must select proteins and starches that maintain integrity during the transition from ice to heat. Lean meats like chicken breast or ground turkey perform well. Starchy bases like brown rice or roasted sweet potatoes resist mushiness better than white pasta. Prioritize fiber-rich vegetables that have low water content to prevent liquid buildup during the reheating process.
A successful rotation balances variety with simplicity to prevent palate fatigue. Map out five unique recipes across three daily meal slots. Use a staggered entry system where you cook one or two items fresh each week while pulling the rest from existing stock. This ensures you never eat the same meal three days in a row. Maintain a first-in first-out inventory to keep your meal supplies rotating at peak quality levels.
Proper freezing is a way of pausing time, capturing the steam and scent of a Sunday dinner to warm your future self. It is the greatest gift of love you can tuck away for a rainy day.
Batch Cooking Strategies That Save Time Without Compromising Meal Variety
Efficiency relies on ingredient overlap rather than individual recipe completion. Group your cooking by component instead of by meal. Prepare ten pounds of protein and three gallons of grains in a single session. Divide these bulk items into different containers and introduce variety through distinct sauces or spice blends. This modular strategy allows you to create ten different flavor profiles using just three core base ingredients prepared at scale.
Utilize specialized equipment to maximize output within a narrow time window. Pressure cookers and sheet pans allow for passive cooking of large volumes. While the oven roasts vegetables, use the stovetop for searing proteins. Flash freeze individual portions on trays before bagging them. This prevents clumping and allows for precise portion control. You reduce total cleanup time by consolidating all heavy culinary tasks into one concentrated four-hour block.
Meal Prep Freezer Meals For One Portioning And Storing Solo Servings Efficiently
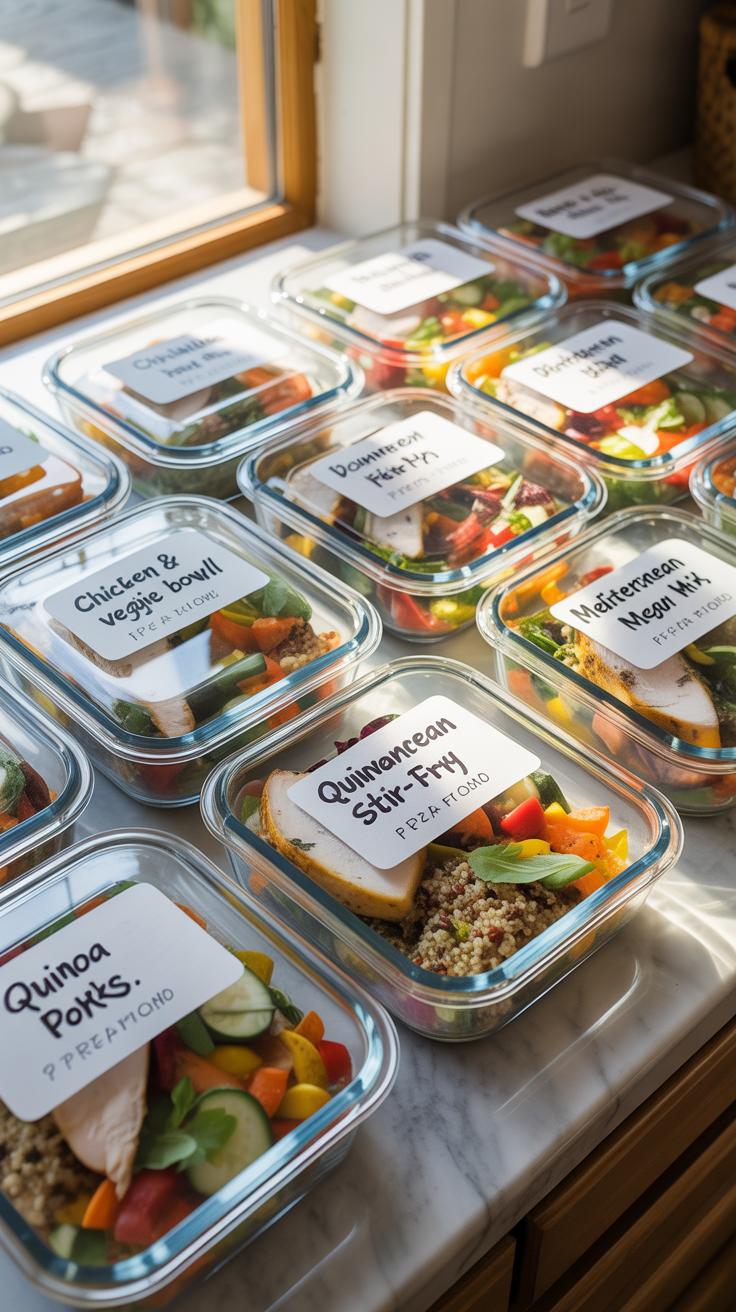
Why Single Serve Portioning Before Freezing Reduces Food Waste And Saves Money
Freezing large batches in one container creates immediate waste. You cannot safely refreeze food once it thaws. If you freeze four servings together, you must eat all four within two days of defrosting. Smaller portions allow you to pull exactly what you need for one sitting. This method keeps the remaining inventory frozen and safe for future use. Individual portions preserve food quality by preventing repeated temperature fluctuations.
Bulk cooking lowers the unit cost of ingredients. Buying large quantities of meat and produce is cheaper than buying small packs. Portioning these items into single servings before freezing locks in that low price. You stop throwing away half-empty jars or wilted vegetables. Strategic portioning turns bulk purchases into a curated inventory of ready meals. This system maximizes your grocery budget by ensuring every ounce of purchased food reaches your plate.
Practical Container And Portion Sizing Tips For A One Person Freezer Meal System
Standardizing your container sizes is the only way to manage a solo freezer system. Use uniform shapes to maximize vertical space and ensure even stacked cooling. Rectangular containers fit better in tight corners than round bowls. Clear glass or high-quality plastic lets you see the contents without opening the lid. Proper sizing prevents air pockets that cause freezer burn and ruin food texture.
- Vacuum Sealer Bags: These removal all air to prevent oxidation and ice crystals. They take up the least amount of space in a crowded freezer. This method is the gold standard for preserving proteins and cooked grains for several months without any quality loss.
- Silicone Soup Molds: These trays freeze liquids into exact one-cup or two-cup blocks. Once the blocks are solid, you transfer them into a larger zip-top bag. This allows you to grab a single cube of soup or sauce without thawing an entire container.
- Glass Meal Prep Containers: Tempered glass handles the transition from freezer to microwave safely. Choose containers with locking lids and silicone seals to prevent leaks. These are ideal for complete meals like stir-fry or pasta because they double as your serving dish.
- Painter’s Tape and Markers: Every single-serve item needs a label with the date and the contents. Use blue painter’s tape because it stays stuck in cold temperatures but peels off without leaving sticky residue. Knowing exactly what is in the container prevents you from opening it early.
- Small Freezer Bags: Use quart-sized bags for individual portions of vegetables or cooked meats. Lay them flat on a baking sheet until they are frozen solid. This flat-freezing technique allows you to file the meals like records in a box, saving massive amounts of shelf space.
Avoid overfilling containers because liquids expand as they turn to ice. Leave a half-inch of headspace to prevent lids from popping or glass from cracking. Using a digital kitchen scale ensures every portion is consistent and matches your nutritional needs. Consistent portioning makes reheating times predictable across all your meals. This technical approach removes the guesswork from daily cooking and maintains a high-functioning freezer inventory.
Best Bags For Freezer Meals Selecting The Right Storage To Prevent Freezer Burn
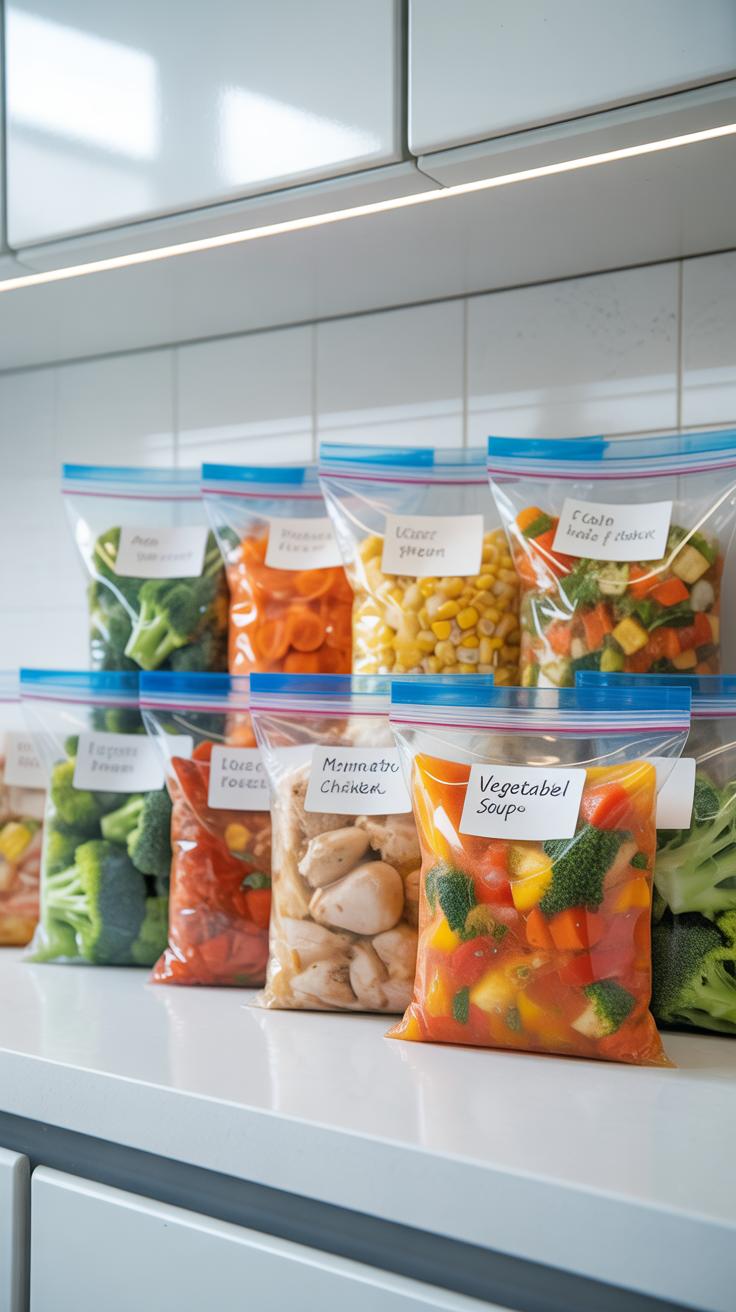
Freezer Bags Vs. Airtight Containers Vs. Vacuum Sealed Pouches: What The Differences Mean
Plastic freezer bags provide a flexible and space-saving option for liquid-heavy meals like soups or stews. These bags use low-density polyethylene which is thicker than standard sandwich bags to resist punctures. You must squeeze out all excess air before sealing to maintain food quality. Bags allow for flat stacking which optimizes limited freezer space and speeds up the thawing process significantly.
Vacuum-sealed pouches offer the highest level of protection by removing all oxygen from the environment. This method uses embossed plastic rolls and a mechanical heat seal to create a permanent barrier. Rigid airtight containers work best for delicate items that might get crushed. However, containers often trap air inside the headspace which can lead to ice crystal formation over several months of storage.
What Freezer Burn Actually Is And How Proper Bag Selection Prevents It
Freezer burn is a physiological process called sublimation where ice evaporates directly into a gas. This happens when dry air reaches the surface of your food and draws out moisture. The result is a tough white patch that ruins the texture and flavor of your meal prep. Choosing the wrong storage material allows water vapor to escape through thin plastic pores easily.
Proper bag selection stops this moisture migration by creating a physical vapor barrier. High-quality freezer bags utilize specialized resins that have low gas permeability rates. This keeps the water inside the food cells instead of letting it escape into the freezer air. Eliminating the air gap between the food and the packaging is the most effective way to keep your prepared meals edible.
Freezer Bag Meal Prep How To Pack Label And Organize Your Freezer Like A Pro

Step By Step Method For Properly Filling, Sealing, And Stacking Freezer Bags
Proper filling techniques prevent leaks and technical failures during the freezing process. Use a heavy-duty bag stand or a large jar to hold the bag open while pouring liquids or solids. Leave at least two inches of headspace at the top of the bag. This space allows for the natural expansion of water-based foods as they turn into ice.
- Flash Freezing Solids: Spread individual items like meatballs or fruit on a baking sheet before bagging. This prevents the pieces from clumping into a solid mass. It allows you to remove specific portions later.
- The Straw Method: Close the freezer bag almost entirely except for a small gap. Insert a straw and suck out the remaining air before quickly sealing it tight. Removing air prevents freezer burn effectively.
- Flat Packing: Lay filled bags flat on a tray until they freeze solid. This maximizes surface area for faster cooling. Flat bags take up significantly less vertical space than rounded or bulging bags.
- Double Bagging: Use two bags for liquids like soups or stews. This provides a secondary barrier against punctures or seam failures. It also adds an extra layer of protection against oxygen penetration over time.
- Expelling Air: Press the bag firmly from the bottom toward the seal to force out oxygen. Air is the primary enemy of frozen food quality. Less air means fewer ice crystals and better texture after you thaw the meal.
Eliminate air to stop oxidation and maintain the integrity of your ingredients. Squeeze out every pocket of atmosphere before the final seal. Once the bags are flat and frozen, stack them vertically like books on a shelf. This filing system allows you to see every meal at a glance. It also ensures even air circulation around each individual package.
Labeling Systems And Freezer Mapping Strategies That Keep Meals Organized And Accessible
Clear labeling prevents mystery meals and reduces the time the freezer door stays open. Use a permanent marker directly on the bag or on freezer-grade tape. Write the meal name, the quantity, and the date of preparation clearly. Include specific reheating instructions or required fresh additions. This data ensures anyone in the house can prepare the meal correctly.
Freezer mapping creates a logical layout for high-volume storage. Assign specific zones or bins to different food categories like poultry, beef, and plant-based meals. Keep a running inventory list on the outside of the appliance or a digital sheet. Update this log every time you add or remove an item. This strategy prevents food waste and stops you from overbuying redundant supplies.
Freezer Meal Prep Sessions How To Structure A Dedicated Cooking Day For Maximum Output
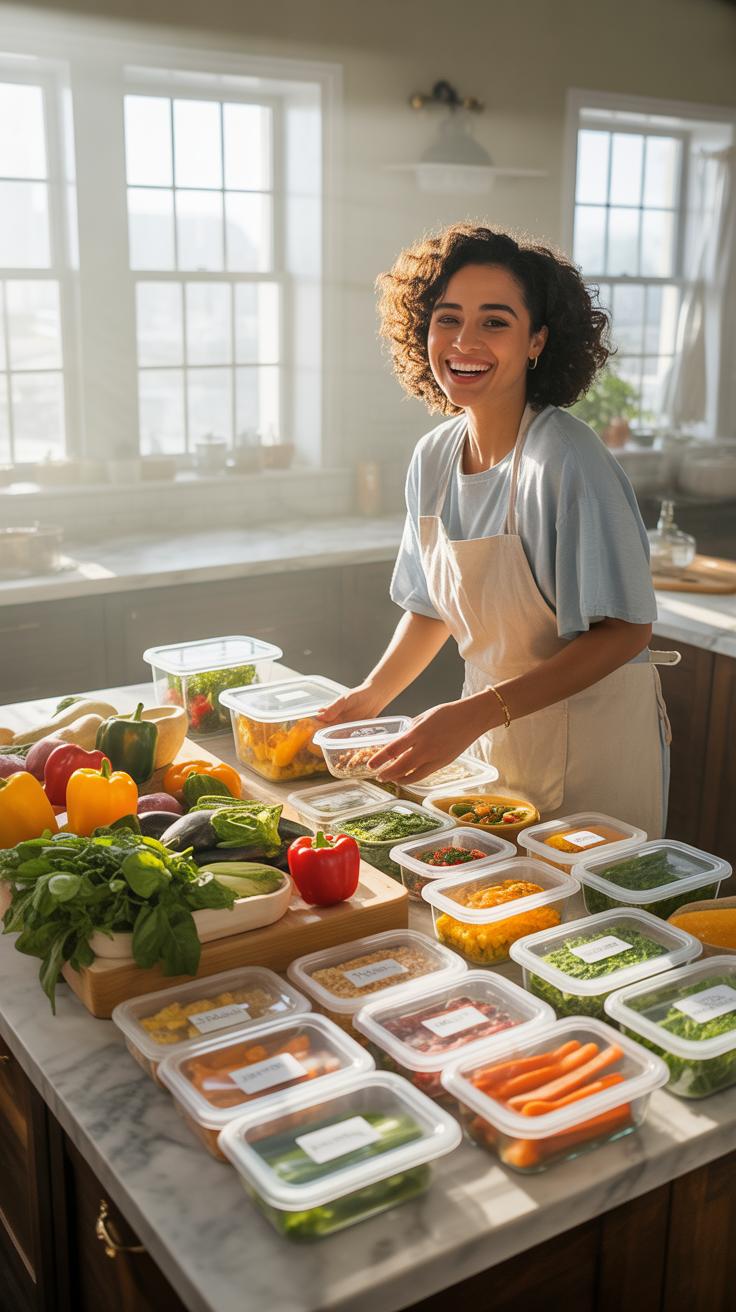
How To Plan And Execute A Productive Freezer Meal Prep Session From Start To Finish
Efficiency begins with technical grouping. Group recipes by shared base ingredients to minimize prep work. Chop all vegetables at once. Brown all meat in large batches. Use high-capacity tools like slow cookers and sheet pans simultaneously. This parallel processing reduces total active labor. Prep your workstations before starting. Clear counters and sharpen knives to maintain high speed.
Execute the cooking phase with tactical precision. Start with long-simmering dishes first. Finish with quick assembly items like marinated meats. Use a digital scale for uniform portioning to ensure consistent freezing and reheating results. Label every container before it gets wet or greasy. Keep a master log of everything you cook. This record prevents food waste and tracks your inventory.
Safe Cooling Practices Before Freezing And Why Hot Food Should Never Go Directly Into The Freezer
Placing hot food in a freezer is a major safety risk. The heat from the container raises the internal cabinet temperature. This increase puts nearby frozen items into the danger zone. Bacteria multiply rapidly between forty and one hundred forty degrees. Your freezer compressor will also work too hard. Excessive strain reduces the lifespan of your appliance and increases energy costs.
Cool food rapidly to preserve texture and safety. Spread hot items in thin layers on shallow metal trays. This increases surface area and speeds up heat transfer. Large pots of liquid should sit in an ice bath. Stir the food frequently to release trapped heat. Only seal and freeze containers once the food reaches room temperature. Proper cooling prevents ice crystals and freezer burn.
Healthy Freezer Meal Prep Recipes Thawing Reheating And Serving Without Losing Quality
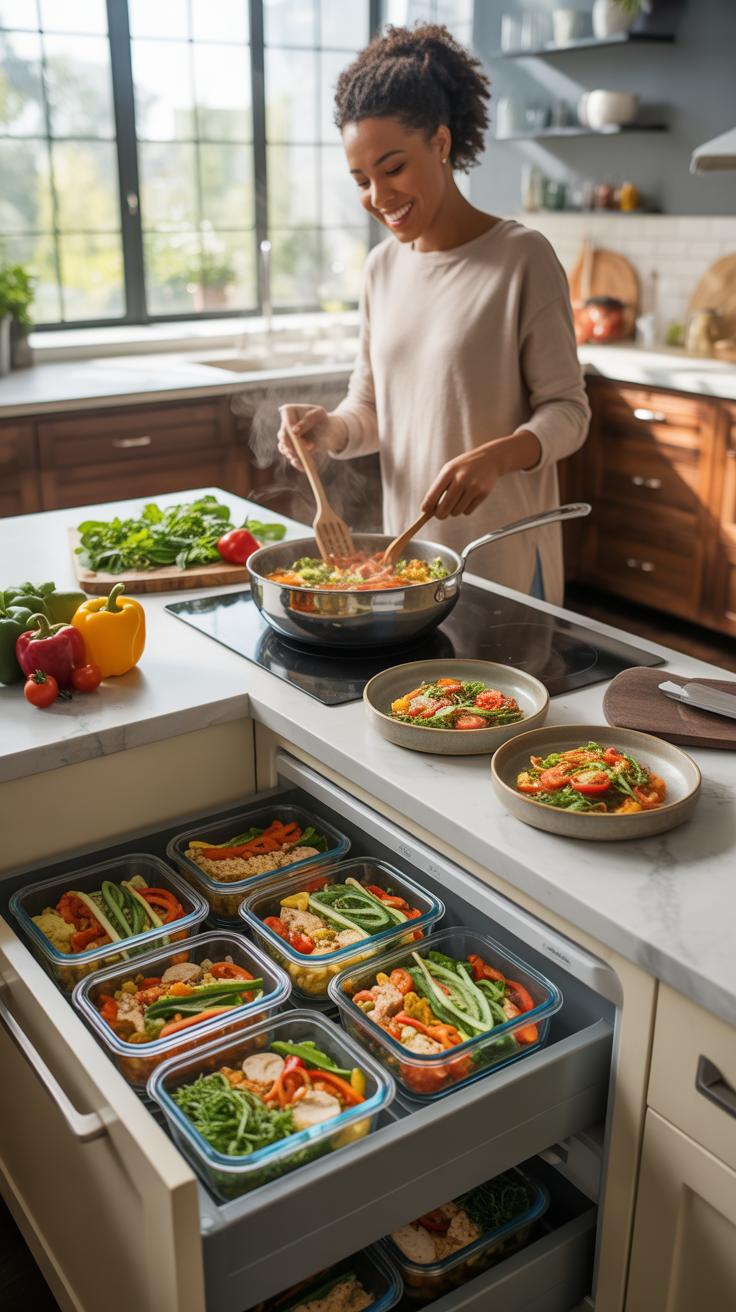
The Safest And Most Effective Methods For Thawing Frozen Meals According To Food Safety Guidelines
Safe thawing protects food texture and prevents bacterial growth. The refrigerator method remains the gold standard for quality. Move your meal from the freezer to the fridge twenty four hours before you plan to eat. This slow temperature change stops ice crystals from tearing cell walls in meat and vegetables. It ensures your food stays below the danger zone of forty degrees Fahrenheit.
Avoid thawing meals on the kitchen counter at room temperature. This practice allows the outer layers of food to reach temperatures that invite rapid pathogen growth. If you need speed, use the cold water bath method. Place the sealed meal in a leak proof bag and submerge it in cold tap water. Change the water every thirty minutes to maintain a safe and consistent temperature.
Reheating Frozen Meals While Preserving Moisture, Flavor, And Nutritional Integrity
Proper reheating requires a balance of speed and moisture retention. Low and slow heating prevents the protein from becoming rubbery or dry. If using an oven, cover the dish with a tight lid or foil to trap steam. This steam keeps the food hydrate and distributes heat evenly. Always aim for an internal temperature of one hundred sixty five degrees Fahrenheit to ensure safety and kill bacteria.
Microwaves heat unevenly and often create hot spots that degrade nutrients. To fix this, use the power level setting at fifty percent and stir the food frequently. Add a small splash of water or broth to the container before heating. This replaces moisture lost during the freezing process. For items like grains or pasta, this extra liquid prevents the starch from turning hard or brittle during the process.
Frequently Asked Questions

Is it safe to freeze any type of cooked meal?
While most cooked dishes are freezer-friendly, certain ingredients like high-water vegetables, cream-based sauces, and fried foods can change texture significantly. For the best quality, focus on stews, soups, and casseroles. Understanding how to freeze meal prep correctly ensures that your favorite dinners maintain their flavor and structural integrity, preventing that unappealing mushy consistency once you finally thaw and reheat your pre-made portions for a quick weekday lunch.
How can I prevent freezer burn when storing my portions?
Preventing freezer burn is all about removing air. Always allow your food to cool completely before sealing it in airtight containers or heavy-duty freezer bags. If you are learning how to freeze meal prep effectively, consider using a vacuum sealer or the “water displacement” method for bags. Creating a tight barrier against oxygen protects the surface of your food from drying out, keeping your ingredients tasting fresh for months.
Can I freeze meals using affordable containers I already have at home?
Absolutely! You don’t need expensive gadgets to start. You can use standard plastic storage containers, glass mason jars, or even repurposed sturdy takeout containers, provided they have a tight seal. Just be sure to leave about an inch of “headspace” at the top, as liquids and grains expand when frozen. This budget-friendly approach makes it easy for anyone to master home food preservation without spending a fortune on specialty professional equipment.