
Why Meal Prep Without Equipment Is More Achievable Than You Think
The Common Misconception That Meal Prep Requires Fancy Tools
Marketers convince consumers that expensive appliances are necessary for success. They sell sous vide machines and high speed blenders as essential items. This strategy creates a barrier to entry for the average person. In reality, these tools only automate basic heat transfer and mechanical breakdown. You do not need a digital interface to prepare food. Simplicity is the core of effective food management.
Most people skip meal prepping because they lack counter space or budget for gadgets. These individuals believe they cannot compete with professionals. This logic is flawed. Professional kitchens historically relied on knives and fire long before electricity existed. You can achieve high nutritional goals with raw ingredients and basic heat sources. Efficiency comes from your process, not the complexity of your gear. Focus on the method.
How Minimalist Cooking Has Helped Millions Eat Better On A Budget
Minimalist cooking focuses on nutrient density and shelf life rather than gadgetry. This approach stems from necessity in urban environments and developing regions. People in these areas manage food cycles using only heat and simple containers. By removing the need for tech, you lower your overhead costs immediately. This allows you to spend your limited budget on higher quality protein and fresh produce instead.
Tactical meal prep relies on assembly and thermal mass. You can use large pots to cook bulk grains and legumes that last all week. This method mirrors the rations used by travelers and soldiers for centuries. It works because it prioritizes survival and energy over aesthetics. When you strip away the fluff, you save hours of cleaning and maintenance. Results come from consistent action and basic physical chemistry.
The Only True Kitchen Essentials You Need For Healthy Easy Meal Prep Lunches
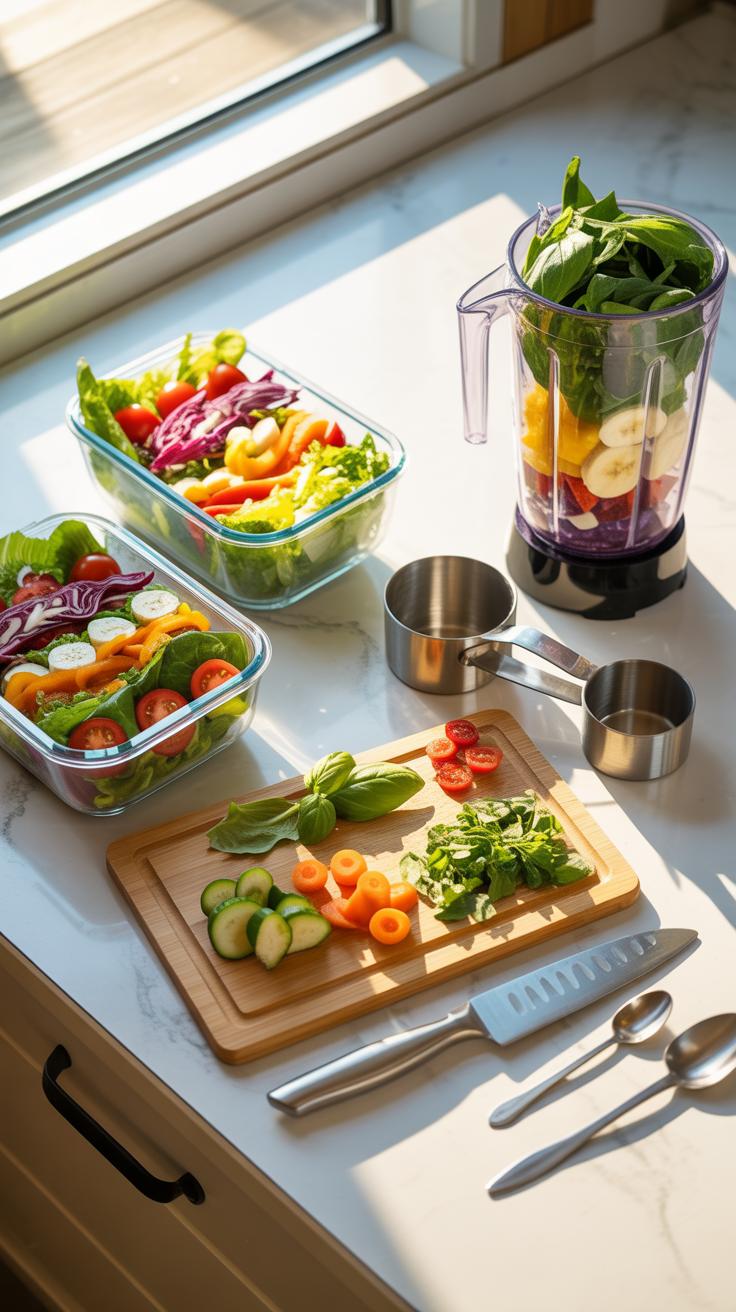
The Core Four Knife Cutting Board Pot And Pan Explained
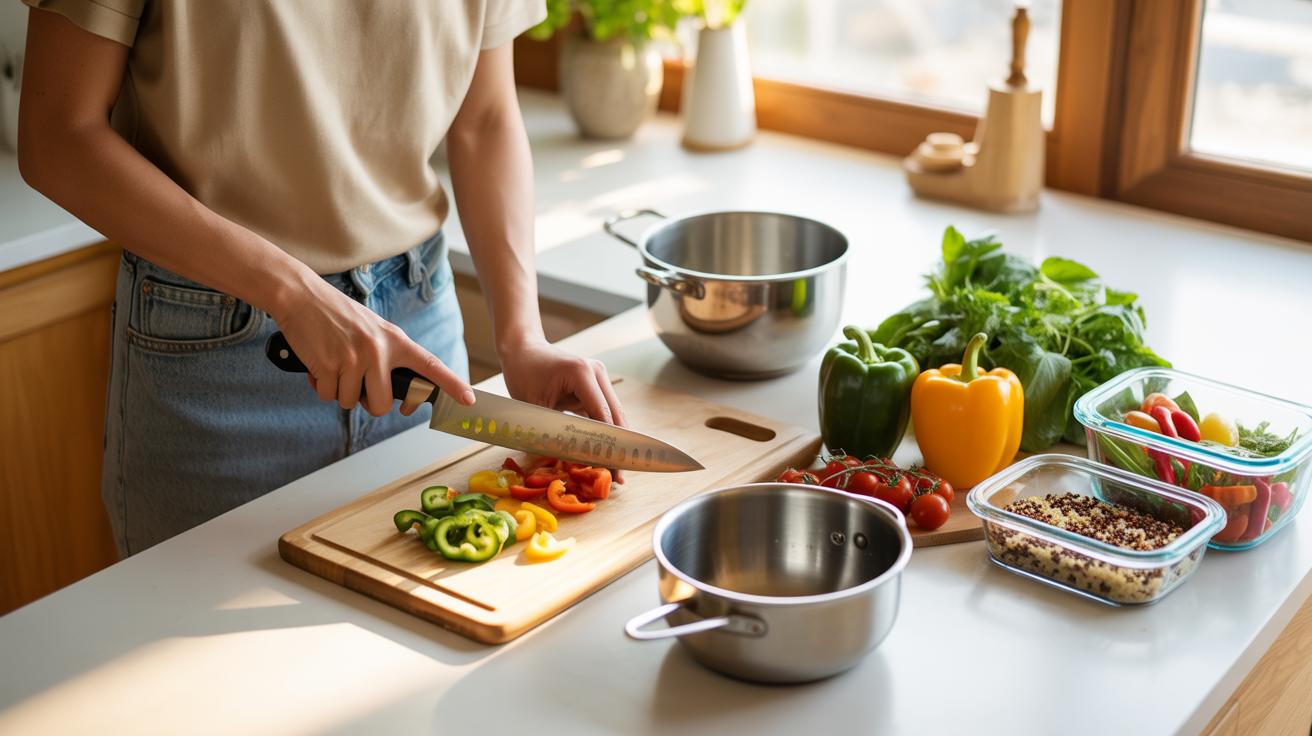
You only need four physical tools to cook almost any meal. A sharp chef knife handles every cutting task from dicing onions to slicing proteins. High carbon stainless steel holds an edge longer than cheap alloys. Pair this with a heavy wood or plastic cutting board. Real wood protects your blade edge. Avoid glass boards because they dull metal tools instantly and cause dangerous slips.
A three quart stainless steel pot and a ten inch seasoned cast iron or nonstick pan complete the set. Use the pot for boiling grains, pasta, or hard cooked eggs. Use the pan for searing meats and sautéing vegetables. High quality cookware distributes heat evenly to prevent hot spots. Mastering these four items eliminates the need for bulky electric gadgets that take up valuable counter space.
Choosing The Right Storage Containers To Keep Prepped Meals Fresh Longer
Standardize your container set to maximize shelf life and storage efficiency. Cheap plastic warps in the microwave and leashes chemicals into your food. Invest in tempered glass or high grade BPA free plastic with airtight locking lids. These materials create a tight seal that prevents oxidation. Better seals keep your vegetables crisp and your proteins moist for up to five full days in the refrigerator.
- Tempered Glass Containers: Glass is nonporous and does not absorb food odors or stains. You can safely move these containers from the freezer to the oven or microwave. They last for years without degrading or leaching harmful chemicals into your meals.
- Silicone Gasket Lids: Look for lids with removable silicone seals. These gaskets create a true airtight environment that stops bacteria growth. They prevent leaks during transport and keep moisture inside the container so your food stays fresh and appetizing for much longer.
- Stackable Uniform Sizes: Buy sets with identical footprints to save space. Uniformity allows you to stack containers high in the fridge without them tipping over. This organization makes it easier to track your inventory and ensures you use every meal before it expires.
- Vacuum Seal Bags: Use these for long term freezer storage of bulk proteins or pre cut vegetables. Removing all air prevents freezer burn and ice crystal formation. This method extends the life of your ingredients from weeks to months while maintaining the original texture.
- Divided Bento Boxes: These containers keep different food components separate until you are ready to eat. Use them to prevent wet ingredients from making dry goods soggy. Separation is key for maintaining the structural integrity of salads, wraps, and meals with heavy sauces.
Inventory management is the final step in successful meal prep. Label every lid with the date and contents using a dry erase marker or masking tape. Clear walls allow you to see what is inside without opening the seal. This habit reduces food waste and ensures you eat the oldest meals first. Proper storage turns a Sunday prep session into a full week of safe and healthy lunches.
How To Plan Your Lunch Meal Prep Around Simple Whole Ingredients
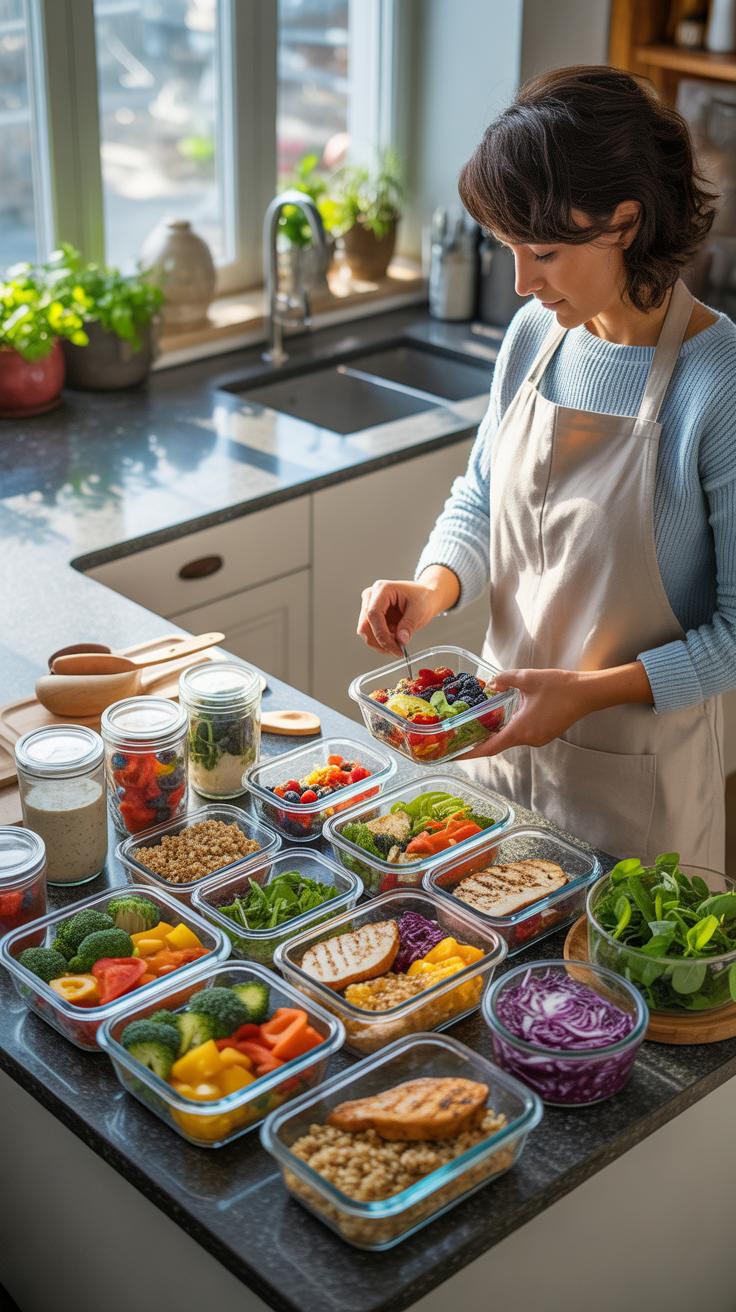
Building A Weekly Meal Plan Using Ingredients That Require No Special Prep Tools
Efficiency starts with ingredient selection. Choose foods that come in their ready state or require only basic hand preparation. You do not need a food processor or specialized slicers to eat well. Focus on items like canned beans, pre washed greens, and sturdy fruits. These ingredients eliminate the need for peeling or intricate chopping. Planning this way ensures you spend your time eating rather than cleaning gear.
A functional meal plan relies on modularity. Pick four base ingredients that pair well in different combinations. Use cold proteins like canned tuna or precooked chicken. Mix these with vegetables that stay crisp for days. This strategy prevents flavor fatigue without requiring new tools for every recipe. You buy exactly what you need. You waste less food. Your workflow remains fast. Simple inputs yield high quality outputs every single week.
You don’t need a silver fork to eat good food. Sometimes the simplest kitchen, seasoned with a little planning, creates the most nourishing memories.
How Batch Cooking Grains Proteins And Vegetables Saves Time And Effort
Batch cooking is the only way to scale your nutrition without scaling your effort. You cook a large volume of one item once. This saves you from repeating the same setup and cleanup every day. Use one pot to boil rice or quinoa for the entire week. One burner does the work of five separate sessions. This method keeps your kitchen cool and your schedule open for other tasks.
Standardized portions make tracking easy. Once your grains and proteins are cooked, divide them into containers immediately. This prevents overeating and ensures you have enough food for Friday. Large scale cooking also lowers your energy costs. Heating a stove once is more efficient than heating it daily. Speed is the goal here. Consistency is the result. Rely on basic boiling and searing to achieve these results without extra machinery.
Best Meal Prepped Lunches You Can Make With Just A Pot And A Pan
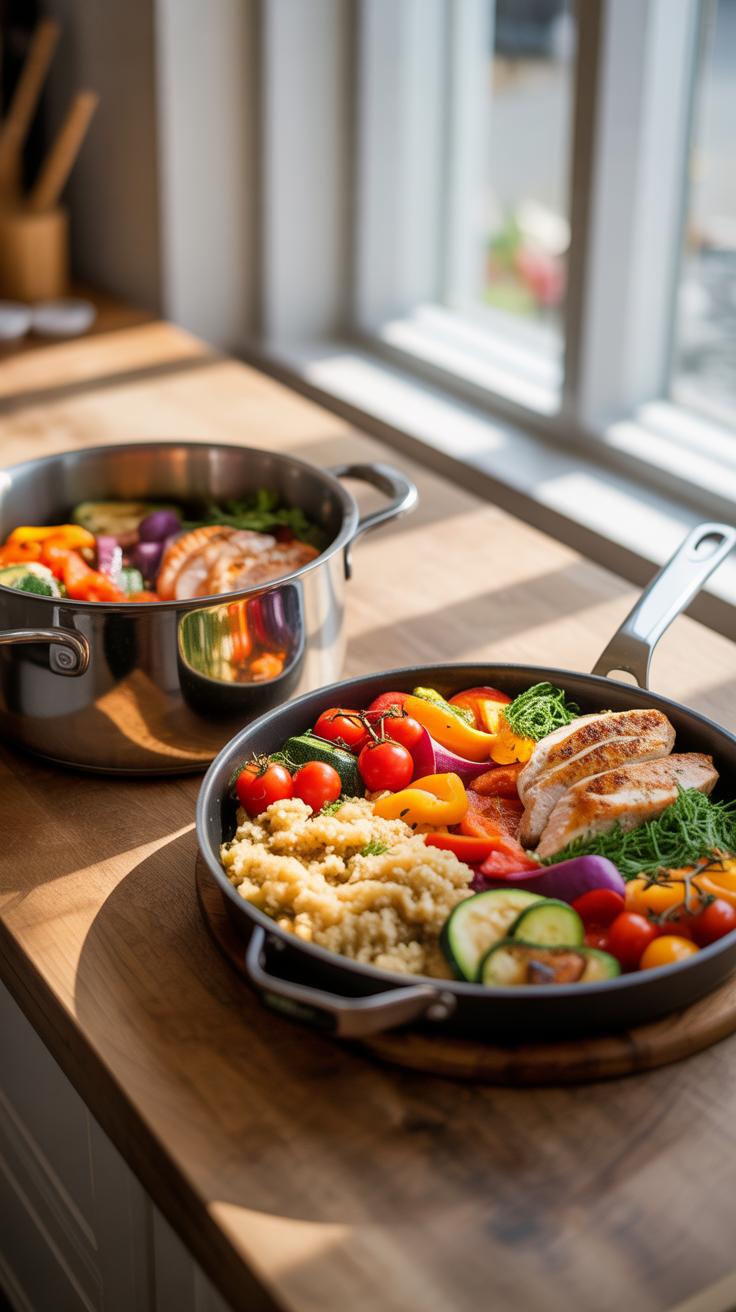
One Pot Meals That Deliver Balanced Nutrition Without Multiple Appliances
A single pot is all you need for professional meal prep. You must focus on the hierarchy of cooking times. Start with aromatics and move to proteins. Add liquids and grains last. This method creates a complete nutritional profile in one vessel. It saves time on cleaning and organization. You control the moisture levels to prevent food from drying out during storage.
Stews and heavy grain bowls thrive in this environment. The pot retains heat and distributes it evenly across all ingredients. Use a lid to trap steam and cook vegetables without adding extra fats. This technique preserves vitamins and minerals. Portion these meals directly from the pot into containers. This creates a streamlined workflow that maintains food safety and meal consistency across the week.
Sheet Free Stovetop Cooking Methods That Work For Everyday Prep Meals
You do not need an oven or baking sheets to prep high quality protein. Pan searing provides the Maillard reaction for flavor without extra equipment. Heat the pan before adding ingredients to ensure a crust forms quickly. This seals in juices and prevents the meat from becoming rubbery when reheated. Use high heat for speed and low heat for thick cuts of meat.
Combining searing with deglazing maximizes your output. After removing the protein, add a small amount of water or broth to the hot pan. Scrape the bottom to create a quick sauce for your meal containers. This adds flavor without the need for processed condiments. It captures every calorie and nutrient from the cooking process. This two step method ensures your prepped lunches remain moist for many days.
Lunch Ideas For Work Healthy Easy No Reheating Equipment Required
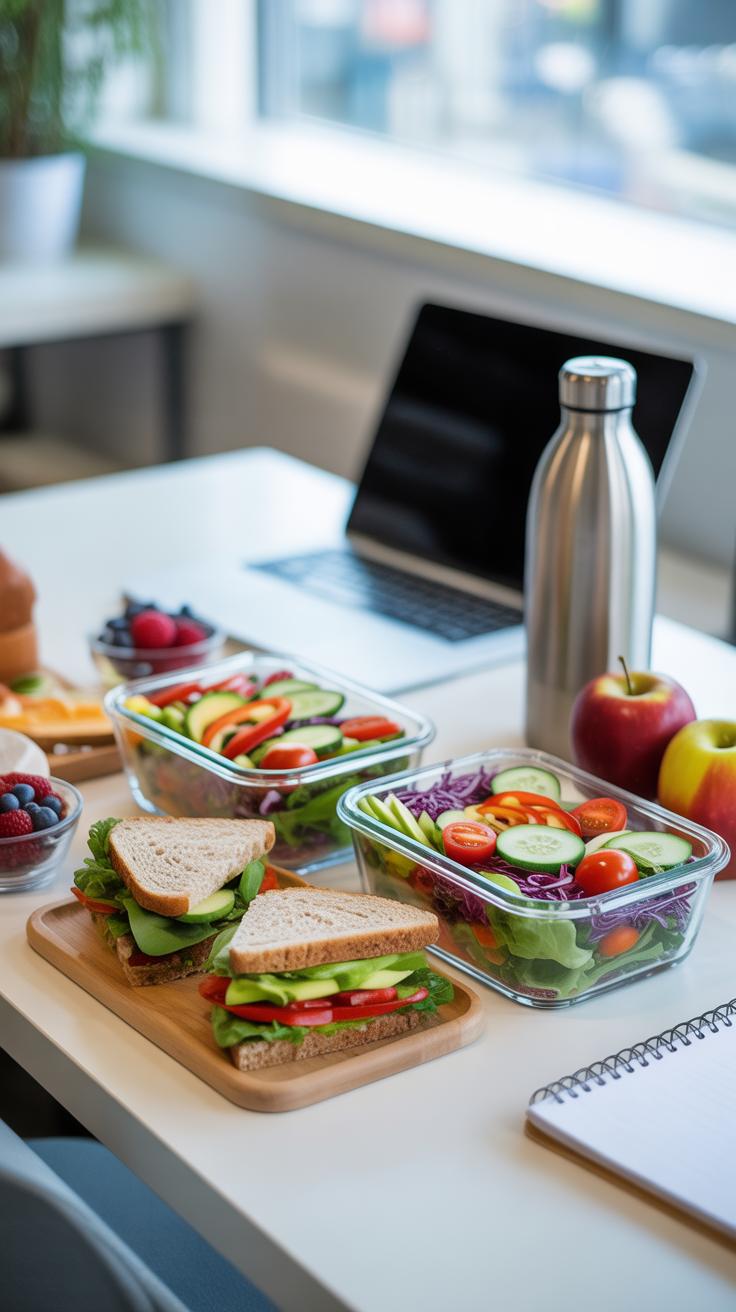
Cold Lunch Options That Stay Safe And Delicious Without A Microwave
Cold lunch prep relies on tight seals and temperature control. High protein salads using canned beans or chickpeas provide fiber without needing heat. Use mason jars to layer wet ingredients at the bottom and greens on top. This prevents wilting during transit. Keep these meals in an insulated bag with a reusable ice pack to slow bacterial growth and maintain texture.
Safety is the priority for cold meals. Poultry and dairy must stay below forty degrees Fahrenheit. If you lack a fridge, choose vinegar based dressings over mayonnaise to reduce spoilage risks. Acidic environments slow down food breakdown. Pre-chill your containers in the freezer before packing your food. This tactic adds an extra hour of safe holding time for your midday meal.
Room Temperature Friendly Lunches That Hold Up Well Through A Busy Workday
Grain bowls using quinoa or farro handle ambient temperatures better than leafy greens. These hearty bases do not turn mushy when sitting for several hours. Mix in roasted vegetables like bell peppers or carrots which retain their structure without refrigeration. Hard cheeses like parmesan or aged cheddar also remain stable at room temperature. These ingredients provide consistent energy without requiring any thermal intervention.
Strategic ingredient selection prevents food safety issues. Use dried fruits and nuts to add calories and texture safely. Avoid soft cheeses or raw fish which spoil quickly at room temperature. Whole fruits like apples or bananas serve as durable sides. Pack your meal in a hard shell container to prevent crushing. This ensures your lunch remains appetizing and structurally sound until you are ready to eat.
Meal Prep Ideas Recipes That Rely On Technique Over Technology
How Marinating, Seasoning, And Resting Proteins Elevates Simple Meals
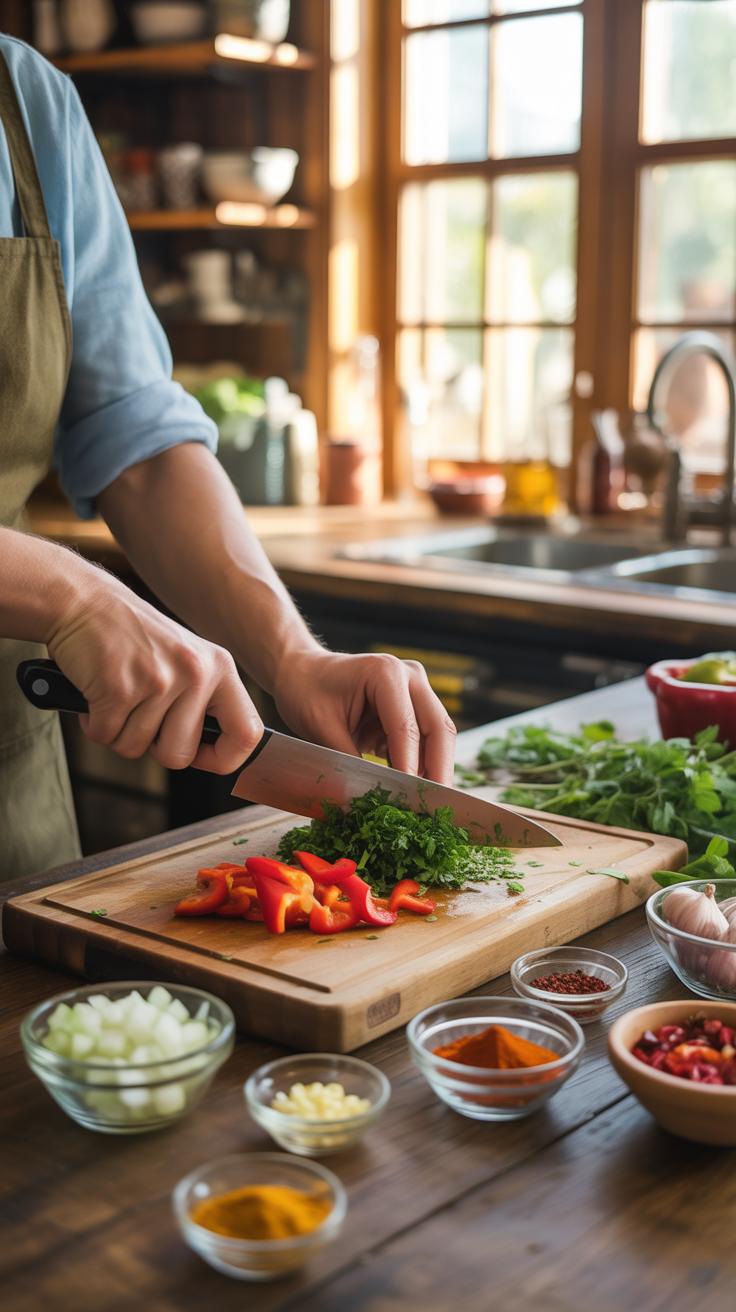
Marinating changes the chemical structure of protein without heat. Salt draws out moisture then pulls flavored liquid back into the fibers through osmosis. Acidic components like vinegar or citrus break down tough connective tissues. This process ensures flavor penetrates the center of the meat. You do not need vacuum sealers or specialized tools. A simple bowl or reusable bag works for every protein type.
Proper resting allows heat to even out across the food. When you remove meat from heat, the muscle fibers are tight and hold juice under pressure. Cutting immediately causes these juices to leak onto the board. Waiting five to ten minutes lets fibers relax and reabsorb moisture. This creates a better texture and prevents dryness. Professional chefs rely on this timing to guarantee quality results every time.
Using The Right Cutting Technique To Speed Up Your Entire Prep Session
Efficient knife skills reduce your total active work time. The claw grip protects your fingertips and provides a guide for the blade. Use the rocking motion for herbs and the draw cut for raw meat. These methods ensure consistent size across all ingredients. Uniform pieces cook at the same rate. This prevents a mix of raw and overcooked food in your final storage containers.
Focus on your workstation setup to maintain speed. Place a damp cloth under your cutting board to prevent slipping. Organize your space so scraps go in one pile and prepped food in another. This minimizes movement and keeps your hands on the knife. Mastery of these physical movements replaces the need for food processors. Sharp blades and correct form yield the fastest prep results for any recipe.
Smart Strategies For Lunch Prep For Work When You Have Limited Counter Space
How To Organize A Small Kitchen For An Efficient Weekly Prep Session
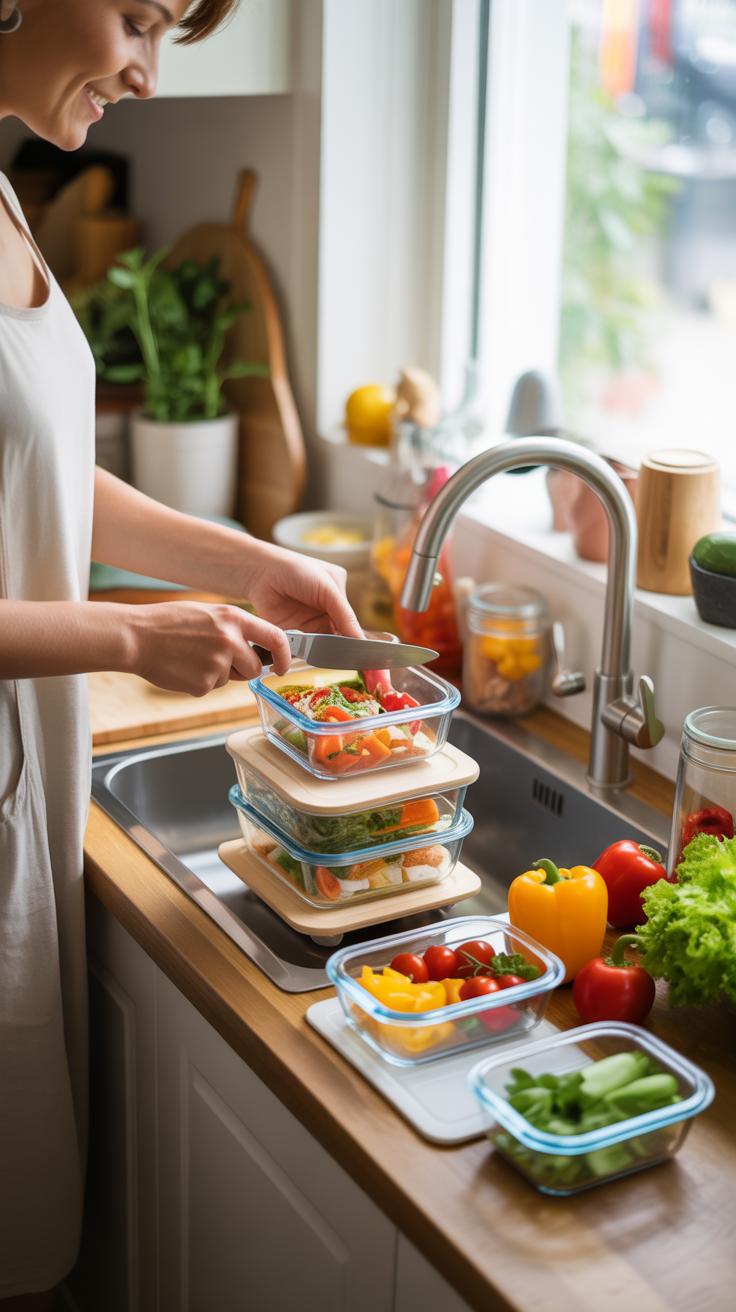
Small kitchens require vertical thinking and strict zoning. Clear every non-essential item from your limited surface area before starting. Professional galleys use the mise en place technique to keep work flowing. Group your raw ingredients on one side of the sink and your containers on the other. This linear flow prevents cross-contamination and reduces wasted movement in tight quarters.
Use your sink as a hidden workspace by placing a sturdy cutting board across the basin. This maneuver creates an extra square foot of prep space instantly. Utilize your stovetop as a holding area for chopped vegetables while the burners stay off. Keep a trash bowl on the counter to avoid constant trips to the bin. This structural discipline ensures you finish prep without feeling crowded.
Time Blocking Your Sunday Prep To Cover Five Full Workday Lunches
Efficiency depends on a strict two-hour window for all lunch preparation. Do not multitask across different meals. Dedicate thirty minutes to cold prep like washing and chopping. Devote the next sixty minutes to assembly and portioning. Use the final thirty minutes for cleanup and bag packing. This sequence keeps your small counter clear of dirty dishes while you handle food.
- Inventory Check: Spend ten minutes auditing your pantry and fridge. You must confirm you have five matching containers and all base ingredients before starting. This prevents mid-prep trips to the store that ruin your schedule.
- Bulk Chopping: Process all vegetables at once for the entire week. Grouping this task reduces the time your cutting board occupies the counter. Store these in a single large bowl until you are ready to assemble individual meals.
- Assembly Line: Arrange five containers in a row to ensure even portions. Fill every container with the base component first, then the protein, then the greens. This factory-style approach maintains consistency and speed without needing multiple open bags around you.
- Labeling System: Mark each container with the day of the week immediately. Use simple masking tape and a marker for speed. Rapid identification saves time during the chaotic morning rush and prevents you from grabbing the wrong meal.
- Immediate Cleanup: Wash each knife and board as soon as the last meal is sealed. A clean counter is the signal that your prep session is officially over. Keeping the sink empty throughout the process makes this final step take five minutes.
Standardizing your lunch components allows you to prep faster in a cramped space. Choose one base grain and two varied toppings to keep the process simple. Cold lunches like salads or wraps work best when you lack heavy cooking gear. This strategy minimizes heat in a small room and reduces the need for bulky pots. Stick to the clock to ensure you do not overcomplicate the task.
Lunches Healthy Enough To Fuel Your Day Using Minimal Cooking Methods
The Nutritional Case For Simple Whole Food Lunches Over Processed Convenience Meals
Processed convenience meals rely on high sodium levels and chemical preservatives to extend shelf life. These additives cause energy crashes and brain fog during the workday. High salt intake leads to water retention and physical lethargy. Choosing whole foods eliminates these hidden metabolic stressors. Pure ingredients provide stable energy. You gain better focus when you remove synthetic dyes and artificial sweeteners common in pre-packaged lunches.
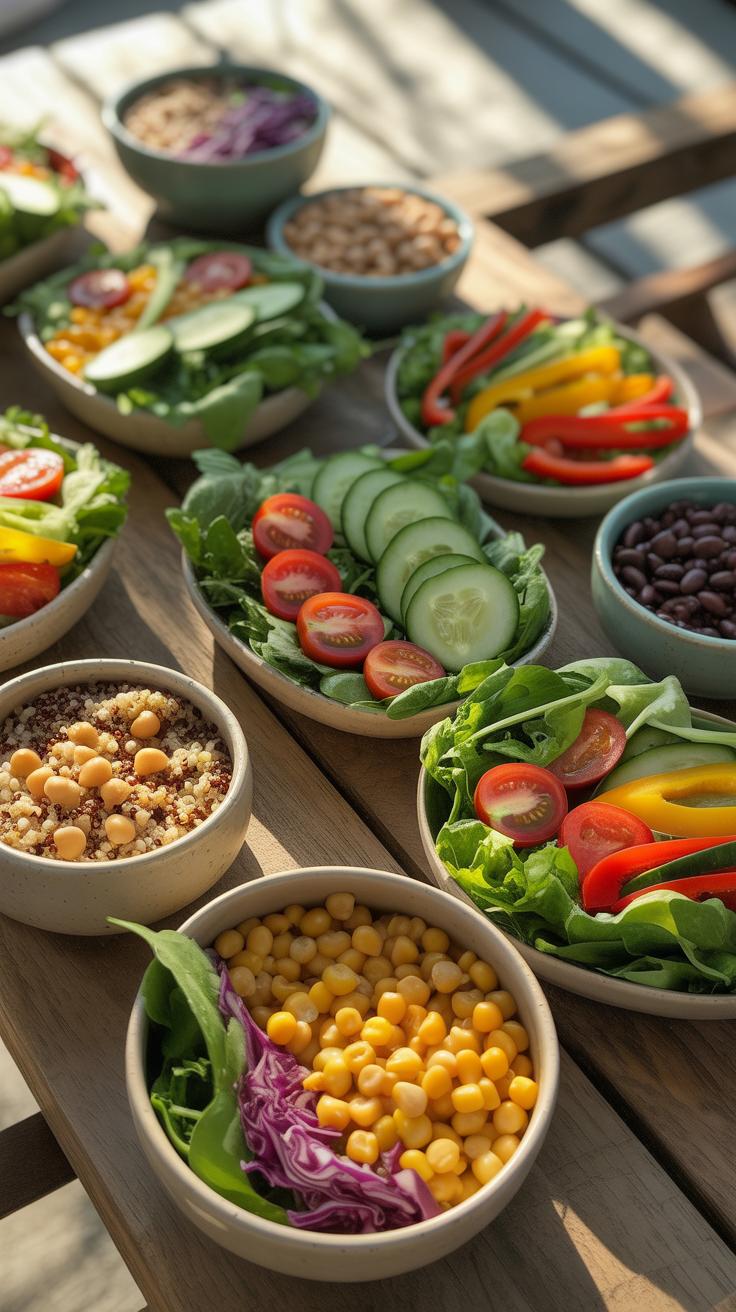
Whole food prep requires zero heat or specialized machinery. Raw vegetables and canned proteins provide fiber and clean energy without the need for a microwave. Fiber stabilizes blood sugar by slowing glucose absorption. This process prevents the afternoon slump associated with refined carbohydrates. Using raw ingredients preserves heat-sensitive vitamins like Vitamin C. You get more nutrients and better performance for less money and less effort compared to buying processed kits.
How To Balance Macronutrients In Your Prep Meals Without A Food Scale
Visual cues replace the need for expensive digital scales or measuring cups. Use your hand as a biological measuring tool to hit your targets. Your palm represents one serving of protein. Your closed fist indicates the proper portion of complex carbohydrates or fruit. Two cupped hands define the required amount of vegetables. A single thumb size provides the healthy fats. These ratios ensure consistent fuel without tracking software.
Divide your meal container into visual zones to maintain this balance. Fill half the container with fibrous greens or raw vegetables first. Dedicate one quarter of the space to a lean protein like canned tuna or chickpeas. Use the final quarter for energy-dense sources like beans or whole grains. This structural approach prevents overeating and ensures nutritional variety. Tactical portioning builds a sustainable habit that works in any environment without specialized tools.
Work Meal Prep Lunches Keeping Food Safe Without Specialized Equipment
Food Safety Basics For Prepped Meals According To USDA Temperature Guidelines
Bacteria grow best in the danger zone between 40 and 140 degrees Fahrenheit. You must keep cold food below 40 degrees to stay safe. Hot food must stay above 140 degrees until you eat it. Use a simple thermometer to check these levels. Pathogens can double every twenty minutes in warm environments. This makes temperature control the most critical step for your health.
Cool your cooked food quickly before putting it into storage containers. Large batches of food hold heat for a long time. Divide big portions into smaller units to speed up the cooling process. Never leave perishable items out on the counter for more than two hours. If the room temperature is above 90 degrees, that limit drops to one hour. Strict adherence to these rules prevents foodborne illness.
How Long Prepped Lunches Last In The Fridge And The Best Way To Store Each Type
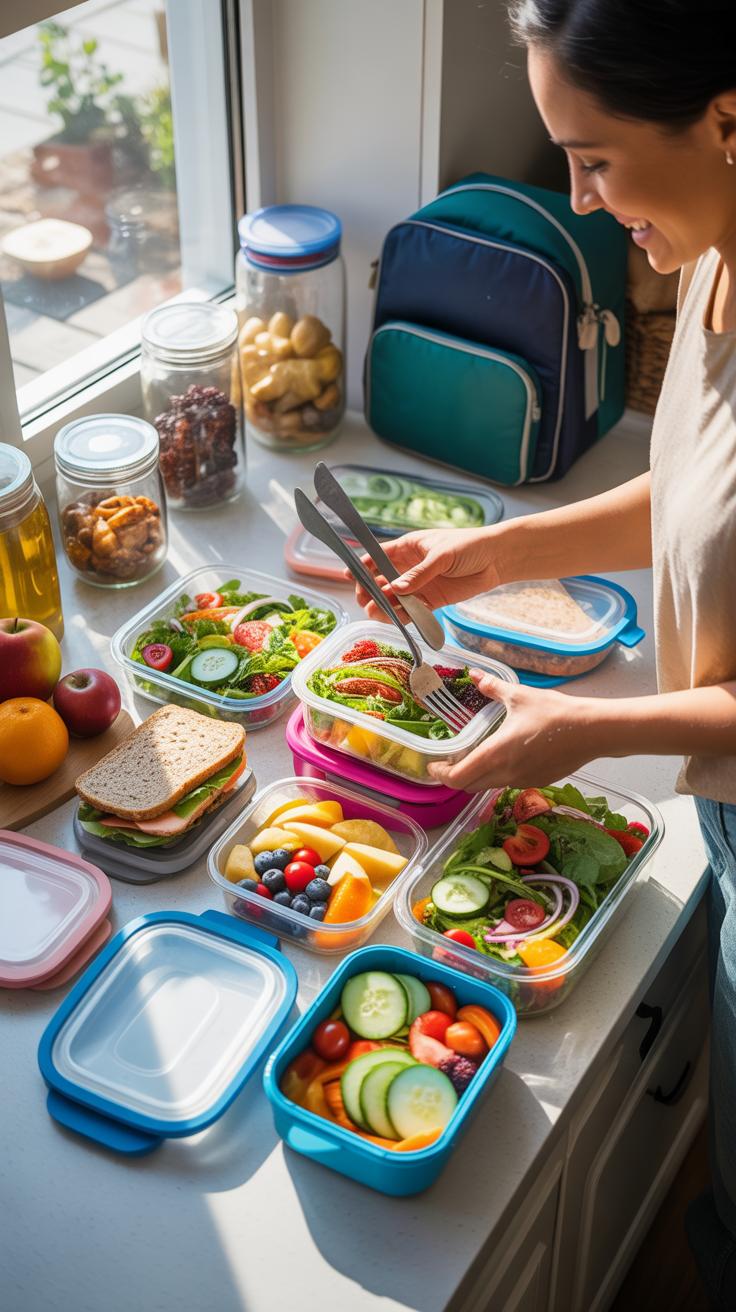
Most cooked meals stay fresh for three to four days in a standard refrigerator. Cooked meats and poultry fall into this window. Hard-boiled eggs can last up to one week if you leave the shells on. Seafood and highly perishable items should be eaten within two days for maximum safety. Always label your containers with the date to track freshness and avoid guesswork.
Seal your meals in airtight containers to block out moisture and bacteria. This slows down the spoilage process significantly. Store raw items on the bottom shelf to prevent juices from dripping onto cooked food. Keep greens and vegetables in a separate crisping drawer to maintain texture. Firm vegetables last longer than leafy greens. Proper organization ensures your meals remain edible and safe throughout the entire work week.
Building A Sustainable Prep Meal Routine That Sticks Long Term
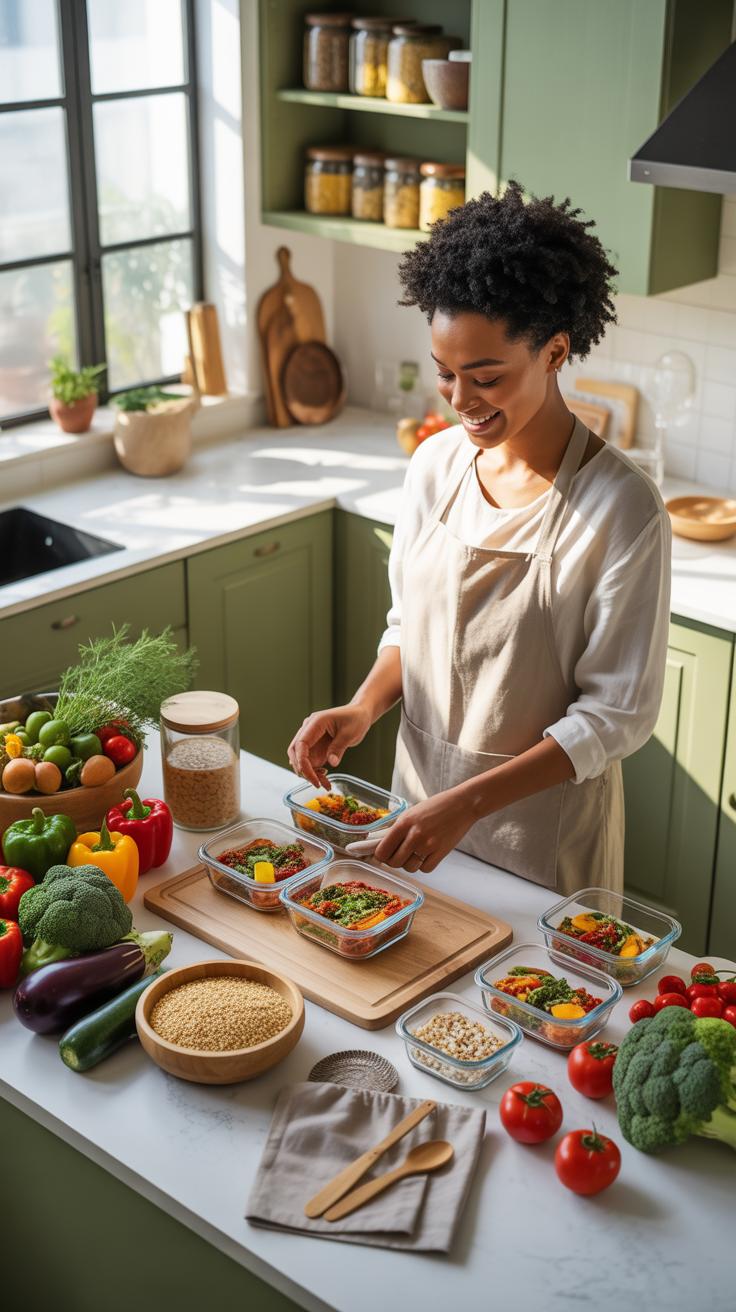
Gradually Improving Your Meal Prep Skills Without Buying New Gear
Mastery of meal prep without equipment relies on technique rather than technology. Focus first on knife skills using your basic utility blade. Learn to slice vegetables uniformly to ensure even cooking across different ingredients. You do not need a food processor to achieve precision. Consistent practice with a simple hand knife yields better control over texture and portion sizes during the primary preparation phase.
Shift your focus toward cold processing methods like marinating and pickling. These techniques transform raw ingredients into flavorful meals without requiring heat. You can use glass jars or plastic containers already in your kitchen. Acid from citrus and vinegar breaks down tough fibers over time. This approach replaces the need for expensive slow cookers or sous vide machines while delivering similar results through biochemical reactions.
Staying Motivated And Consistent With Your Weekly Prep Routine Over Time
Consistency fails when your routine becomes too complex. Stick to a fixed schedule every week to build a lasting habit. Dedicate specific hours on Sunday or Monday for all food assembly. This prevents decision fatigue and reduces daily stress. Use familiar recipes that rely on basic assembly. High success rates in the early weeks create the momentum necessary to maintain the prep lifestyle long-term.
Scale your efforts by prepping components instead of full meals. Preparing bulk grains and chopped greens allows for variety throughout the week. This modular strategy stops boredom because you can mix and match ingredients daily. It requires less mental energy than cooking five unique dishes from scratch. Efficiency is the key to longevity. Simplify your workflow to ensure you never skip a session due to lack of time.
Frequently Asked Questions

Is it really possible to start meal prepping if I don’t own any fancy gadgets?
Absolutely! Many people assume they need expensive slow cookers or food processors to succeed, but you can easily master meal prep without equipment beyond a basic knife and one burner. By focusing on simple assembly meals, like overnight oats or hearty salads, you can build a consistent habit. Starting small allows you to focus on nutrition and portion control without the intimidation of a high-tech kitchen setup or complicated machinery.
What are the best strategies for cooking bulk meals using only a single pot?
When you are focused on meal prep without equipment, “one-pot” recipes are your best friend. Utilize a standard stockpot or Dutch oven to layer flavors, starting with grains like quinoa or rice, then adding proteins and sturdy vegetables. This method minimizes cleanup and ensures your meals stay moist and flavorful for the week. It is a practical, efficient way to batch-cook delicious stews, chili, or pasta dishes with very limited resources.
How can I keep my meal prep affordable if I lack storage containers and tools?
Budget-friendly prepping is all about being resourceful with what you already have. Instead of buying expensive specialized sets, repurpose glass jars from pasta sauces or jams to store your portions. Focus on versatile, low-cost staples like beans, lentils, and seasonal greens that require minimal processing. By prioritizing these affordable ingredients, you can maintain a healthy lifestyle and achieve consistent meal prep without equipment or a large financial investment in kitchenware.