
The Gluten Paradox Why Easy Seitan Fails
Where Most People Derail
You want seitan to work on the first try because failed batches feel like wasted protein and time. The mechanism is simpler than you think: most people treat vital wheat gluten like flour, when it’s actually a pre-concentrated protein matrix that demands opposite handling. Vital wheat gluten contains roughly 75 percent protein by weight, already stripped of starch. This changes everything about how hydration and kneading work.

The common advice is “mix it like bread dough.” That’s incomplete. Bread dough needs vigorous kneading to develop gluten strands from scratch. Seitan dough already has gluten present—you’re not building it, you’re organizing it. Over-kneading creates a dense, rubbery texture because you’re compressing an already-formed network. Under-kneading leaves it grainy and weak. Most failed seitan batches fail here: people knead for ten minutes when the actual window is two to three minutes of light mixing.
Activating Protein Without Overworking It
Think of seitan development as a chemistry problem, not a technique problem. Gluten activation requires three things: hydration, salt, and minimal mechanical action. The salt dissolves myosin and actin proteins, allowing them to bond into a cohesive structure. Hydration must be precise—too dry and the proteins won’t align, too wet and you dilute the matrix. The water-to-gluten ratio matters more than mixing intensity.

Here’s the protocol: combine vital wheat gluten and salt first, then add cold liquid slowly while stirring with a fork, not your hands. Stop the moment everything is incorporated. Transfer to a board and knead for exactly ninety seconds, no longer. The dough should feel slightly tacky, not smooth. This short window lets the salt dissolve and the protein bonds form without mechanical breakdown. Most people treat this like bread dough and pay for it in texture.
Seitan Recipes And Tips The Texture Map Protocol
How Ingredient Ratios Control Your End Result
You want to know the ratio hack because you’re tired of rubbery batches and think one magic number will fix everything. It won’t. But the ratio does control outcome in a predictable way, like chemistry controls a reaction. The mechanism: vital wheat gluten protein needs liquid to hydrate and develop structure, but excess liquid creates slack dough that produces mushy seitan. The baseline ratio is one part vital wheat gluten to one part liquid by volume, measured before any add-ins. This creates a workable dough with enough tension to trap steam during cooking.
From there, every addition shifts the equation. Nutritional yeast, spices, and binders absorb water and tighten the crumb. Broth-based cooking liquids add flavor but don’t affect the dough ratio itself. Most people skip this step and wonder why their seitan turns into paste. Test your ratio by kneading a small batch first. If the dough tears easily during kneading, add half a tablespoon of vital wheat gluten. If it resists kneading and feels dense before cooking, reduce liquid by one tablespoon. Document what ratio produced the texture you want and repeat it exactly.
Hydration And Kneading: Where Chewiness Actually Comes From
Hydration levels determine chewiness the way tension determines a rope’s strength. Higher hydration creates a softer, more open crumb. Lower hydration produces denser, chewier seitan. Start at a one-to-one ratio, then adjust: add liquid in quarter-tablespoon increments to loosen the texture, or reduce it for density. The common advice says “knead until smooth,” which is incomplete and lazy. Kneading duration and intensity matter more than smoothness.
Knead for exactly three to five minutes at moderate pressure. This aligns gluten strands without overworking them into a rubbery paste. Underworked dough (one minute or less) produces crumbly, fragile seitan that falls apart during cooking. Overworked dough (more than seven minutes) becomes tight and squeaky, creating rubber. The texture you want requires kneading until the dough holds together with slight resistance when you press it, then stopping. After cooking, seitan continues firming as it cools. Let it rest at room temperature for two hours before slicing or storing. This cooling period sets the final texture you predicted from your hydration and kneading work.
Beyond Marinades Flavor Infusion Mechanics

Pressure And Time Beat Soaking
You want your seitan to taste like it cost more than it did. That’s the real reason you’re reading this section. The mechanism is osmosis, borrowed from chemistry: the movement of solutes across a semipermeable membrane toward equilibrium. Your seitan’s gluten matrix acts exactly like that membrane. A marinade sitting at room temperature moves flavor molecules in slowly. Pressure cooking accelerates this transfer by forcing liquid deeper into the protein structure under sustained heat and compression.
Standard advice says soak seitan overnight in marinade. That’s incomplete. Pressure cooking for 20 to 30 minutes after mixing flavor into the cooking liquid embeds taste molecules into the seitan’s interior, not just the surface. The heat denatures proteins further, creating more surface area for absorption. This is why pressure-cooked seitan tastes uniform throughout. The difference between soaked and pressure-cooked seitan tastes like two different proteins entirely.
Stacking Umami Compounds
Umami isn’t a flavor layer you add once and move on. It’s a sensory response triggered by glutamates and nucleotides your mouth recognizes as savory depth. Most vegetarians add soy sauce and call it done. That’s lazy. Nutritional yeast contains free glutamates at roughly 1,200 mg per 100 grams. Mushrooms (dried shiitake especially) contain inosinate nucleotides. Soy sauce provides glutamates plus sodium that enhances taste perception. These three compounds bind to different receptor types.
The protocol: mix nutritional yeast into your seitan dough before steaming. Add soy sauce and mushroom broth to your pressure-cooking liquid. Toast the mushrooms first to concentrate their nucleotides further. This three-point umami strategy creates a flavor profile that reads as “savory” without tasting one-dimensional or salty. The compounds work in separate pathways, so they amplify rather than compete. Your seitan should taste complex enough that people question whether it’s actually vegetarian.
Best Seitan Recipes The Thermal Efficiency Model
Protein Structure And Cooking Temperature
You want seitan to taste meaty, not rubbery, and that’s where most people fail because they think longer cooking always wins. Thermodynamics teaches us that proteins denature through heat exposure, and seitan’s gluten network follows this same principle: too little heat leaves it gummy, too much squeezes out moisture and toughens the structure. The target is 180 to 190 degrees Fahrenheit internal temperature, held steady, not climbed past. This range sets the gluten bonds without collapsing the water matrix that makes seitan tender.
Most recipes tell you to simmer seitan for 45 minutes without explaining why that duration matters. The time window aligns with how long gluten needs to reorganize under sustained, moderate heat. Push past 60 minutes and you’re breaking down the very network you built during kneading. Use an instant read thermometer to verify doneness rather than guessing by texture. When seitan hits that 185-degree target, stop cooking immediately and let it cool in the broth to lock in moisture.
Heat Transfer In Steaming Versus Baking Seitan
Steaming and baking are not interchangeable, and pretending they are wastes your protein batch. Steaming uses convective heat through moist air, which transfers energy more efficiently than dry air baking does. A steamed seitan reaches your target internal temperature faster and more evenly because water vapor clings to the surface, preventing the outer layer from drying before the center cooks through. Baking relies on radiant and conductive heat, which creates a moisture gradient that often results in a dense exterior and undercooked core.
For meal prep consistency, steam seitan wrapped in parchment or foil for 35 to 45 minutes over a pot of simmering broth. This method holds the surface temperature steady and eliminates the guesswork of oven calibration differences. After cooling, your steamed seitan slices cleanly and stays moist through reheating cycles. If you bake instead, wrap tightly, set your oven to 350 degrees, and check internal temperature at the 30-minute mark, then every 5 minutes after. Steaming beats baking for meal prep because the result is predictable and the texture survives four to five days of refrigeration without cracking.
Healthy Seitan Dinner The Micronutrient Blueprint
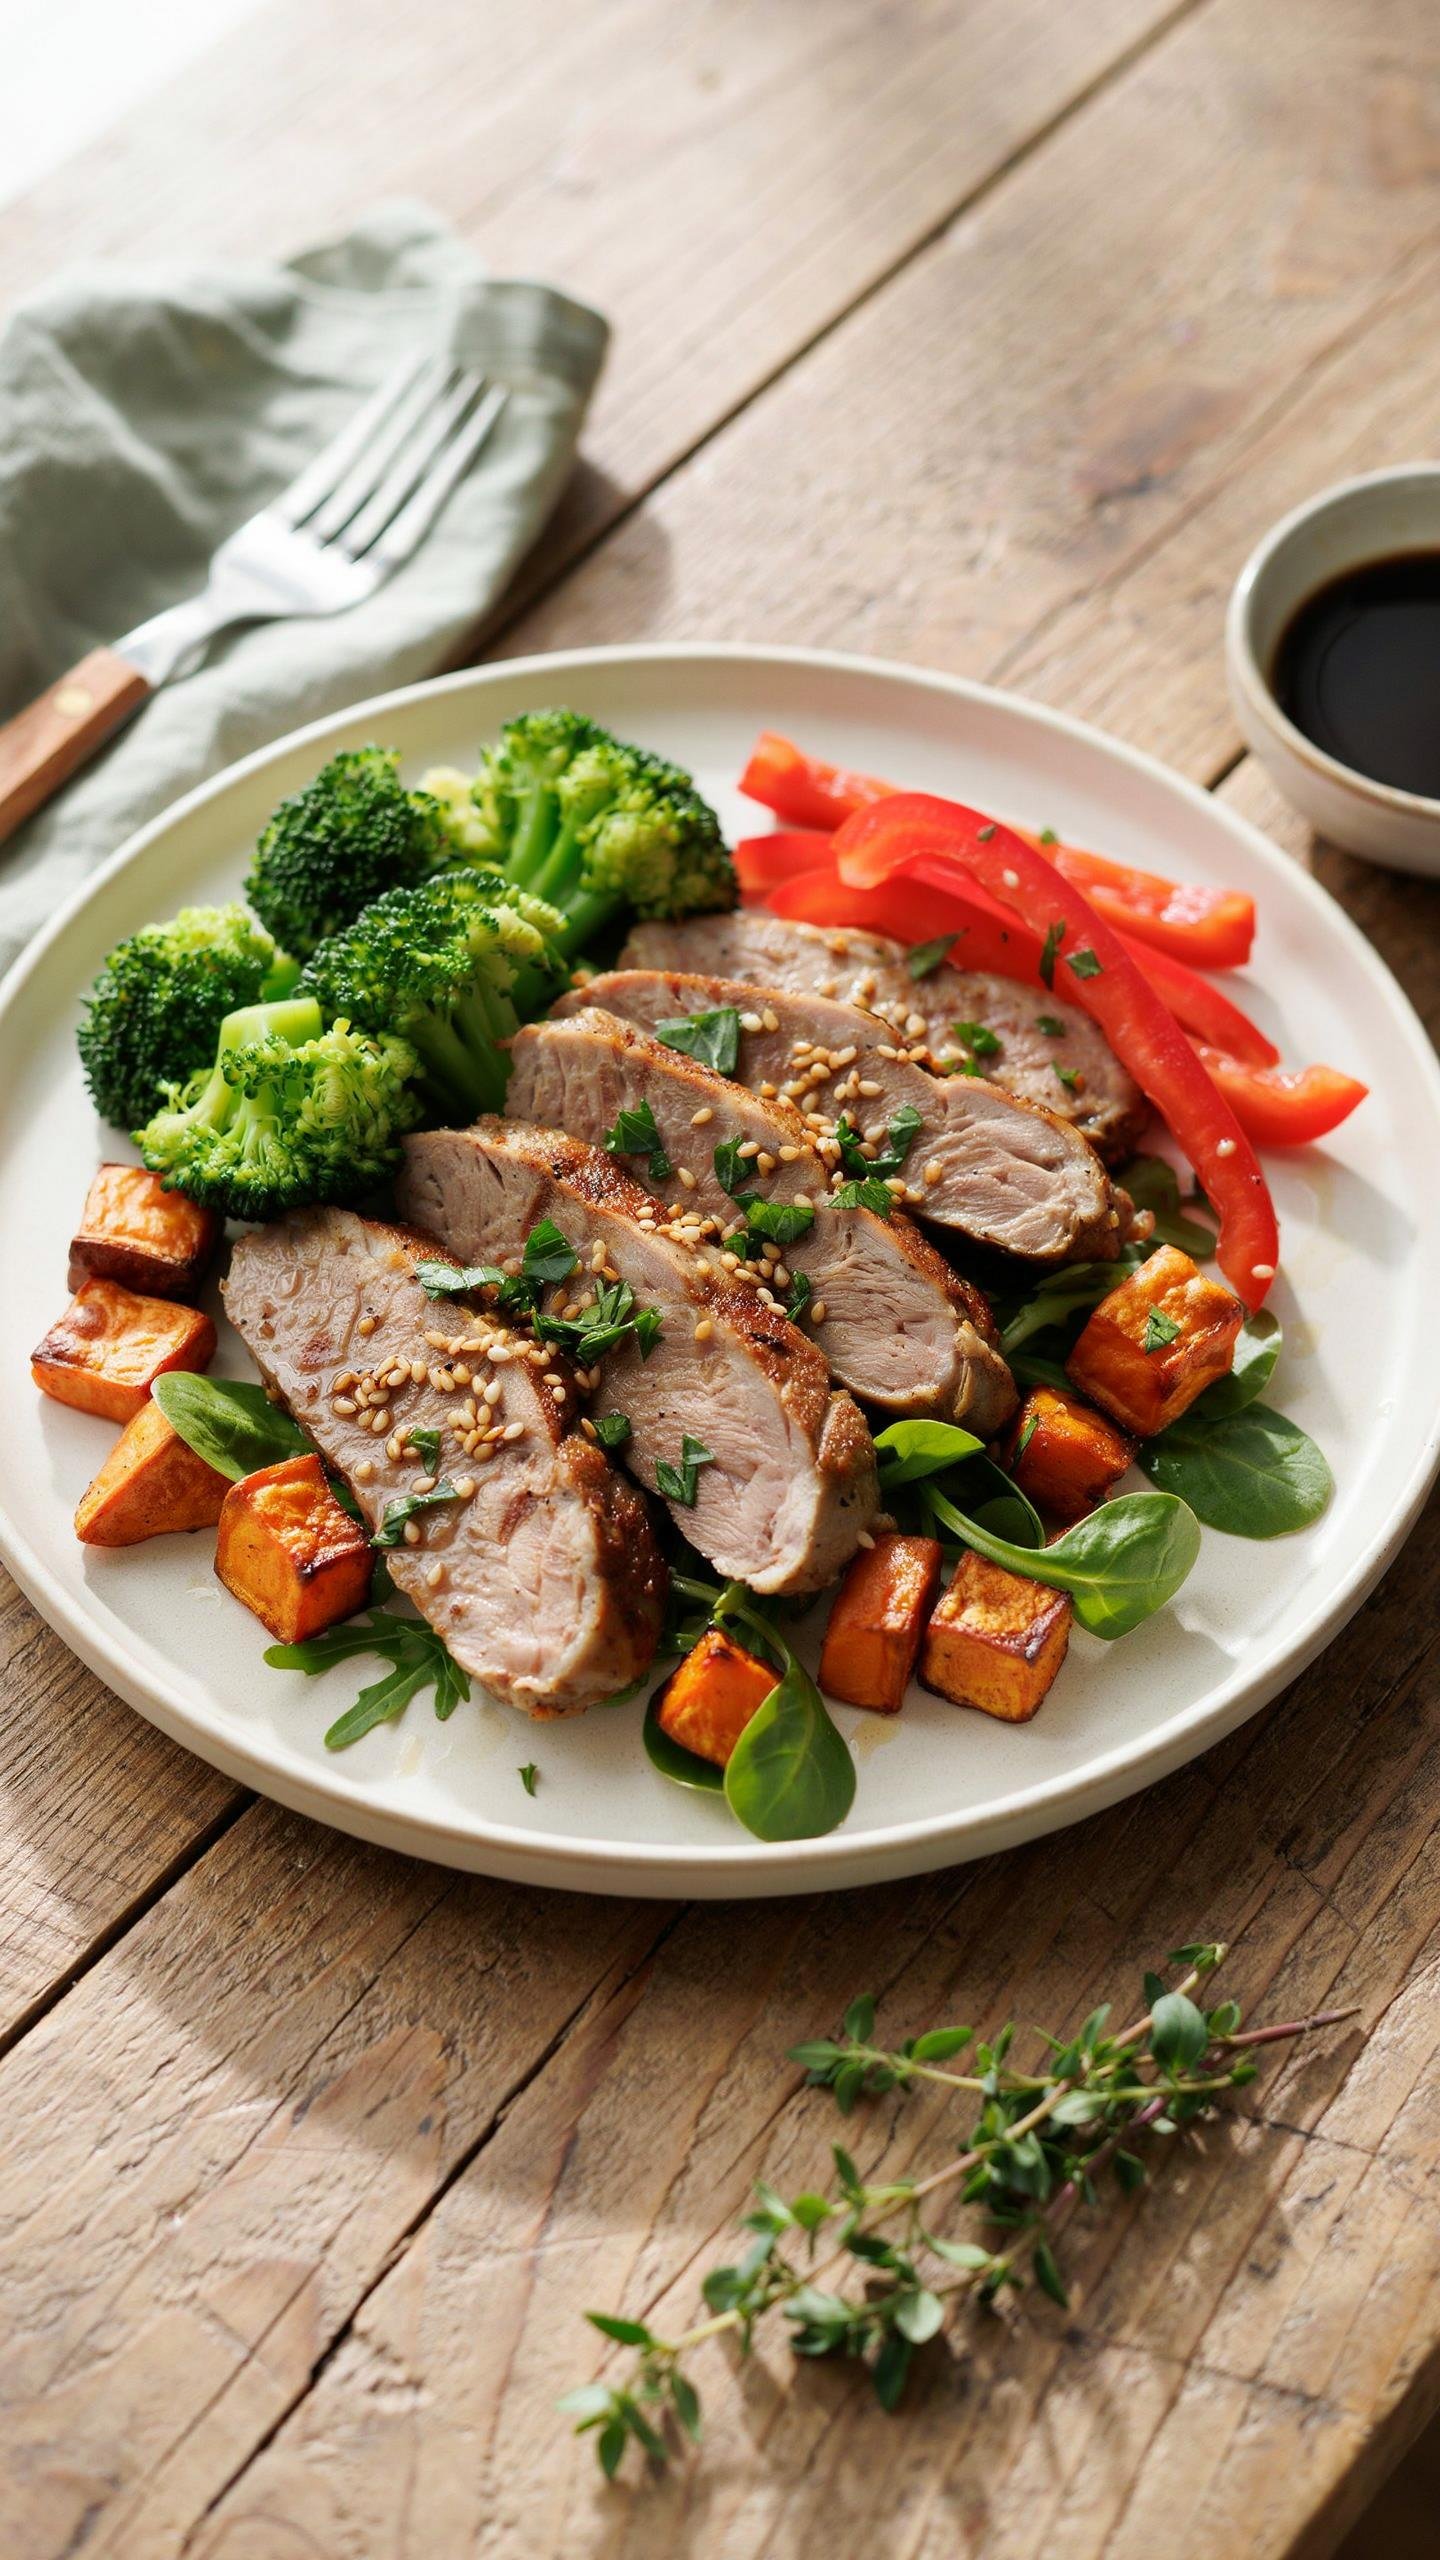
Build Around Cruciferous And Leafy Greens
You’re really asking whether your protein meal will actually move your body forward or just fill your stomach. The mechanism is nutrient density per calorie, and seitan loses this fight on its own. Seitan is wheat gluten stripped of its bran and germ, which means it carries minimal micronutrients beyond protein. Pair it with vegetables that pack iron, folate, and minerals into low calorie volumes: broccoli, kale, spinach, Brussels sprouts. These aren’t optional sides. They’re the nutritional ballast that makes the meal functional.
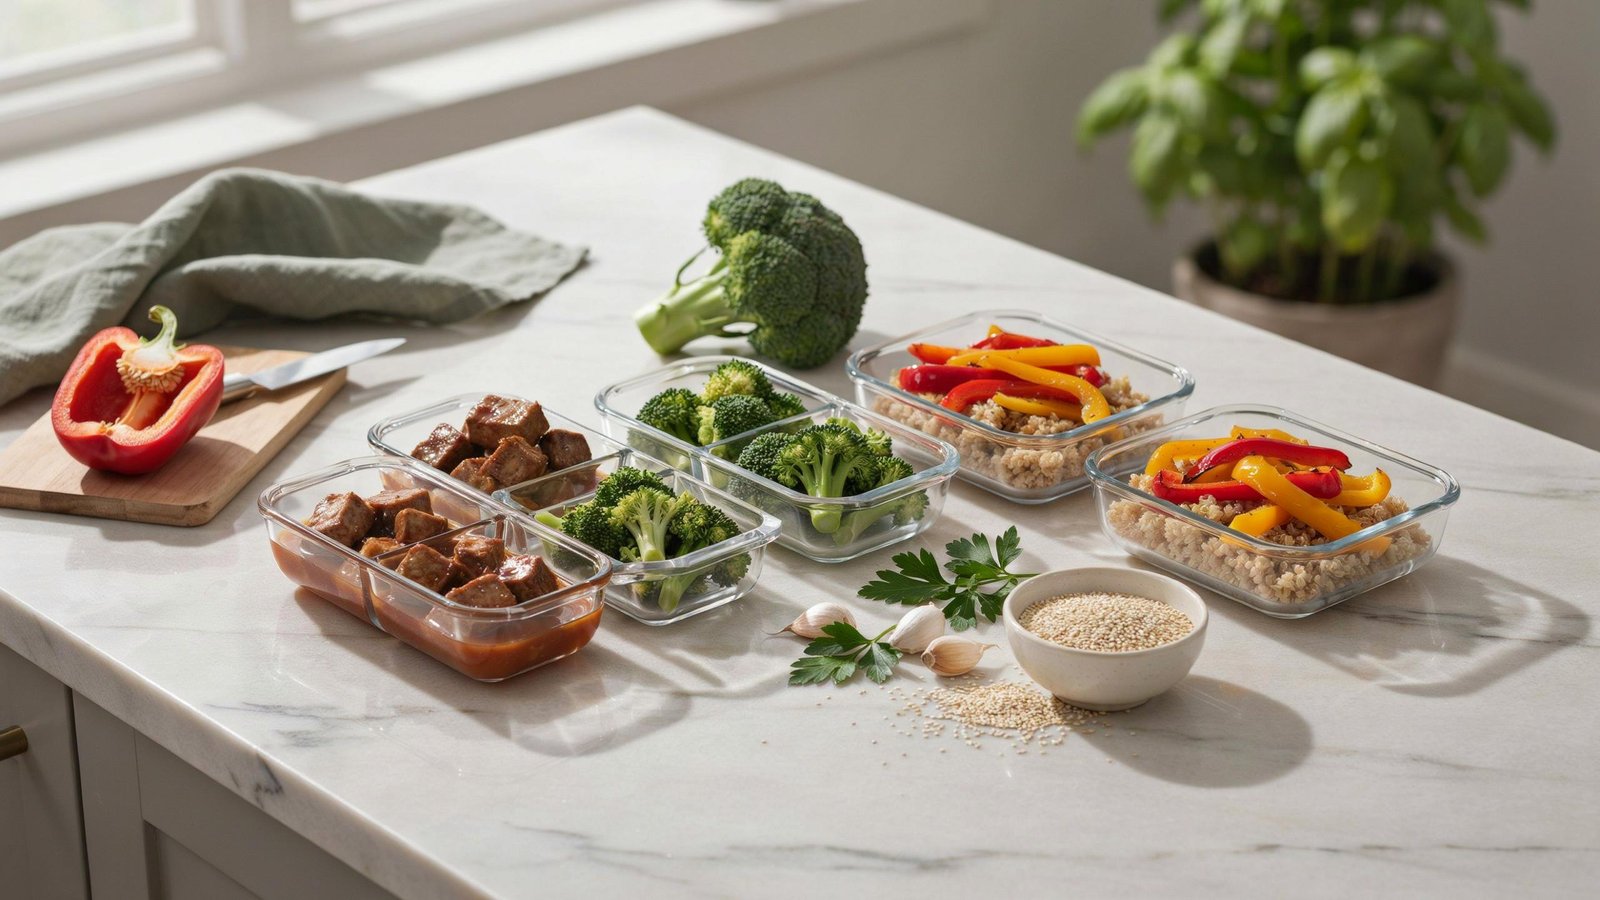
The ratio matters more than variety. Aim for vegetables to occupy roughly half your plate by volume. This forces you to consume meaningful quantities of micronutrients without excess calories. A 150-gram seitan portion paired with 200 grams of raw leafy greens and 150 grams of cooked cruciferous vegetables creates a complete micronutrient profile. Cook the greens with the seitan in the same pan to preserve heat and minimize prep steps. Prep these components in bulk and portion them into identical containers. The repetition reduces decision fatigue and guarantees consistency across all your seitan meals.
Acid And Fermentation Unlock Iron Bioavailability
Iron absorption operates like supply chain logistics: you can have inventory sitting in your warehouse, but if your delivery system is broken, it never reaches the store. Seitan contains non-heme iron, which your body absorbs poorly on its own. Vitamin C and acidic environments increase non-heme iron absorption by three to four times. Pair seitan meals with foods high in vitamin C: tomatoes, bell peppers, citrus juice added to cooking liquid. Fermented elements like sauerkraut or miso also enhance bioavailability through their acidic profiles and enzyme activity.
B12 requires a separate strategy because seitan contains none naturally. Nutritional yeast provides B12 in bioavailable form and costs almost nothing to add to your meal prep. Sprinkle two tablespoons of fortified nutritional yeast over your seitan base during cooking or afterward. This single step eliminates the B12 gap entirely. Store your prepped meals in glass containers, not plastic, because the acidic vegetables can leach compounds from plastic over time. Keep meals refrigerated and consume within four days for maximum nutrient retention.
Seitan Marinade Flavor Adhesion Principles

How Acid Changes Protein Structure
You want the marinade to stick because you’re tired of bland protein that tastes like nothing. Here’s the mechanism: acid denatures seitan’s wheat gluten network by breaking hydrogen bonds, creating micro-fissures where flavor compounds lodge. Vinegar, citrus, and soy sauce don’t just add taste—they alter the protein’s surface chemistry, turning it into a sponge instead of a wall.
The confusion starts here. Most guides say acid “tenderizes” seitan, which is backwards. Seitan is already tender. Acid’s real job is temporary structural compromise—it opens pathways for salt, umami, and fat to penetrate deeper than surface coating alone. Marinate for 12 to 24 hours. Beyond that, the acid overshoots and creates mush. The window is narrow.
Emulsification Creates Even Distribution
Oil and vinegar don’t mix, which means your marinade separates into layers during storage. Emulsified marinades use lecithin, mustard, or egg to suspend fat droplets uniformly throughout the liquid, ensuring every cubic inch of seitan gets coated identically. Think of emulsification as a chemistry term: phase stabilization. You’re preventing two incompatible substances from splitting back apart.
Skip the conventional approach of whisking marinade and hoping it holds. Use a blender or food processor for 90 seconds. Add mustard powder first, then slowly introduce oil while blending. This creates stable micro-emulsions that cling to seitan’s surface and penetrate the acid-opened channels simultaneously. The result is flavor distribution that’s consistent from batch to batch, not dependent on luck or technique variance.
Recipes With Seitan The Macros First System
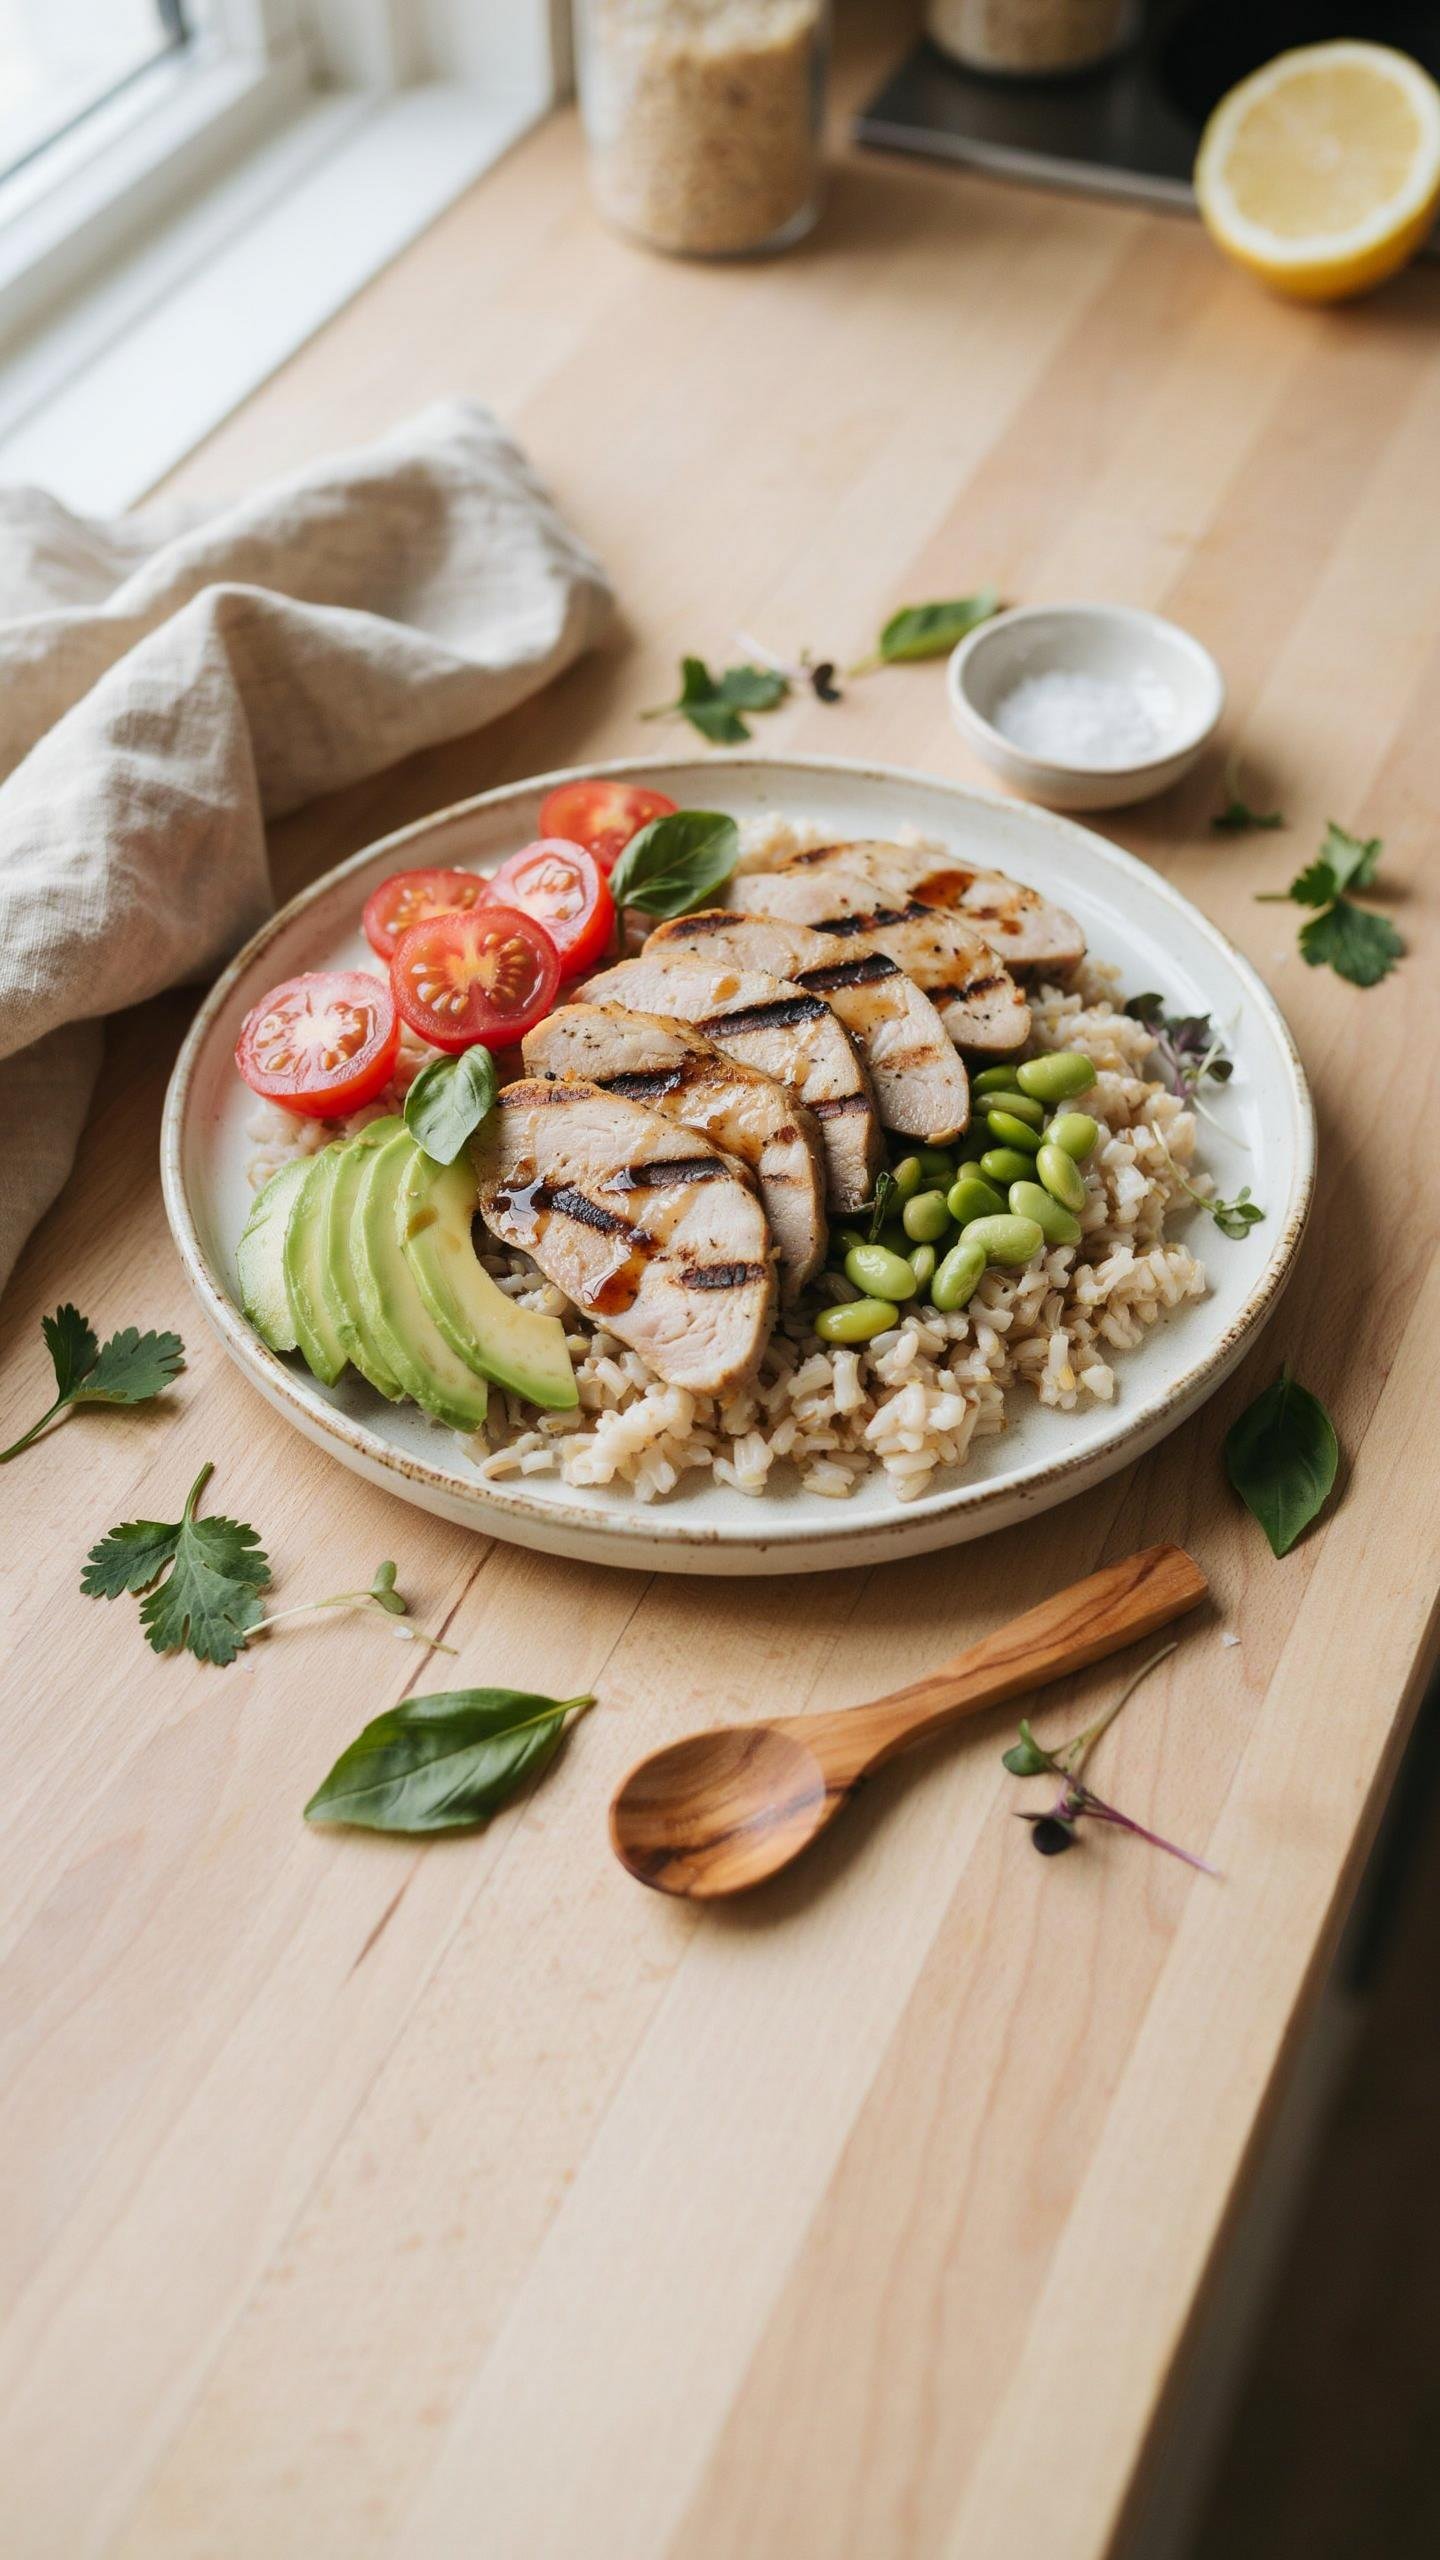
Start With The Protein Target, Not The Dish
You want to feel like you’re eating real food, not hitting numbers on a spreadsheet. But that’s exactly why you need to reverse engineer the math first. Most people design a meal around what sounds good, then panic when the protein falls short. This creates wasted prep time, ingredient bloat, and meals that don’t actually support muscle or satiety. Seitan’s advantage is its density: one preparation method yields wildly different protein outcomes depending on hydration and vital wheat gluten ratio.
Start by defining your protein goal per meal, not your dish concept. If you need 40 grams of protein and you’re using seitan as your anchor, you now know the load-bearing requirement before you pick flavors or textures. This removes decision paralysis. You cook seitan to a known output, then build everything else around that fixed variable. The constraint creates clarity, not limitation.
Calculate Yield By Method And Ratio
Vital wheat gluten creates protein through dehydration and concentration, not magic. The protein content of your final seitan product depends entirely on the gluten-to-liquid ratio you use. A denser bake yields more protein per volume than a steamed, wetter version. Common error: people assume all seitan is roughly equivalent. It isn’t. A baked seitan at a 1:1 gluten-to-broth ratio delivers approximately 25 grams of protein per 100 grams of finished product. Steamed seitan at a 1:2 ratio drops to roughly 12-15 grams per 100 grams because it absorbs more liquid during cooking.
Track this precisely because your meal math depends on it. If you’re prepping five days of meals and need 35 grams of protein per lunch, you can’t eyeball seitan quantity. Weigh your vital wheat gluten before cooking, note your liquid ratio, and log the final cooked weight. Divide cooked weight by protein content to find your required portion size. This becomes your meal prep constant. Use it every time you build that recipe.
Seitan Recipes Vegan Engineering For Longevity
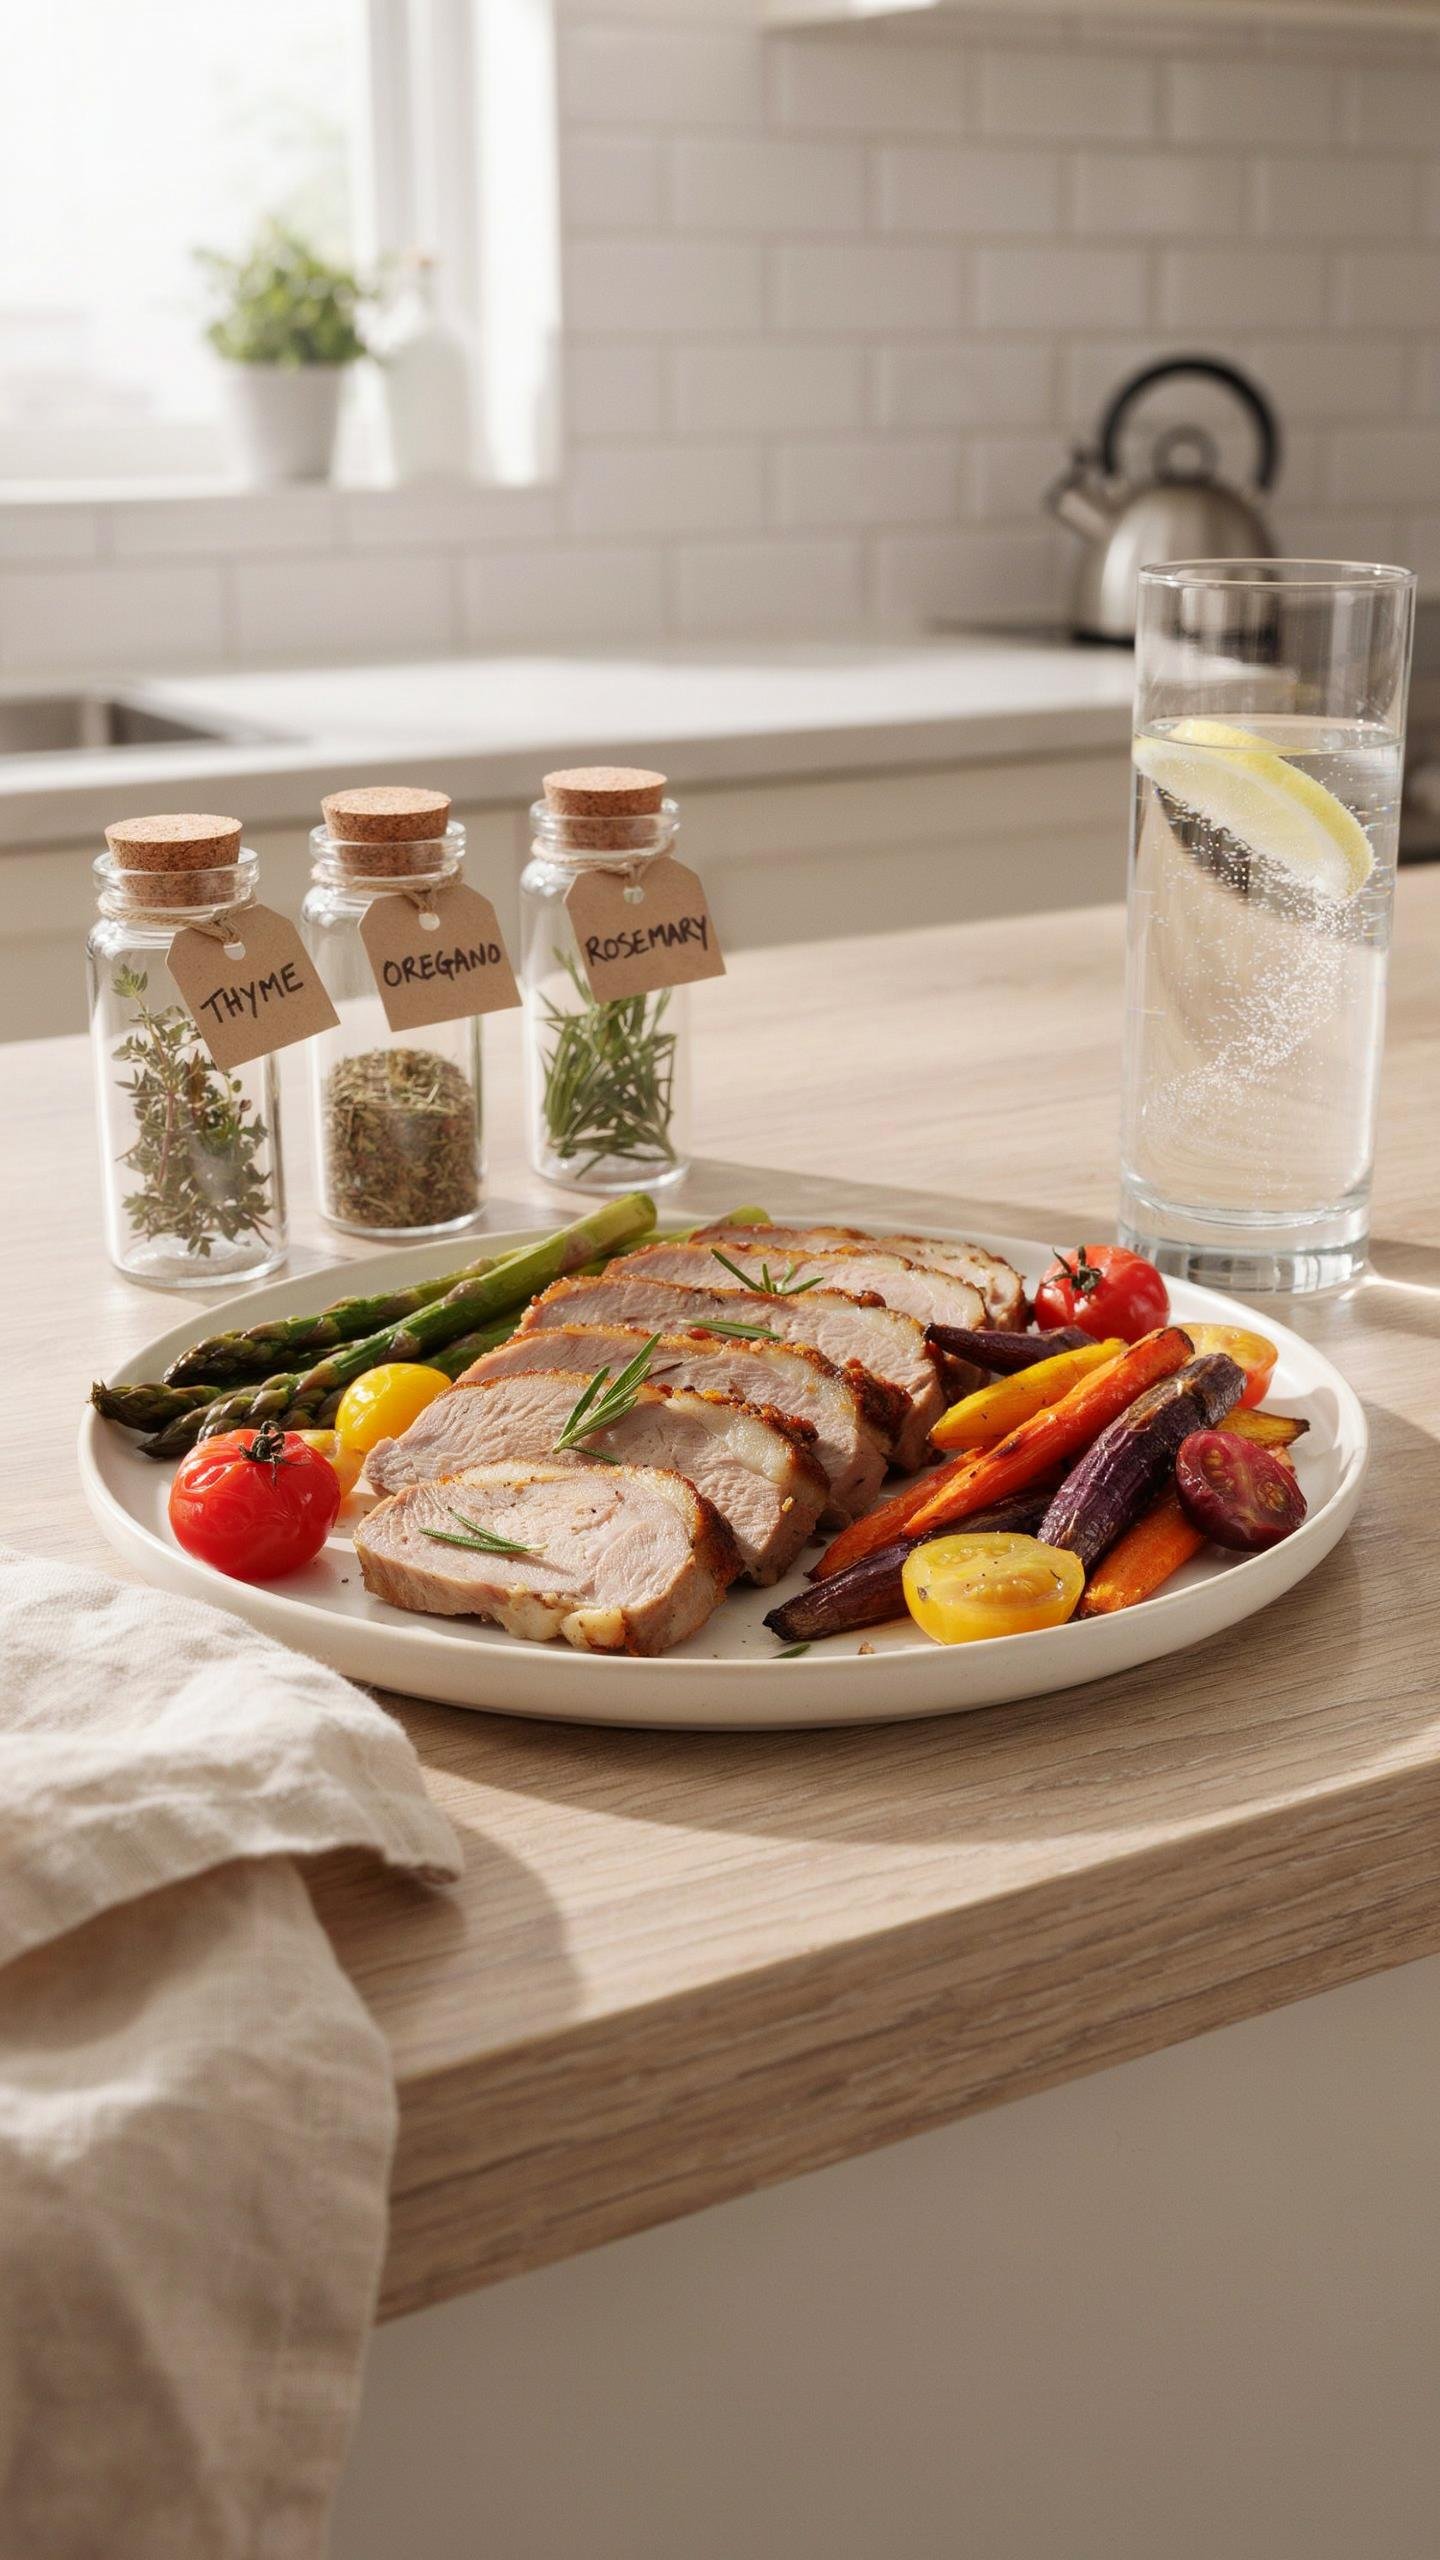
The Feedback Loop Between Moisture And Decay
You want your meal prep to last because you’re terrified of wasting money and time on food that spoils. Here’s the mechanism: seitan is wheat gluten protein suspended in moisture. Bacteria and mold don’t attack the protein directly—they colonize the water. This is a feedback system borrowed from cybernetics. The wetter your seitan, the faster decay accelerates because microbial reproduction compounds exponentially once conditions permit it.
Most meal prep advice says “just refrigerate it.” That’s lazy. Seitan stored in its cooking liquid degrades faster than seitan dried to the surface and sealed. The liquid creates a bacterial breeding ground. Your goal isn’t to remove all moisture—seitan needs some to stay edible—but to reach equilibrium where water content stabilizes below the threshold where microbes thrive efficiently. Store seitan in airtight containers with minimal excess liquid. Change the brine weekly if you’re keeping it longer than five days.
Temperature Precision Prevents Texture Collapse
Freezing seitan works. Refrigeration works. But the transition between them destroys texture if you’re careless. Seitan freezes at 32°F, but ice crystal formation happens slowly between 40°F and 0°F. Slow freezing creates large crystals that puncture cell walls, turning your seitan into mush when thawed. Fast freezing below 0°F creates smaller crystals that do less damage.
The real play is this: freeze seitan at 0°F or below, thaw it in the refrigerator, never on the counter. If you thaw at room temperature, you’re creating a warm, moist environment where microbes wake up before the seitan fully defrosts. Thawing in the fridge keeps the exterior cold while the interior slowly reaches temperature, minimizing the growth window. Seitan stored this way stays usable for three weeks frozen, five days refrigerated in proper containers. Speed matters less than the cold chain’s consistency.
Seitan Recipe Batch Prep Automation
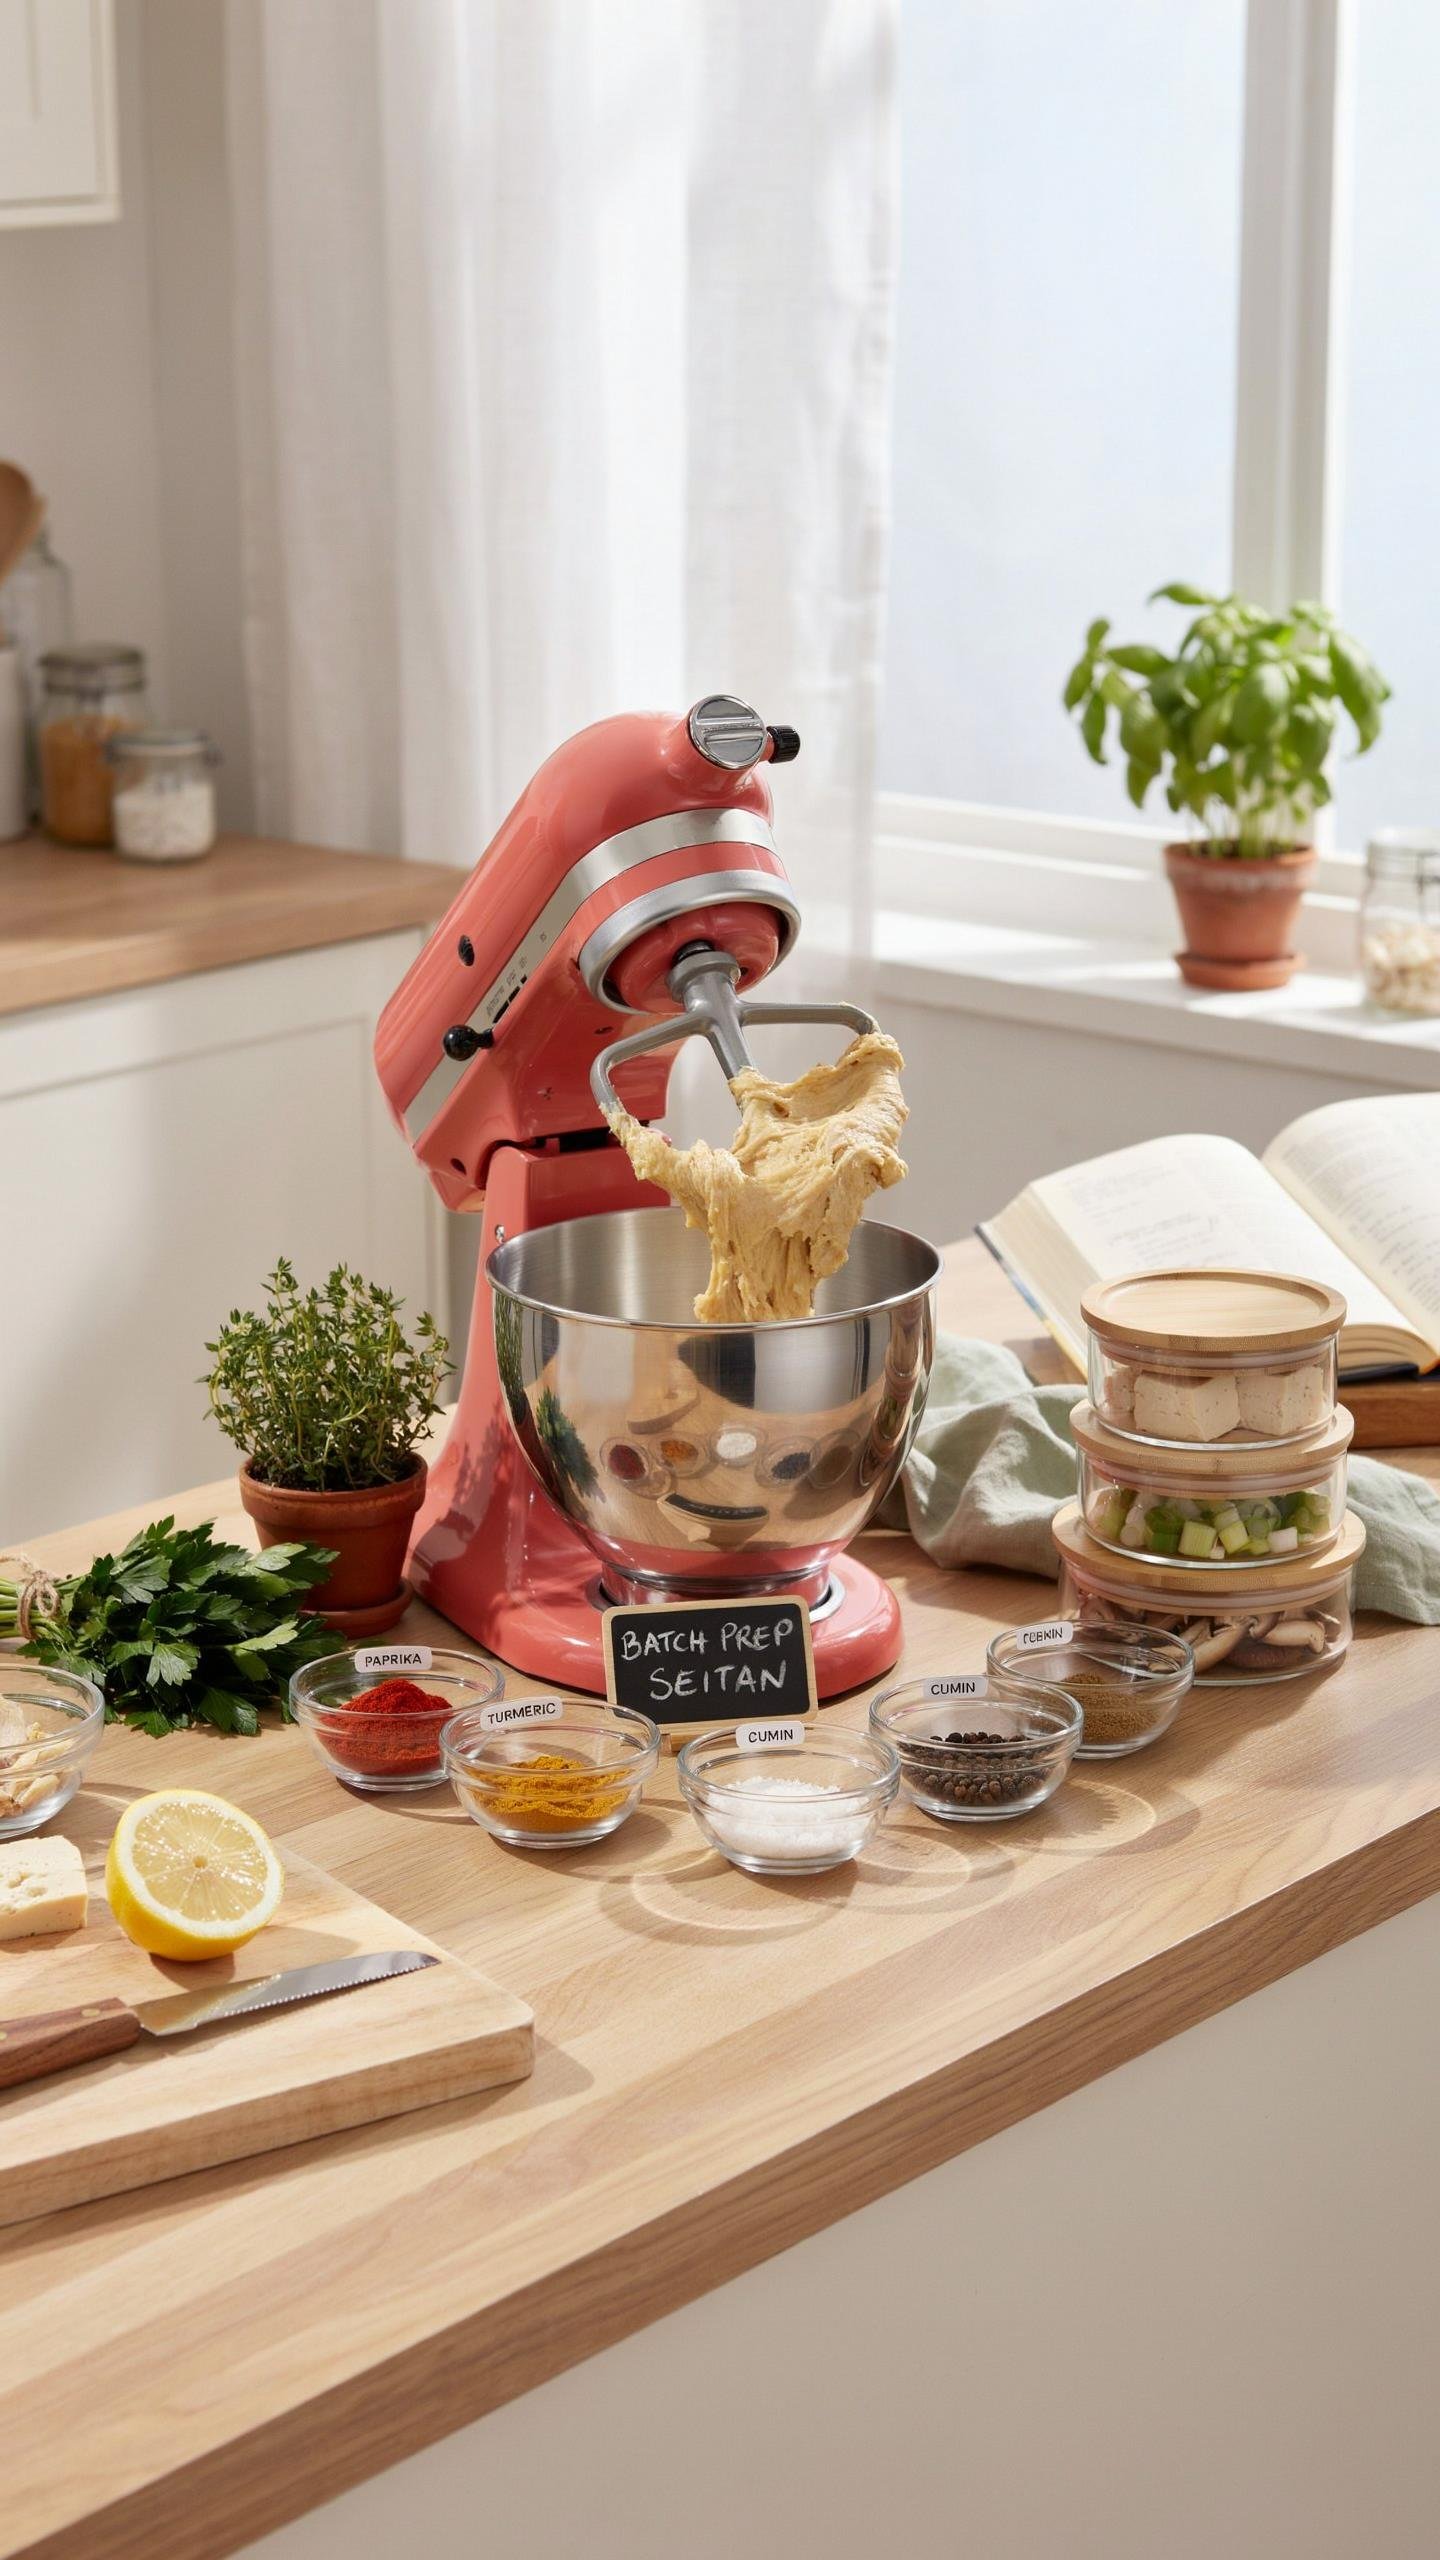
The Repeatable Mix Formula
You want this section because you’re tired of seitan batches turning out inconsistent, wasting protein and time. The real mechanism is standardization through constraint. Like manufacturing uses tolerance ranges to ensure identical output, seitan prep needs fixed ratios and fixed procedures. Variable results come from variable inputs, not luck.
The baseline formula that works: one part vital wheat gluten to half a part liquid (water or broth), plus seasoning at fixed percentages. Mix at the same speed for the same duration every time. You’re not creating art here, you’re building a production line inside your kitchen.
- Vital wheat gluten to liquid ratio: Hold 1:0.5 ratio constant. This controls dough hydration and final texture. Deviations create chewy or crumbly results.
- Seasoning by weight, not taste: Use a scale for soy sauce, nutritional yeast, garlic powder. Taste testing introduces human error into batch replication.
- Mix time ceiling: Knead for exactly 8-10 minutes. Over-working toughens; under-working leaves gaps. Set a timer and stop.
- Water temperature: Start with 90-95 degree water. Cold water slows gluten development; hot water accelerates it unevenly across the batch.
- Pre-measured ingredient containers: Portion dry ingredients into labeled containers before the week starts. This eliminates micro-measurement errors during prep day.
The output of standardized inputs is predictability. Once you’ve nailed three identical batches in a row using this method, you’ve eliminated the variable that actually mattered: your own inconsistency. From there, scaling up is just multiplication.
Steaming And Cooling At Scale
Most people simmer seitan in broth, which works but doesn’t scale cleanly. Steaming removes the variable of water absorption mid-cook and gives you precise timing. Think of it like industrial process control: you’re removing environmental noise from the system.
Set up a double-boiler or use a steamer basket in a large pot. Lay logs on parchment paper so they don’t touch the water. Steam for exactly 90 minutes at a rolling boil. The parchment prevents waterlogging and makes removal instant. After steaming, move logs directly to an ice bath for 15 minutes to stop the cooking process and lock in firmness. This phase matters more than people admit: residual heat keeps denaturing proteins even off the heat source.
Let seitan rest in the cooler for at least 4 hours before slicing or storage. The gluten network sets during this time, making it less fragile when you portion it. Cut logs into meal-sized pieces once cooled, then vacuum seal or freeze in portioned containers. The entire workflow from mixed dough to freezer-ready takes roughly two hours for a quadruple batch. Don’t deviate from the cooling step to rush the process.
The real obstacle isnt the recipe its your refusal to treat food as a system you can master not just consume

Most people see seitan meal prep as a chore. They cook once, eat it, forget it. You need to flip this. Start viewing your kitchen as a production facility. This weekend, make one batch of seitan. Season it three different ways. Freeze it in portions. That single decision transforms seitan from a one-off meal into a system that feeds you for weeks without thinking. You stop being a person who eats and become a person who builds. The gap between people who stay lean and people who don’t isn’t willpower. It’s infrastructure.