
The Moisture Matrix Protocol Why Your Chicken Dries Out
What Actually Happens Inside The Meat
You care about this because dry chicken feels like personal failure. It’s not. Chicken breast is muscle tissue composed of protein fibers bound together by connective tissue, with water trapped between the fibers and inside the cells themselves. When you cook chicken, heat causes the protein fibers to contract and squeeze out moisture. The longer and hotter you cook, the more water escapes. This is physics, not opinion.
The muscle fibers in chicken breast contain myosin and actin proteins that unwind and tighten under heat. Once that happens, the gaps between fibers shrink. Water that sat in those gaps gets expelled. Cook past 165 degrees Fahrenheit and you’re not just hitting a safe temperature, you’re actively wringing the meat dry. The real battle is cooking just enough to denature the proteins for food safety without triggering excessive water loss. Most people overcook by 5 to 10 degrees because they don’t trust their thermometer.
Cooking Methods And What They Actually Do
The common advice tells you to poach, grill, or bake chicken breast. That’s incomplete because it ignores the heat distribution difference between methods. Poaching keeps chicken in 180-degree water, which denatures proteins slowly and keeps the surface from drying while the center cooks. Grilling and high-heat baking create steep temperature gradients: the outside hits 300-plus degrees while the inside is still cool, which dries the exterior before the center finishes cooking.

Sous vide and low-temperature oven cooking work because they eliminate that gradient. The chicken heats evenly throughout at a lower temperature, so proteins denature without aggressive water loss. If you’re using a standard oven or stovetop, you’re fighting against the method itself. The mechanism that determines juiciness isn’t the cooking method, it’s how fast the exterior temperature rises relative to the interior. Control the temperature rise, control the moisture.
Brine Dont Marinate The Real Chicken Meal Prep Solution
Why Salt Actually Works
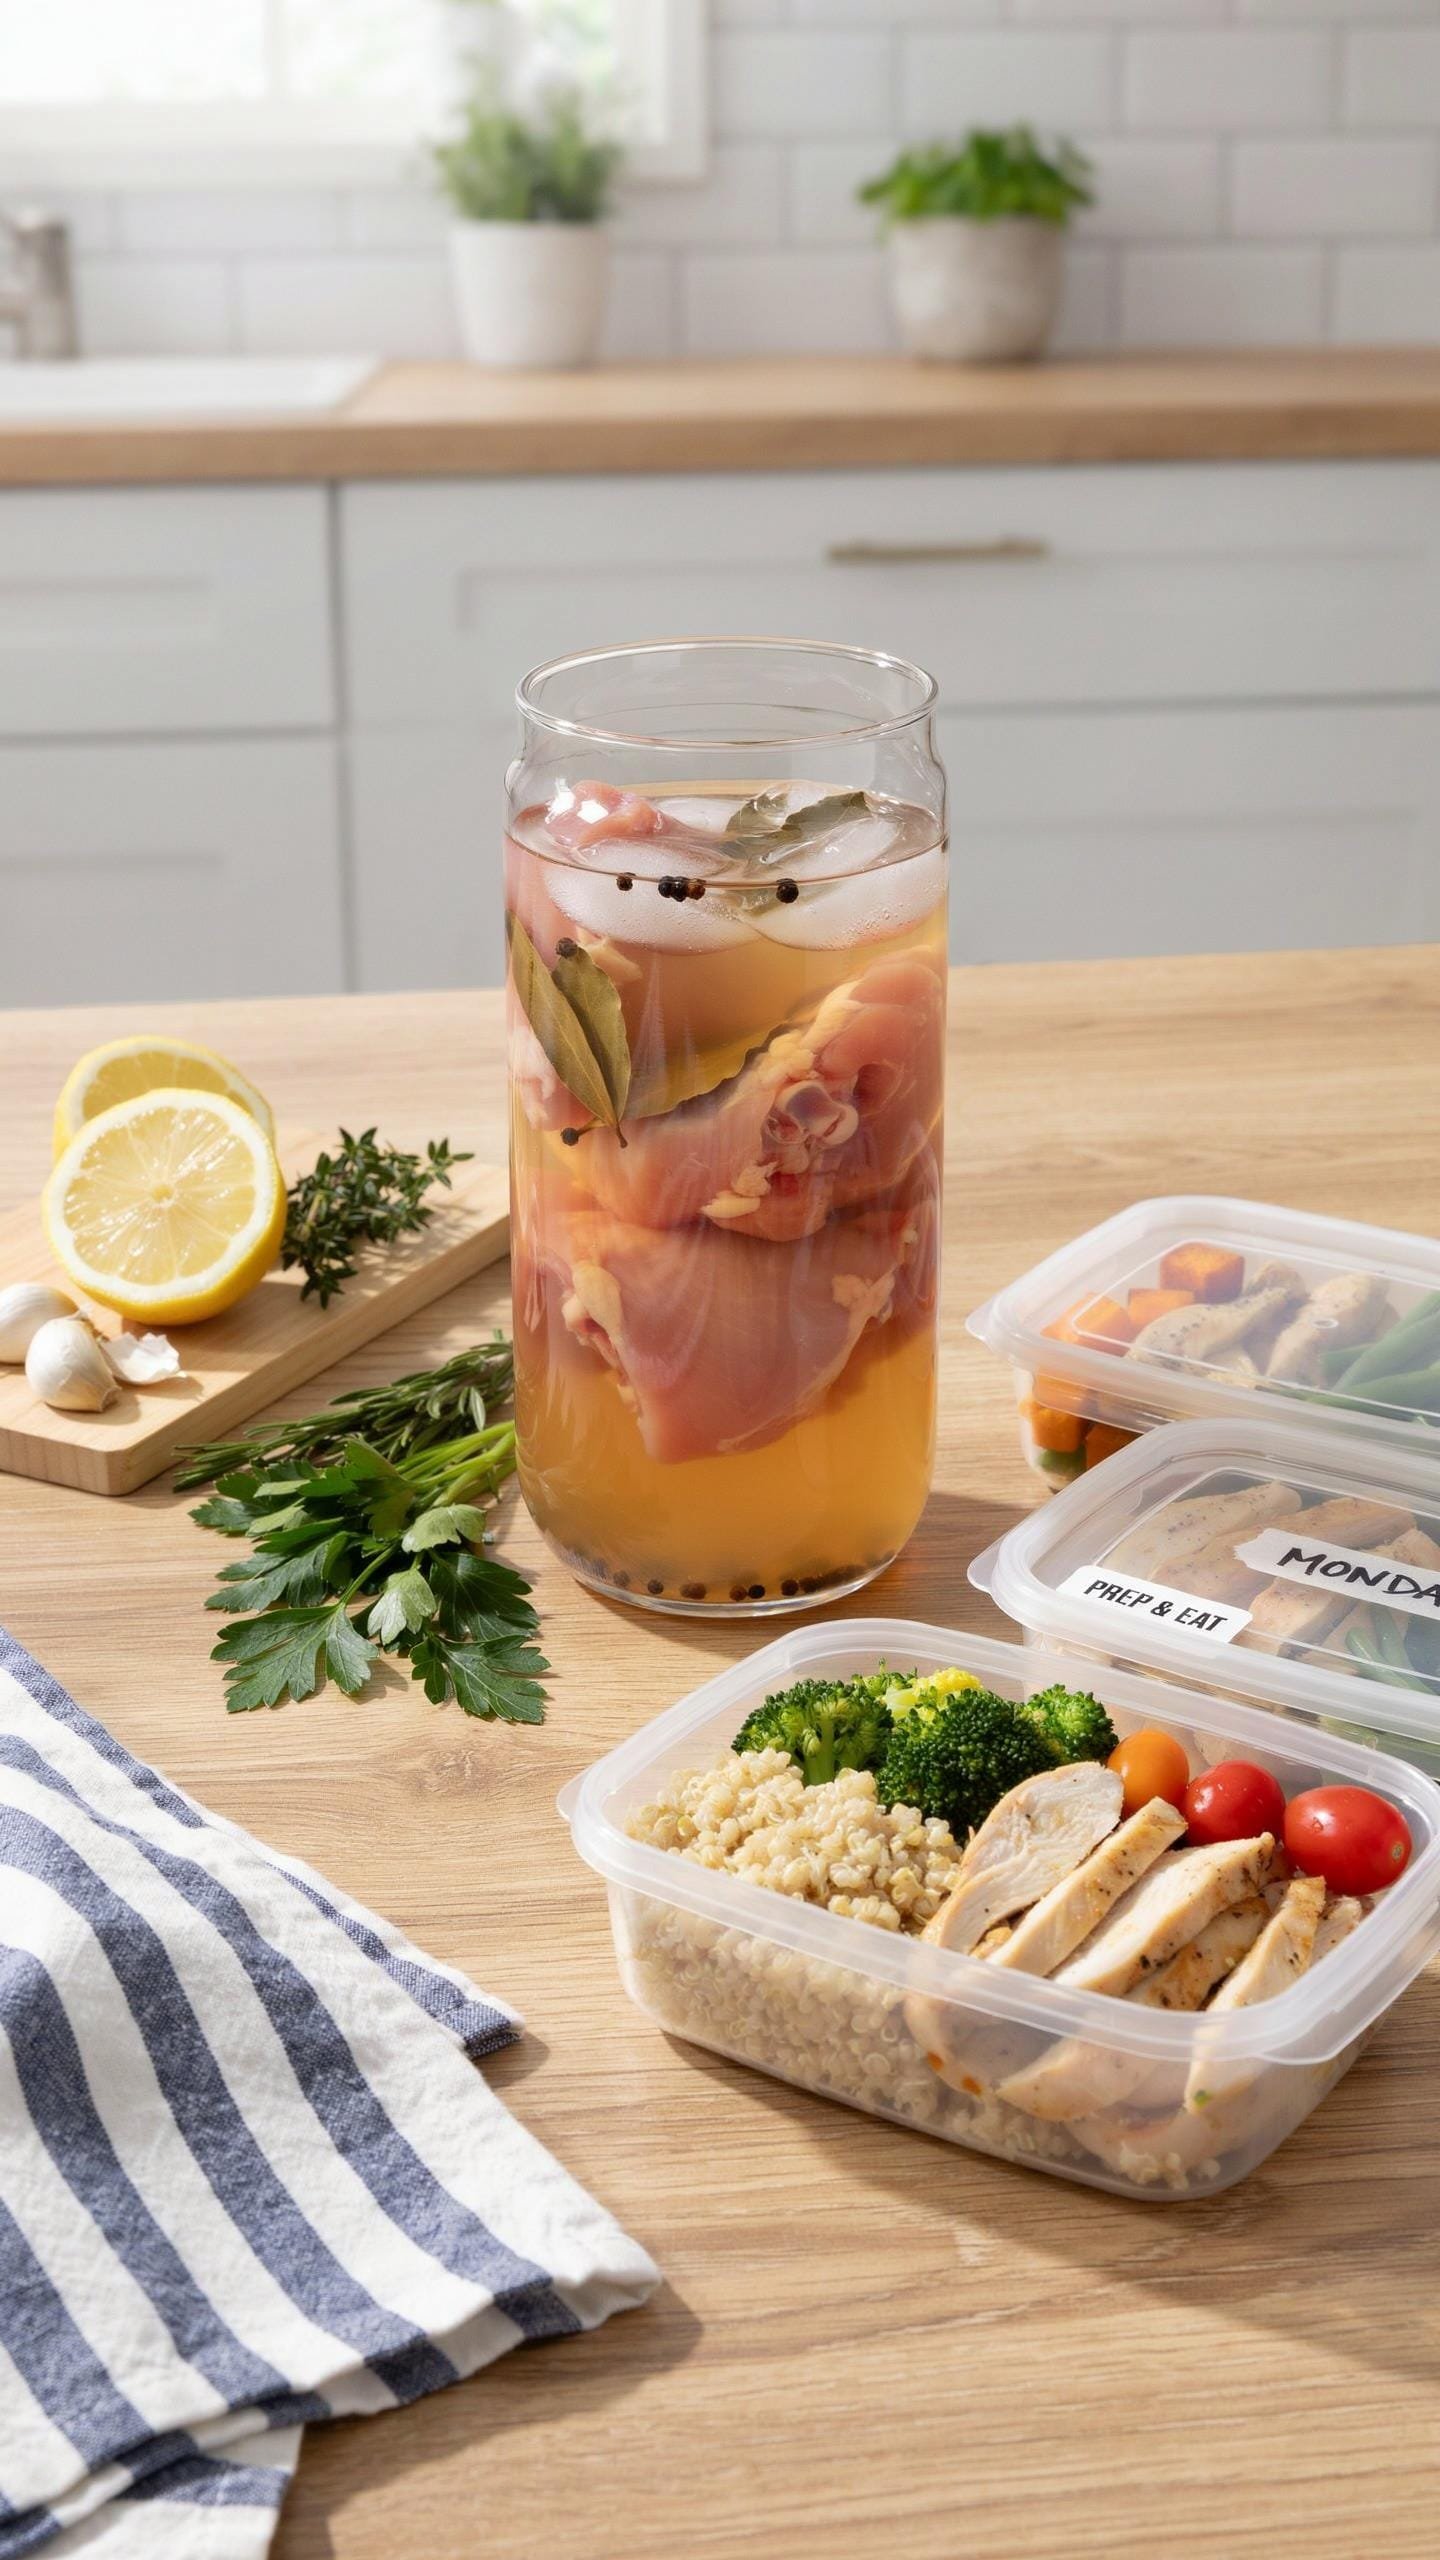
You want juicy chicken all week because dry chicken feels like failure, and you’re not wrong. Here’s what actually happens: salt uses osmosis, a biological transport mechanism, to pull water into the muscle fiber rather than letting it escape during cooking. The sodium ions break down muscle proteins and allow cells to retain moisture they’d otherwise expel as heat hits the meat.
Most people marinate chicken, which only seasons the surface. Brining works deeper because salt concentration gradients force water movement at the cellular level. The chicken doesn’t just taste better. It physically holds onto the liquid you’re trying to keep inside it. This is the mechanism nobody mentions because it sounds like chemistry instead of cooking.
The Numbers That Matter
Forget guesswork. A basic brine ratio is one tablespoon of salt per cup of water, which gives you roughly a five percent salt solution. Soak chicken breasts for two to four hours at room temperature, or up to twelve hours in the refrigerator. Longer than twelve hours makes the meat mushy because the salt denatures too much protein structure.
Time and temperature interact here. Room temperature brining works faster because osmosis accelerates with heat, but you risk bacterial growth past four hours. Refrigerator brining takes longer but stays safe indefinitely within the twelve-hour window. After brining, pat the chicken dry before cooking. Excess surface moisture steams the meat instead of searing it, which ruins texture and defeats the whole point.
The Low Slow Doctrine For Chicken Breast Meal Prep
Why Temperature Control Matters More Than Cook Time
You care about this because overcooking chicken feels like failure, and you want the guarantee that won’t happen to your Monday through Friday. The mechanism is protein denaturation. Chicken breast is roughly 70% water and 20% protein. Heat denatures those proteins, forcing them to unwind and bond with each other. Too fast, too hot, and they squeeze out all that water. Too slow, too cool, and you risk bacteria survival. The target is 165°F internal temperature where pathogens die but proteins haven’t contracted into a dense knot.
Most advice says “cook to 165 and pull it.” That’s incomplete. The time you spend at that temperature matters as much as reaching it. A thin breast hit with high heat reaches 165 fast but loses moisture during the climb. A thick breast cooked at lower heat reaches 165 slower, giving proteins time to relax and retain water before final denaturation locks in. The difference between dry chicken and juicy chicken lives in those minutes of intermediate temperature.
Sous Vide: Precision Without Guesswork
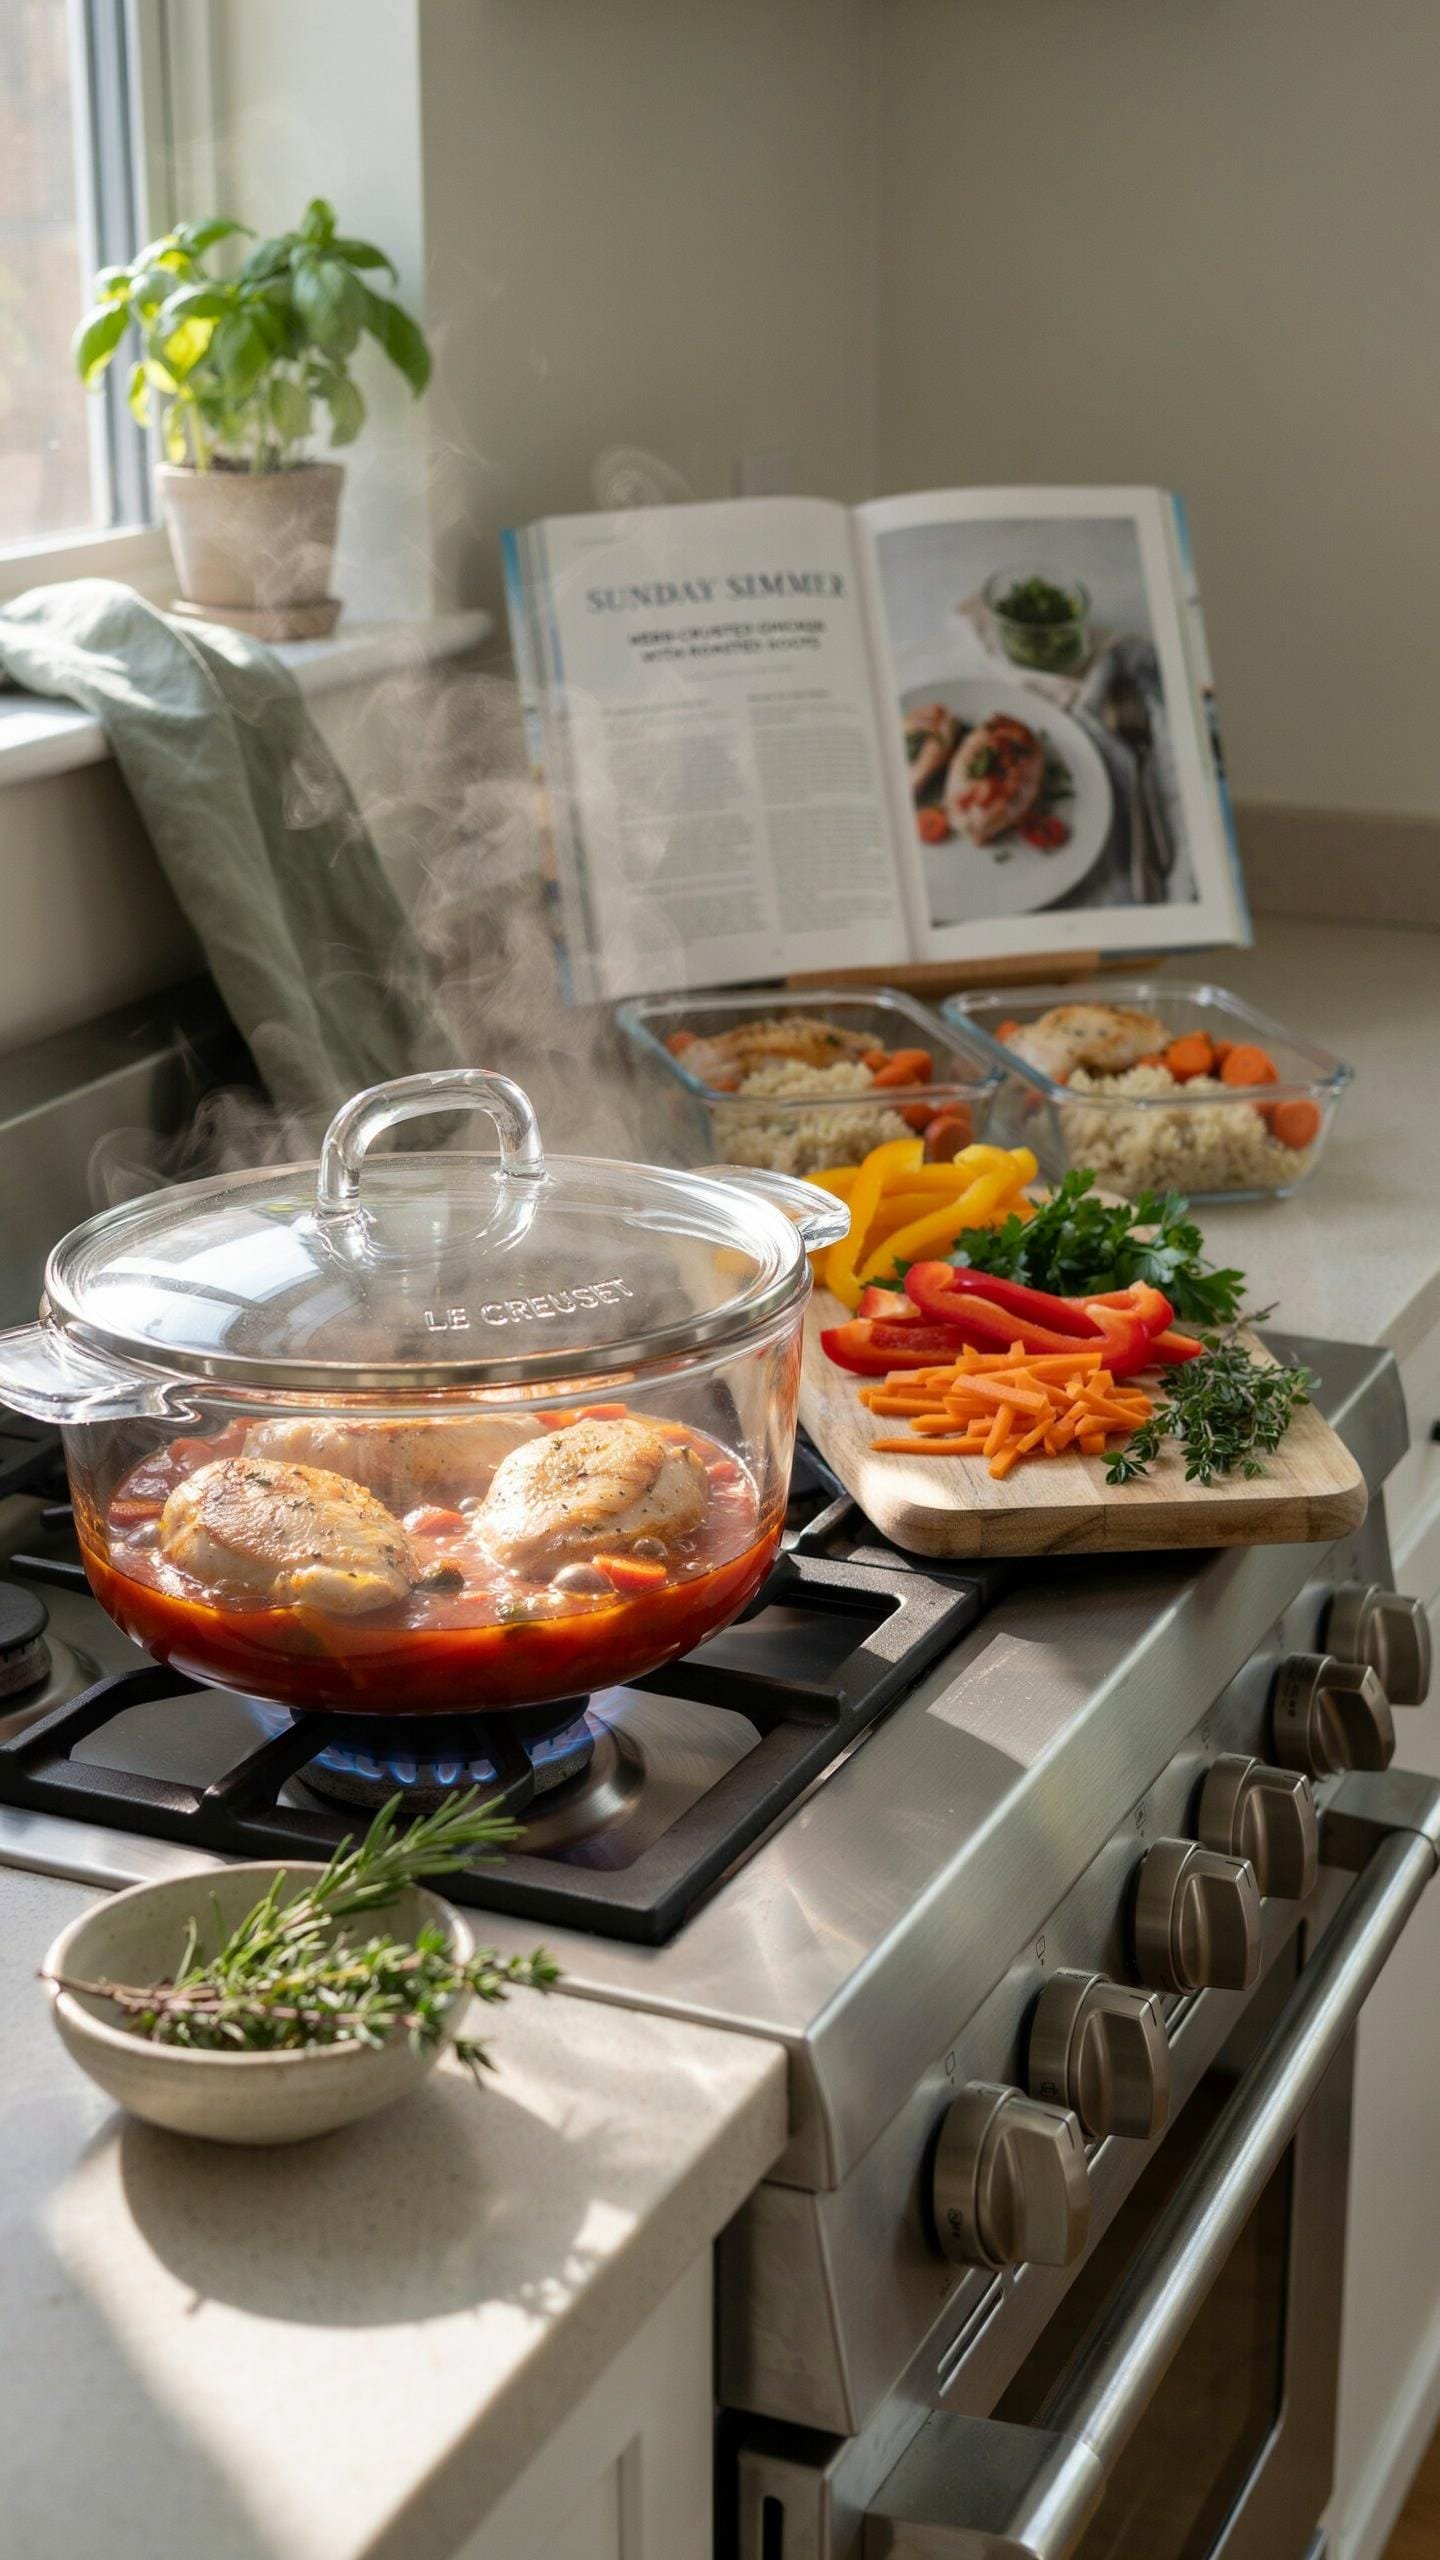
Sous vide removes the variables that ruin meal prep chicken. You vacuum seal the breast, submerge it in water heated to an exact temperature, and hold it there. The water conducts heat evenly from all sides. The chicken reaches that target temperature and stays there without overshooting. Most people think sous vide is about flavor. It’s about certainty.
Set your water bath to 151°F and cook for 90 minutes. The chicken breast reaches perfect doneness edge to edge with no gradient from overdone exterior to undercooked center. You can’t achieve this with oven or stovetop because those rely on ambient air or pan surface to transfer heat, creating temperature gradients. Pull the bag, sear the outside in a hot pan for 60 seconds per side to rebuild browning lost in the pouch, then portion and store. Sous vide solves the actual problem: making the same thing the same way, every time.
Fat As A Flavor Shield Beyond Chicken Breast Diet Recipes
Oil Coats The Protein Surface
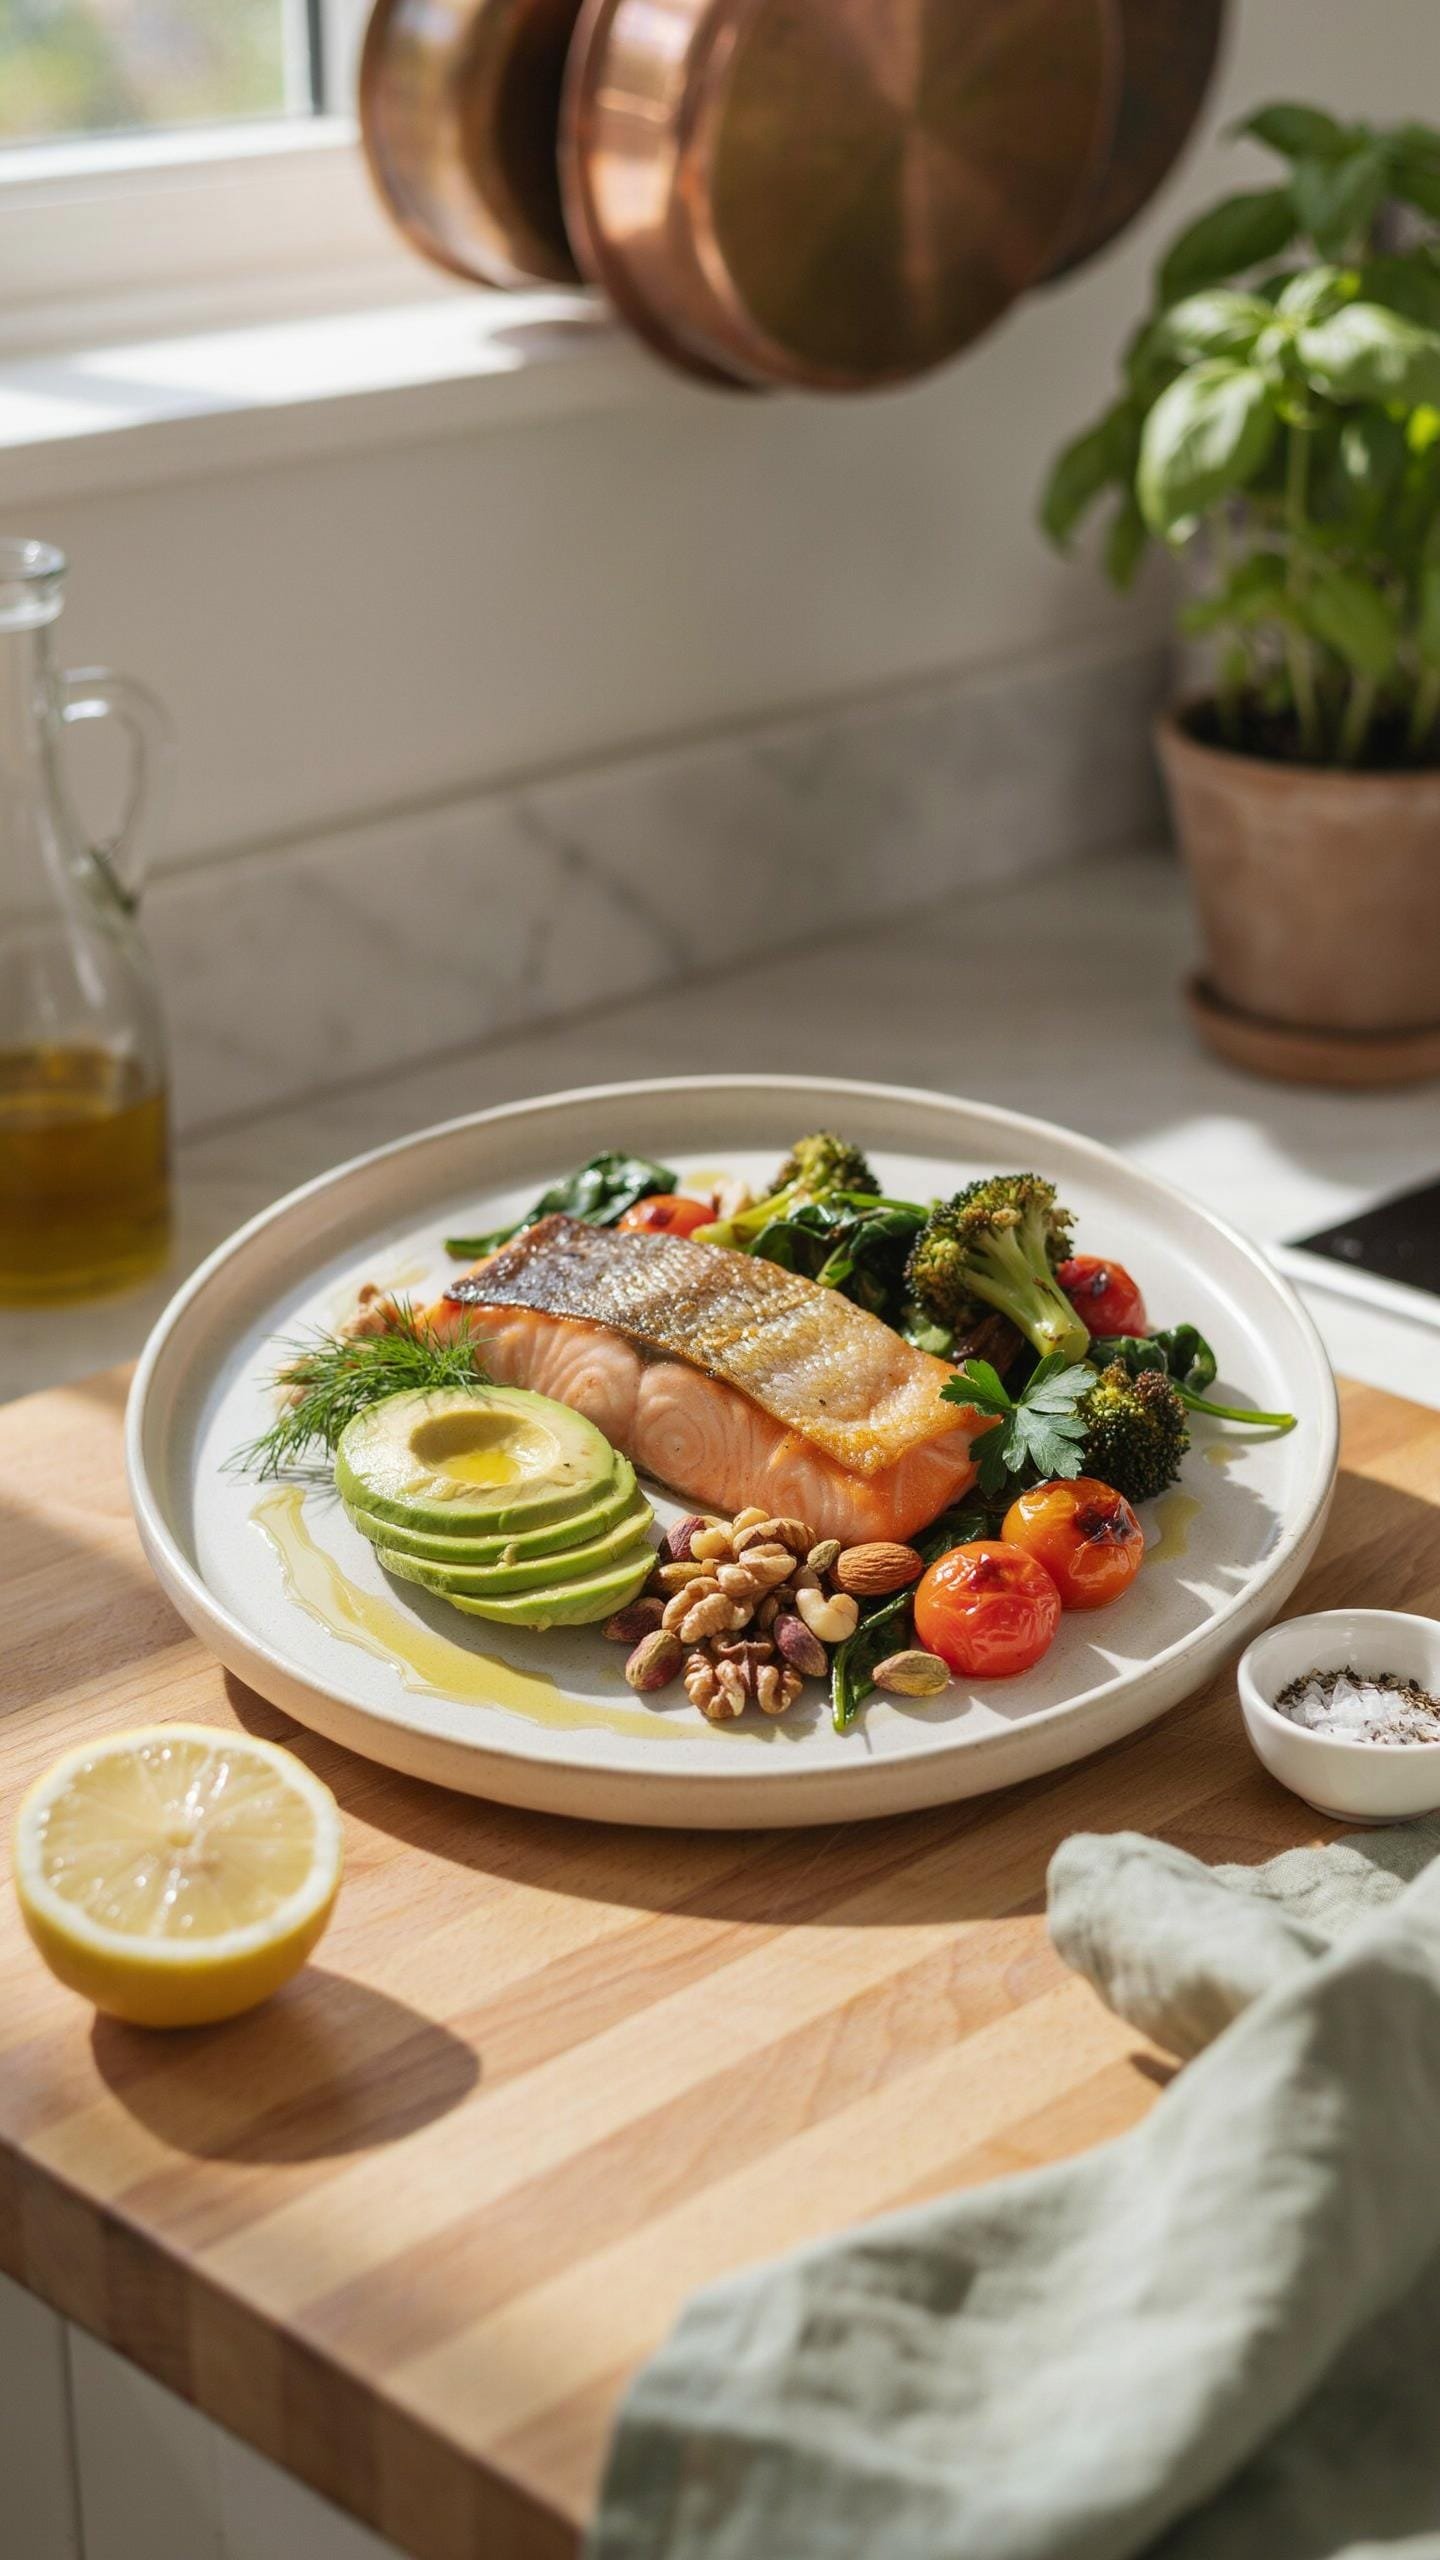
You want chicken breast to taste good all week without turning into cardboard, and you’re hoping some magic seasoning will fix it. It won’t. The real mechanism is thermodynamic: fat creates a barrier that slows moisture loss and conducts heat more evenly than air alone. Olive oil and avocado oil both work because their smoke points stay high enough during storage without oxidizing into bitter compounds. Neither is “healthier” than the other. Pick one based on flavor preference and consistency.
When you coat chicken with oil before cooking, you’re not adding richness for taste alone. You’re insulating the protein. Water molecules escape slower when surrounded by lipids. This is why oil-dressed chicken stays juicy on day four while dry-cooked chicken turns chalky by day two. Apply oil directly to the chicken surface before heat hits it, not after. The oil penetrates slightly into the outer layer and creates a seal that persists through storage and reheating.
Fat Inside The Meat Matters More
Common advice says boneless, skinless chicken breast is lean and therefore boring. This framing misses the mechanism entirely. Rendering internal fat during cooking keeps chicken moist through the week because fat melts into the protein structure itself, replacing water molecules that would otherwise evaporate. Bone-in, skin-on chicken has more intramuscular fat and cooks more forgivingly, but you can engineer the same result with technique.
Cook chicken to 160 degrees, not 165. That ten-degree difference prevents fiber contraction that squeezes out moisture. Sear the chicken hard in a hot pan with oil for two to three minutes per side, then finish in a 275-degree oven for twelve to fifteen minutes depending on thickness. The low finishing temperature allows fat to render slowly without cooking out the water. Store it in the oil it cooked in rather than draining it.
Resting Periods The Unsung Hero Of Chicken Prep Meals
Why Resting Actually Matters After Cooking
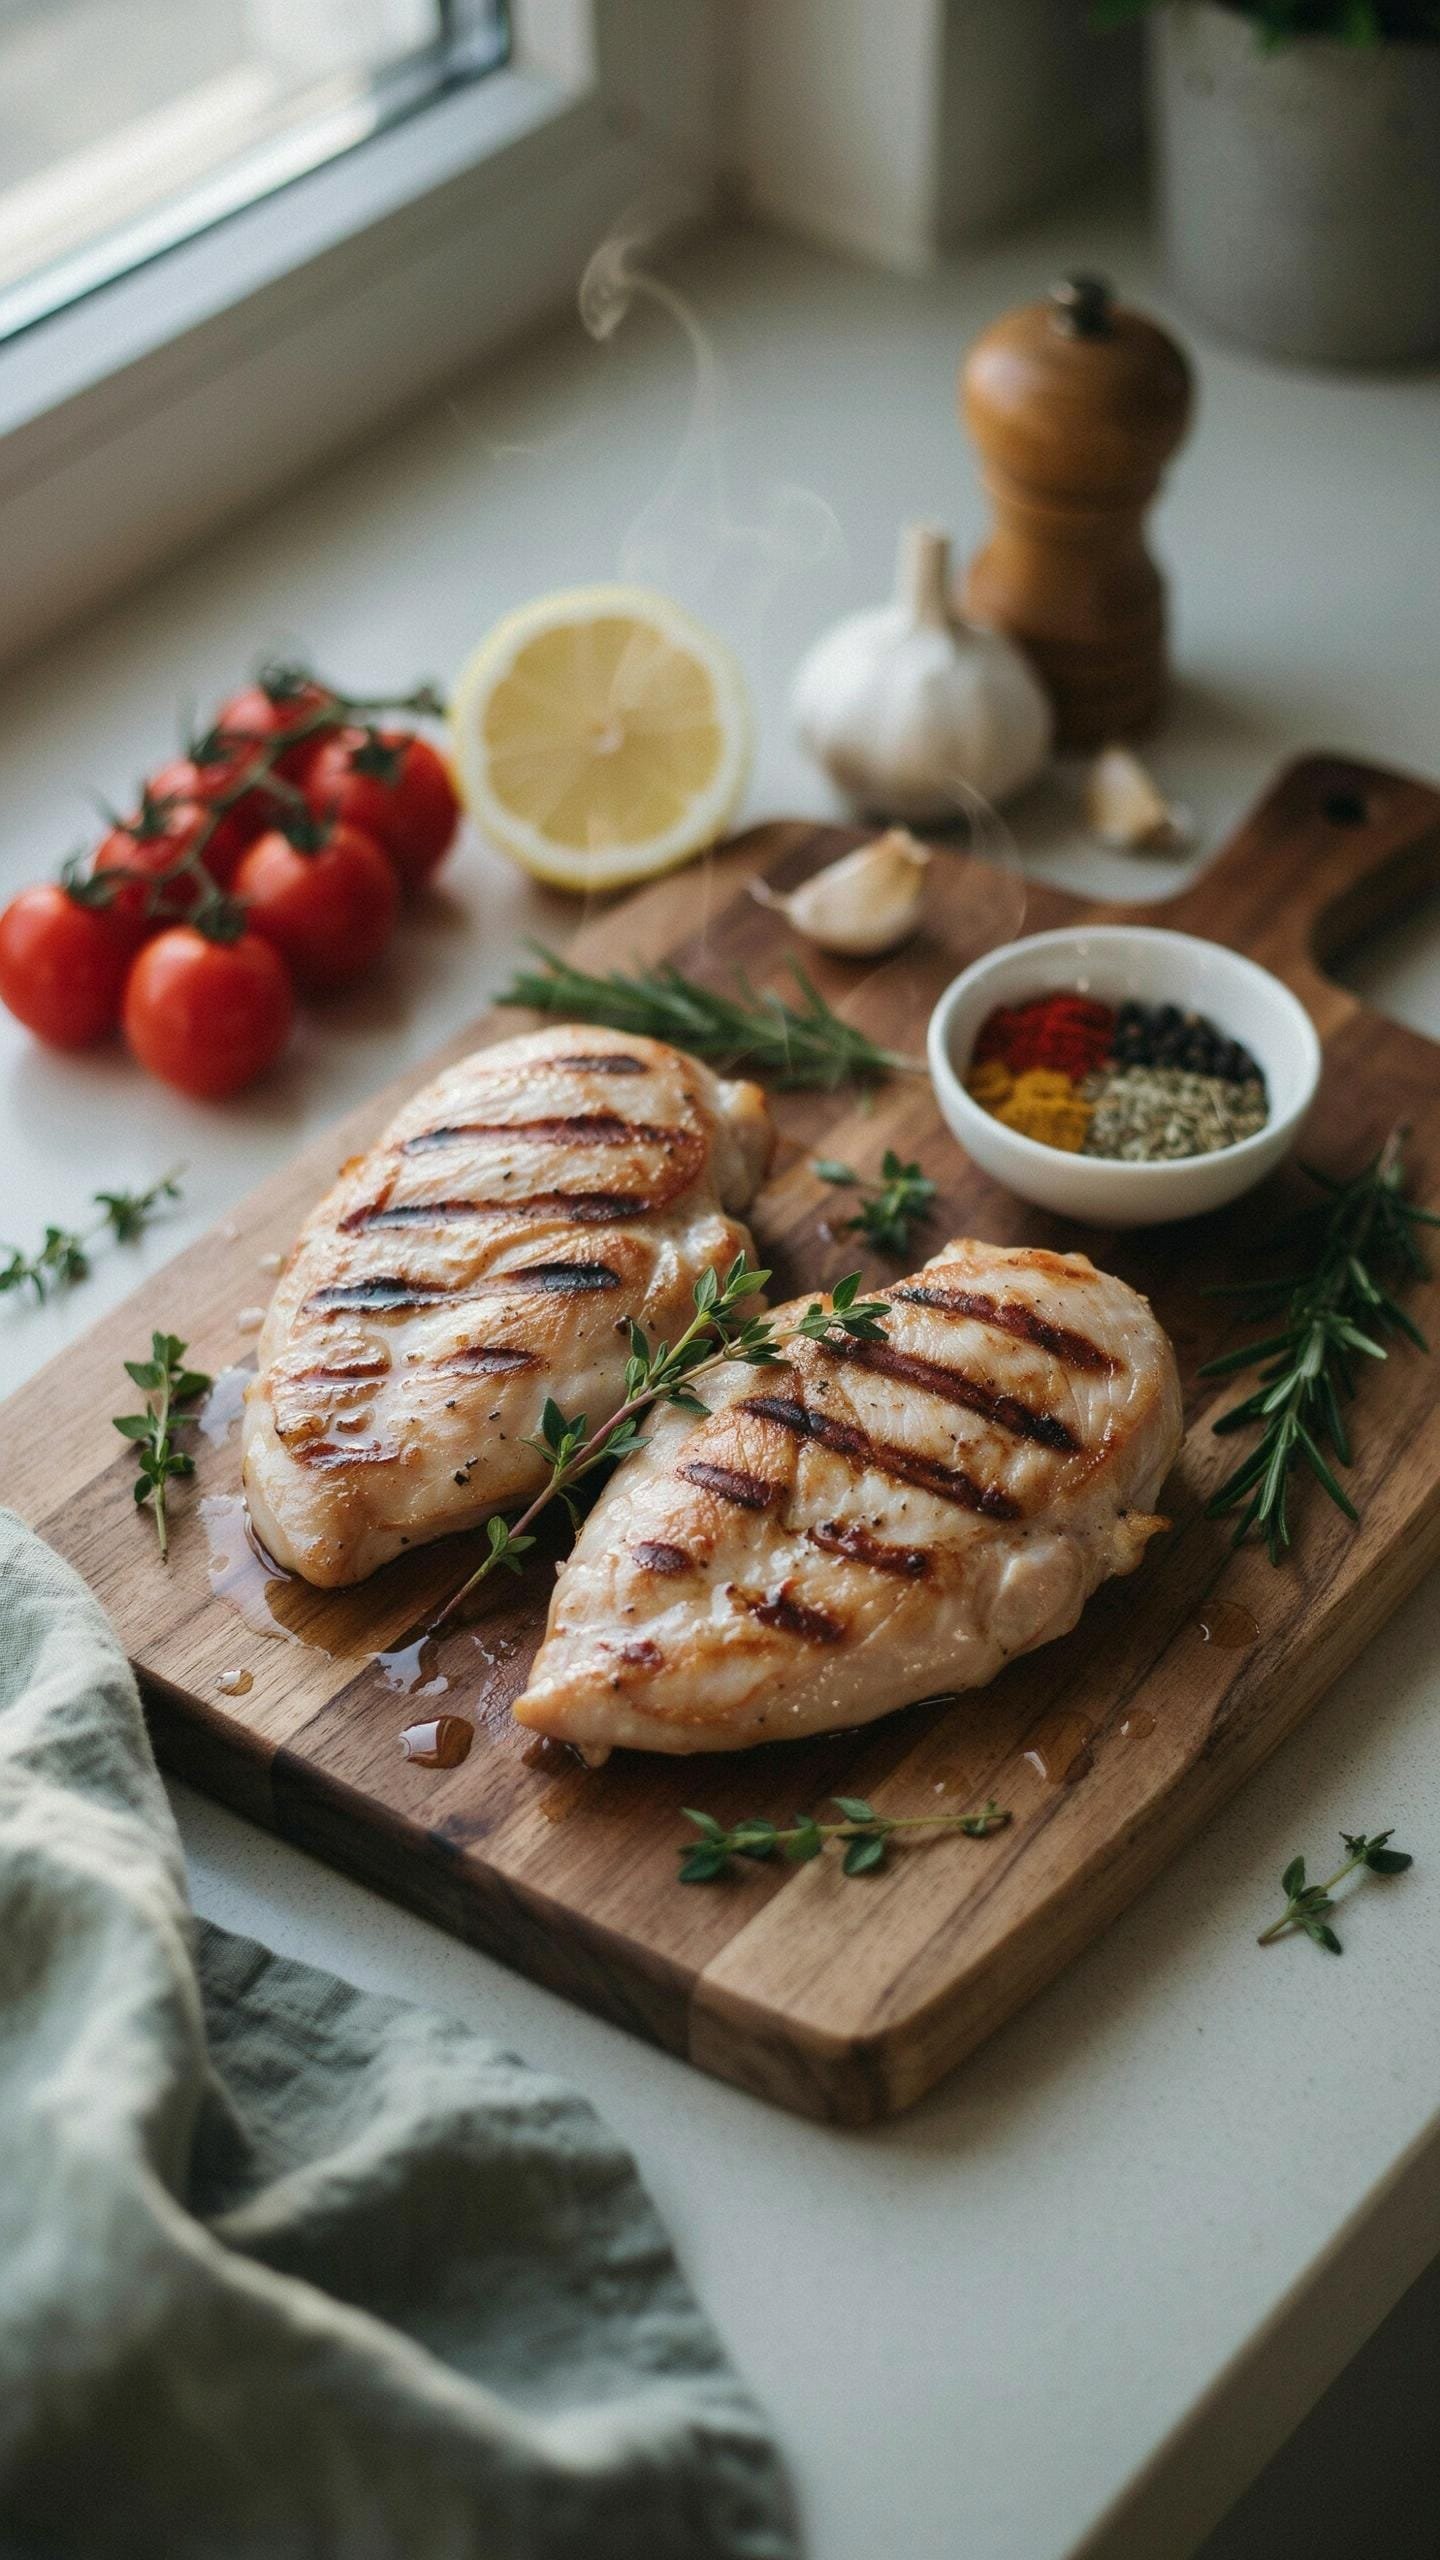
You want juicy chicken all week because dry chicken means you failed at meal prep, and failure signals waste of money and time. Here’s the mechanism: cooking forces muscle fibers to contract and expel moisture. Think of it like compression in a vice—the heat squeezes water out through the tissue. Resting reverses this. When you remove chicken from heat, the fibers relax and reabsorb the liquid pooling on the surface and throughout the meat. This isn’t mystical. It’s basic muscle physiology.
The difference between rested and non-rested chicken is measurable. A chicken breast cut immediately after cooking loses 15 to 25 percent more moisture over the next few hours compared to one rested properly. That moisture loss accelerates degradation in the fridge because exposed muscle fibers oxidize faster and dry out further as days pass. Resting creates a seal of reabsorbed juice that slows this process. Your meal prep container on day five will taste like day one meat instead of cardboard if you nail this step.
How Long And How You Rest It
The common advice to rest chicken for five minutes is incomplete. Five minutes works for a thin cutlet cooked fast. A thick breast needs eight to twelve minutes minimum. The rule is simple: thicker meat requires longer resting because the interior takes time to stabilize after cooking. A one-inch breast needs less time than a one-point-five-inch breast. Thickness determines timeline, not guesswork.
Tenting with foil versus leaving uncovered matters tactically. Tent if your kitchen is cold and you’re worried about temperature drop—foil traps residual heat. Leave uncovered in warm kitchens because condensation buildup under foil can soften the exterior. The real move: rest on a clean cutting board, not in the pan. The pan continues conducting heat unevenly and can overcook the bottom. After resting, slice only when you’re ready to pack. Pre-sliced chicken in the fridge dries out faster because you’ve increased surface area exposed to air.
The Cold Chain Discipline Keeping Meal Prep With Chicken Breast Fresh
Cool It Fast Or Lose It
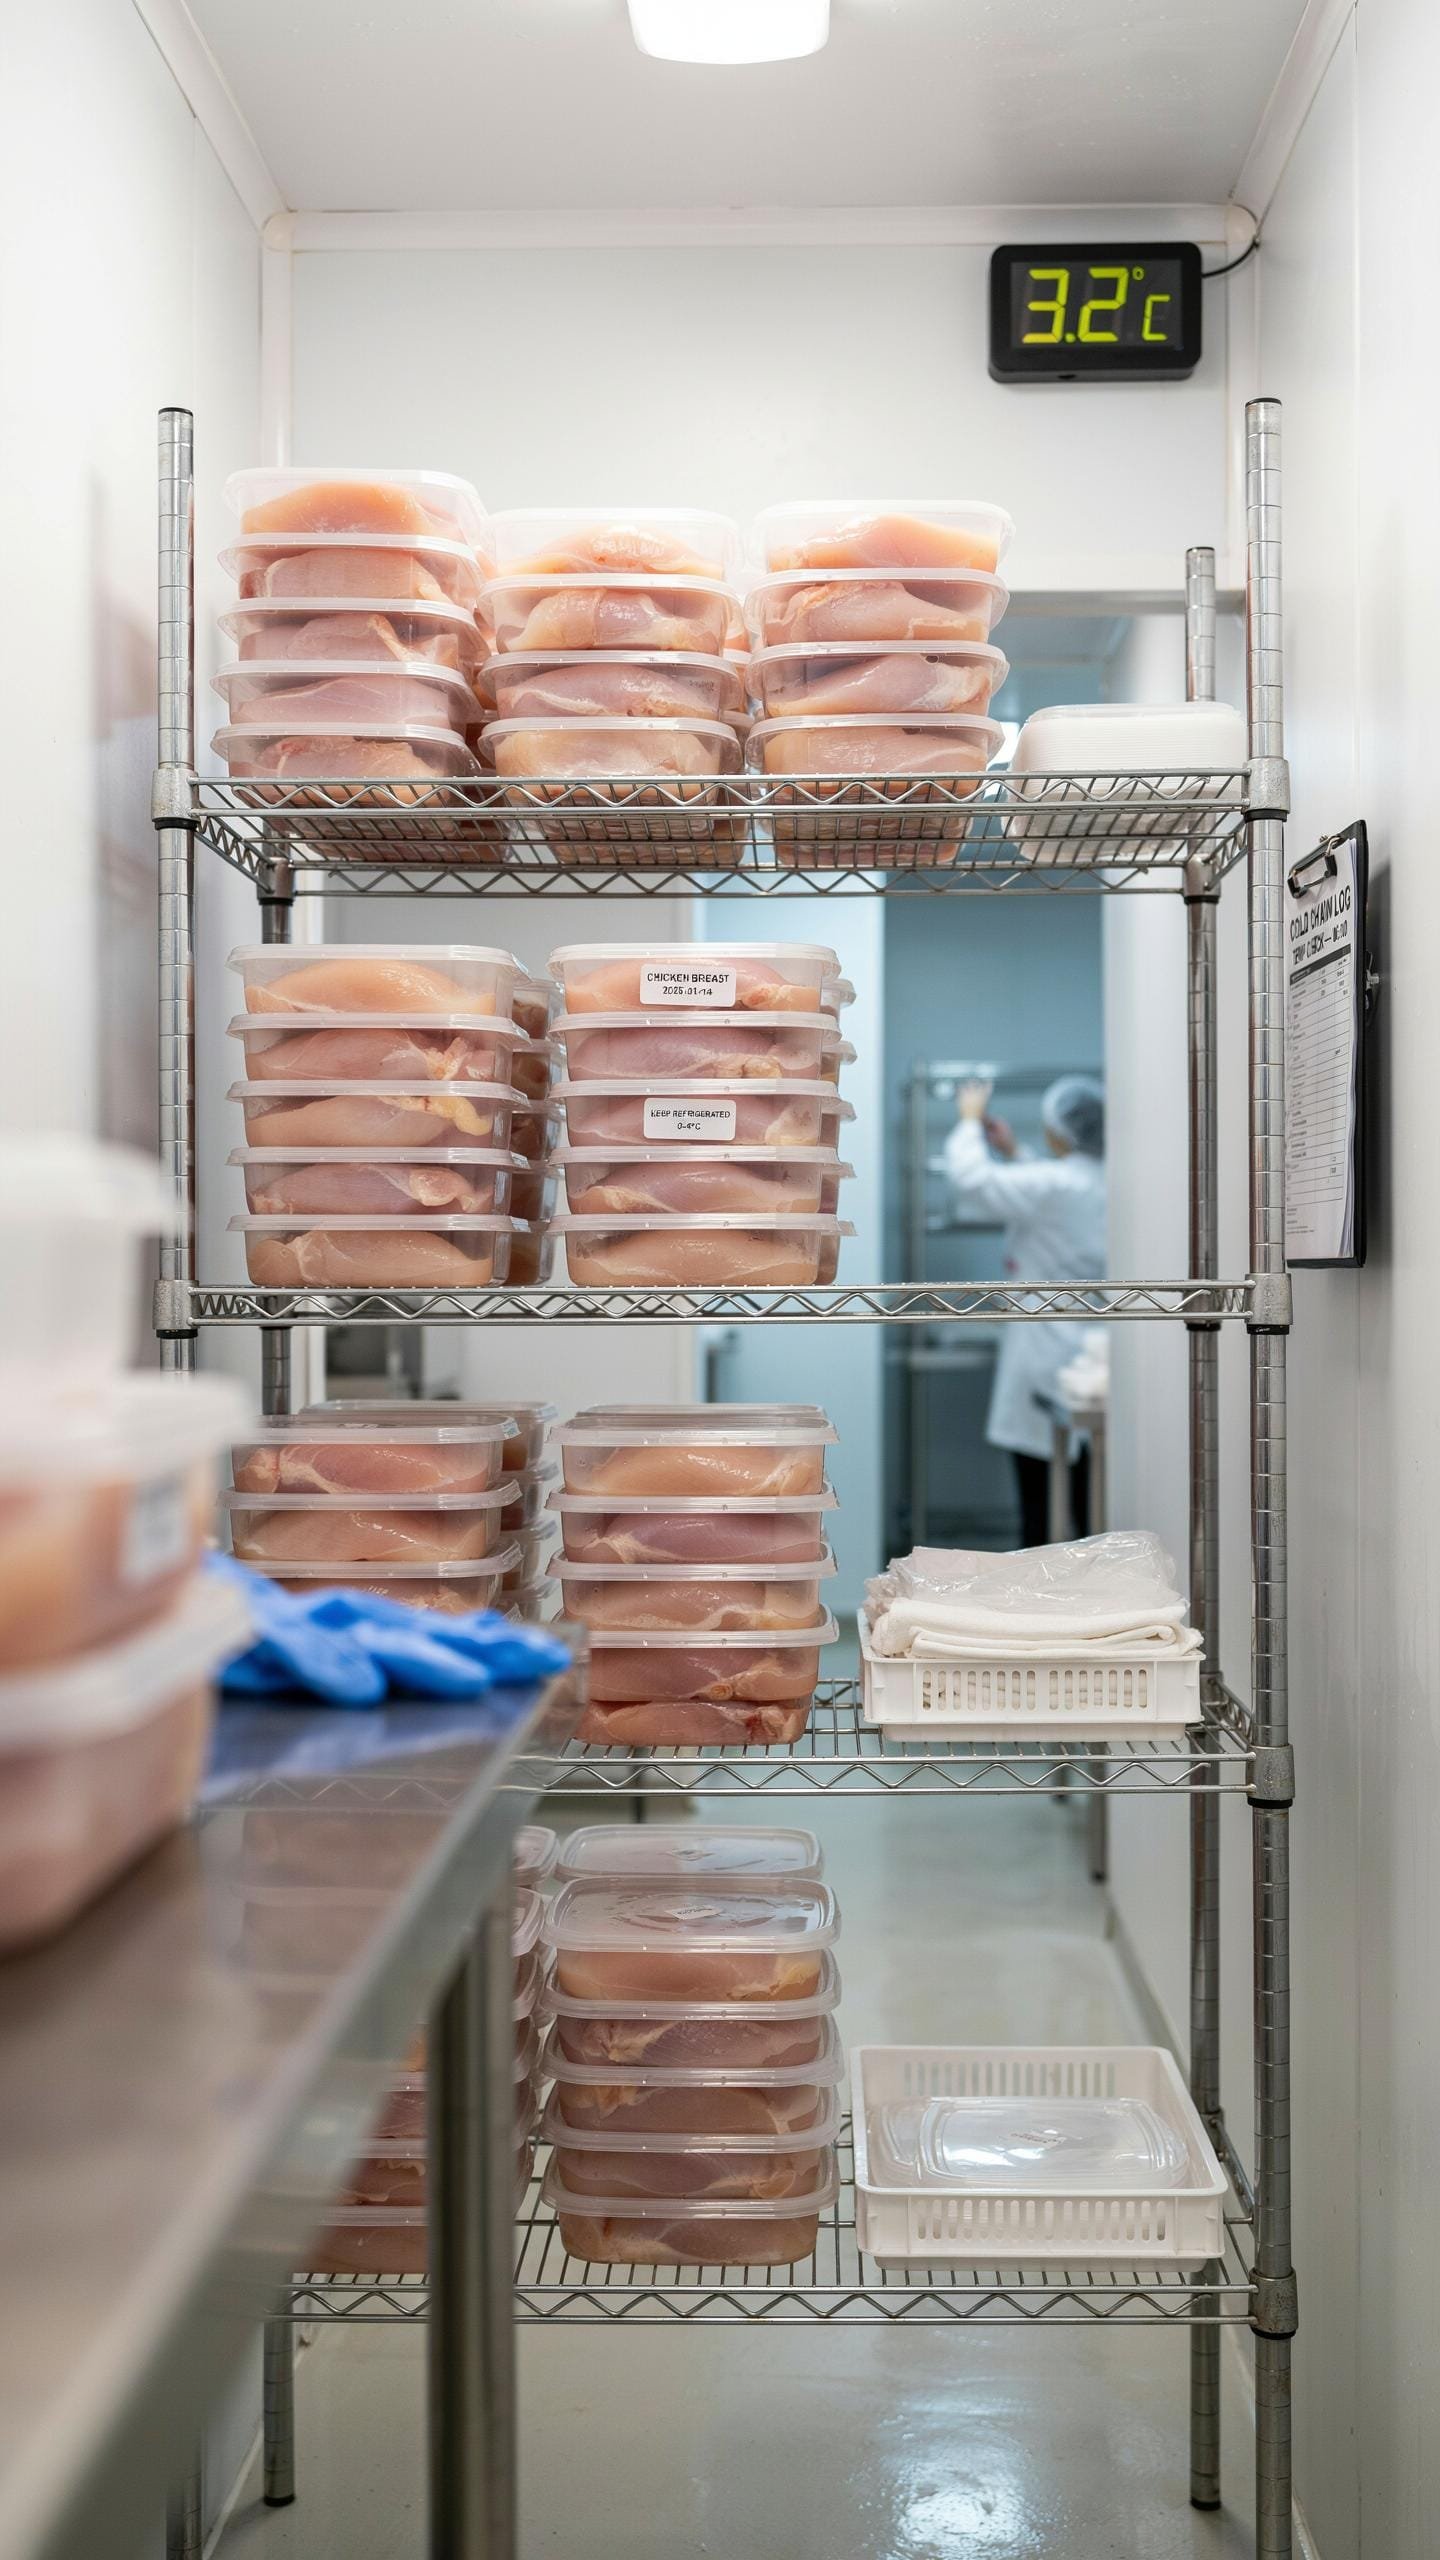
You’re worried about waste. You spent money, time, and intention on this protein, and the idea of it spoiling in your fridge while you’re not looking triggers a specific kind of financial anxiety. Here’s the mechanism: thermodynamics governs how fast bacteria colonize chicken. The danger zone sits between 40°F and 140°F. Your job is to move chicken through that zone as quickly as possible after cooking, which means you need to drop the internal temperature below 40°F before microbes establish themselves at scale.
Most people cool chicken at room temperature or throw it straight into the fridge still hot. Wrong move. Hot chicken raises the temperature inside your fridge, creating a hostile environment for everything else in there and giving bacteria a longer window to multiply. The protocol: cook your chicken, let it cool for five minutes on the counter, then transfer it to shallow containers no deeper than two inches and place those directly into the coldest part of your fridge or freezer. Shallow containers accelerate heat loss because temperature gradients work faster across shorter distances. This isn’t preference. This is physics enforcing a rule.
Seal The Container Or Accept The Loss
The conventional advice tells you airtight containers prevent freezer burn. That’s incomplete. Airtight containers do two separate jobs, and most people only understand one. They block oxygen, which slows oxidation and rancidity in fat. But they also prevent moisture loss through evaporation, which is the actual threat to texture in your fridge across a five to seven day window. Chicken breast is already lean. Water loss turns it into the rubbery texture people associate with meal prep failure.
Don’t use containers with loose lids or those old takeout boxes that seal half-heartedly. The seal needs to be deliberate and complete. Glass containers with silicone gaskets or heavy-duty plastic with snap-lock mechanisms work because you feel resistance when you close them. That resistance means you’ve created a barrier that stops water vapor from escaping. Stack your sealed containers in the back of the fridge where temperature is most stable and coldest. Temperature fluctuation from opening the door repeatedly compounds moisture loss. Keep sealed chicken toward the back. Period.
Reheating Mechanics The Death Of Juicy Chicken
Why Microwave Heat Destroys Your Protein
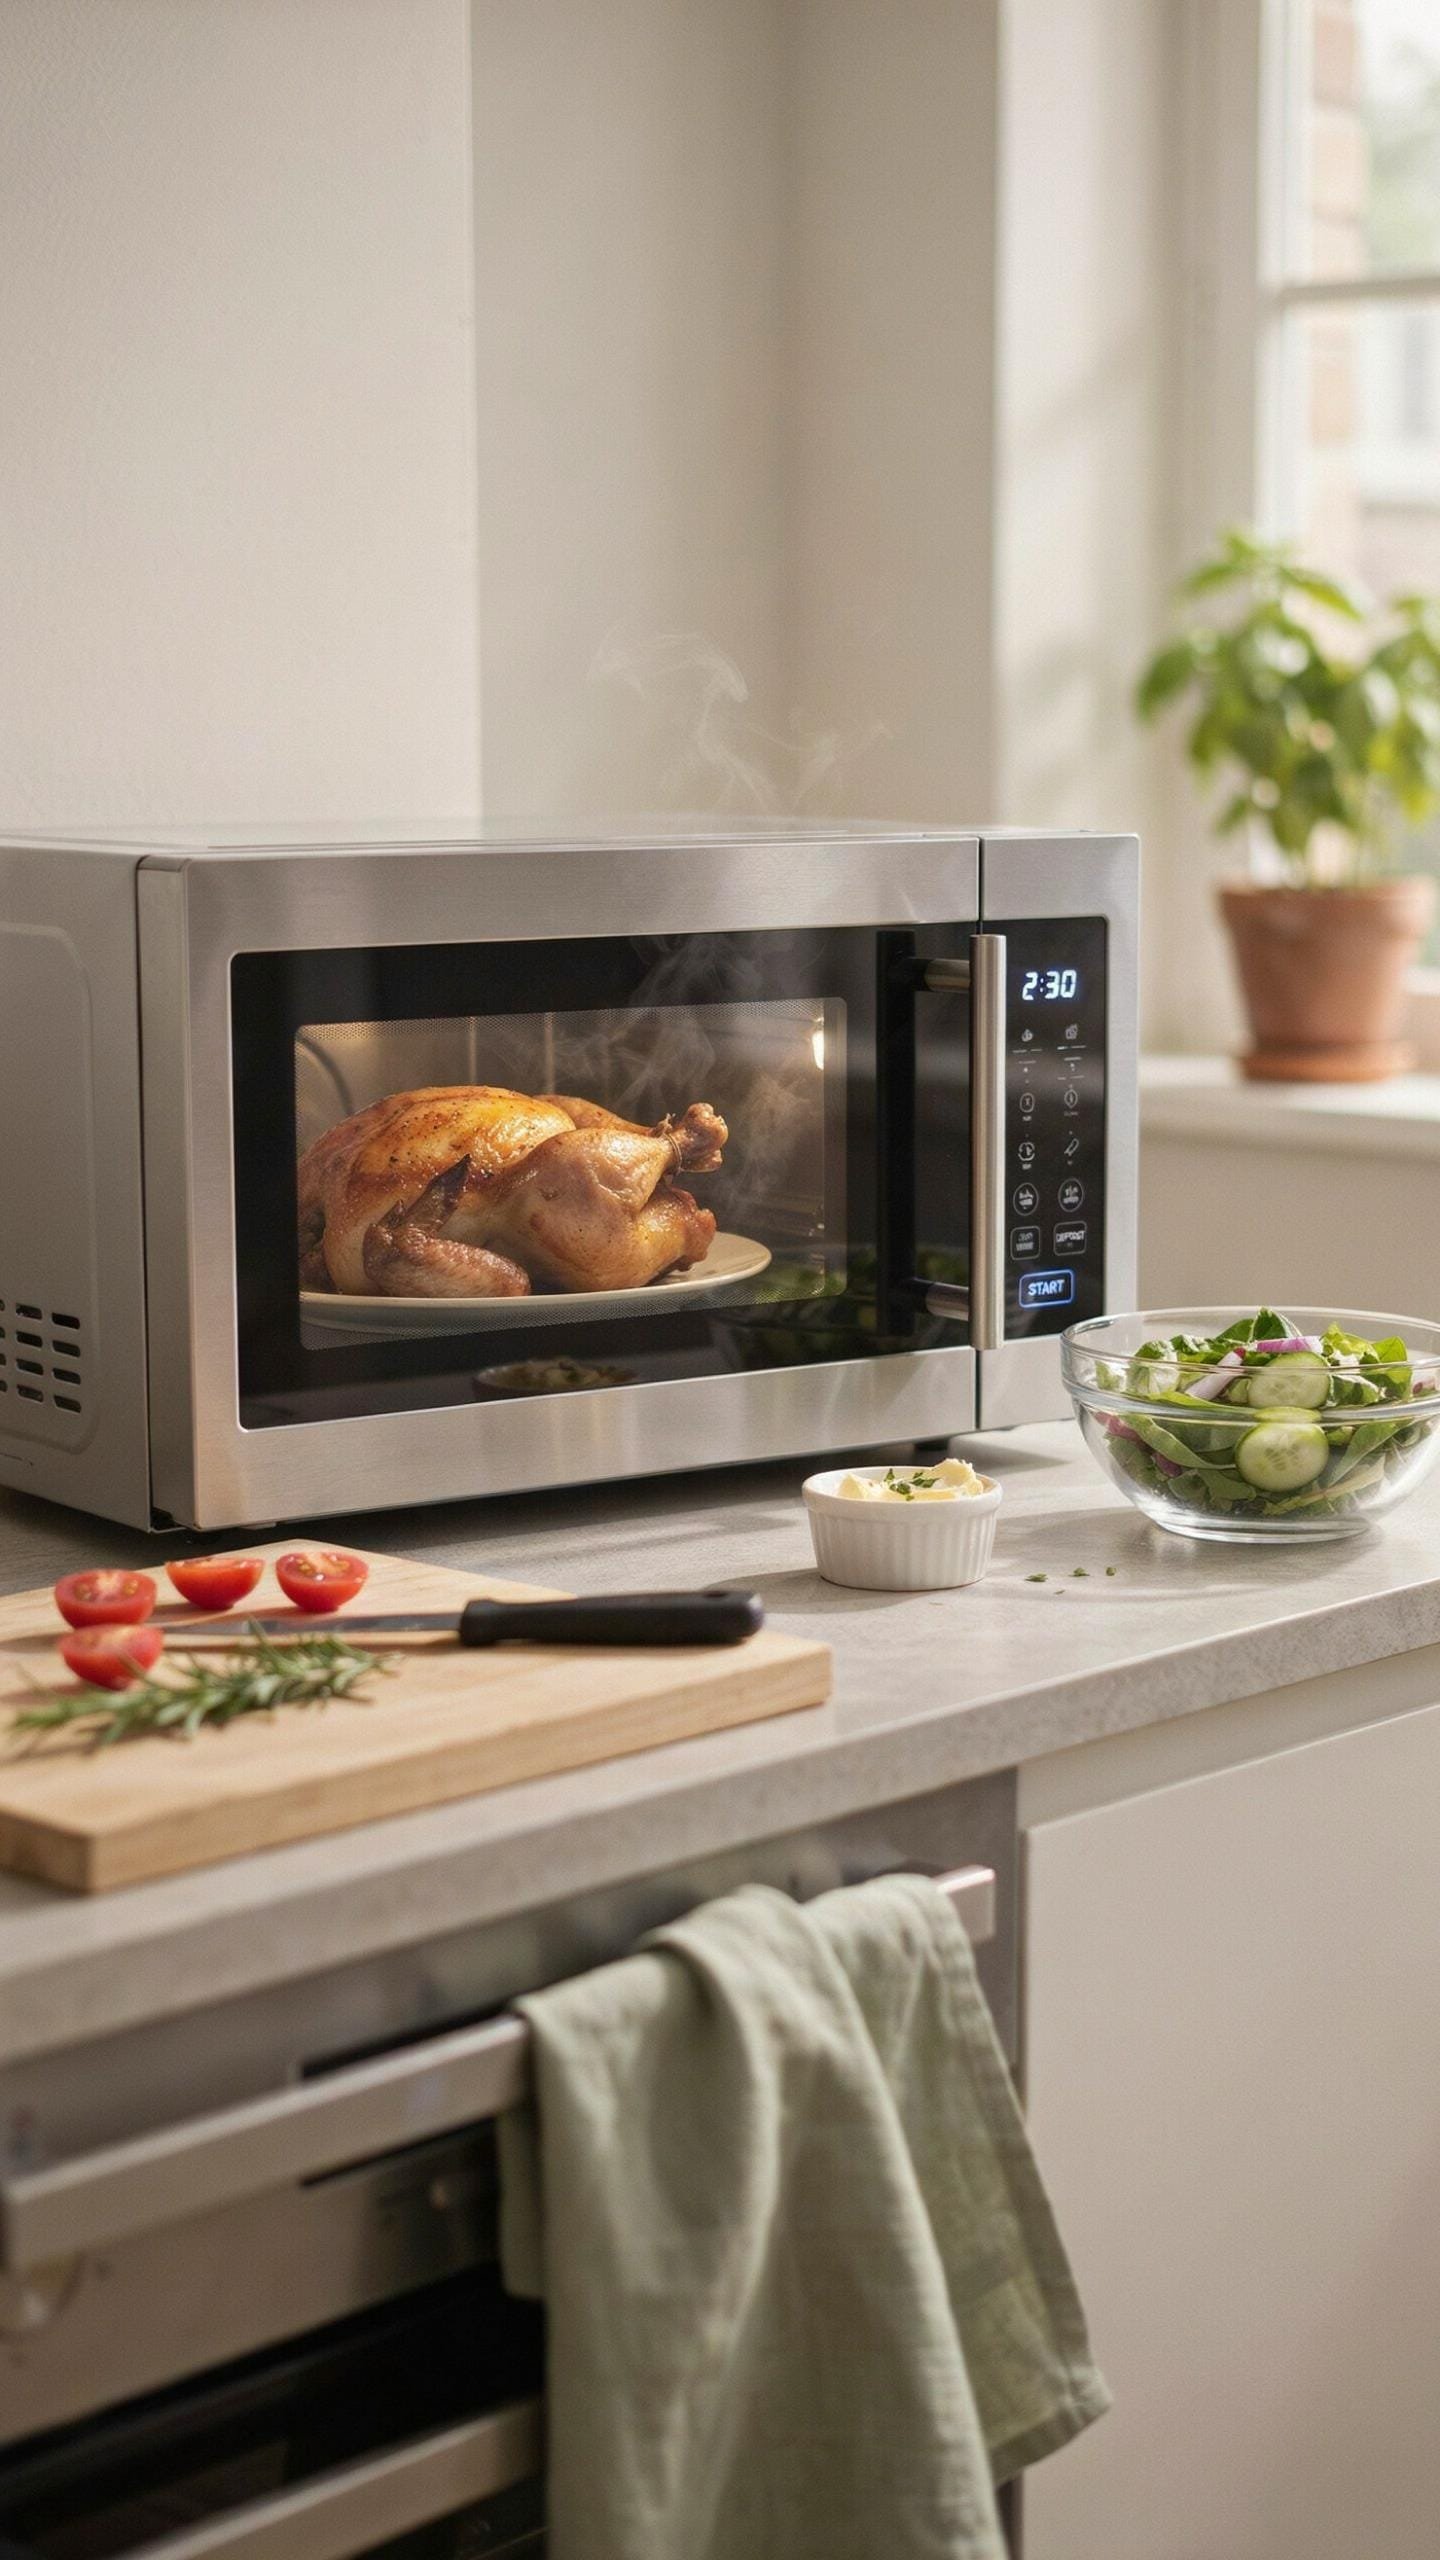
You care about this section because you’re afraid your meal prep looks sad by Wednesday. Here’s the actual mechanism: microwave ovens don’t heat like conventional heat sources. They emit electromagnetic radiation that excites water molecules at the speed of 2.45 gigahertz. This creates rapid, chaotic movement inside the chicken’s muscle fibers. The protein denatures unevenly. Moisture escapes as steam before the internal temperature stabilizes.
An oven uses radiant heat, which transfers energy more gradually across the chicken’s surface inward. The outside reaches temperature first, creating a natural barrier that slows moisture loss. A microwave skips this progression entirely. It heats the water trapped inside the muscle fiber faster than the protein structure can hold it. Result: rubbery, dry chicken in 90 seconds.
Adding Liquid During The Reheating Process
The consensus says to add sauce for flavor. That’s incomplete. You’re not seasoning. You’re using liquid to replace the moisture your chicken lost during storage and freezing. Broth, pan sauce, or even water changes the reheating outcome fundamentally because it creates a humid microenvironment around the protein.
Place your chicken in a shallow container. Add enough broth or sauce to reach halfway up the sides. Cover it loosely, leaving a vent. Reheat at 350 degrees Fahrenheit for 8 to 12 minutes depending on thickness. The steam surrounds the chicken and prevents the exterior from drying before the interior reaches safe temperature. The liquid acts as a thermal buffer, not decoration.
Flavor Pairing For Meal Plan Chicken Breast No More Bland
Herbs, Spices, And Acid Work Mechanically
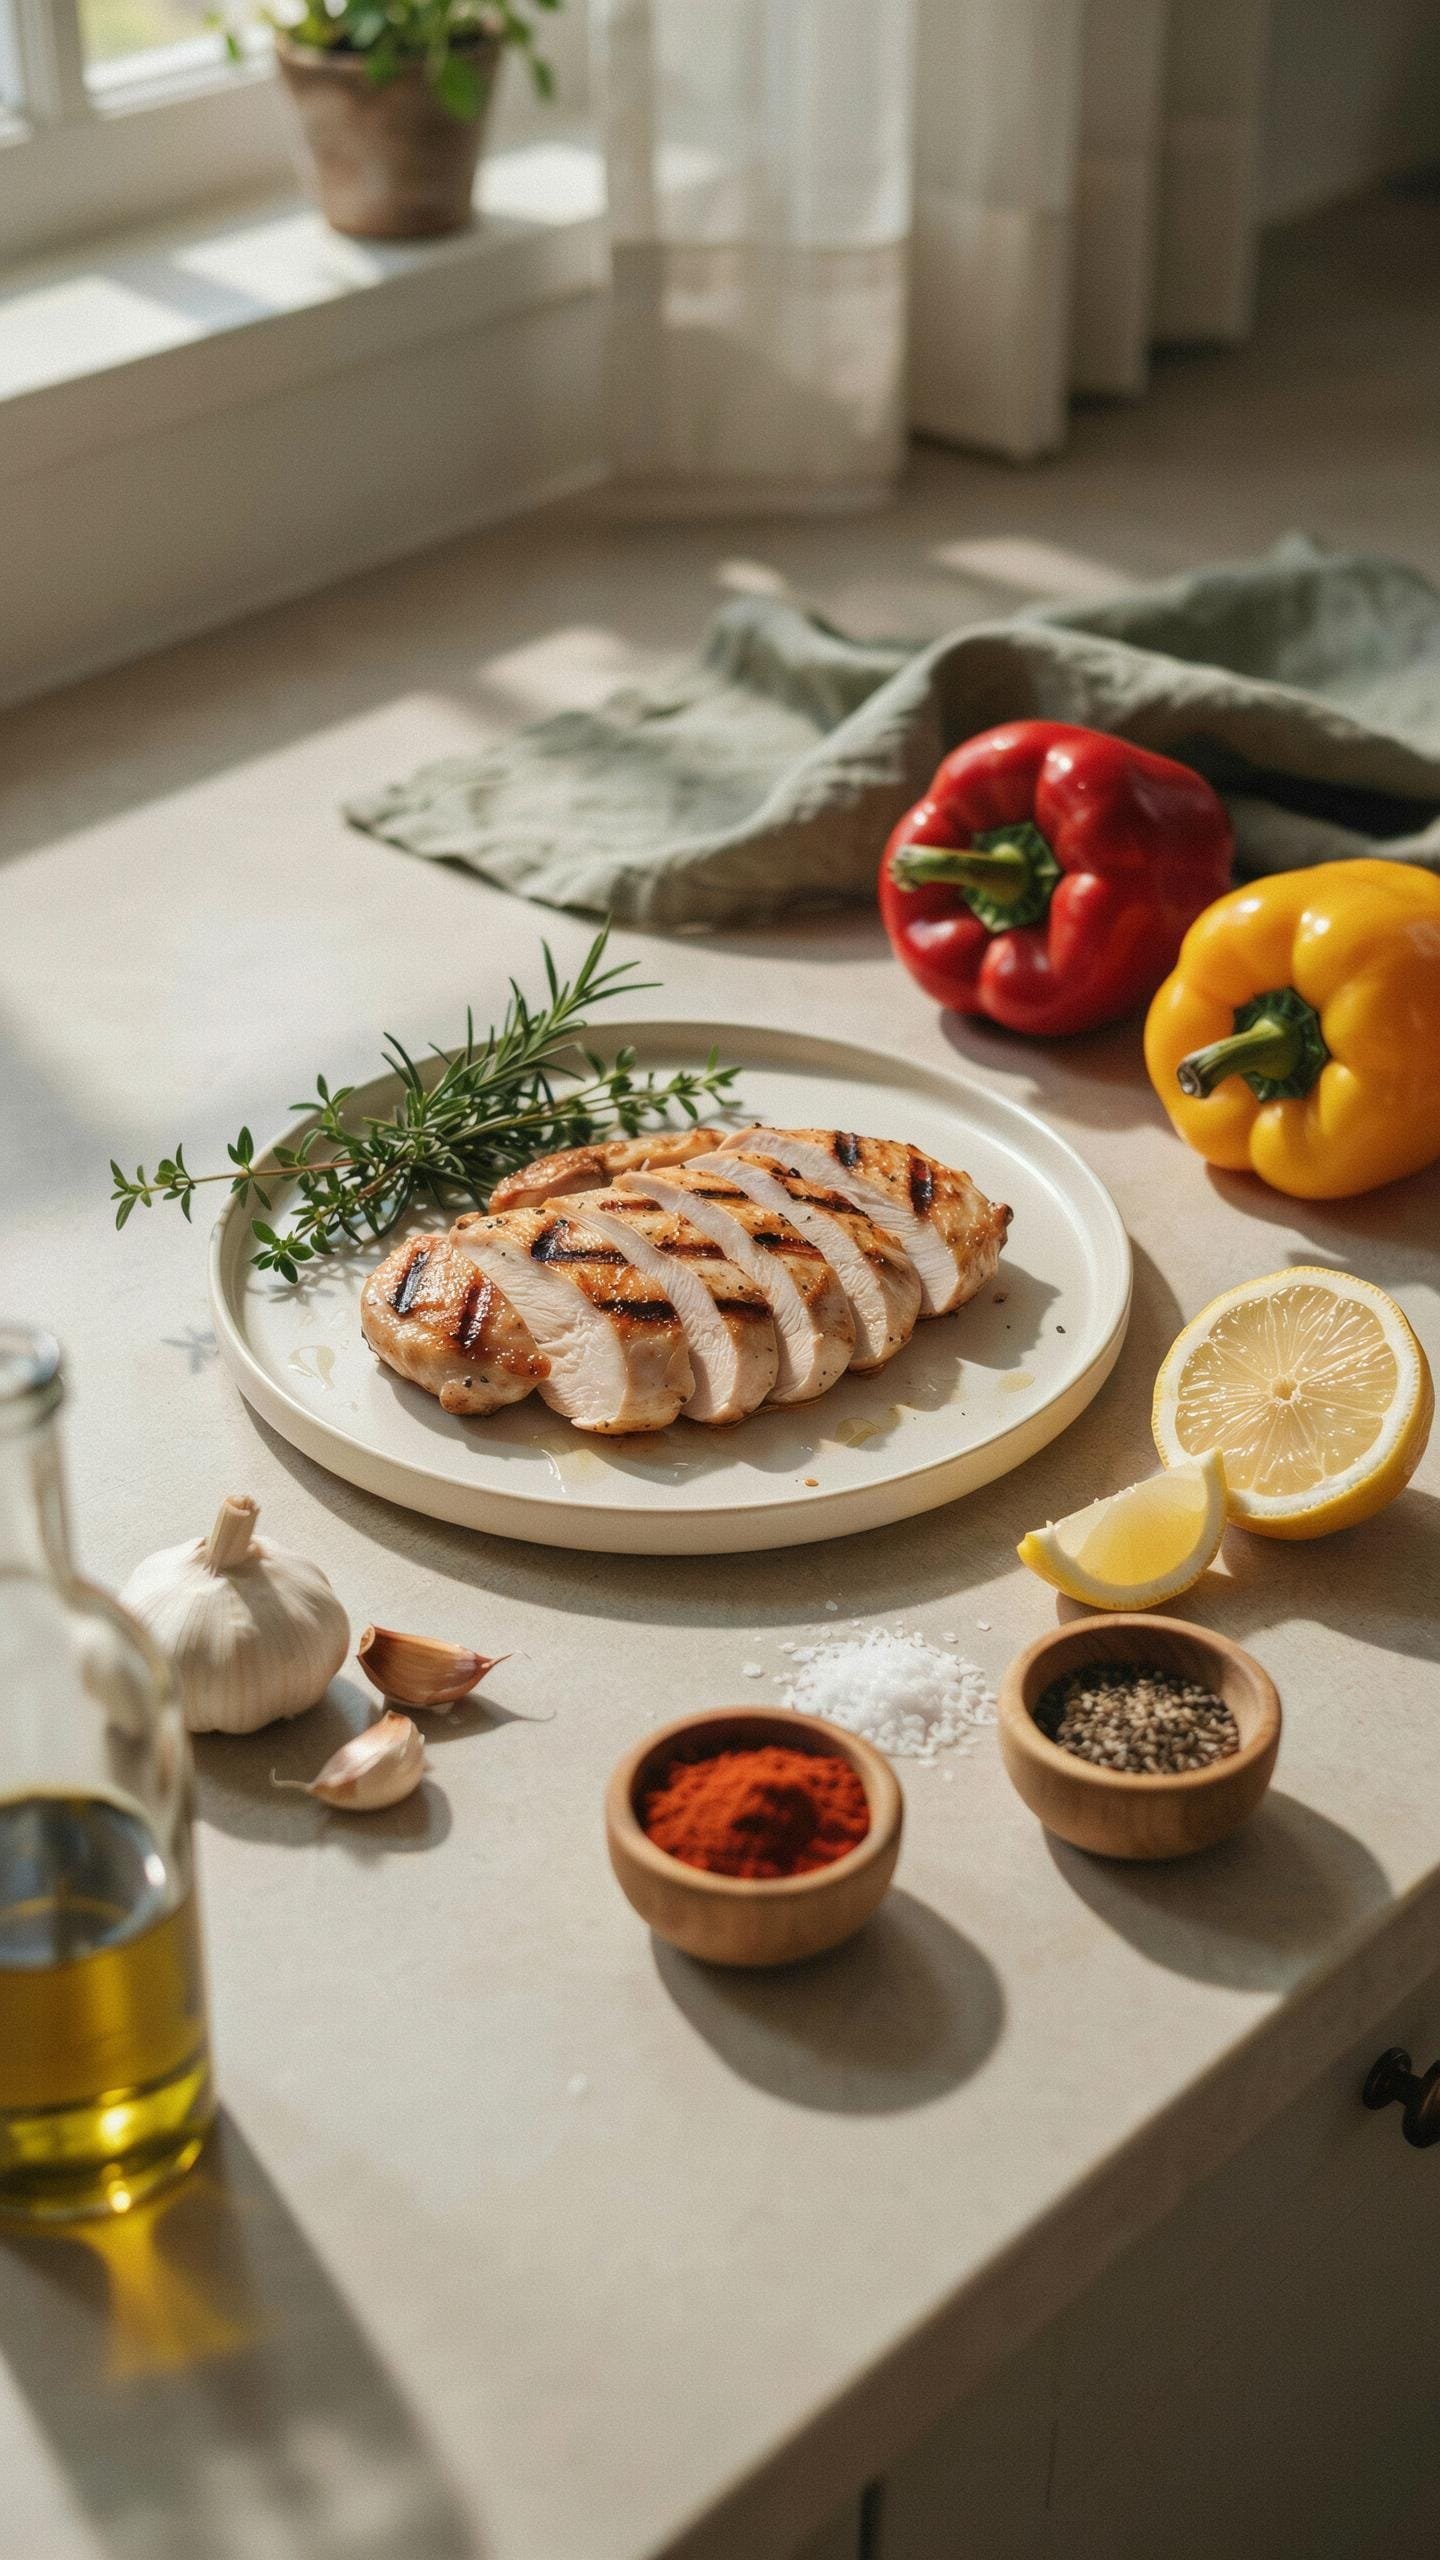
You want bland chicken to taste intentional instead of like a punishment for being disciplined. Here’s what actually happens: acid denatures protein fibers, opening microscopic channels that let salt and fat penetrate deeper into the meat. This isn’t flavor layering—it’s structural infiltration. Lemon juice, vinegar, and yogurt aren’t garnishes. They’re delivery systems that force seasoning inside the chicken instead of sitting on the surface where it washes off in your container by Wednesday.
Herbs and spices work through two mechanisms simultaneously. Volatile compounds from oregano, thyme, and paprika bind to fat molecules already present in chicken breast, making them stick around longer. Simultaneously, acids activate these compounds chemically, intensifying their perception on your palate. The combination of acid plus dried herb creates a flavor profile that survives refrigeration better than either one alone. Season chicken in a marinade for at least two hours before cooking. The acid does the structural work while you’re doing other things.
The Flavor Stack System
Complex flavor profiles aren’t built through intuition or guessing what tastes good together. They follow a hierarchy borrowed from classical cooking technique, where each layer serves a specific sensory function. Think of it like signal-to-noise ratio in audio engineering: you’re stacking complementary frequencies so nothing gets lost in translation once the chicken hits the fridge.
- Base Layer (Salt and Acid): Kosher salt plus lemon or lime juice applied directly to raw chicken thirty minutes before cooking. This preps the protein structure to absorb everything else.
- Heat Layer (Spices): Paprika, cumin, or cayenne applied after salt but before acid finishes penetrating. Heat compounds need fat to express themselves fully.
- Umami Layer (Garlic and Soy): Minced fresh garlic or low-sodium soy sauce added to the marinade. Umami receptors survive refrigeration better than brightness does.
- Brightness Layer (Fresh Herbs): Cilantro, parsley, or basil added immediately after cooking while the chicken retains residual heat. This layer refreshes the profile on day five.
- Fat Layer (Oil Selection): Olive oil in Mediterranean profiles, sesame oil in Asian profiles. Fat carries flavor compounds and protects chicken from oxidative staleness.
The stack matters because you’re fighting against the natural degradation of volatile compounds during cold storage. Acid-salt combinations lock in the structural changes. Umami compounds resist oxidation better than fresh aromatics. Apply the stack in this specific order during prep: season raw chicken first, marinate four hours minimum, cook, cool to room temperature completely before containers close, then add fresh herbs as you reheat portions. This protocol keeps complexity intact through day seven.
The Anti Recipe Mastering Chicken Breast Recipes No Dairy
Read The Bird, Not The Instructions
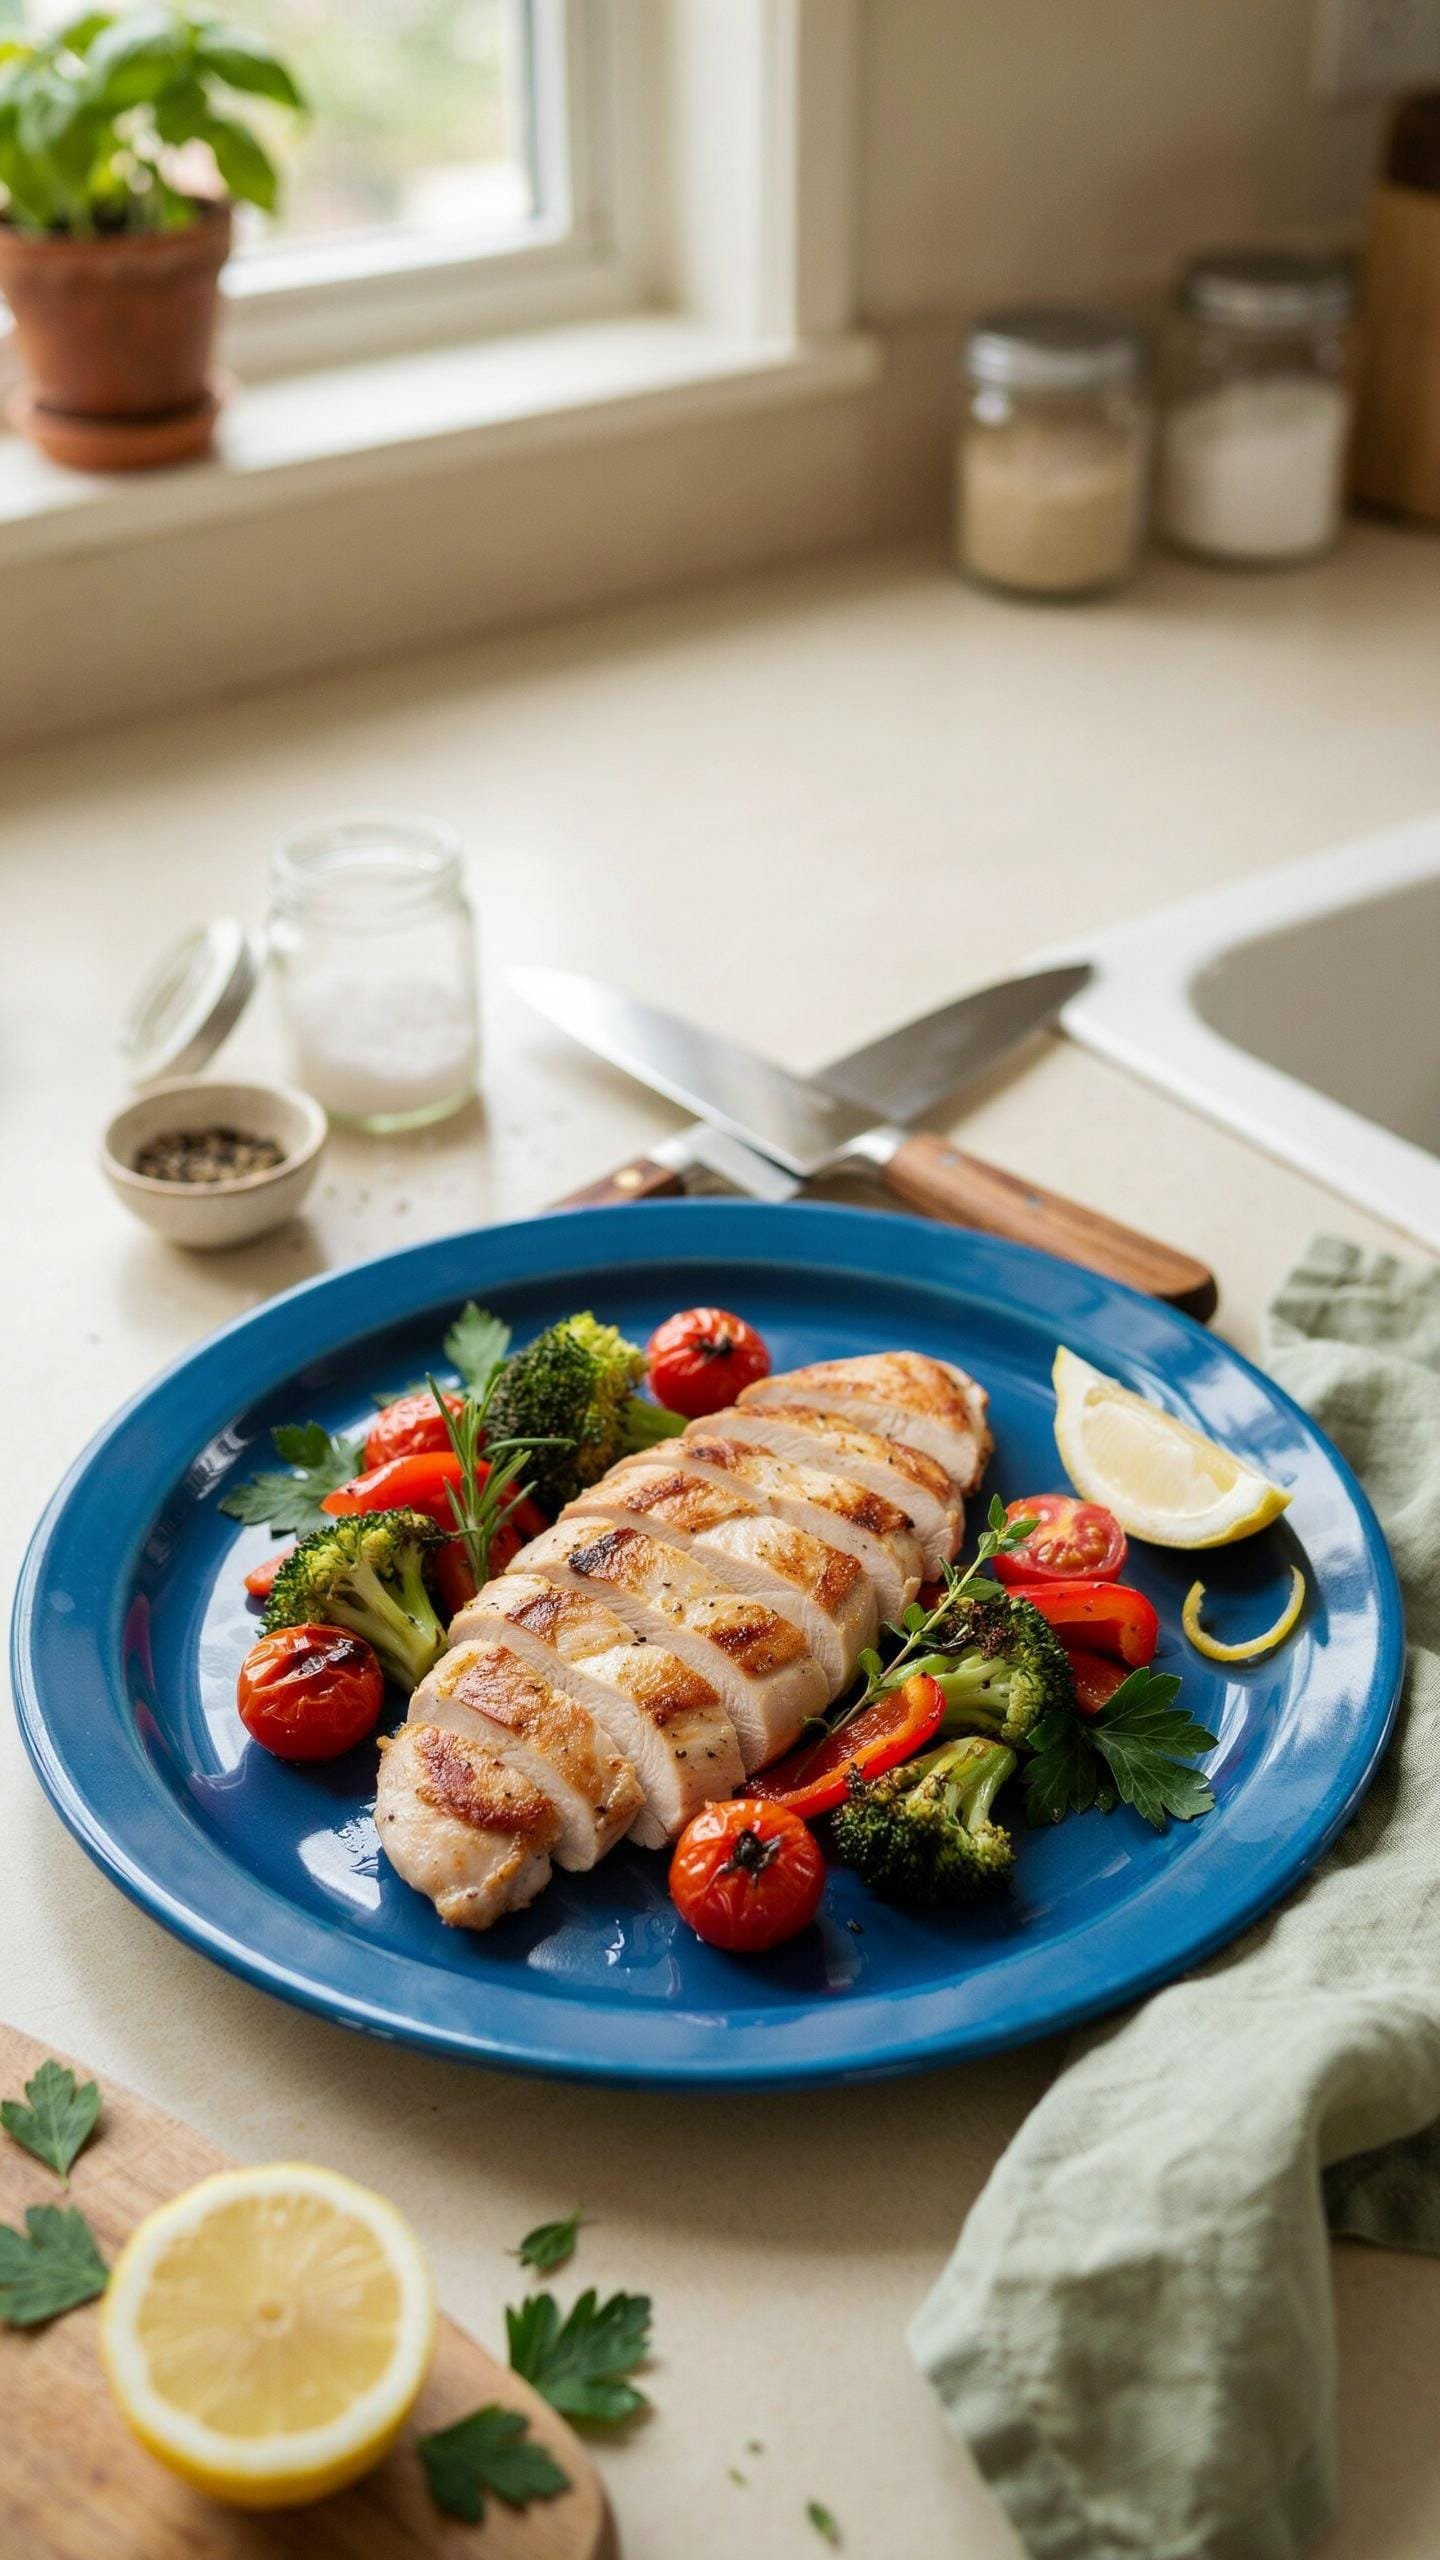
You want permission to stop following recipes because they make you feel like you’re doing something wrong. Here’s the real mechanism: chicken breast tells you what it needs through texture and sound, but you’re trained to ignore those signals and trust a timer instead. Poultry biology doesn’t care about your recipe card. Muscle fiber contracts at specific temperatures, and carryover cooking means the bird keeps cooking after you remove heat. Learn to read this, not numbers.
Different cuts of chicken breast cook at different rates depending on thickness and how it was cut. A pounded-thin cutlet needs three minutes per side. A natural-thickness breast needs five to seven minutes per side. The sound changes from a quiet sizzle to a slightly louder pop when the outside has sealed properly. Watch for that. Your ears and eyes beat any thermometer because you’re responding in real time to what’s actually happening in the pan.
Principles Over Precision
Most chicken breast advice treats cooking like chemistry. It’s not. It’s more like systems engineering: input heat, output moisture retention. Your goal isn’t to hit 165 degrees. Your goal is to denature protein without driving out water. Those aren’t the same thing, and that’s why recipes fail.
The principle: sear the exterior fast on medium-high heat to create a crust that traps moisture, then either finish on lower heat or pull the pan off flame entirely and let carryover do the work. Oil choice matters. Use something with a high smoke point that won’t break down during the Maillard reaction—avocado oil, refined coconut oil, or ghee work. Skip the timing obsession. Instead, know that a one-inch-thick breast at medium-high heat needs roughly four to six minutes of direct contact before you check internal temperature. Rest for two minutes after cooking. This is when the muscle fibers relax and reabsorb moisture that would otherwise leak onto your plate.
Holistic Meal Prep Bowls Integrating All Elements
The Macronutrient Ratio That Stops Hunger
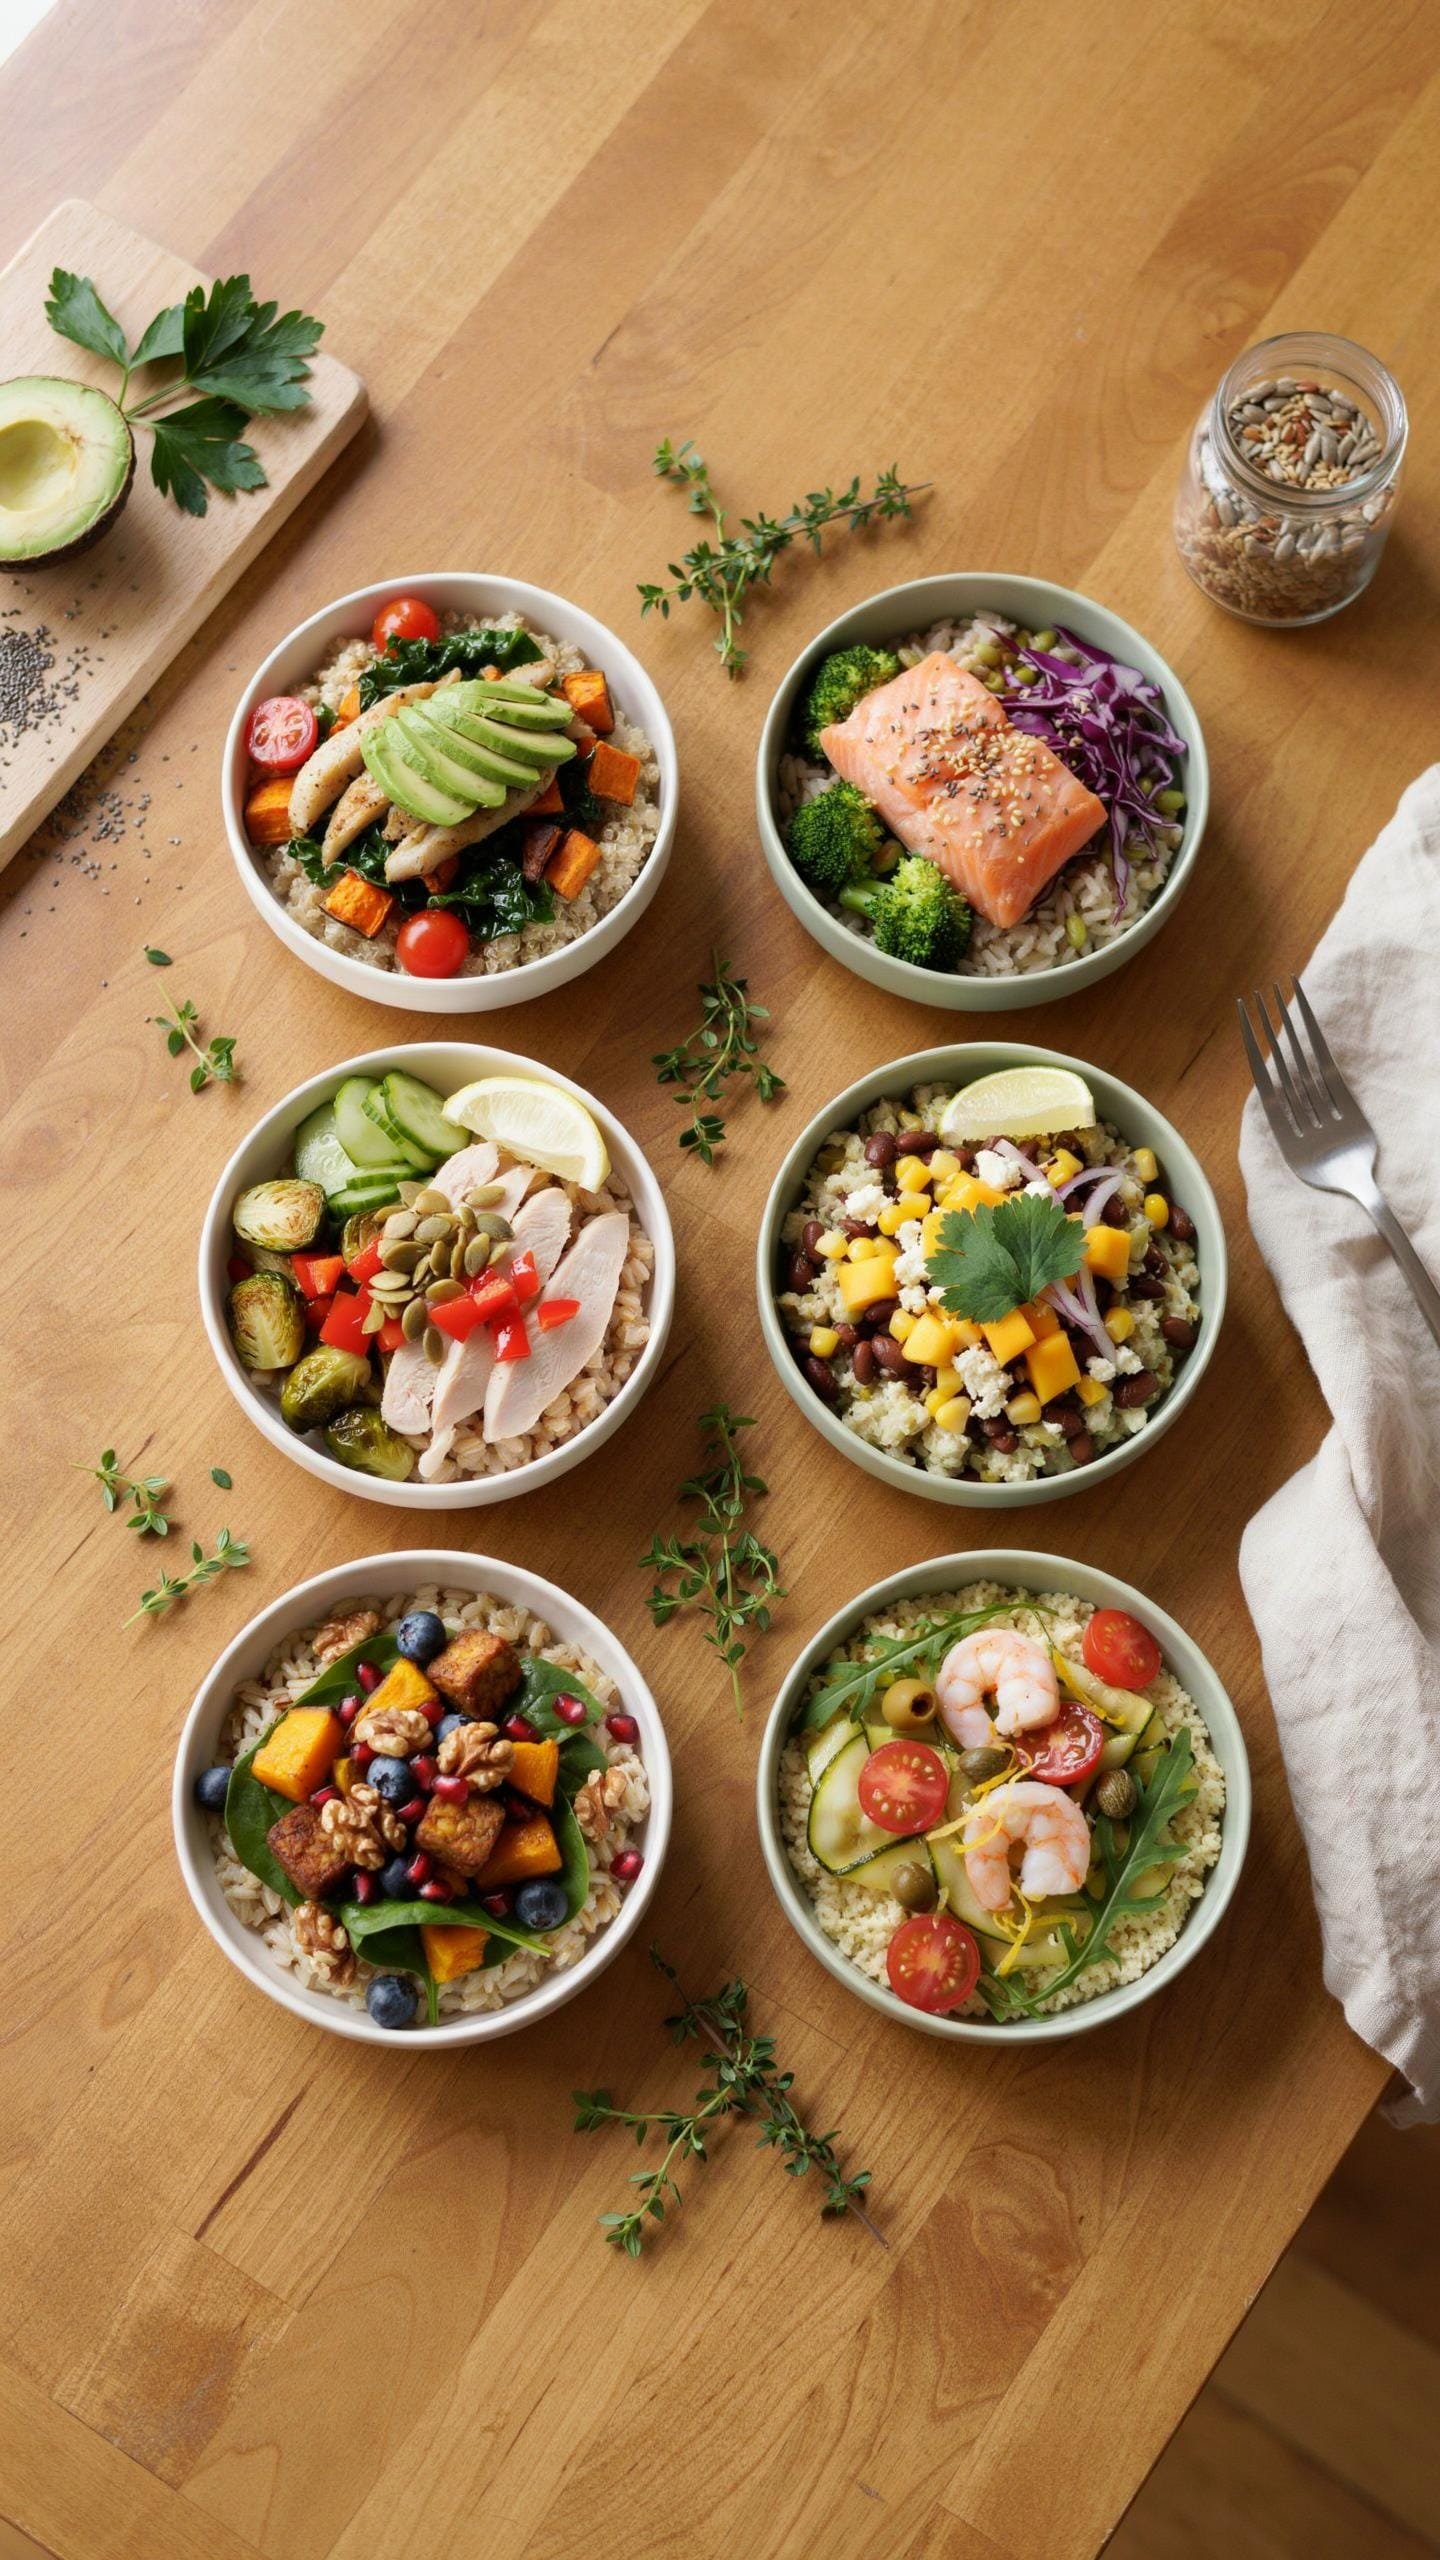
You want the bowl to work because you’re tired of being hungry at 3 PM and sabotaging your week. The mechanism is straightforward: fat slows gastric emptying, protein triggers satiety hormones, and carbs replenish glycogen. Skip any one and your chicken breast becomes a vehicle for nothing.
A functional ratio lands around 40 percent carbs, 30 percent protein, and 30 percent fat by calorie count. With a 150g chicken breast at roughly 165 calories and 31g protein, you need 110 to 120 grams of carbs and 15 to 18 grams of fat in the remaining ingredients. Rice, sweet potato, and olive oil get you there without complexity. The bowl stays stable in the fridge because the fat coating the chicken prevents oxidation while the carbs buffer the protein from drying out.
Sequence Matters More Than Ingredients
Layering is borrowed from kitchen chemistry, where contact surfaces determine absorption rates. Your chicken sits lower in the container, not on top. This matters because gravity and condensation will pool liquid at the bottom—your chicken absorbs that moisture instead of shedding it.
Start with your starch base. Add your cooked chicken directly on top. Drizzle 1 to 2 tablespoons of olive oil or dressing over the chicken. Cap it with vegetables and greens last. This order keeps the chicken from drying to the container wall and ensures fats and moisture soak in consistently across five days. When you reheat, the chicken releases liquid into the starch below instead of evaporating into air.
The real obstacle isnt the chicken its your impatience with precision

Most people sabotage their meal prep by rushing the process. You skip the thermometer. You guess at cooking times. You pack hot chicken straight into containers. This laziness costs you everything. Buy a $15 instant-read thermometer today and use it. Hit 165 degrees Fahrenheit every single time. Let the chicken cool before sealing it. Your willingness to do the boring work separates you from everyone else who fails at this. Precision beats motivation.