
How To Meal Prep Rice The Basics Every Home Cook Should Know
Why Meal Prepping Rice Saves You Time And Money During The Week
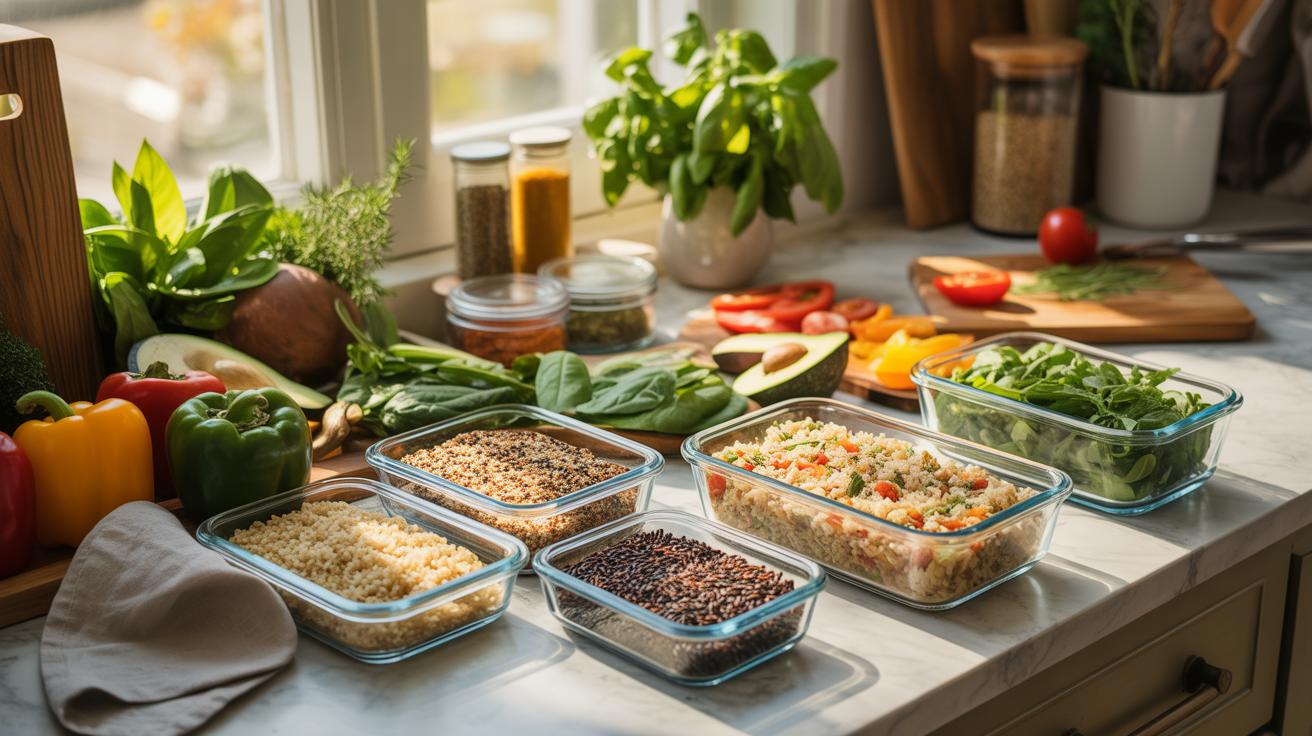
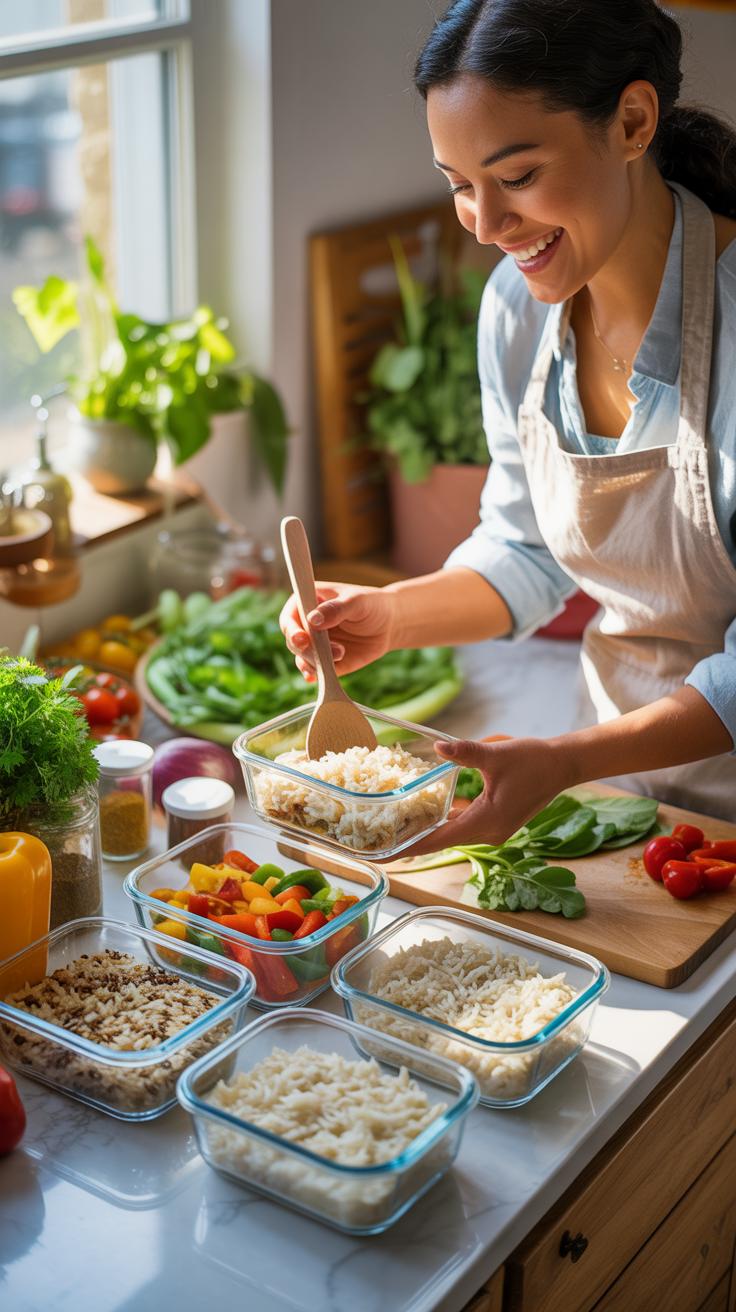
Meal prepping rice eliminates thirty minutes of active cooking and cleanup from your daily routine. Rice serves as a neutral base for hundreds of different dishes. You cook a large batch once and use it for five days. This strategy prevents you from choosing expensive takeout when you are tired. It streamlines your kitchen workflow and reduces your total energy consumption.

Buying rice in bulk significantly lowers your cost per serving compared to pre-packaged microwave pouches. Bulk grains have a long shelf life and do not expire quickly in the pantry. Preparing your own rice also gives you total control over sodium and fat content. You save money by using a single stovetop burner or rice cooker once instead of heating the kitchen every night.
Choosing The Right Type Of Rice For Weekly Meal Prep
Long grain white rice and basmati are the best choices for meal prep. These varieties contain less starch and remain fluffy after refrigeration. They do not clump together or turn into mush when you reheat them later. Choosing the right grain ensures your meals maintain a professional texture. It prevents the rice from becoming a solid block in your storage containers.

Brown rice is a superior tactical choice for heartiness and shelf life. It contains the bran and germ which provide a firm structure. This structure helps the grain hold its shape during the reheating process. Avoid short grain or glutinous rice for standard weekly prep. Those types become hard and brittle when cold. Stick to robust grains that withstand temperature changes without losing their integrity.
Best Grains To Meal Prep Alongside Rice For A Balanced Weekly Menu
Top Grains Worth Adding To Your Weekly Meal Prep Rotation
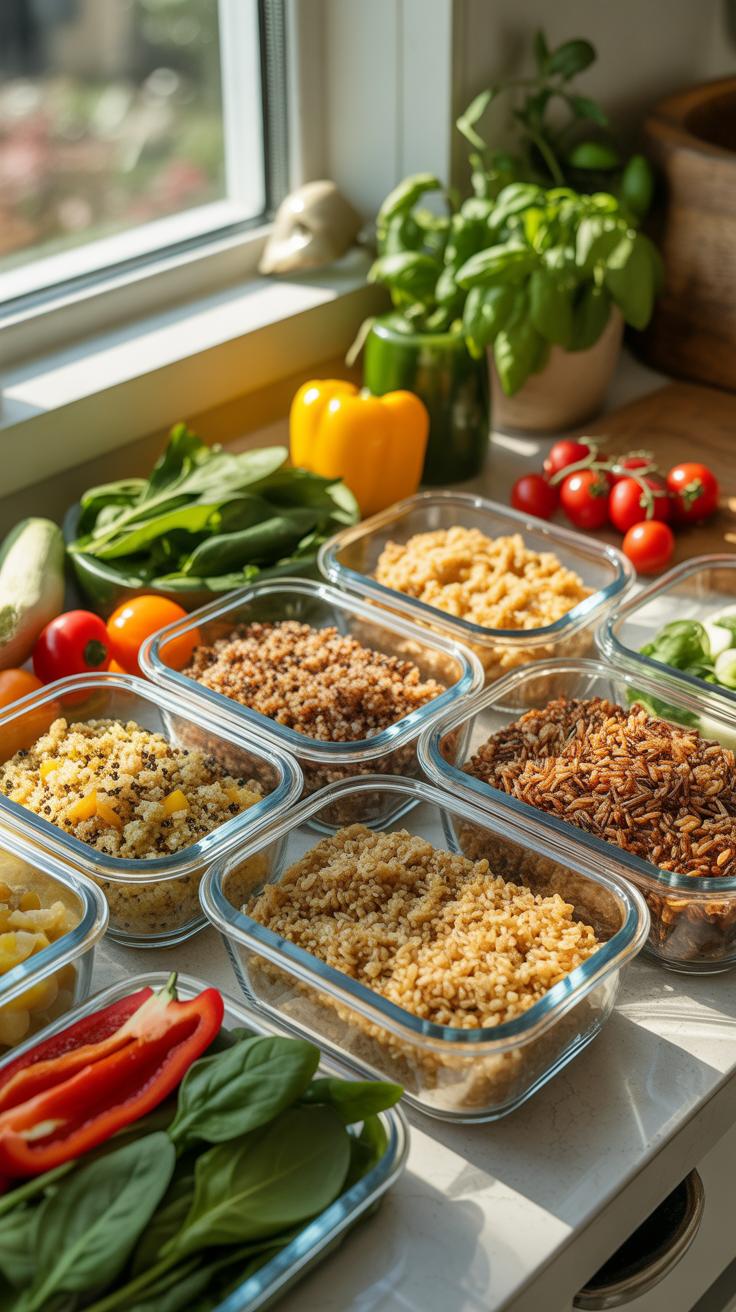
Rice serves as a solid base for many meals, but adding variety prevents flavor fatigue. Smart meal prepping requires choosing grains that maintain their texture after refrigeration and reheating. These selections provide different micronutrients and structural integrity compared to standard white rice. Integrating these options into your weekly rotation ensures you have diverse textures and flavors ready for quick assembly.
- Quinoa: This seed cooks fast and offers a complete protein profile. It holds its shape well in the fridge and works in both hot bowls and cold salads. Use a two-to-one water ratio for the best results.
- Farro: This ancient pearled wheat grain has a chewy texture and nutty flavor. It remains firm even after soaking in dressing or sauces for several days. It provides more fiber than white rice and sustains energy levels longer.
- Barley: Pearled barley is a dense grain that absorbs flavors from stews and soups without turning into mush. It has a high beta-glucan content which helps with cholesterol management. It stays fresh and distinct for up to five days.
- Bulgur: This cracked wheat requires minimal cooking time because it is often parboiled before packaging. It is the core ingredient in tabbouleh and adds a light, grainy texture to Mediterranean-style meal prep containers. It reheats very quickly.
- Buckwheat: Do not let the name fool you because this is gluten-free. It has a robust, earthy taste that pairs well with roasted vegetables. Reheat it with a splash of water to restore its original soft but firm consistency.
Select grains based on your primary protein sources for the week. Firm grains like farro pair best with heavy meats and thick sauces. Lighter choices like quinoa or bulgur complement seafood and fresh greens. Always cook these grains in large batches and cool them on a flat tray before storage. This technique prevents clumping and maintains the individual grain structure during the reheating process.
How Different Grains Compare In Cook Time, Nutrition, And Versatility
Efficiency in the kitchen depends on understanding how different grains behave on the stove. White rice finishes in twenty minutes, while hulled grains like farro or barley may take forty minutes. You must plan your burner space accordingly to finish all prep simultaneously. Quinoa and bulgur represent the fastest options for those with limited time. Nutrition also varies significantly as whole grains offer more fiber and minerals.
Versatility determines how many different meals you can build from one pot. Rice is a neutral canvas for Asian or Latin flavors. Farro and barley lean toward European and Mediterranean profiles. If you need a grain that works for breakfast porridge and dinner sides, choose quinoa or buckwheat. Always match the grain to your desired sauce consistency. Porous grains soak up liquids, while denser grains sit alongside them without losing their bite.
How To Cook Rice Perfectly For Meal Prep Every Single Time
Step By Step Method For Cooking Large Batches Of Rice For Meal Prep
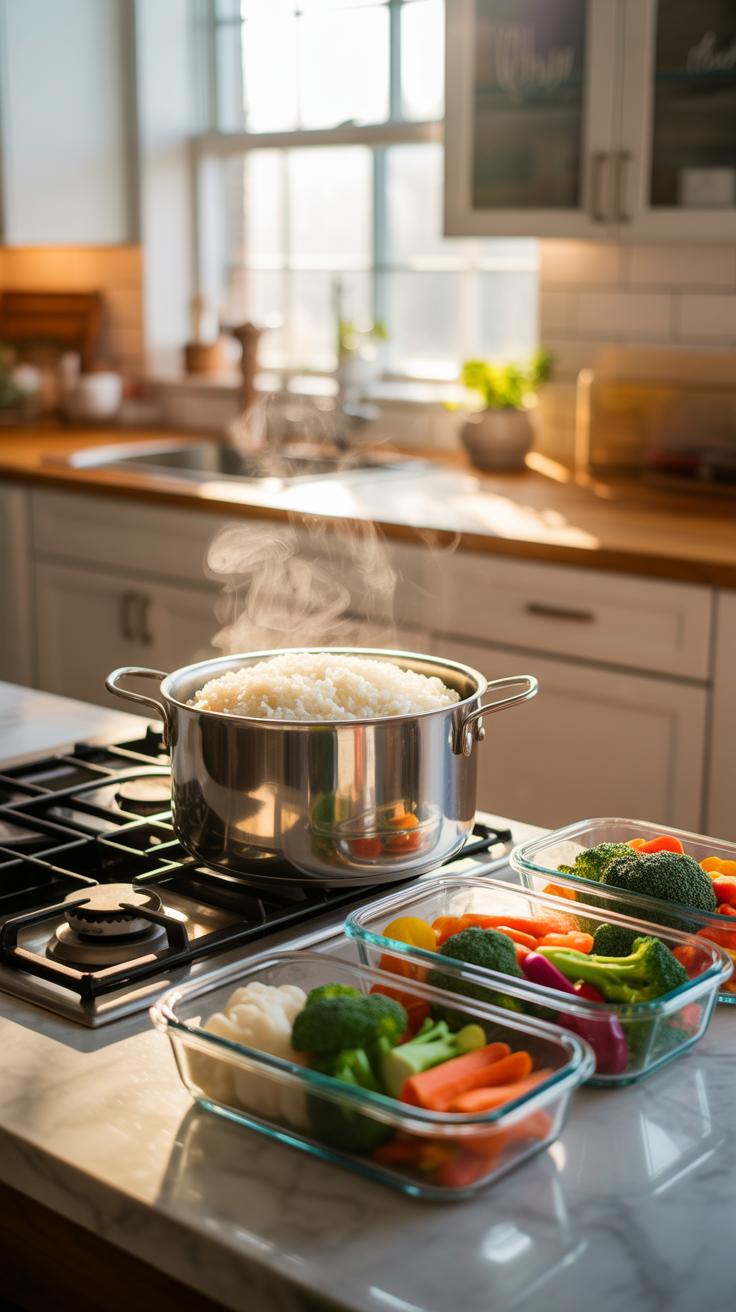
Efficiency in bulk cooking requires a standardized process to ensure consistency across multiple containers. You must prioritize high-volume tools like a dedicated rice cooker or a heavy-bottomed stockpot. Washing the grain is the most critical step for meal prep. It removes excess surface starch that causes clumping during refrigeration. Use cold water and rinse until the water runs clear before adding any cooking liquid.
- Rinse Grains Thoroughly: Place your dry rice in a fine-mesh strainer and run cold water over it. Agitate the grains with your hands to loosen starch. Continue this process until the water draining from the bottom is no longer cloudy. This prevents the rice from becoming a sticky mass.
- Measure Water Precisely: Use a strict ratio of water to dry grain to avoid mushy results. For long-grain white rice, use 1.5 parts water to 1 part rice. For brown rice, increase the water to 2 parts. Correct measurements ensure every grain stays distinct and firm after several days.
- Add Healthy Fats: Incorporate one tablespoon of neutral oil or butter into the pot before boiling. This fat coats the individual grains. It prevents them from fusing together as they cool in the fridge. It also improves the texture of the rice when you reheat it in the microwave.
- Execute Controlled Simmer: Bring the water to a full boil then immediately drop the heat to the lowest setting. Cover the pot with a tight-fitting lid to trap steam. Modern rice cookers automate this process, but manual cooking requires you to keep the lid closed. Opening it releases pressure and ruins the cook.
- Rest and Fluff: Turn off the heat once the water absorbs completely. Let the pot sit undisturbed for ten minutes. This allows the moisture to redistribute evenly throughout the batch. Use a wide fork or paddle to gently lift and separate the grains without mashing them into a paste.
Spread the finished rice onto a large sheet pan immediately after fluffing. This increases the surface area and speeds up the cooling process. Rapid cooling is a safety requirement to prevent the growth of harmful bacteria. Ensure the rice reaches room temperature before you seal it in airtight containers. Proper cooling keeps the texture firm and prevents the rice from getting soggy.
Common Mistakes To Avoid When Cooking Rice In Bulk
Most people ruin large batches by using too much water. They assume extra volume needs extra hydration, but this leads to structural collapse of the grain. High-capacity cooking creates more internal steam pressure than small batches. You must scale your water ratios carefully or the bottom layer will turn into porridge. Mushy rice is impossible to salvage and fails during the reheating phase later.
Another fatal error is packing hot rice directly into deep storage containers. This traps heat in the center for hours and creates a breeding ground for Bacillus cereus. This bacteria survives normal cooking temperatures and thrives in warm, moist environments. You must transition the rice from the heat source to a flat surface quickly. Speeding up the cooling process protects your health and preserves the individual grain integrity.
Meal Prep Rice The Best Storage Containers And Tools You Need
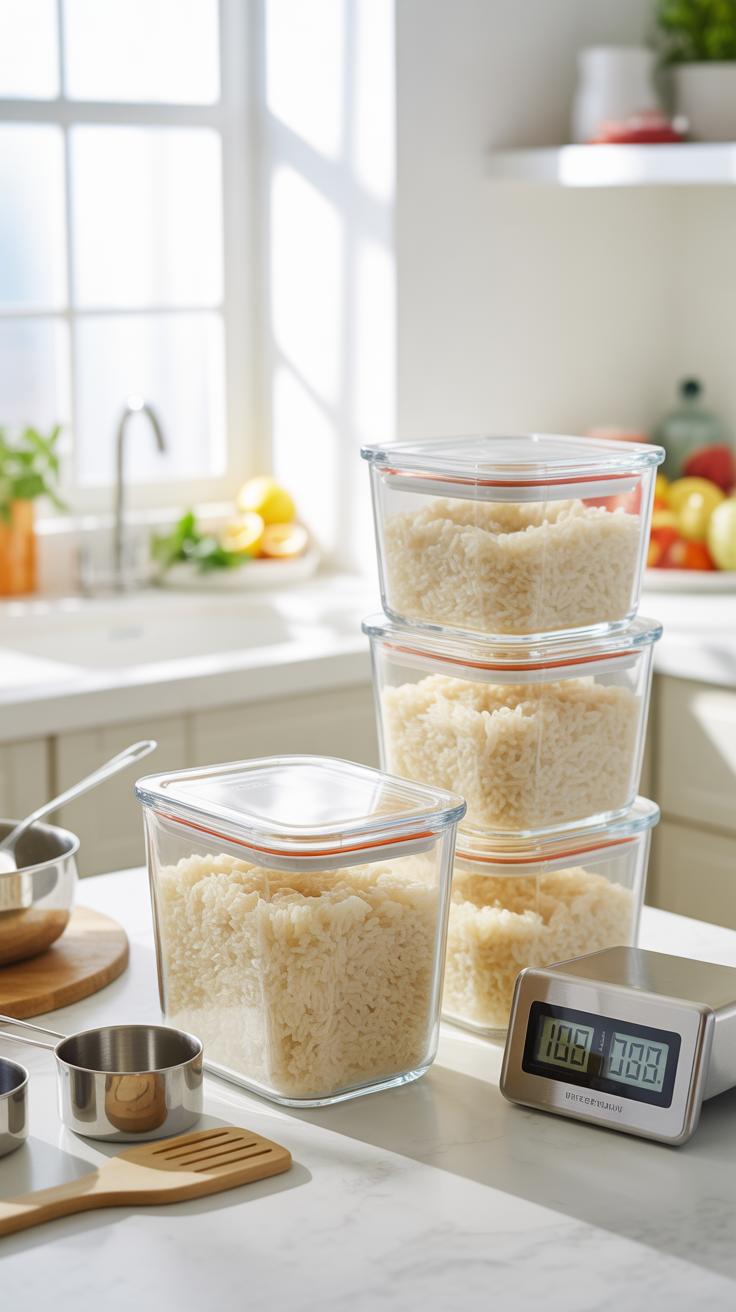
What To Look For In Airtight Containers When Storing Prepped Rice
Select glass containers over plastic alternatives. High quality borosilicate glass handles temperature shifts without cracking. Glass does not leach chemicals into your food. It also resists smells and stains from stronger grains. Ensure the lids have silicone gaskets. These gaskets create a true airtight seal. This seal prevents the rice from drying out. Dry rice becomes hard and unpalatable quickly in the fridge.
Standardize your container sizes for better stacking. This maximizes shelf space and keeps your fridge organized. Choose rectangular or square shapes to eliminate dead space in corners. Clear materials allow you to see the contents immediately. This speeds up your meal selection process. Avoid containers with loose lids. A secure locking mechanism is mandatory. It keeps moisture locked inside and keeps external odors from penetrating your prepped grains.
How Long Cooked Rice Stays Safe In The Refrigerator
Storage time for cooked rice is limited. You must refrigerate rice within one hour of cooking. Bacteria called Bacillus cereus can survive the initial cooking process. These spores grow rapidly at room temperature. They produce toxins that cause food poisoning. Do not leave large pots of rice on the counter to cool. This creates a dangerous environment. Move the rice to shallow containers to speed up cooling.
Keep your refrigerator at or below forty degrees Fahrenheit. Properly stored rice remains safe to eat for three to four days. Discard any rice that has been in the fridge longer than this period. Look for signs of spoilage like a slimy texture or sour smell. Never taste rice to check if it is bad. Reheat the rice until it reaches an internal temperature of one hundred sixty five degrees.
Can You Freeze Rice Everything You Need To Know Before You Try
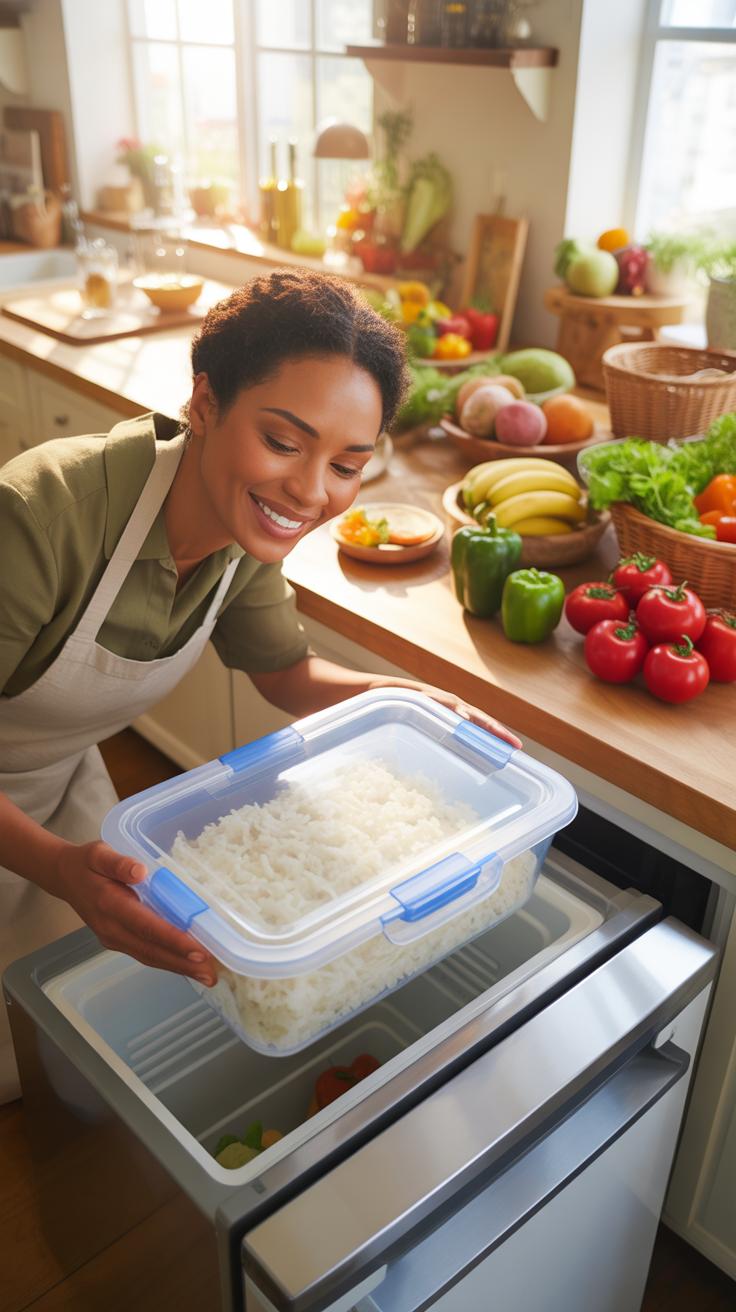
Why Freezing Cooked Rice Is Safe And Practical For Busy Households
Freezing cooked rice is a safe and efficient method for long term storage. Use this technique to reduce daily cooking times and eliminate food waste. Bacterial growth stops at freezing temperatures which keeps your grains safe for several months. Modern food safety standards confirm that rapid cooling and freezing prevent the development of harmful spores. You save significant time by preparing bulk batches once.
Properly frozen rice maintains its moisture content when stored in airtight containers. Air exposure causes freezer burn and ruins the starch structure of the grain. High quality freezer bags or vacuum seals provide the best protection against temperature fluctuations. Label every container with the date to ensure you use older stock first. This strategic approach allows you to pull single portions for immediate heating and consumption.
To feel the warm, steady presence of a bowl of rice in the kitchen is to know that your home is ready for any hunger that comes its way. Preparing your grains with care on Sunday is like tucking a little bit of peace into the pantry for the busy week ahead.
How Texture And Quality Hold Up After Freezing Different Rice Varieties
Rice varieties respond differently to the freezing process based on their starch content. Long grain white rice and Basmati maintain individual grains well because they contain less amylopectin. These types stay firm and do not turn into mush after you thaw and reheat them. Short grain varieties like Arborio or sushi rice contain more starch. They tend to stick together more aggressively when frozen and later reheated.
Brown rice and wild rice tolerate freezing exceptionally well due to their intact bran layers. The outer fiber protects the inner germ from structural damage during the ice crystal formation process. Expect these whole grains to retain a chewy texture that mimics freshly cooked results. Always undercook your rice slightly if you plan to freeze it. This tactic prevents the grain from becoming too soft during the secondary steaming or heating phase.
How To Freeze Rice A Reliable Method For Locking In Freshness
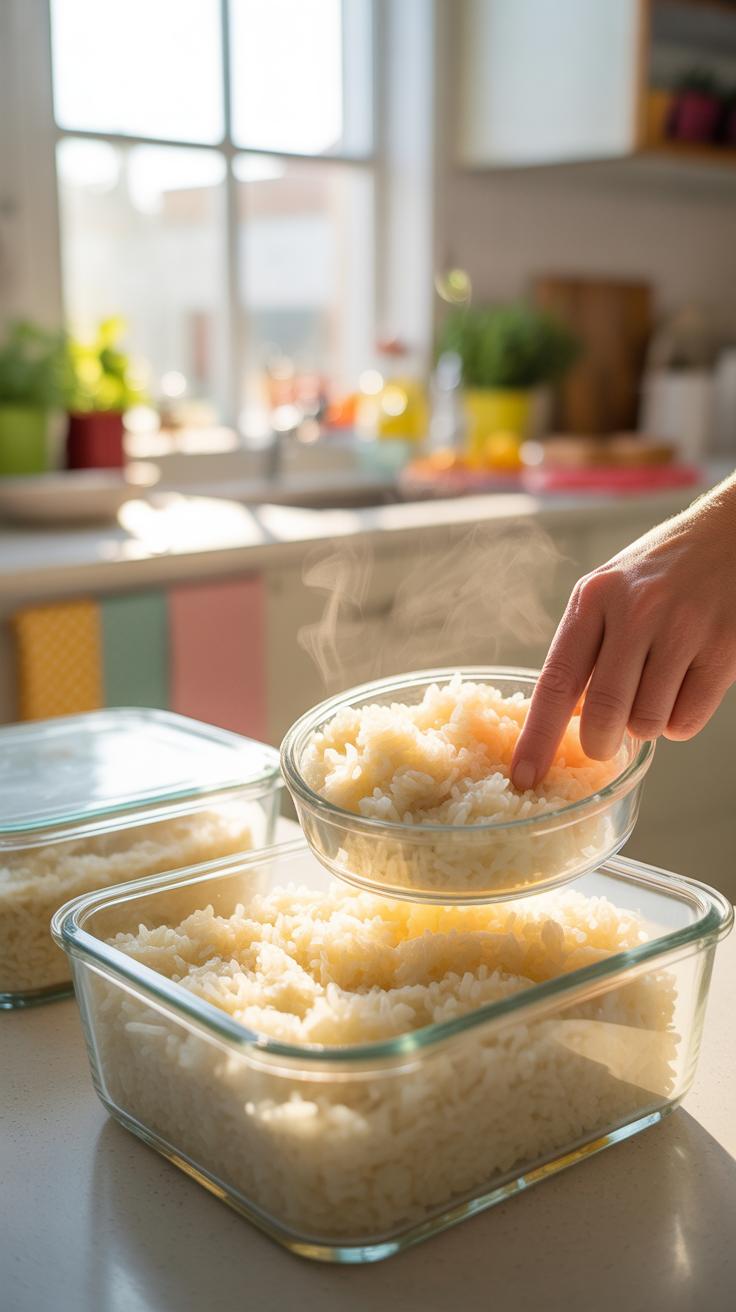
The Correct Way To Cool, Portion, And Freeze Rice To Prevent Freezer Burn
Spread hot rice on a flat baking sheet immediately after cooking. This exposes more surface area to air and stops the cooking process. Rapid cooling prevents the starch from becoming gummy or gluey. Do not leave rice at room temperature for more than one hour. Bacteria thrive in moist environments between 40 and 140 degrees Fahrenheit. Move the tray to the refrigerator to finish cooling.
Transfer cold rice into heavy duty freezer bags or airtight containers. Remove every bit of air from the bag before sealing it shut. Air causes sublimation which leads to freezer burn and off flavors. Divide the rice into single-serving portions of one or two cups. Flat bags stack easily and thaw faster than large blocks. Label each container with the date and grain type for easy tracking.
How Long You Can Keep Frozen Rice And When To Toss It
Frozen rice maintains peak quality for one to two months. It remains safe to eat indefinitely if the freezer stays at zero degrees Fahrenheit. Texture begins to degrade after sixty days as ice crystals break down the grain structure. Plan your meal cycles to consume frozen stock within this eight-week window. This timing ensures the rice retains its original moisture and bite when you reheat it.
Inspect the rice for large ice crystals or white dry patches before using it. These signs indicate freezer burn and poor sealing. Discard any rice that has developed a sour smell or a slimy texture after thawing. If the bag leaked or the seal broke, toss the contents immediately. Reliable food safety depends on maintaining a consistent cold chain. Use a thermometer to verify your freezer functions at the correct temperature.
How To Reheat Frozen Rice Safely Without Drying It Out
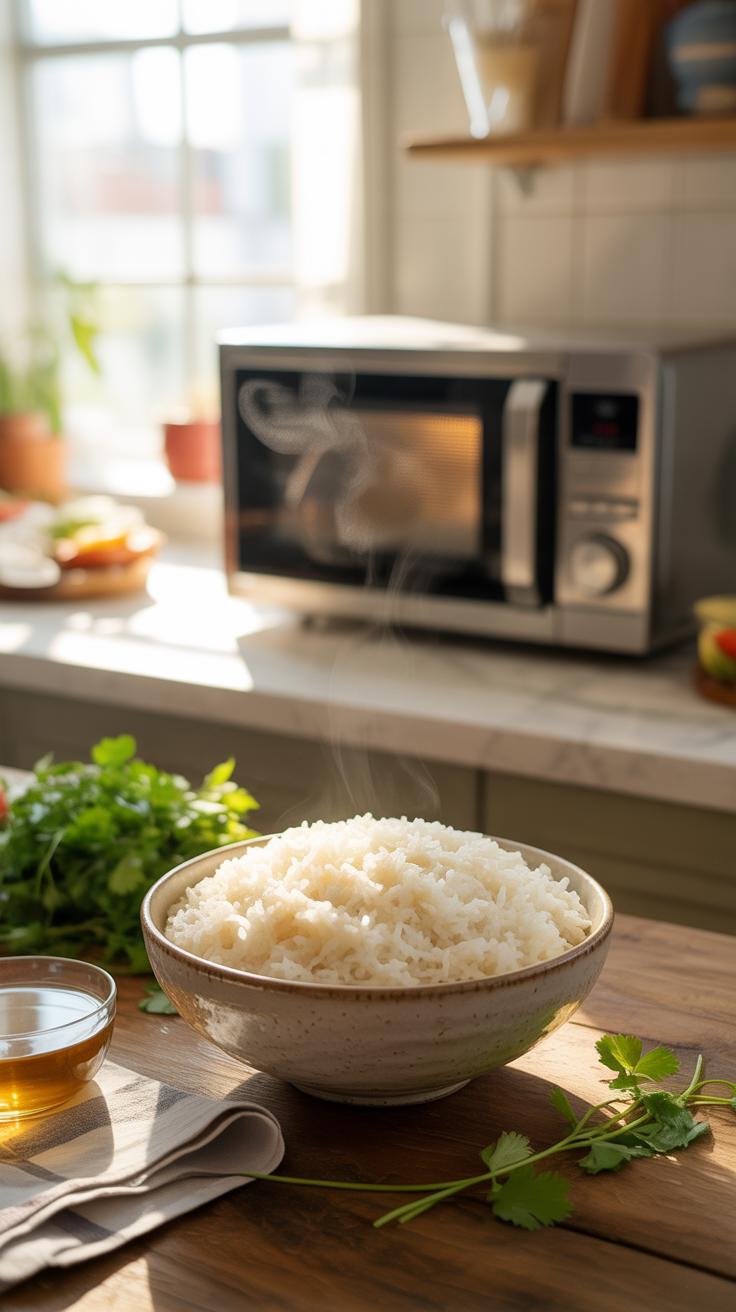
How To Freeze And Reheat Rice Using The Microwave Stovetop And Oven
Freeze rice in airtight containers or flat freezer bags immediately after cooling to prevent ice crystal formation. The microwave offers the fastest results for frozen portions. Place the frozen block in a bowl and cover it tightly to trap steam. Heat on high for two to three minutes until steam rises from the center. This method relies on the water molecules trapped in the grain.
The stovetop and oven require more active management to prevent burning. For stovetop reheating, place the frozen rice in a saucepan with a splash of liquid over medium-low heat. Keep the lid on to create a steam chamber. For the oven, spread the rice in a baking dish and cover with foil. Bake at three hundred degrees until the core reaches a safe temperature.
Tips For Restoring Moisture And Texture When Reheating Frozen Rice
Frozen rice loses surface moisture through sublimation in the freezer. You must replace this lost water during the reheating process to avoid a crunchy texture. Add one tablespoon of water or broth per cup of rice before heating. This liquid turns into steam which softens the starches. Most people fail because they heat the rice uncovered which allows essential moisture to escape.
Ice cubes provide a tactical advantage when using a microwave. Place one ice cube on top of the rice before heating. The cube will not melt completely but it provides a constant source of steam during the cycle. Remove the remaining ice once the rice is hot. Always fluff the grains with a fork after heating. This redistributes the remaining heat and moisture for a better mouthfeel.
Rice And Chicken Meal Prep Ideas For High Protein Weekly Lunches And Dinners
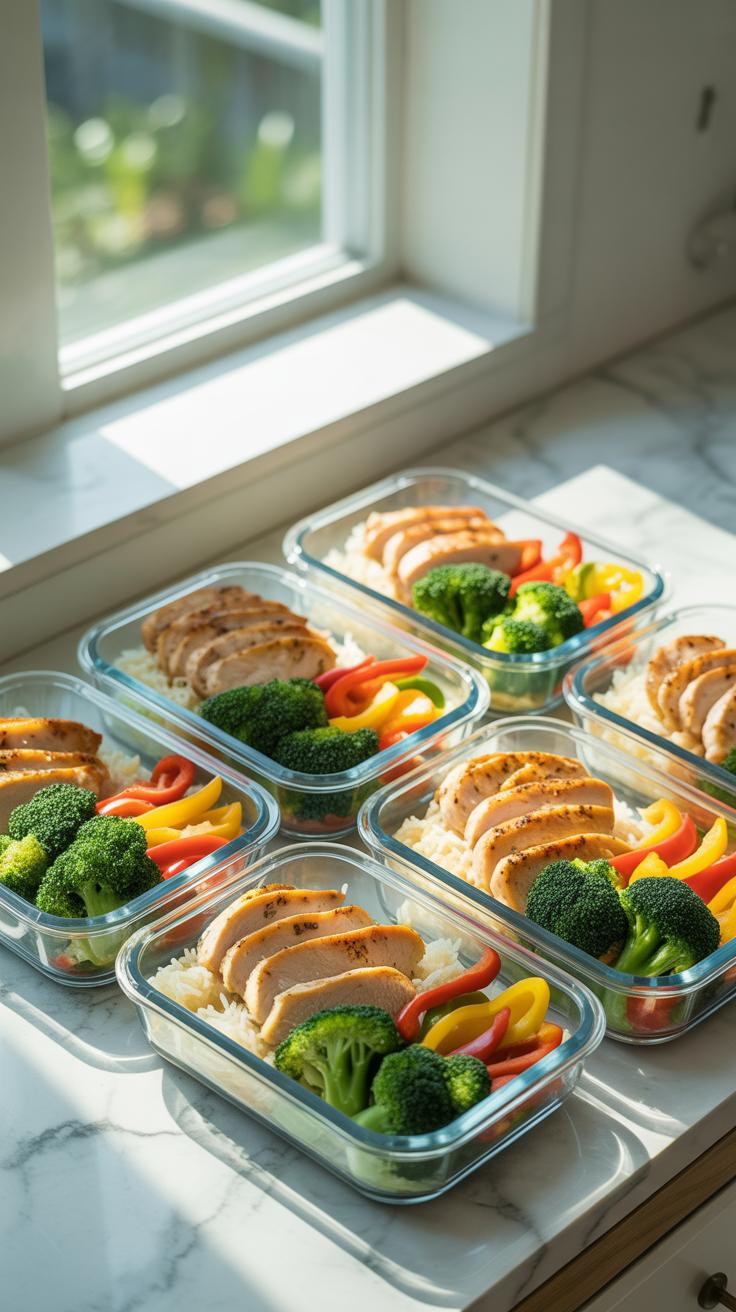
Meal Prep Ideas With Chicken And Rice That Actually Keep Well All Week
Successful rice and chicken prep starts with moisture management. Dry white meat becomes inedible by day four. Opt for chicken thighs or braised preparations to maintain texture. Use short-grain rice Varieties like Calrose for Asian-style bowls because they retain moisture better than long-grain types. Cook the rice with slightly less water if you plan on adding sauces later. This prevents the grains from turning into mush.
Store your rice and chicken in airtight glass containers to prevent oxygen from drying out the protein. Layer the chicken on top of the rice so the juices move downward during storage. This seasons the rice and keeps the meat tender. Add a small amount of liquid or a damp paper towel when reheating in the microwave. This creates steam that refreshes the starches and proteins simultaneously for a fresh taste.
How To Season And Pair Grains With Chicken For Variety Without Extra Effort
Change the flavor profile without cooking multiple batches of rice. Cook a large pot of neutral white or brown rice first. Divide the cooked grains into separate bowls while warm. Mix in lime juice and cilantro for Mexican themes or sesame oil and soy for Asian dishes. This method allows you to create three different meal styles from one single cooking cycle. It saves time and reduces kitchen cleanup.
Use dry spice rubs on your chicken to create contrast against the rice. Heavy sauces often make stored rice soggy over several days. Apply cumin and smoked paprika for a Southwest profile or oregano and lemon for Mediterranean bowls. Distribute these across your portioned containers. This strategy provides sensory variety. It prevents palate fatigue and ensures you actually eat your prepped meals instead of ordering takeout mid-week.
Building A Weekly Meal Prep Routine Around Rice And Grains That Sticks
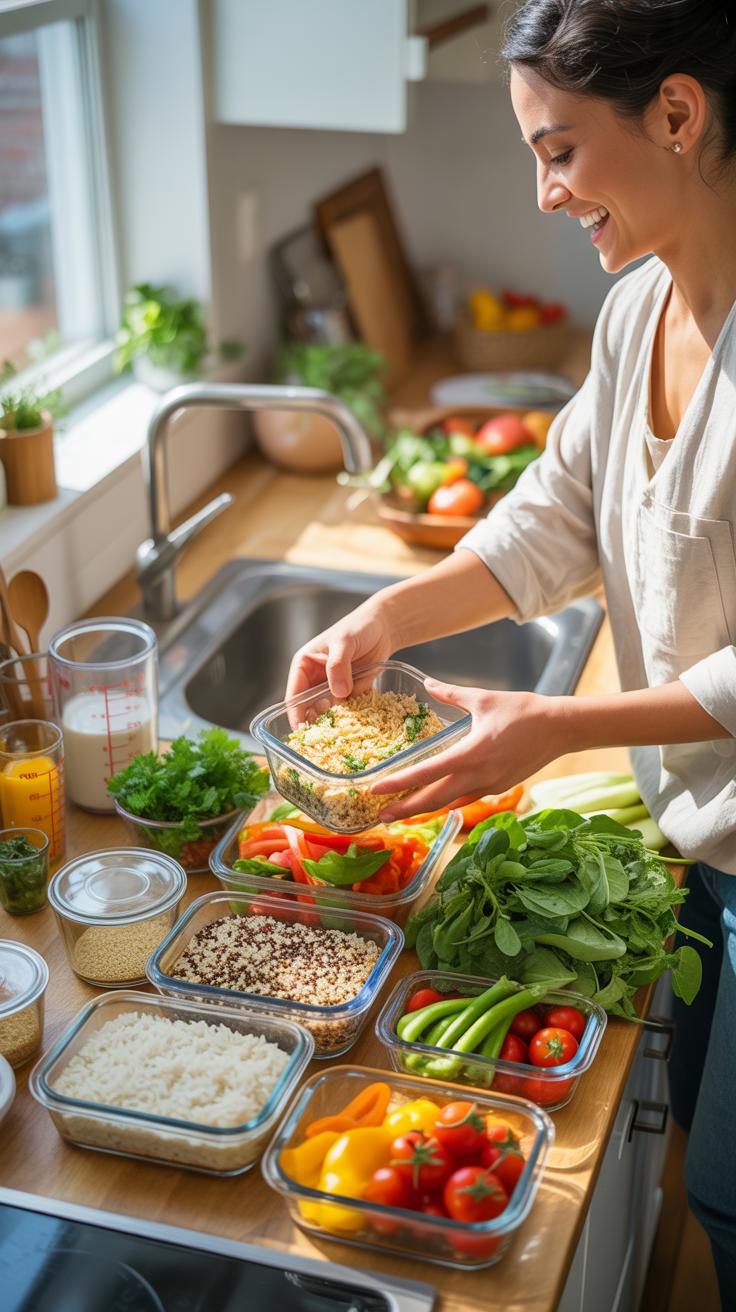
How To Plan Your Prep Day So Rice And Grains Are Always Ready To Go
Successful grain prep starts with timing your kitchen workflow. Rice takes the longest to cook but requires the least active labor. Start your rice cooker or stovetop pot first before you chop vegetables or sear proteins. This parallel processing ensures your base is ready to cool while you finish other tasks. Use this downtime to clean your workspace and prepare storage containers for the week.
Standardize your cooling process to prevent bacterial growth and soggy textures. Spread hot rice onto large baking sheets immediately after cooking. This increases surface area and stops the cooking process by releasing steam quickly. Once the rice reaches room temperature, transfer it to airtight containers and refrigerate. This discipline ensures the grain stays firm for reheating and remains safe for consumption over several days.
Scaling Your Rice And Grain Meal Prep Up Or Down Based On Household Size
Adjusting grain volume requires raw weight calculations to avoid food waste. One cup of dry white rice yields roughly three cups of cooked grain. For a single person, prep two dry cups to cover five standard meals. Multi-person households should multiply this base unit by the number of residents. Use a consistent measuring cup to maintain water-to-grain ratios across different batch sizes for predictable results.
Larger batches demand bigger equipment but follow identical chemistry. If you cook for a family, use a high-capacity electric pressure cooker to ensure even heat distribution. Small households should focus on variety by prepping two different grains in smaller pots. Regardless of size, always leave headspace in your storage containers. This prevents compression and keeps the individual grains from turning into a gummy mass during refrigeration.
Frequently Asked Questions

Is it safe to cook rice ahead of time for the entire week?
Yes, it is perfectly safe as long as you prioritize proper cooling and storage. When learning how to meal prep rice, the most important rule is to avoid leaving cooked grains at room temperature for more than an hour. Once cooked, spread the rice on a baking sheet to cool quickly, then transfer it to airtight containers in the refrigerator. This method keeps your grains fresh, fluffy, and safe for up to four days.
What is the best way to reheat prepped rice so it stays fluffy?
Reheating is the secret to making your meal prep taste fresh rather than dry. To restore moisture, add a splash of water or place a damp paper towel over your bowl before microwaving. If you are mastering how to meal prep rice for various dishes, heating it on the stovetop with a little olive oil or butter can also revive the texture, ensuring your grains remain as delicious on Thursday as they were on Sunday.
Can I meal prep rice and grains on a tight budget?
Absolutely! Grains are some of the most cost-effective pantry staples available. To save the most money, buy long-grain white rice, brown rice, or quinoa in bulk rather than individual pouches. Prepping large batches at home is significantly cheaper than buying pre-cooked frozen versions. By pairing these affordable grains with seasonal vegetables and simple proteins, you can create a week’s worth of healthy, satisfying, and incredibly budget-friendly meals with very little effort.