
What Is Food Art For Kids And Why Does It Matter At Mealtime
The Simple Concept Behind Turning Meals Into Edible Masterpieces
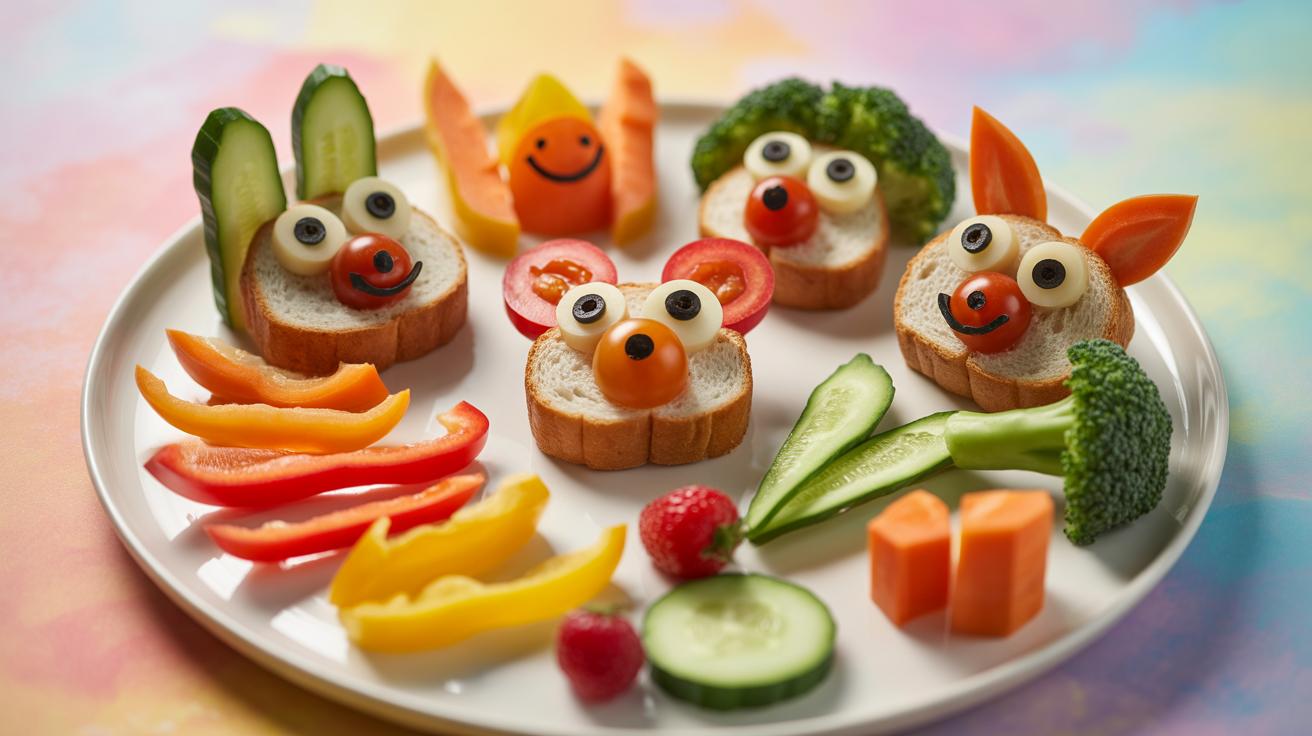
Food art for kids involves arranging standard ingredients into recognizable patterns, characters, or scenes. This practice draws from the Japanese Bento tradition, which emphasizes visual harmony and portion control. Strategically placing fruits, vegetables, and proteins creates a narrative on the plate. Designers use geometric shapes and color theory to transform mundane meals into engaging compositions. You do not need expensive tools to start this process.
Precision cutting and structural assembly are the core technical requirements. Chefs use cookie cutters, mandolines, and paring knives to reshape raw materials. The goal is to maximize the aesthetic appeal of healthy foods without sacrificing nutritional value. Proper execution relies on high-contrast colors and varying textures. This method turns food into a communication tool between the provider and the child. It simplifies the act of eating through familiar imagery.
How Visual Food Presentation Encourages Kids To Eat More Willingly
Visual presentation dictates the perceived taste and safety of a meal. Children often reject new foods due to neophobia, which is a natural fear of the unknown. Food art bypasses this biological defense by making unfamiliar ingredients look approachable. When a vegetable resembles a familiar object, a child lowers their guard. This tactical shift reduces mealtime power struggles. It focuses on the psychological principles of familiarity and positive association.
Exposure remains the most effective way to expand a child’s palate. Serving a variety of colors increases the likelihood of nutrient density. Research shows that people perceive organized food as more appetizing than messy displays. By applying basic design principles to a plate, you increase consumption rates of produce. This strategy works because it addresses the sensory experience before the first bite. Better aesthetics lead to better compliance and improved long-term eating habits.
Fruit Platter Designs That Kids Will Actually Get Excited About
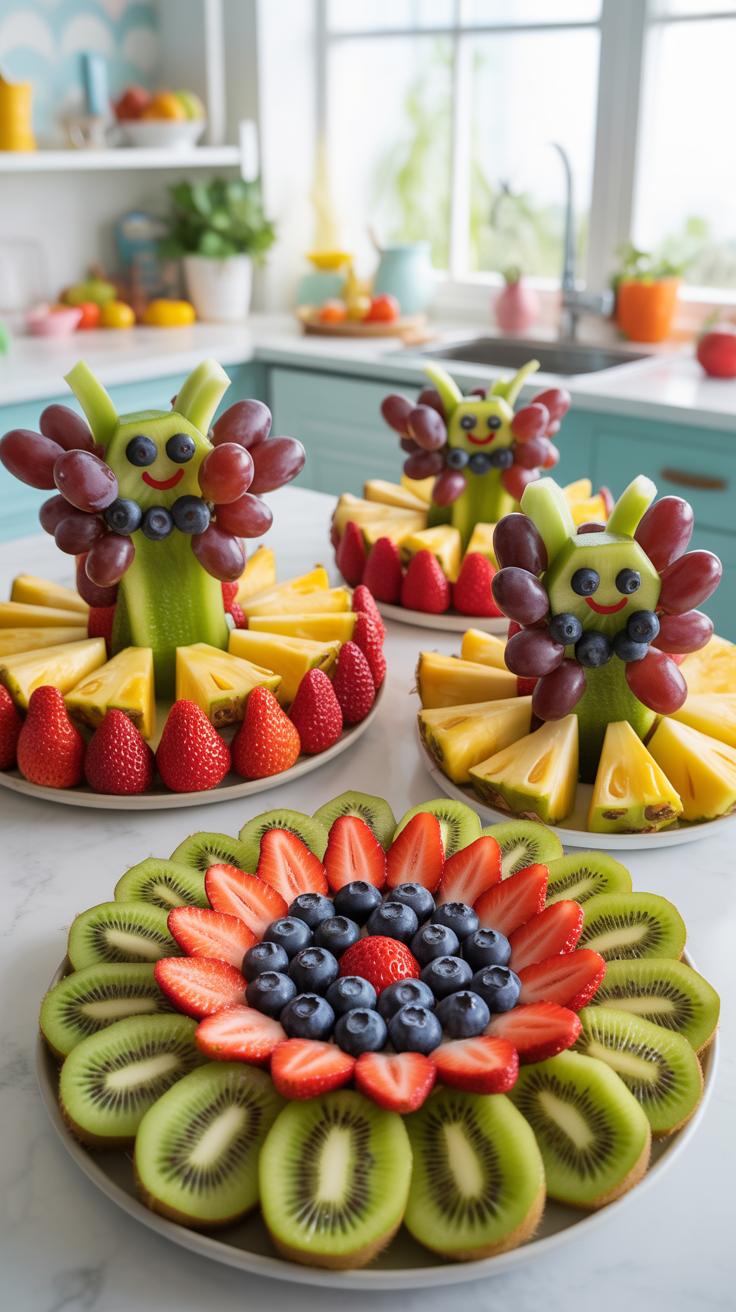
How To Arrange Colorful Fruits Into Fun Shapes And Characters
Effective food art for kids requires a focus on geometry and contrast. Use a sharp paring knife to create clean lines and defined shapes. Start with large base pieces like melon slices to establish the main body of a character. Layer smaller sliced elements like grapes or berries on top to add depth. Use contrasting colors to highlight specific facial features or patterns.
Physical stability is essential for successful platter design. Heavy or wet fruits act as anchors at the base of the plate. Use natural adhesives like honey or Greek yogurt to secure small decorative pieces in place. Cut rounded fruits like strawberries in half so they sit flat against the surface. This technique prevents the design from shifting when you move the platter to the table.
Seasonal Fruits To Use For The Most Vibrant And Eye Catching Platters
Selection of produce depends on regional availability and natural pigments. Use citrus and pomegranate during winter months for deep reds and bright oranges. These fruits provide structural integrity because they hold their shape after cutting. Summer offers stone fruits and berries which provide a wide spectrum of primary colors. Always select firm fruit to ensure the edges remain crisp during the assembly process.
Acidity levels affect the visual longevity of your food art. Apply lemon juice to apples and bananas to stop enzymatic browning through oxidation. This chemical reaction ruins the aesthetic appeal of a platter within minutes. Choose fruits with high water content like watermelon for large surface areas. High fiber fruits like pineapple work best for structural components that need to stand upright or support weight.
Creative Fruit Creations That Double As Healthy Kid Friendly Snacks
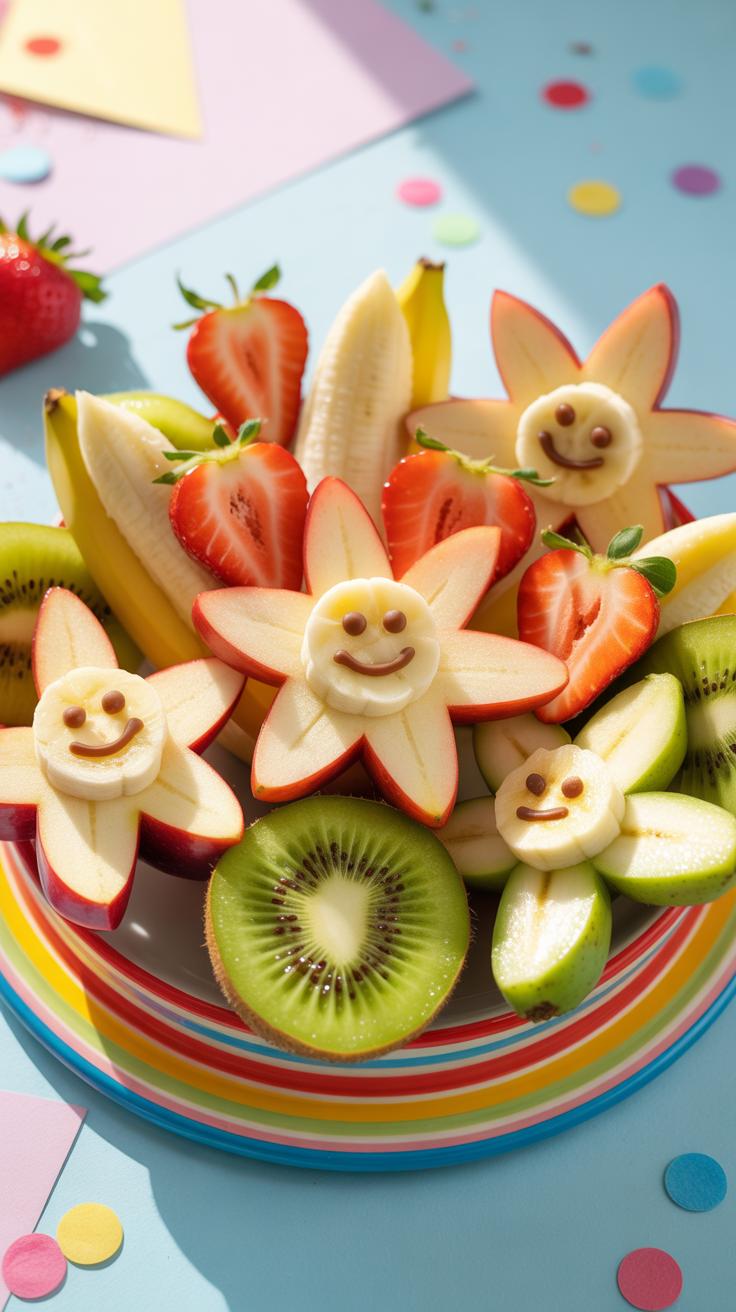
Building Animal Faces And Nature Scenes Using Everyday Fruits
Constructing edible scenes requires high contrast colors and structural integrity. Use round citrus slices for suns or animal faces. Apply blueberry halves for eyes to create immediate focal points. Sliced strawberries serve as tongues or flower petals. Peel bananas to form tree trunks or curved bodies for dolphins. These shapes provide the foundation for recognizable images. Sharp knives ensure clean edges for professional results.
Arrange fruit flat on a plate to prevent sliding. Use green grapes for caterpillars or leaves. Sliced apples act as wings for butterfly designs. Physical layers add depth to the art. Place smaller items on top of larger bases to secure them. This method mirrors basic collage techniques used in traditional art. Kids recognize these patterns quickly. Simple geometry makes the food art for kids both achievable and engaging.
Pairing Fruit Creations With Dips To Add Flavor And Nutritional Value
Dips function as both flavor enhancers and structural adhesives. Use Greek yogurt or nut butters to anchor small fruit pieces to the plate. This prevents the art from shifting during transport. These bases provide necessary proteins and healthy fats. Smear a thin layer of dip to create a canvas. This technique allows for vertical stacking. It transforms a flat snack into a three dimensional experience.
Select dips that complement the natural acidity of the fruit. Hummus works well with apple slices for a savory twist. Cottage cheese provides a textured background for berry heavy designs. Ensure the dip consistency is thick enough to hold weight. Runny sauces fail as construction materials. Proper pairing increases the nutrient density of the meal. Strategic placement of dips ensures the child consumes the entire nutritional profile offered.
Fun Kid Food Ideas That Go Beyond The Ordinary Lunchbox
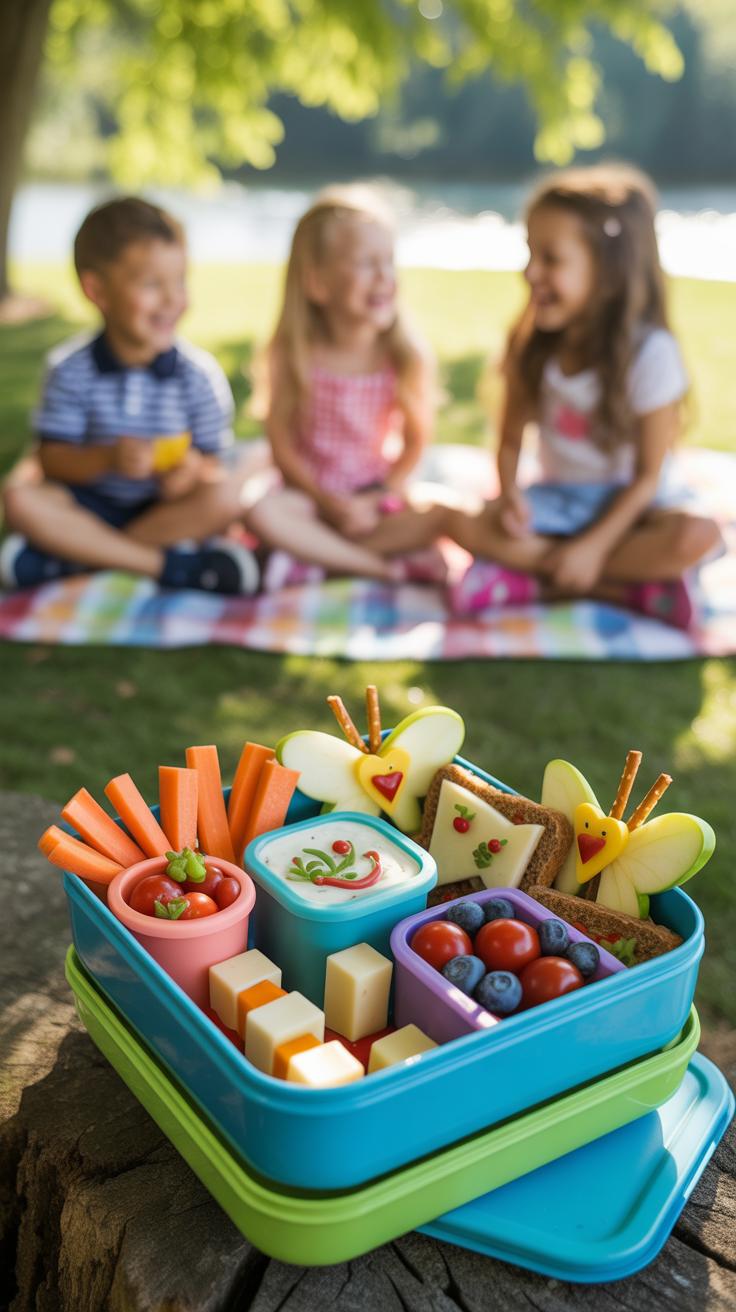
Turning Sandwiches And Wraps Into Characters Kids Recognize And Love
Character construction requires structural integrity and color contrast. Use round cutters to build foundational shapes for faces. Dark leafy greens or seaweed sheets provide outlines for eyes and mouths. Contrast light breads with dark fillings to create depth. Deploying proteins as hair or clothing adds texture. These visual cues signal recognizable icons that keep a child engaged with the nutritional content of the meal.
Strategic placement of ingredients determines the success of food art for kids. Natural pigments in vegetables serve as a non-toxic palette. Use bell pepper strips for smiles and circular cucumber slices for eyes. Secure heavy items with small amounts of cream cheese or hummus to act as edible glue. This method ensures the character remains intact during transport. Avoid overcomplicating designs to save time and maintain hygiene during preparation.
Using Cookie Cutters And Simple Tools To Shape Everyday Foods Creatively
Standard kitchen tools provide the fastest path to professional food art for kids. Metal cutters offer cleaner edges than plastic versions when slicing through dense materials like melons or cheese. Stacking different shapes creates a three-dimensional effect that mimics architectural models. Use small paring knives for fine detail work and micro-planes for adding texture. This tactical approach turns simple ingredients into high-value visual assets for a meal.
- Stainless Steel Cutters: These tools slice through bread, meat, and firm produce without tearing the edges. Metal resists bending during heavy use and allows for precise geometric shapes. Clean lines make the final food art look professional.
- Silicone Molds: Use these for shaping soft foods like rice, gelatin, or mashed potatoes. Press the food firmly into the mold to capture every detail. This technique scales well for meal prepping multiple servings at once.
- Plastic Food Picks: These functional tools secure small items like berries or olives in place. Use them to add height and stability to the plate. They also double as utensils that keep small hands clean while eating.
- Vegetable Peelers: A standard peeler creates long, thin ribbons of carrots or cucumbers. These strips work as decorative borders or edible ribbons. They add a sophisticated texture that enhances the overall aesthetic of the dish.
- Small Melen Ballers: This tool produces consistent spheres from soft fruits and cheeses. Uniform shapes create a sense of order and visual appeal on the plate. Use spheres to build eyes or decorative patterns in fruit salads.
Efficiency remains the priority when using tools to shape food. Select three core tools to minimize cleanup and maximize output. Batch-cut ingredients at the start of the week to save daily labor. Store pre-shaped components in airtight containers to maintain their structural shape. This strategy ensures the food art practice is sustainable for busy schedules. Hard vegetables hold their shape better over several days than soft fruits.
Cute Healthy Snacks For Kids That Are As Nutritious As They Are Adorable
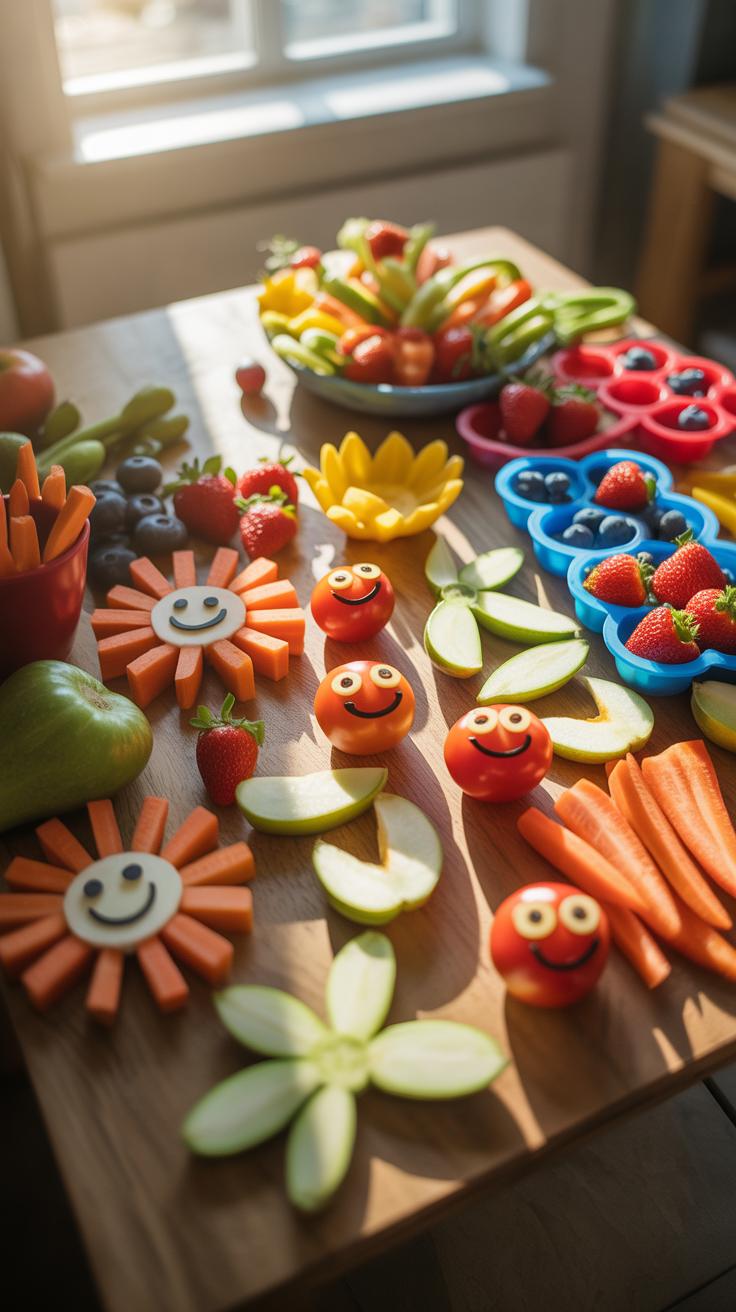
Vegetable Based Snack Arrangements That Make Greens Appealing To Children
Anthropomorphism is the primary tactic for increasing vegetable intake. Children connect with faces and recognizable forms more than abstract piles of food. Use sliced cucumbers for eyes and bell pepper strips for smiles. This strategy relies on the pareidolia effect which is the human tendency to see faces in random objects. Creating these patterns reduces the fear of new foods by making the plate look safe.
Structural assembly creates a sense of play that overrides texture aversions. Use broccoli florets as trees or celery sticks as logs. These shapes utilize the natural geometry of plants to build three dimensional scenes. Rigidity is essential for these builds so choose high fiber vegetables that maintain their shape. This technique shifts the focus from the taste of the greens to the architecture of the snack.
How Portion Size And Color Contrast Make Healthy Snacks More Inviting
Visual hierarchy dictates how a child approaches a plate. High contrast colors grab immediate attention and signal variety. Place bright orange carrots against dark green spinach or purple cabbage. This contrast mimics the bold palettes used in modern graphic design and cartoon animation. It prevents the food from looking like a bland monochromatic mass. Sharp color distinctions make each healthy component stand out as an individual prize.
Small portion sizes reduce the sensory load on a child. Large piles of food can overwhelm a young diner and trigger plate avoidance. Scale every item to fit a child sized hand for better tactile control. Use small cookie cutters to create uniform shapes from melon or beets. Controlled portions allow for more white space on the plate which improves the overall food art for kids aesthetic.
Cute Breakfast For Kids That Makes Mornings Something To Look Forward To
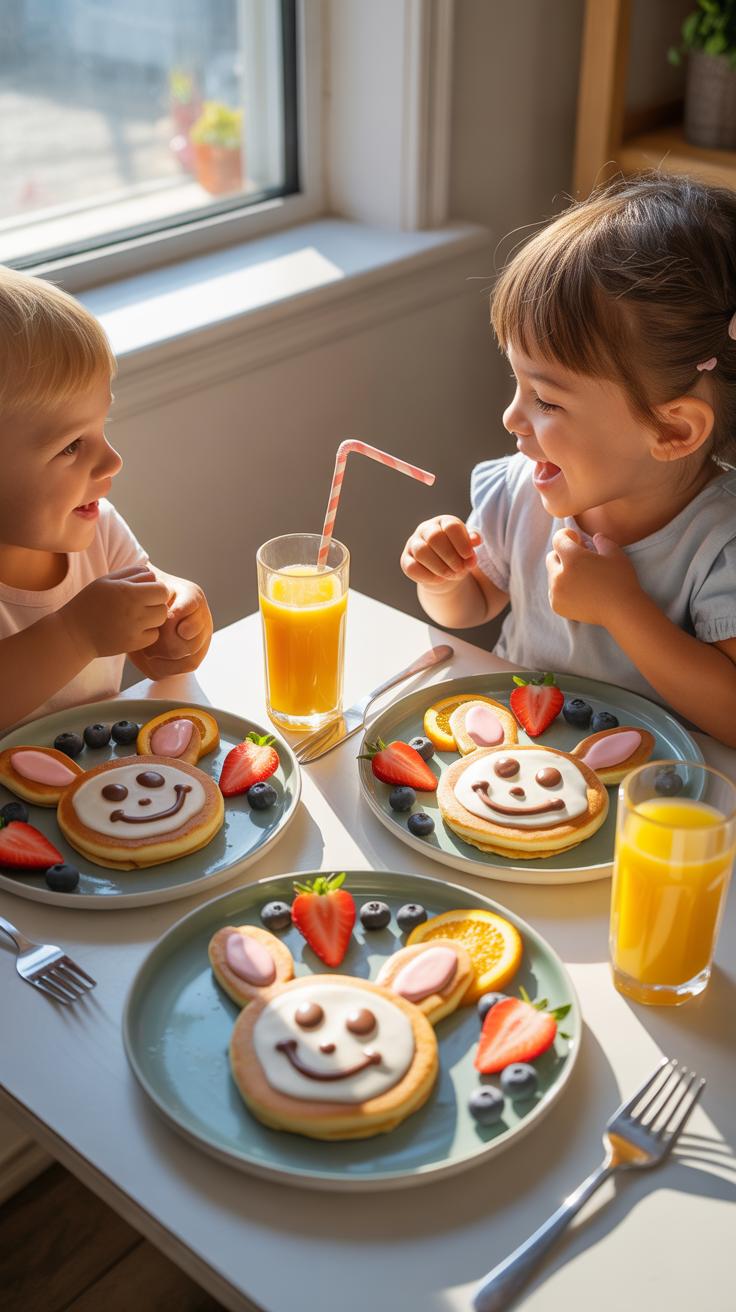
Pancake And Egg Designs That Transform A Classic Breakfast Into Fun Art
Pancakes function as a primary canvas for edible art due to their flat surface and structural integrity. Use squeeze bottles to control batter placement on the griddle. This technique allows for precise shapes like animal ears or geometric patterns. Control heat to create different shades of brown for contrast. Proper temperature management ensures the designs remain distinct. Stack circular pancakes to build three dimensional figures like bears or owls.
Eggs offer unique textures for food art through yolk and white separation. A sunny side up egg mimics a bright sun or the center of a flower. Hard boiled eggs provide a solid medium for sculpting shapes with small knives. Use vegetable cutters to punch shapes from egg whites. These protein elements add height and color to the plate. High contrast between the yellow yolk and white creates visual interest immediately.
Laughter is brightest where food is best, especially when a child sees a smiley face looking back from their plate.
Toast Toppers And Spreads That Create Faces, Animals, And Landscapes
Toast serves as a rigid base for heavy spreads and decorative toppings. Apply nut butters or cream cheese to establish a uniform background color. Use a butter knife to create textured fur or grass patterns in the spread. This tactile element adds realism to animal designs. Focus on high protein spreads to ensure the art remains functional as a meal. Different bread types offer varying colors for mountain or forest scenes.
Precise placement of fruit and vegetable slices defines the facial features of food art. Slice bananas into rounds for eyes and use berries for pupils. Thinly sliced apples work well for ears or wings. Arrange these items strategically to convey emotion or movement. Use kitchen shears to trim leafy greens into landscape elements like trees. Quality ingredients ensure the structural pieces do not slide off the toast during service.
Cute Healthy Breakfast For Kids Using Wholesome Ingredients And Smart Swaps
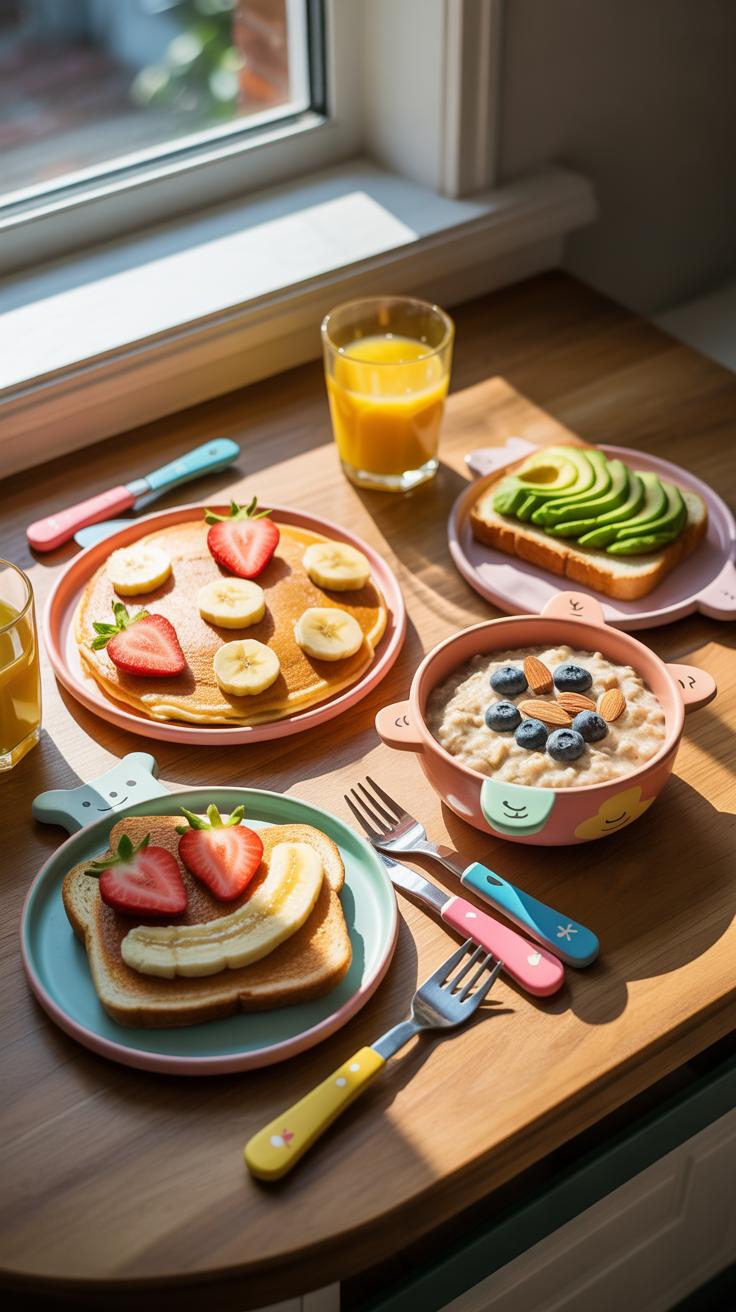
Oatmeal and yogurt serve as ideal canvases for food art for kids because of their thick and stable textures. You can manipulate these bases to create flat surfaces for design work. Steel-cut or rolled oats maintain their shape better than instant varieties when supporting heavy fruit toppings. Use a spoon to smooth the top layer before adding decorative elements to ensure the scene remains visible.
Create morning scenes by using high-contrast colors from fresh produce. Sliced strawberries or raspberries represent flowers or sun rays while blueberries act as eyes or water droplets. Layout these items in geometric patterns to build recognizable figures. Use nut butters or seed butters in a piping bag to draw fine lines for branches or smiles. This technique builds visual interest through varied heights and textures.
Remove refined sugars by substituting them with whole fruit purees and spices like cinnamon or nutmeg. Sweetness in food art should come from the natural fructose in bananas, mangoes, or berries. These ingredients provide color and flavor without the glycemic spikes associated with processed syrups. High-fiber toppings like chia seeds or crushed walnuts add crunch and structural integrity to complex designs without adding empty calories.
Use greek yogurt or cottage cheese for white elements instead of marshmallows or icing. These swaps increase the protein content while maintaining the visual contrast necessary for professional food art. Select brightly colored vegetables like shredded carrots or spinach to add pops of color that also boost micronutrient intake. Strategic ingredient selection ensures the meal looks appealing to children while meeting strict nutritional requirements for early childhood development.
Easy Food Art Ideas Anyone Can Try With Minimal Time And Basic Ingredients
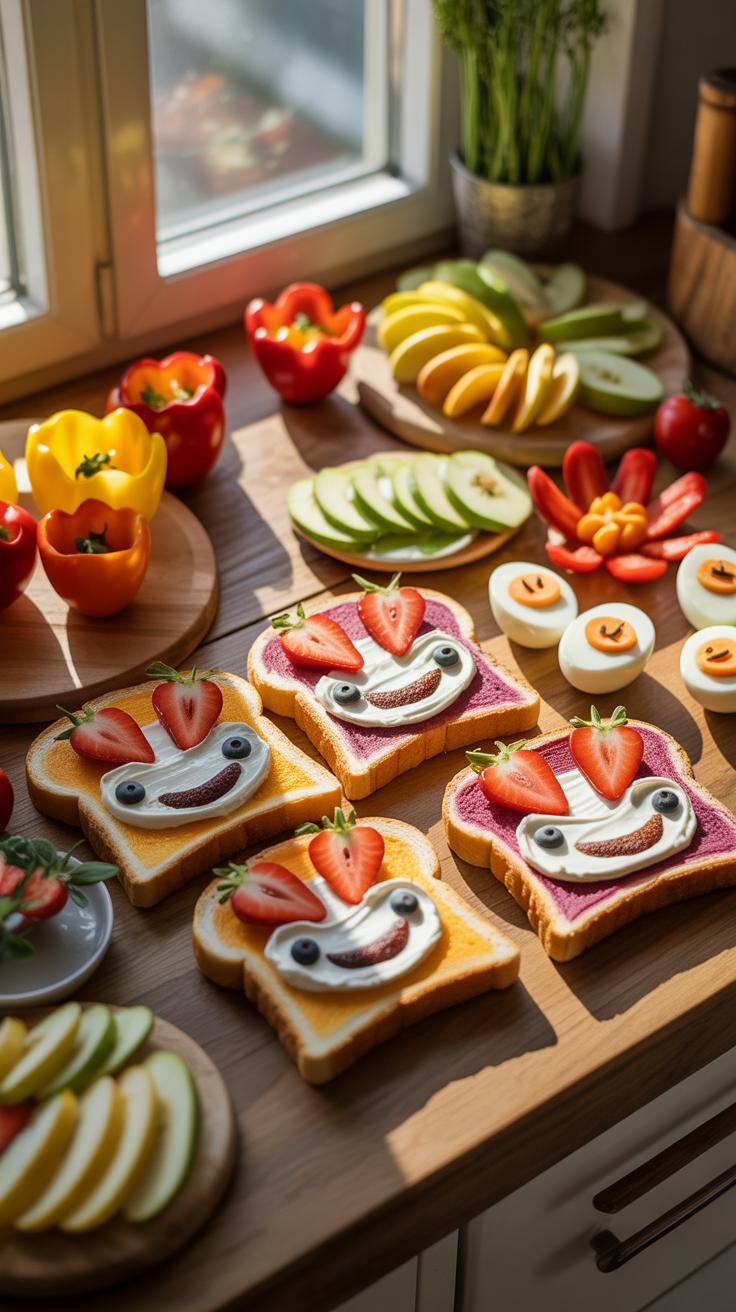
Five Minute Food Art Techniques Perfect For Busy Parents On Weekdays
Speed is the main objective during a hectic school week. You do not need professional culinary tools to create food art for kids. Use standard kitchen items like cookie cutters, paring knives, and drinking straws to reshape ordinary ingredients. These methods rely on geometric simplified forms that the human brain recognizes instantly. Focus on high-contrast colors to ensure the visual design stands out against the plate.
- Geometric Sandwich Cutting: Use metal cookie cutters to remove the center of a sandwich. This creates a window that reveals colorful fillings like jam or greens. It eliminates crusts while adding immediate visual appeal without extra assembly time.
- Apple Star Slices: Cut an apple horizontally through the core rather than vertically. This reveal naturally occurring pentagram symmetry in the seed pod. It provides an instant focal point for a snack plate using only a single knife stroke.
- Banana Sushi Rounds: Peel a banana and coat it in nut butter and seeds. Slice it into thick rounds that mimic traditional maki rolls. This technique uses the cylindrical shape of the fruit to create a sophisticated bite-sized presentation.
- Vegetable Flower Stamps: Cut the base of a celery bunch or a bell pepper. Dip the cut end into hummus or yogurt to stamp floral patterns onto a plate. This uses the natural structural cross-sections of the plant to build repetitive designs.
- Strawberry Hearts: Remove the green stem with a V-shaped cut at the top of the fruit. Slice the berry in half vertically to produce two heart-shaped pieces. This simple modification requires no specialized skill and works effectively for breakfast garnishes.
Efficiency improves when you standardize your plating process. Keep a kit of small plastic cutters and bento picks in one accessible location. Apply the rule of thirds by placing the main artistic element off-center to create a more dynamic look. Use dry ingredients as the base to prevent moisture from ruining the shapes. Fast execution ensures the food stays at the correct temperature for the child to enjoy.
How To Reuse Leftovers Creatively To Build Quick And Playful Meal Designs
Repurposing cold proteins and grains reduces waste and saves preparation time. Cold pasta shapes work as building blocks for structural designs. Use leftover spaghetti to create hair or nests for round protein elements. Cold rice functions like edible clay when you press it into small bowls or measuring cups. This vertical molding technique adds height to the plate and makes portions appear more substantial and organized.
Standardize your approach by treating every leftover as a specific shape. Sliced deli meats work as foldable fabric for edible characters. Rounded ends of roasted vegetables serve as eyes or buttons. Use sauces like pesto or tomato paste as paint to connect different food components together. This tactical reuse of ingredients ensures that yesterday’s dinner becomes the foundation for today’s visual engagement. Solid structural planning makes these meals durable for lunchboxes.
Food Decoration Ideas For Kids That Inspire Them To Help In The Kitchen
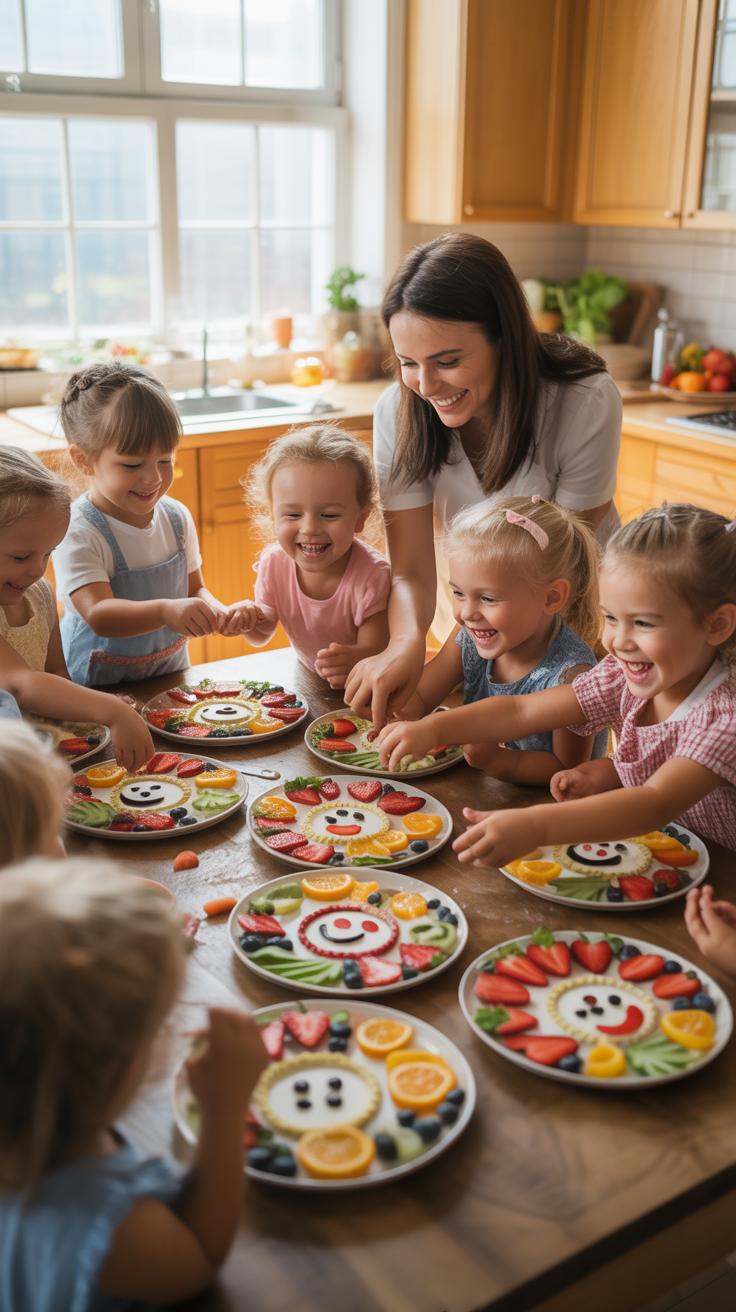
Age Appropriate Decoration Tasks Kids Can Safely And Confidently Handle
Toddlers can perform basic placement tasks to build fine motor skills. Ask them to position blueberry eyes on pancake faces or scatter cheese shreds on pizza. These actions require no sharp tools or heat. Use soft silicone molds for shaping mashed potatoes or rice. This age group excels at simple repetitive motions. Hand dexterity improves through these low stakes tactile interactions with food materials.
Older children can manage precision tools like cookie cutters and blunt spreaders. They can punch out stars from melon slices or spread hummus across pita bread. Teach them to use kitchen shears for snipping herbs or scallions. This task is safer than using a chef knife for beginners. Supervise their use of vegetable peelers to create thin ribbons of carrots for garnishing vibrant edible landscapes.
Why Involving Kids In Food Decoration Builds Confidence And Healthy Habits
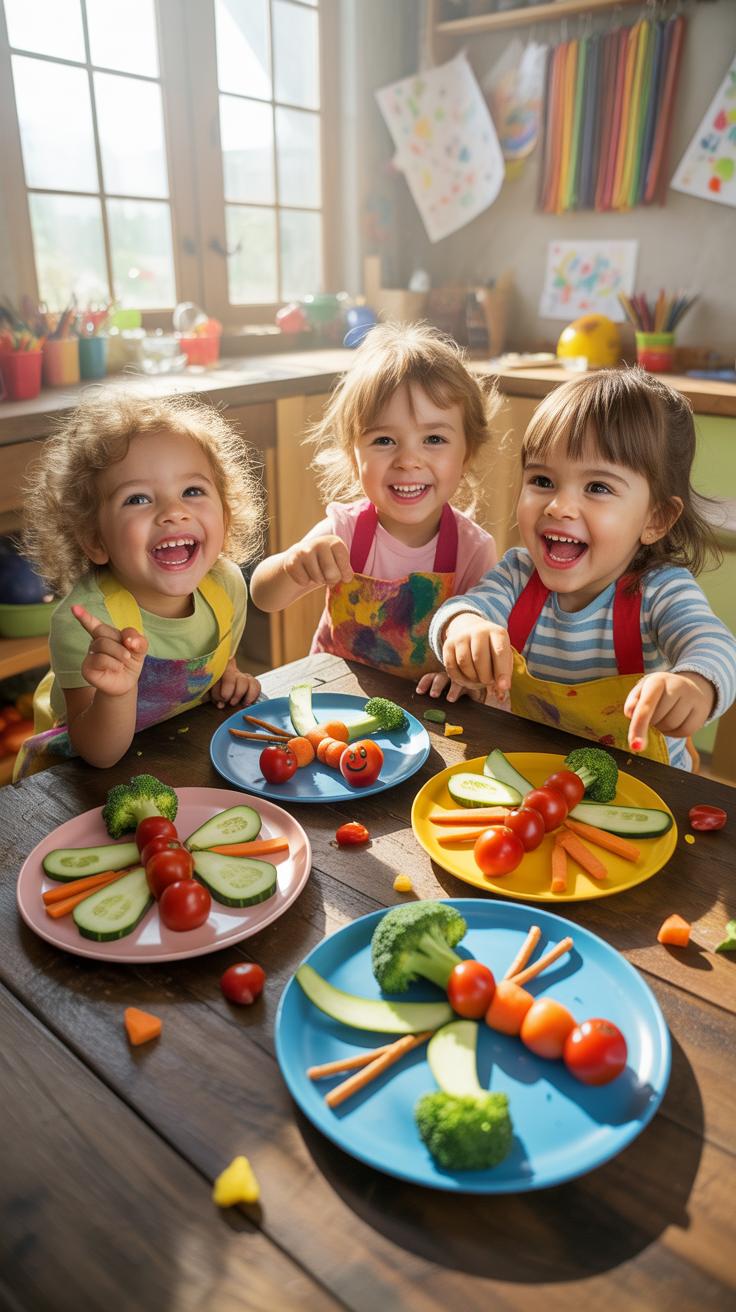
Engaging kids in food art reduces neophobia or the fear of new foods. Children feel a sense of ownership over the meals they help design. This psychological connection makes them more likely to taste unfamiliar vegetables. When a child transforms a bell pepper into a flower they view the ingredient as a component of a project rather than a chore. Tactical involvement shifts their perspective.
Participating in kitchen tasks fosters self reliance and mastery. Completing a visual design provides immediate feedback and a sense of achievement. This process reinforces the link between effort and outcome. It also introduces basic nutrition concepts through sensory exploration. Handling fresh produce teaches them to identify different textures and colors. Constant exposure to healthy ingredients during the decoration process normalizes these foods in their daily diet.
Frequently Asked Questions

How do I get started with making food art for my children if I’m not artistic?
You don’t need to be a professional chef to master food art for kids. Start with simple geometric shapes using cookie cutters or arranged fruit slices. Creating a “sun” out of an orange slice or a “flower” using cucumber rounds is a low-pressure way to begin. The goal is to make the plate look inviting and playful, which naturally encourages picky eaters to try new textures and healthy ingredients.
What are the best tools and techniques for creating detailed food designs?
For more intricate food art for kids, keep a few kitchen staples handy like wooden skewers, kitchen shears, and various sized circle cutters. Use natural binders like peanut butter, cream cheese, or hummus to “glue” components together. For fine details like eyes or smiles, tiny pieces of olives, raisins, or sesame seeds work perfectly. Focus on building layers to give your edible characters a fun, three-dimensional appearance that delights children.
Is it possible to create fun food art on a tight grocery budget?
Absolutely! Encouraging creativity doesn’t require expensive specialty items. You can use everyday affordable staples like bread, bananas, eggs, and seasonal vegetables to build your masterpieces. Instead of buying pre-cut shapes, use a simple paring knife to transform a basic sandwich into a star or a heart. Using what you already have in your pantry promotes sustainability while making ordinary mealtimes feel like an extraordinary and memorable celebration for your family.