
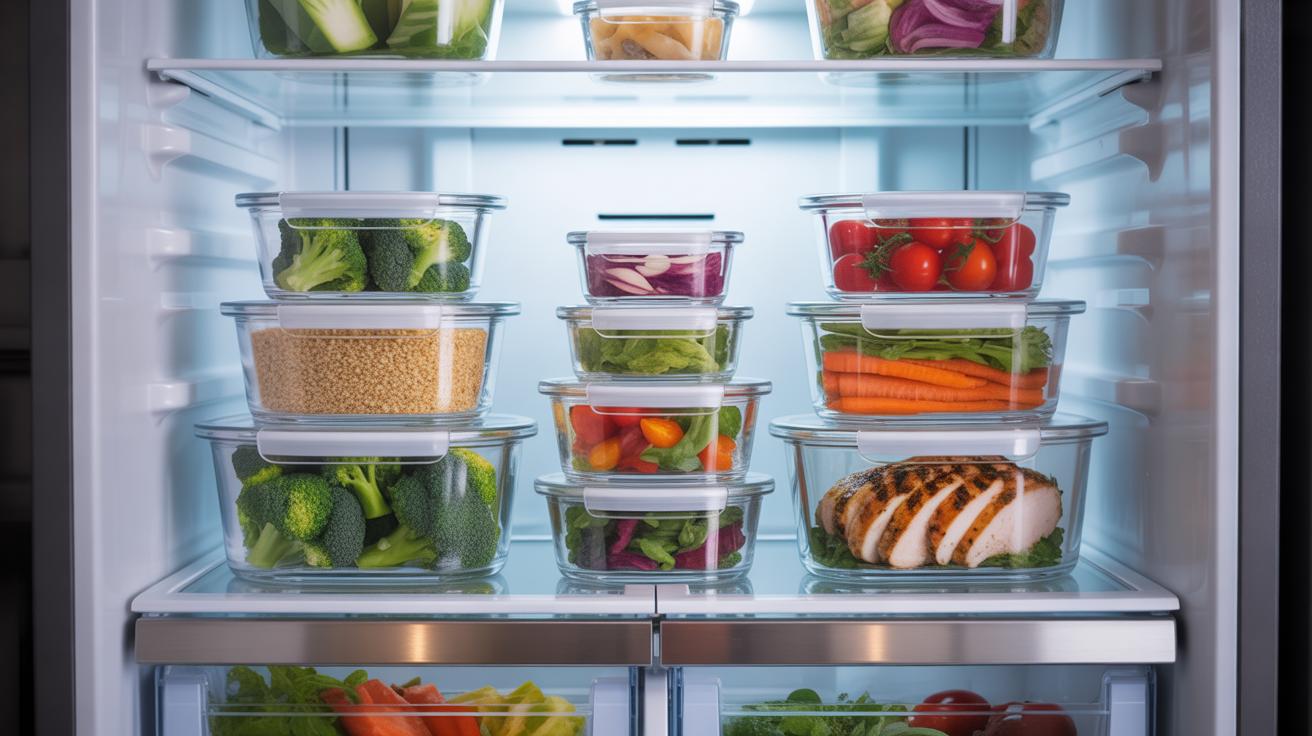
Why Learning How To Store Meal Prep Correctly Is Essential For Food Safety
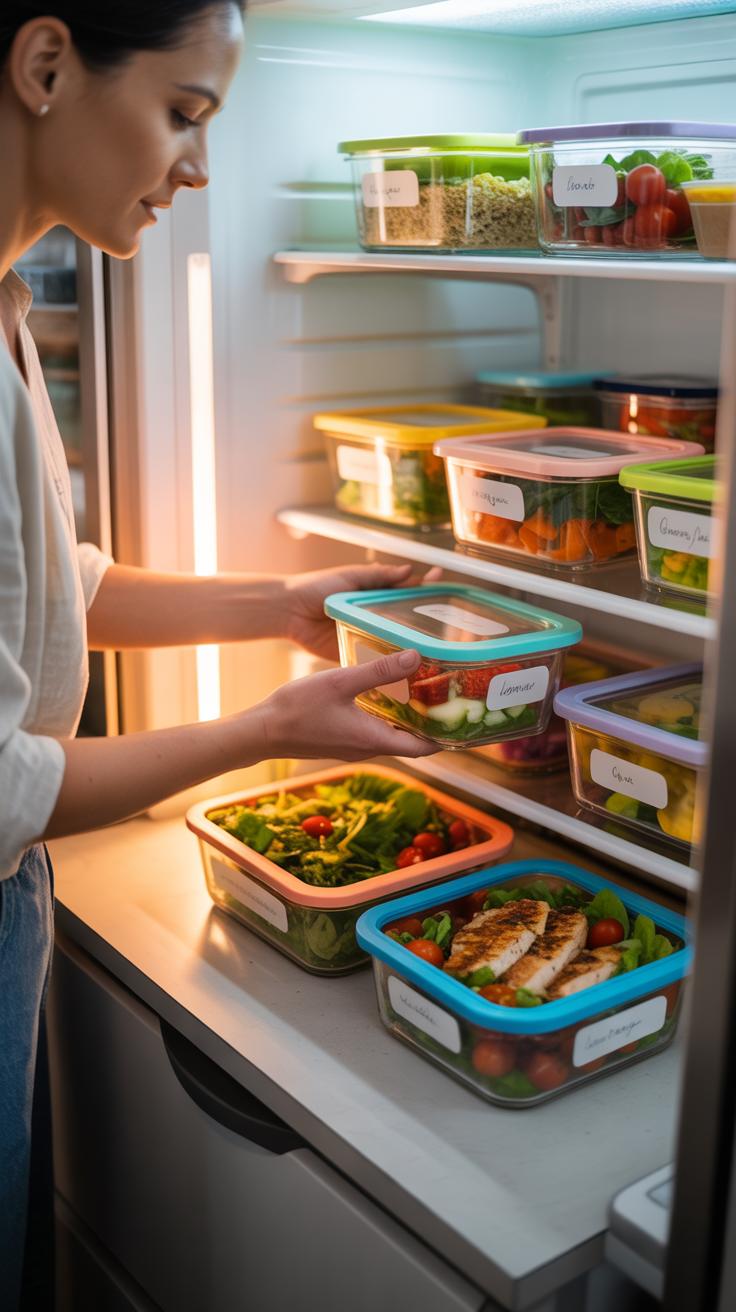
The Real Risks Of Improperly Stored Meal Prepped Food
Bacteria thrive in the danger zone between 40 and 140 degrees Fahrenheit. Pathogens like Salmonella and Listeria multiply quickly if cooked food sits at room temperature for too long. Improper cooling creates a breeding ground for these microorganisms. You cannot always smell or see these bacteria. One bad batch leads to severe foodborne illness that compromises your health and productive work week.
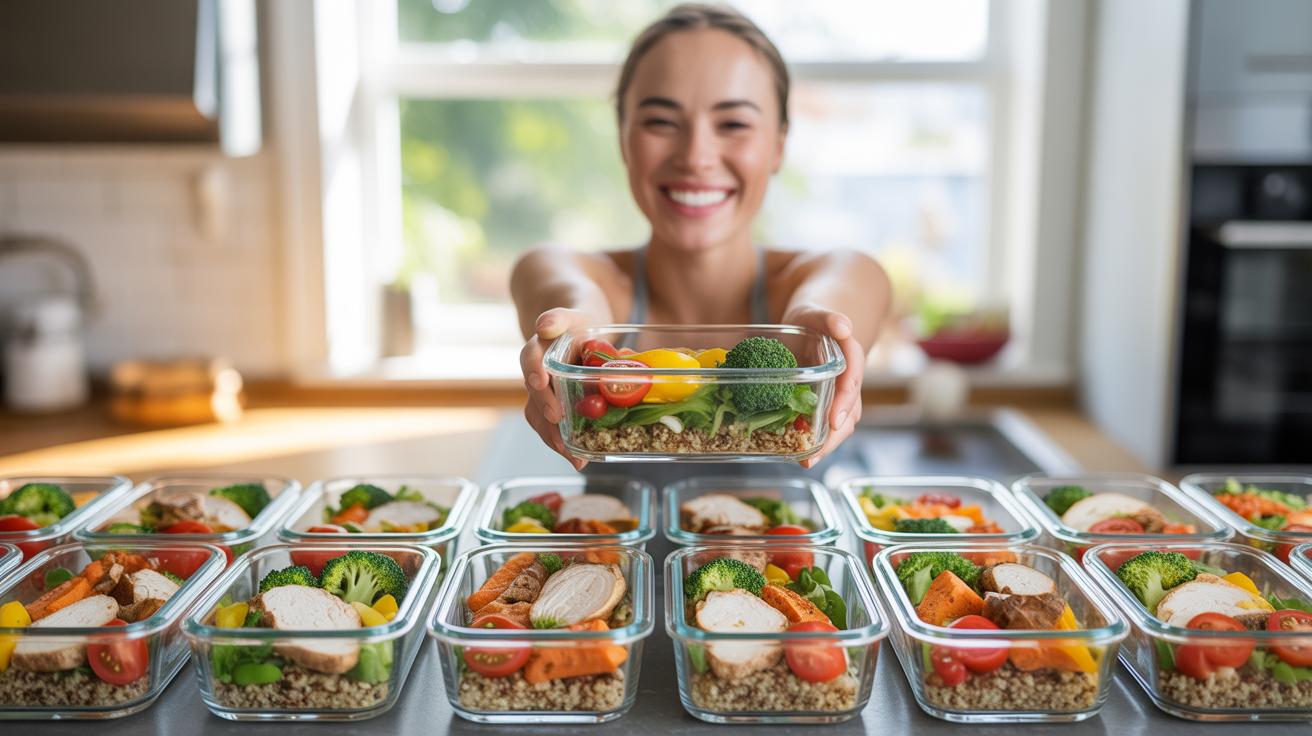
Cross-contamination occurs when you store raw and cooked foods together without proper barriers. Pathogens move from raw meat to ready-to-eat vegetables through shared air or surfaces. High moisture levels in sealed containers also accelerate mold growth on grains and proteins. You must control the temperature and the environment to keep your food safe. Monitoring fridge settings ensures your meals remain edible and free from dangerous toxins.
How Proper Storage Saves You Time, Money, And Reduces Food Waste
Poor storage ruins meal prep cycles by forcing you to throw away spoiled food. Oxygen exposure causes oxidation which turns fresh ingredients into unappetizing waste. Airtight seals maintain the texture and flavor of your meals for several days. This prevents the need for emergency takeout orders when your prepared food goes bad. Consistently using the right containers maximizes the shelf life of every ingredient you buy.
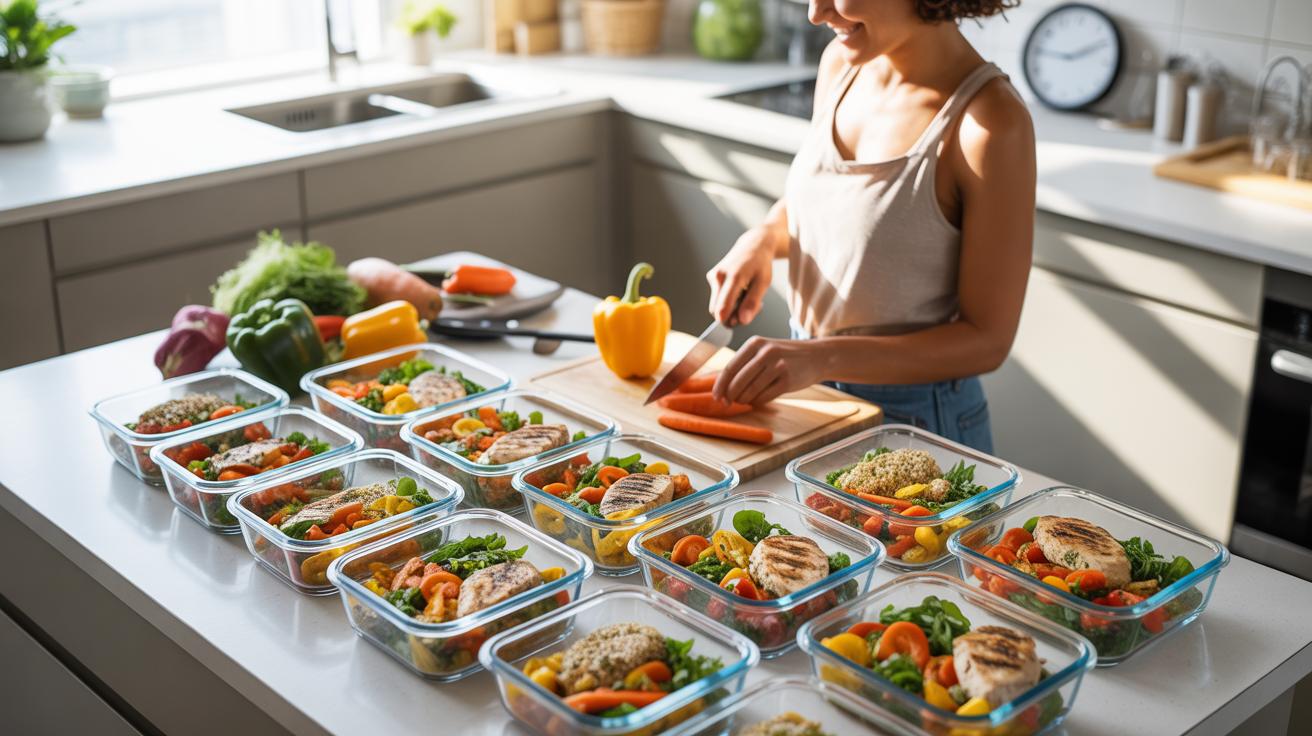
Efficient storage systems allow you to organize your fridge for quick access. Clear containers help you see exactly what you have so you do not buy duplicates. Using the correct materials protects your investment in high-quality proteins and produce. You reduce your carbon footprint by throwing away less organic matter each week. Smart storage turns bulk cooking into a reliable routine that keeps your budget and schedule on track.
Meal Prep Hacks Choosing The Right Containers Before You Even Start Cooking
Glass Versus Plastic Containers: Which Is Better For Storing Meal Prep?
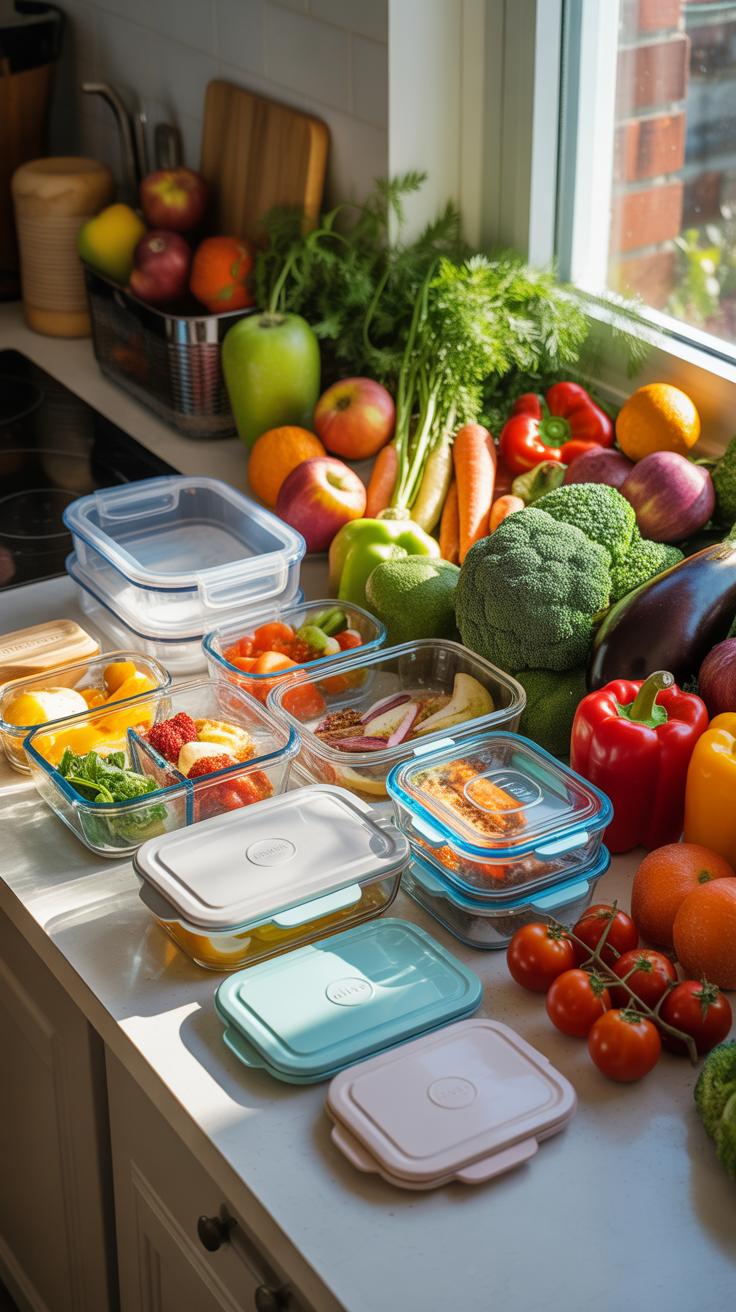
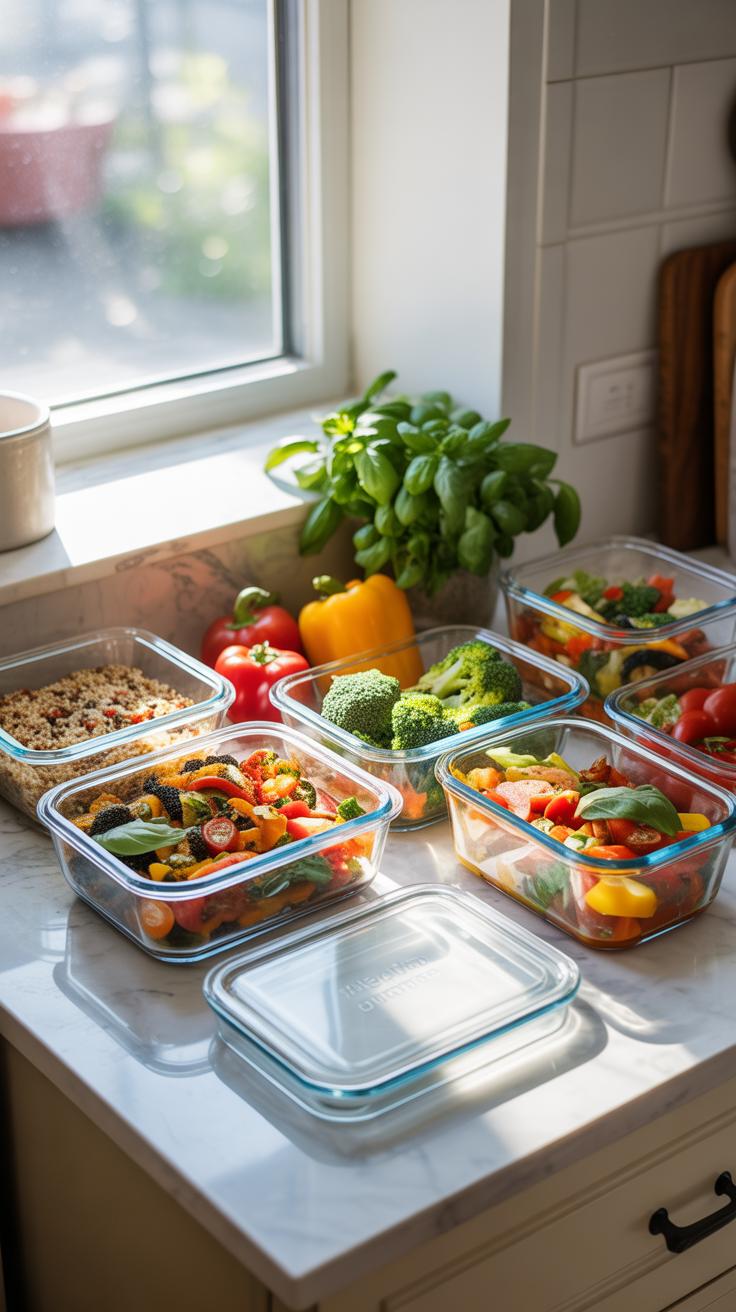
Glass containers offer superior durability and safety for long term food storage. High quality tempered glass resists thermal shock and does not leach chemicals into hot food. It remains non porous throughout its lifespan. This prevents the absorption of food odors and unsightly stains from acidic sauces. Glass stays clear and maintains a professional look even after years of heavy daily use.
Plastic containers provide a lightweight and cost effective alternative for mobile meal prep. Choose containers made from high density polyethylene or polypropylene to ensure they withstand repeated use. Plastic is less likely to break if dropped during transport. However, plastic degrades over time when exposed to high heat. It often develops scratches that harbor bacteria. Use plastic only for cold meals to prolong its utility.
What To Look For In An Airtight, Food Safe Storage Container
An airtight seal is the primary defense against food spoilage and oxidation. Look for containers with silicone gaskets nested inside the lids. These gaskets create a physical barrier that keeps oxygen out and moisture in. High quality seals prevent leaks during transport and keep your refrigerator smelling clean. Check for locking tabs on all four sides to ensure a consistent and firm pressure.
Stackability and modular design maximize your limited refrigerator space. Choose a single brand or style of container to ensure they nest together perfectly. Uniform sizes allow for even cooling and simplify your cabinet organization. Identify containers with clear lids or walls so you can see the contents quickly. This efficiency reduces the time your fridge door stays open and keeps your prep visible.
Prepping Meals For The Week How To Cool And Refrigerate Food Safely
The Two Hour Cooling Rule And Why It Matters For Food Safety
Bacteria grow fastest between 40 and 140 degrees Fahrenheit. Experts call this the Danger Zone. Pathogens can double in number every twenty minutes within this temperature range. You must move hot food to the refrigerator within two hours of cooking. If the room temperature exceeds 90 degrees Fahrenheit, you only have sixty minutes. Speed is the primary factor in preventing foodborne illness.
Rapid cooling protects the quality and safety of your meal prep. Large batches of food hold heat too long in deep containers. Divide big portions into shallow dishes to increase the surface area. This technique allows heat to escape quickly. Do not stack hot containers against each other in the fridge. Leave space for cold air to circulate around every dish until temperatures drop below 40 degrees.
How To Organize Your Refrigerator For A Full Week Of Meal Prepped Dishes
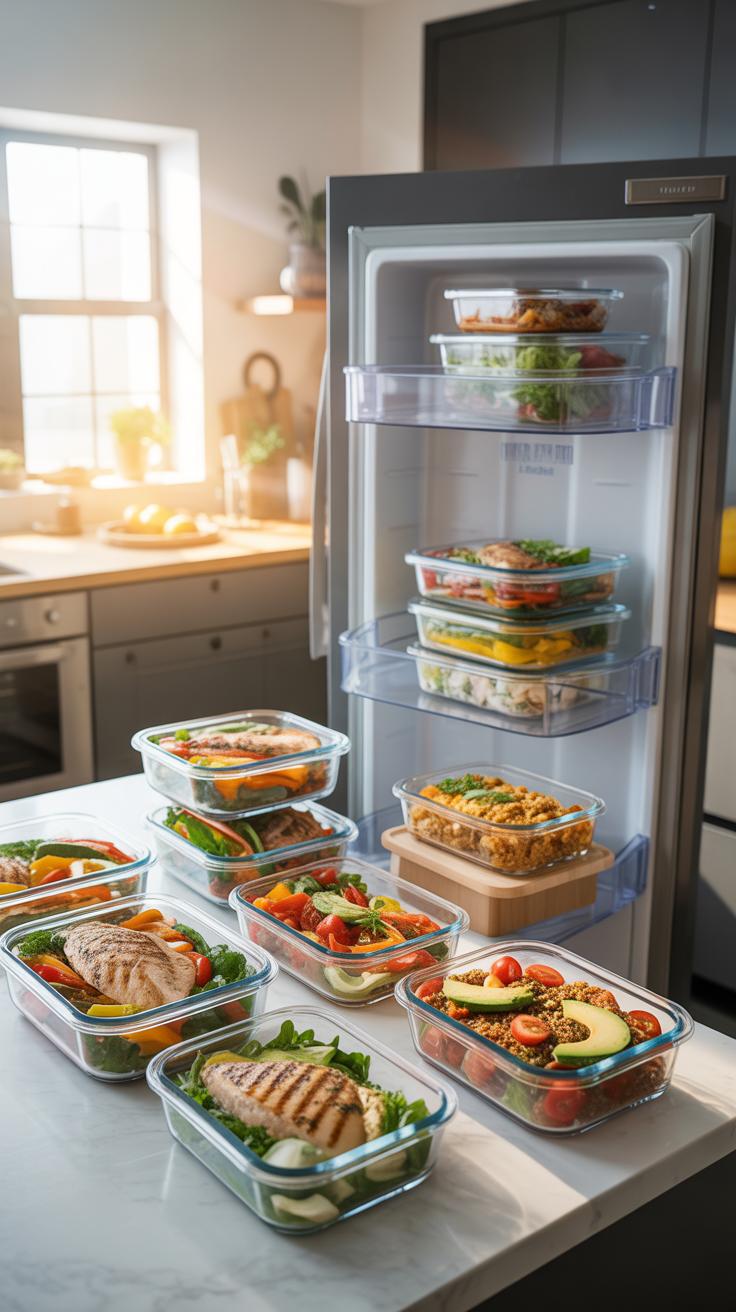
Strategic fridge placement prevents cross-contamination and maintains freshness. Store cooked meals on the top shelves. Place raw ingredients and proteins on the bottom shelf. This layout prevents raw juices from dripping onto your prepared food. Check your refrigerator temperature with an external thermometer. It must stay at or below 40 degrees Fahrenheit to stop bacterial growth. Constant airflow is necessary for a stable environment.
Do not overfill your refrigerator shelves. A packed fridge blocks vents and stops cold air from moving. This creates warm pockets where food spoils faster. Group your containers by the day you plan to eat them. Place items with the earliest expiration dates at the front. Use clear glass or plastic containers to identify meals without opening lids. Proper organization ensures you eat your prep before it becomes unsafe.
How To Meal Prep Vegetables And Keep Them Crisp All Week Long
Blanching And Shock Cooling: The Science Behind Keeping Veggies Fresh
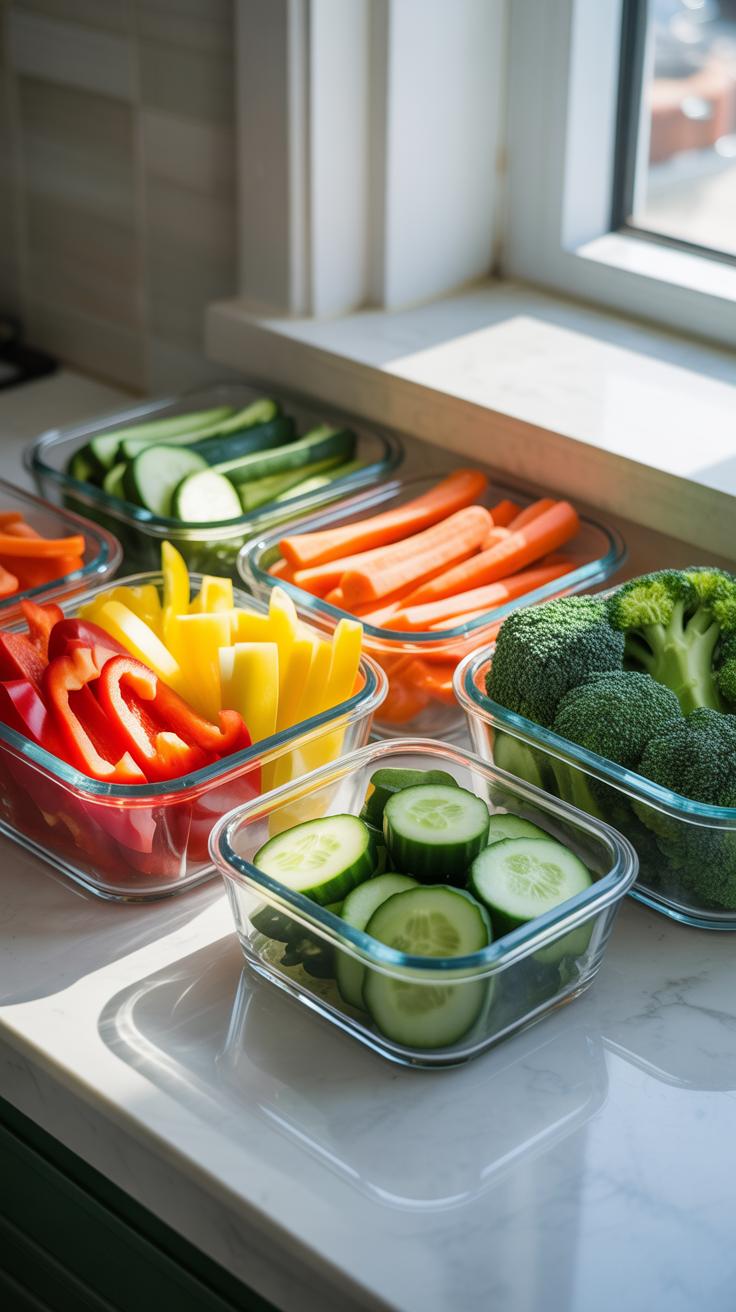
Blanching stops enzymatic activity that causes vegetables to lose flavor and color. You boil the vegetables briefly then immediately plunge them into an ice bath. This process kills bacteria and preserves the firm texture required for long-term storage. Without this step, high-moisture vegetables turn mushy within forty-eight hours. Most meal preppers skip this and wonder why their food tastes bland.
Shock cooling is the critical second half of the process. Rapid temperature reduction prevents the carryover cooking that ruins cellular structure. You must drain the vegetables thoroughly after the ice bath. Excess water leads to mold and rot in airtight containers. Use a salad spinner or paper towels to ensure every surface is dry. Moisture is the primary enemy of food safety and texture.
Which Vegetables Hold Up Best After Prepping And Which Don’T
Vegetable density determines shelf life in the refrigerator. Fibrous root vegetables and cruciferous plants maintain their structural integrity for up to seven days. These options satisfy the requirements for bulk prep sessions because they do not sweat or oxidize rapidly. Conversely, leafy greens and high-water produce like cucumbers degrade quickly once you cut them. Choose your ingredients based on your intended consumption date.
- Carrots and Beets: These root vegetables possess dense cell walls that resist moisture loss. You can peel and chop them days in advance without losing crunch. Store them in a sealed glass container with a damp paper towel to maintain the ideal humidity level.
- Broccoli and Cauliflower: These cruciferous vegetables are extremely hardy. They can withstand blanching or stay raw in the fridge for a full week. Their thick stems act as a reservoir that keeps the florets from wilting early in the week.
- Bell Peppers: Peppers hold their shape well when sliced but release water over time. Store them in a container lined with a dry paper towel to absorb the excess liquid. They typically remain crisp for five days if kept at the back of the fridge.
- Snap Peas and Green Beans: These legumes benefit significantly from the blanching process mentioned earlier. They offer a reliable crunch and high fiber content throughout the work week. Avoid cutting the ends until you are ready to cook or eat them to prevent drying.
- Zucchini and Squash: These have high water content and soften quickly after slicing. They are best prepped no more than two days before use. If you must prep them early, keep the slices thick to slow down the inevitable softening.
Avoid prepping tomatoes or potatoes too far in advance for the best results. Potatoes oxidize and turn brown or black when exposed to oxygen. Tomatoes lose their flavor and become grainy when stored in the cold after being sliced. Focus your strategic meal prep on the hardy list items to ensure your meals remain edible by Friday. Proper selection saves time and prevents waste.
Fresh Vegetable Prep And Veggie Prep And Storage Techniques That Actually Work
How Moisture Control Is The Key To Long Lasting Prepped Vegetables
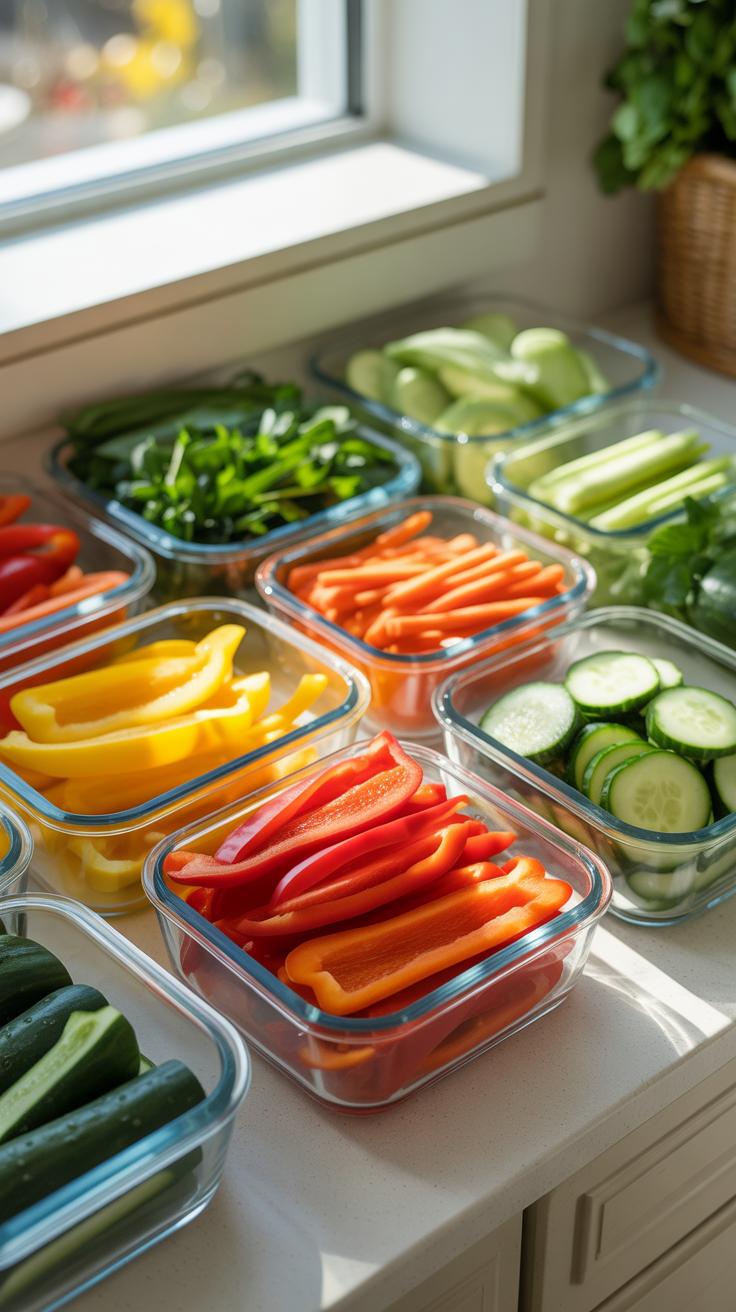
Excess moisture is the primary cause of vegetable decay in storage. When you cut a vegetable, it releases fluids and increases its surface area. This creates a breeding ground for bacteria and mold. You must remove surface water after washing and before packing. Dry vegetables remain crisp for days. Wet vegetables turn into mush within forty-eight hours. Managing this humidity level determines your success.
Proper moisture control stops the cellular breakdown of your produce. Some vegetables need a humid environment, while others require bone-dry conditions. You must separate these two groups immediately. Hard vegetables like carrots handle more moisture than leafy greens or sliced cucumbers. Storing them together ruins both. You achieve long shelf life by matching the storage environment to the specific respiration rate of each vegetable type.
The kitchen is where we pour our love into every jar, so seal it tight and keep those harvest memories fresh and safe for the days ahead.
— Martha Stewart
Using Paper Towels, Ventilation, And Proper Lids To Extend Shelf Life
Paper towels act as a mechanical drainage system inside your containers. Place a dry towel at the bottom and top of your greens. This layer absorbs the natural condensation that forms as temperatures shift. You must replace damp towels every two days to maintain a clean environment. This simple step prevents the leaves from sitting in stagnant water. It keeps the texture firm and usable.
Container choice impacts airflow and gas buildup. Use airtight lids for heartier vegetables like broccoli to keep them from drying out. Use vented containers for berries or delicate greens to allow ethylene gas to escape. This gas accelerates ripening and eventual rot. Matching the lid type to the vegetable prevents premature spoilage. Proper ventilation ensures your prep work stays edible for the entire work week without waste.
Prepped Vegetables In Containers How To Pack And Layer For Maximum Freshness
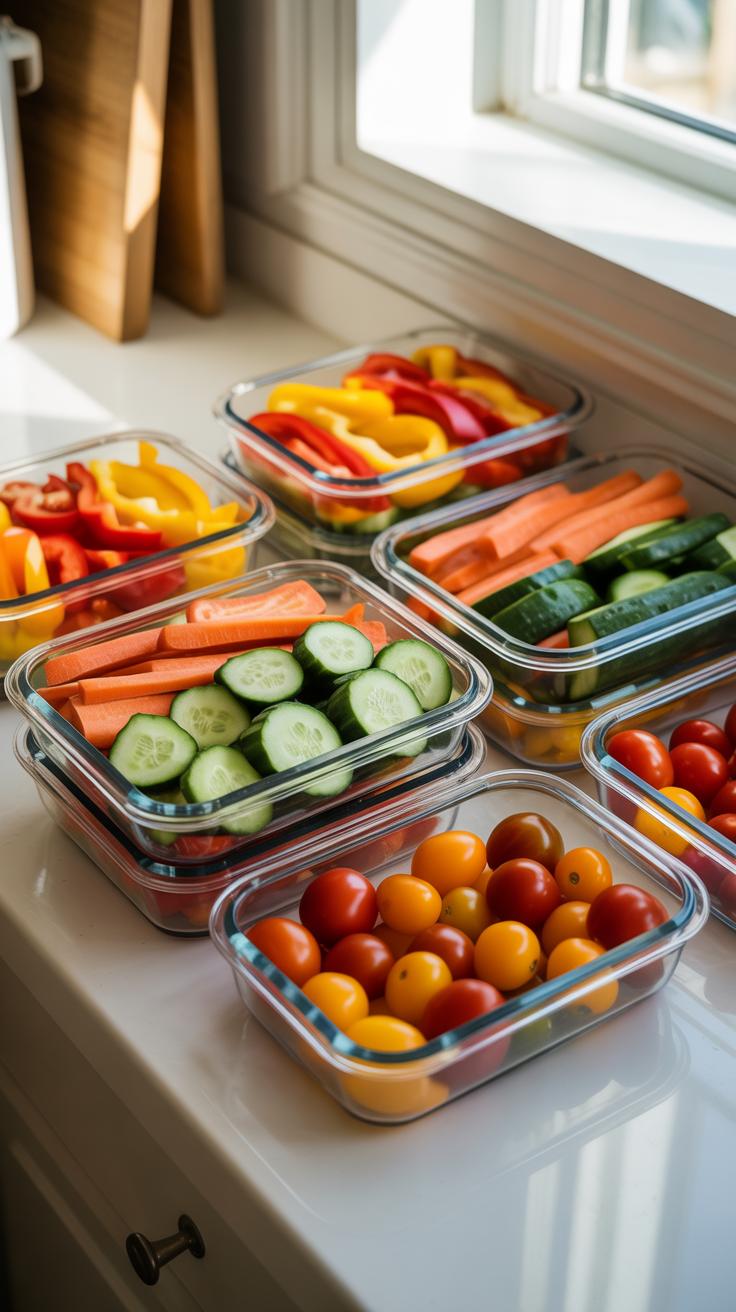
How To Store Prepped Vegetables In Storage Containers Without Crushing Or Bruising
Strategic packing prevents structural damage and oxygen traps. Place heavy root vegetables like carrots or beets at the bottom of the container. These dense items provide a stable base for the delicate items above. Leave enough headspace to avoid forcing the lid down. Compression ruptures plant cells. This damage leads to fast wilting and off-flavors. Use rigid containers rather than bags to maintain shape.
Select containers that fit the volume of the produce exactly. Large air gaps promote oxidation and drying. Small containers cause overcrowding that bruises tender leaves. If you use deep containers, insert a parchment divider between layers. This creates a physical barrier that absorbs minor impacts during transport. Check the seals for airtight integrity. Steady pressure from the stack above keeps the bottom layers crisp if you pack by weight.
Separating Wet And Dry Ingredients To Prevent Premature Spoilage
Moisture control is the primary factor in vegetable shelf life. Never mix cut tomatoes or cucumbers with dry leafy greens in the same compartment. The high water content in sliced fruit migrates to the leaves via osmosis. This process turns crisp spinach into a slimy mess within hours. Keep high-moisture items in separate glass jars or internal cups. Proper separation ensures each component maintains its intended texture until service.
Apply the dry layer strategy to all mixed containers. Place a clean paper towel at the bottom and top of the vegetable stack. This material wicks away excess condensation caused by temperature swings in the fridge. Do not add dressings or sauces until you are ready to eat. Salt draws water out of plant cells through cell walls. This dehydration destroys the crunch of your meal prep and floods the container with liquid.
Prepping Veggies For The Week A Day By Day Freshness Timeline You Should Know
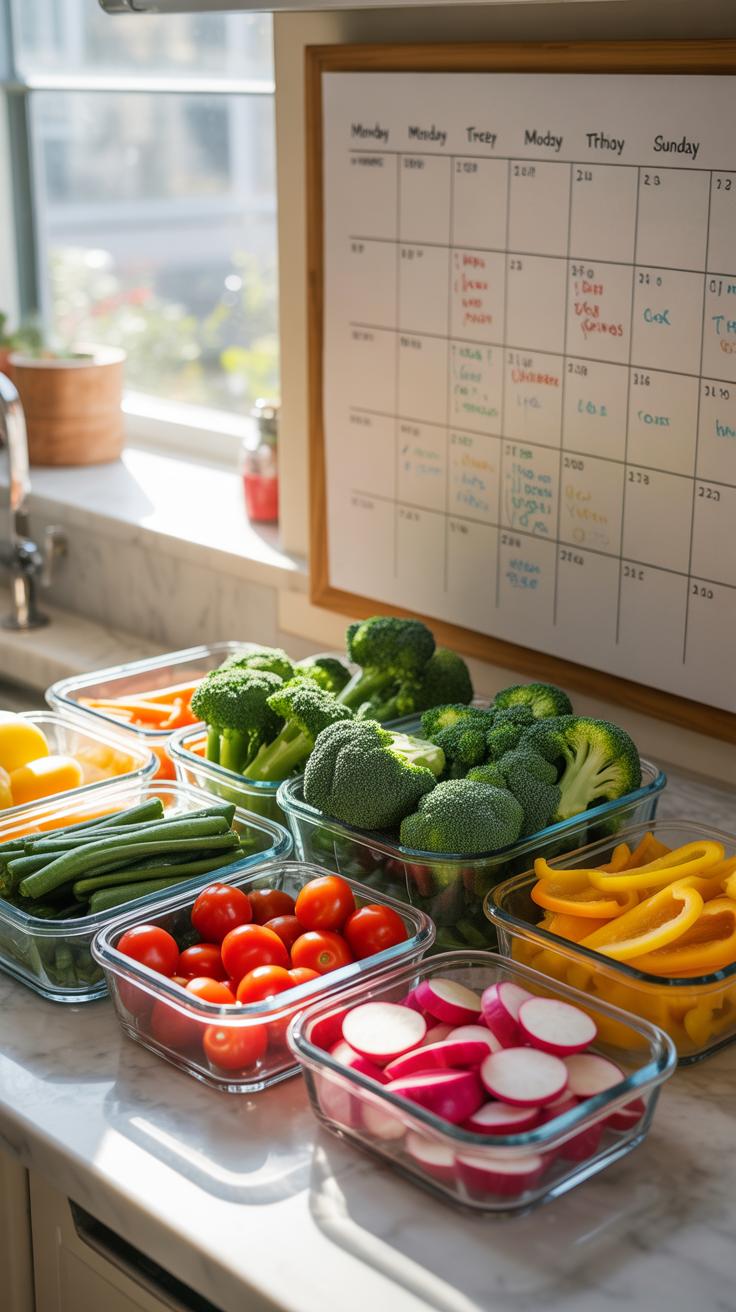
How Long Common Prepped Vegetables Actually Last In The Refrigerator
Vegetable shelf life depends on water content and cellular structure. Harder vegetables like carrots and radishes last up to seven days when sliced and submerged in water. Cruciferous options like broccoli and cauliflower remain stable for five days if kept dry. Once you cut a vegetable, you break its cell walls. This releases enzymes that lead to browning and nutrient loss.
Leafy greens are the most volatile items in your fridge. Pre-washed spinach and kale usually last three to four days before wilting occurs. Always remove excess moisture to prevent bacterial growth. Use airtight containers for dense vegetables to stop them from drying out. Use vented containers for greens to allow gas exchange. These steps ensure your prepped food remains edible for the full work week.
How To Prioritize Which Meals To Eat First Based On Ingredient Shelf Life
Organize your weekly meal plan by ingredient durability. Consume dishes containing soft produce like cucumbers, bell peppers, and berries within the first forty-eight hours. These items lose their texture quickly after slicing. They often release water which can make your entire meal soggy. Eat your salads and stir-fries early in the week to maximize the nutritional value and texture of these specific ingredients.
Save meals featuring hearty vegetables for the end of your week. Cabbage, roasted root vegetables, and winter squashes maintain their integrity for five to seven days. You can reheat these items without losing their structural quality. This strategy prevents food waste and ensures you do not eat slimy produce on Friday. Matching your consumption order to the biological decay rate of the food is the most efficient tactic.
Store Produce The Smart Way Freezing Meal Prepped Food For Long Term Storage
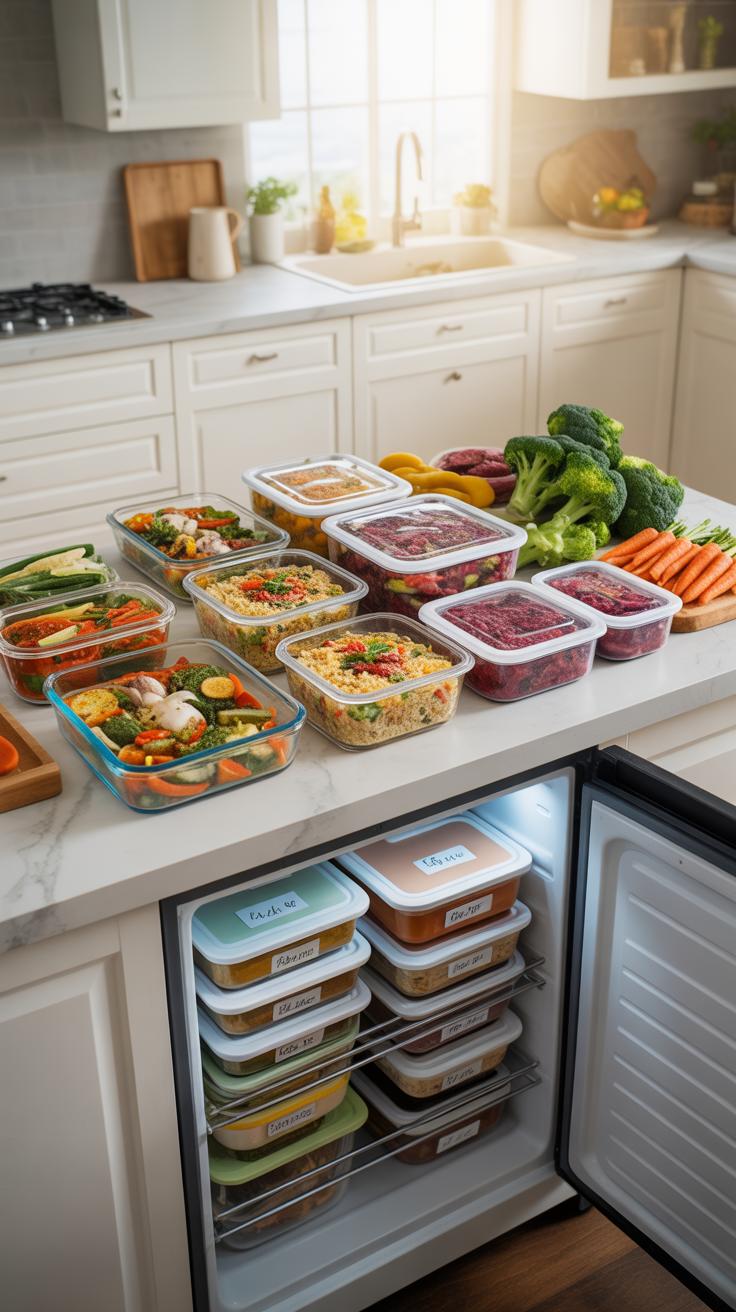
Which Meal Prepped Foods Freeze Well And Which Lose Quality In The Freezer
Freezing stops bacterial growth and preserves meal prep for months. High-protein items like cooked beef, chicken, and pork maintain their structural integrity well. Soups, stews, and sauces also freeze effectively because their high liquid content prevents oxidation. Raw lean meats last longer in the freezer than cooked meats. Always cool hot food to room temperature before freezing to prevent ice crystal formation.
Avoid freezing vegetables with high water content like lettuce, cucumbers, or radishes. These cells rupture when frozen, resulting in a mushy texture upon thawing. Dairy-based sauces often separate or curdle when they defrost. Fried foods lose their crispness and become soggy. If you prep pasta, cook it al dente. Overcooked starch breaks down and turns into paste during the reheating process.
Labeling, Dating, And Thawing Frozen Meal Prep Safely And Effectively
Inventory management prevents waste and foodborne illness. Use a permanent marker to record the contents and the date of preparation on every container. Use airtight bags or vacuum sealers to remove oxygen. Oxygen exposure causes freezer burn, which ruins the texture and flavor of your prep. Standardize your storage containers to maximize space and ensure even freezing across all your meals.
- Refrigerator Thawing: Move your meal from the freezer to the fridge twenty-four hours before you plan to eat. This method keeps the food at a safe temperature below forty degrees Fahrenheit. It is the most reliable way to maintain food quality.
- Cold Water Method: Place sealed containers in a bowl of cold tap water if you need faster results. Change the water every thirty minutes to keep it cold. This technique works quickly for thin portions of meat or small bags of soup.
- Microwave Defrosting: Use the defrost setting for immediate needs but cook the food immediately afterward. Microwave heat is often uneven and can start the cooking process in small sections. This creates a risk for bacterial growth if left out.
- Direct Reheating: Transfer frozen soups or stews directly to a pot or stove. Apply medium heat and stir frequently to break up ice chunks. This saves time and minimizes the number of dishes used during the reheating process.
- First In First Out: Organize your freezer so that the oldest meals sit at the front. Use the oldest items first to ensure nothing exceeds the recommended storage time. This rotation system reduces financial loss from expired or burnt food.
Never thaw meal prep on the counter at room temperature. Bacteria multiply rapidly between forty and one hundred forty degrees Fahrenheit. This range is the danger zone for food safety. If you thaw food in the refrigerator, you can safely refreeze it without cooking. However, once you thaw food using water or the microwave, you must cook it before it goes back into the freezer.
How To Store Meal Prep Proteins Grains And Sauces Without Compromising Quality
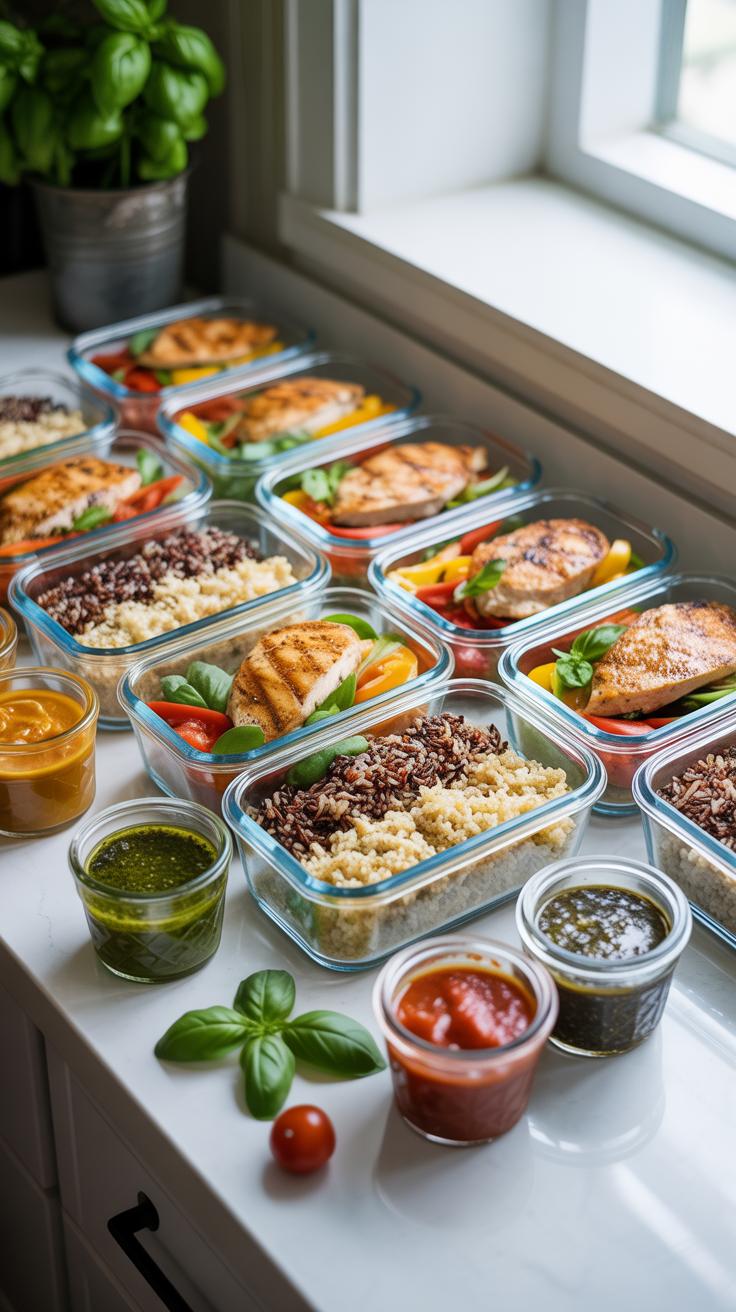
Safe Refrigerator Timelines For Cooked Chicken, Beef, Fish, And Plant Based Proteins
Cooked poultry and ground beef stay safe for three to four days when refrigerated at forty degrees Fahrenheit or lower. Fish and shellfish have a shorter shelf life and require consumption within two days to avoid spoilage. Plant-based proteins like tofu or seitan generally last five days if kept in airtight containers. Always check for off odors or slimy textures before you consume stored meat.
Food safety depends on rapid cooling after the cooking process ends. Do not leave proteins at room temperature for more than two hours. Place hot meat into shallow containers to speed up heat loss. This prevents the growth of harmful bacteria that cause foodborne illness. If you cannot finish the protein within the four day window move it to the freezer immediately to preserve safety.
Storing Cooked Grains And Dressings Separately To Preserve Texture And Flavor
Grains absorb moisture from surrounding ingredients and turn mushy over time. Store rice, quinoa, and pasta in their own containers to keep them firm and distinct. Add a small damp paper towel over the top of the grains before sealing the lid. This technique maintains the right moisture balance and prevents the grains from drying out or becoming hard during the refrigeration process.
Liquid sauces and oil based dressings break down vegetable fibers and soften grains. Keep all condiments in small jars or separate compartments until you are ready to eat. This prevents your meal from becoming a soggy mess by mid week. Adding the sauce just before consumption also keeps the flavors bright and sharp. Proper separation ensures your prepped meals retain the same quality as freshly cooked food.
Common Meal Prep Storage Mistakes To Avoid For A Safer Fresher Week Of Eating
Why Storing Hot Food Directly In The Fridge Is A Mistake And What To Do Instead
Placing large containers of steaming food into the refrigerator creates a thermal danger zone. The heat from the container raises the internal temperature of the fridge. This spikes the temperature of nearby items like milk or eggs. Bacteria thrive between 40 and 140 degrees Fahrenheit. If your fridge air warms up, microbes multiply on every surface inside the unit quickly.
Cool your food on the counter for no more than two hours. Divide large batches into small, shallow containers to speed up heat loss. Use ice baths for soups or stews to drop the temperature fast. Only seal and refrigerate once the food reaches room temperature. Tactical cooling prevents condensation inside containers. Excess moisture leads to soggy textures and faster mold growth during the week.
How To Tell When Meal Prepped Food Has Gone Bad And Should Not Be Eaten
Trust your senses but verify the timeline first. Most cooked meals last three to four days in a standard refrigerator. Check for off-putting smells or visible changes in texture. Slime on meat or fuzzy patches on vegetables mean the food is hazardous. Do not taste food to check for safety. Many pathogens that cause illness do not change the flavor or look of the meal.
Look for signs of gas buildup in sealed containers. Lids that bulge indicate bacterial activity and fermentation. If the color of the food appears dull or grey, the quality has degraded significantly. Watery separation in sauces is often a sign of age. When in doubt, discard the item immediately. Saving a cheap meal is never worth the high cost of food poisoning and lost productivity.
Frequently Asked Questions

How long can I safely keep my prepared meals in the refrigerator?
Most cooked meals stay fresh and safe for three to four days when refrigerated at 40°F or below. If you want to know how to store meal prep for a full seven-day work week, it is best to keep half your portions in the fridge and freeze the rest immediately. This prevents bacterial growth and ensures your Friday lunch tastes just as delicious and high-quality as your Monday dinner.
What is the best way to organize containers to maintain freshness?
To optimize your setup, always allow food to cool slightly before sealing lids to prevent excess moisture buildup. When learning how to store meal prep efficiently, stack airtight containers toward the back of the fridge where temperatures remain most consistent. Labeling each lid with the preparation date is a helpful pro tip that helps you track freshness levels easily, ensuring you always eat the oldest portions of your delicious home-cooked meals first.
Do I need to buy expensive glass containers to get started?
You absolutely do not need a massive budget to begin your journey. While glass is durable and oven-safe, high-quality BPA-free plastic containers or even repurposed glass jars work perfectly well for beginners. The most important factor for food safety is ensuring your containers have a completely airtight seal. This protects your ingredients from oxidation and prevents odors from transferring, allowing you to maintain a healthy lifestyle without overspending on premium kitchen supplies.