
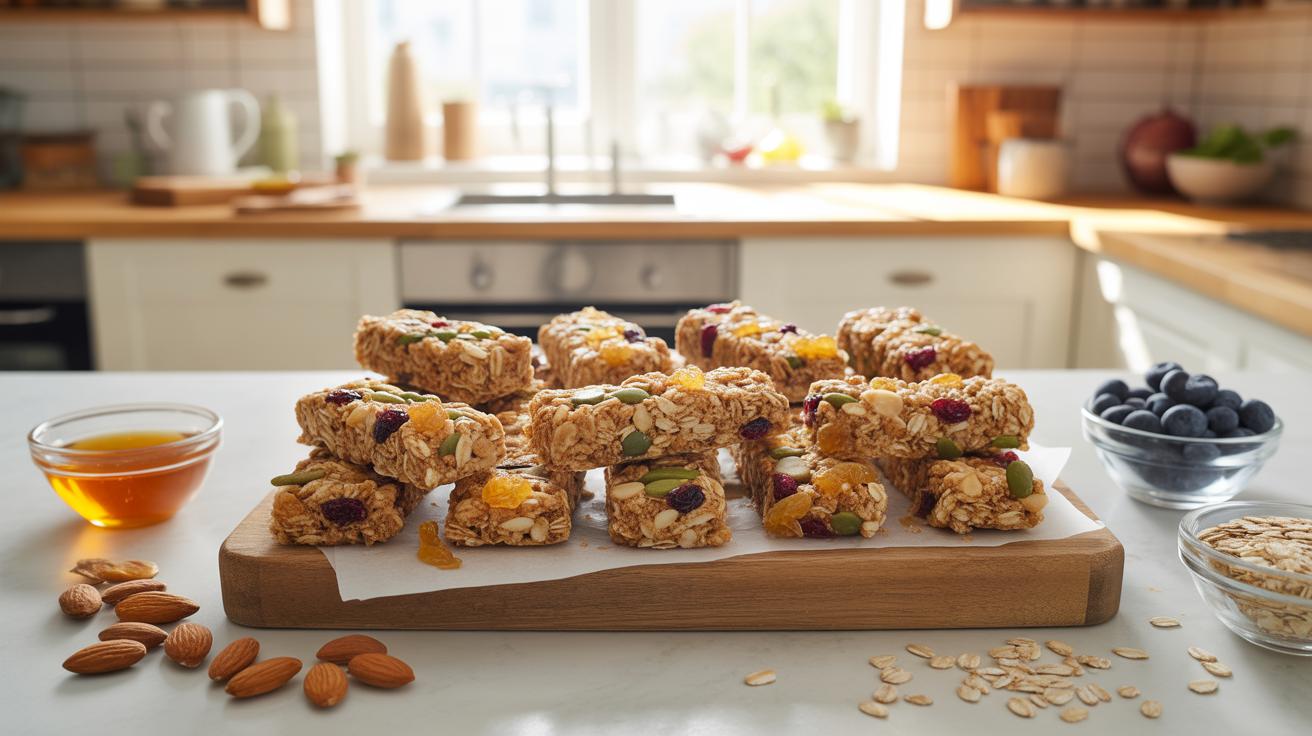
What Makes Homemade Granola Bars A Smarter Snack Choice
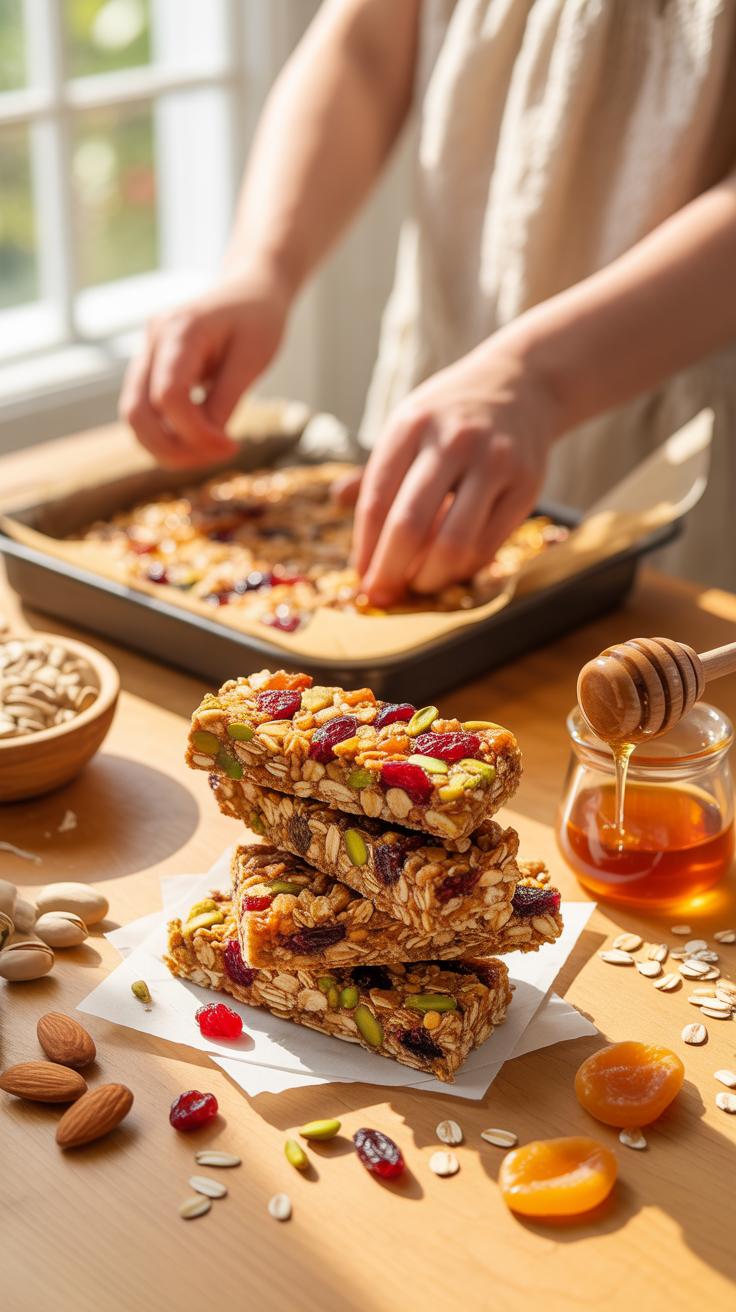
The Nutritional Edge Of Making Granola Bars At Home
Homemade granola bars provide direct control over macronutrient ratios. You select the protein sources like nuts or seeds to suit your dietary needs. Commercial products often rely on cheap fillers that offer little value. By making them yourself, you prioritize fiber through whole rolled oats and flax. This approach ensures your body receives sustained energy rather than a temporary spike from processed additives or synthetic fortifications.
You decide the type and amount of sweetener used in the recipe. High fructose corn syrup and refined sugars dominate the market but serve no health purpose. Replacing these with small amounts of honey or maple syrup improves the glycemic response. You can also boost the mineral content by adding specific seeds like chia or hemp. This tactical customization turns a simple snack into a functional tool for your performance.
How Store Bought Granola Bars Compare To Homemade Versions
Industrial granola bars are engineered for shelf life rather than human health. Manufacturers use hydrogenated oils and chemical preservatives to keep products soft for months. These ingredients have no place in a clean diet. Many brands also use soy lecithin or artificial flavors to improve texture and taste. These additives often mask the low quality of the base ingredients. Homemade versions skip these chemicals entirely for better results.
Price is another major factor in the comparison. Store-bought bars carry high markups due to marketing and packaging costs. You pay for the brand name instead of the food quality. Making bars at home reduces the cost per serving significantly. You buy bulk oats and nuts for a fraction of the price. This strategy saves money while ensuring every bite contains high-quality ingredients that you personally verified in your kitchen.
Exploring The Variety Of Granola Bars You Can Make From Scratch
Sweet, Savory, Chewy, And Crunchy: Understanding Granola Bar Styles
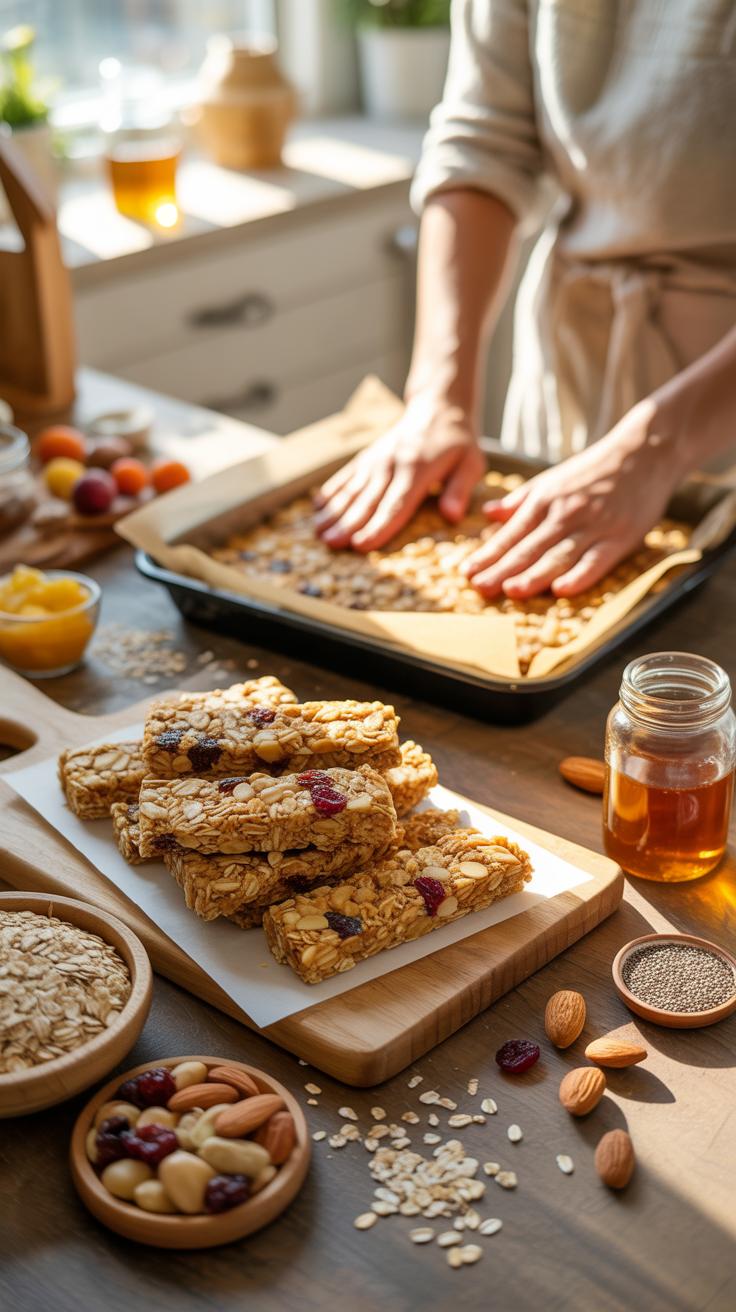
Texture and flavor profiles depend on the binder and baking time. Chewy bars rely on liquid sweeteners like honey or brown rice syrup. These sugars act as humectants to keep the oats soft. You do not bake these bars long. Some versions require no heat at all. These recipes focus on portability and ease of consumption. They provide quick energy through simple carbohydrates and natural sugars found in dried fruit.
Crunchy bars require a longer bake at lower temperatures. This process removes moisture and caramelizes the sugars. You must press the mixture firmly into the pan before baking to ensure structural integrity. Savory bars move away from sugar-heavy bases. They use egg whites or nut butters as binders. These bars incorporate spices, seeds, and toasted grains. They offer a functional alternative for athletes who want to avoid sugar fatigue during long workouts.
Choosing The Right Granola Bar Style For Your Lifestyle And Diet
Select your bar style based on your metabolic needs and daily activity. High-intensity athletes require quick-burning fuel found in sweet, chewy bars. These bars provide glucose and fructose for immediate muscle use. Office workers benefit more from savory or nut-based bars. These options have a lower glycemic index. They prevent insulin spikes and midday energy crashes. High-fiber ingredients like flax and chia seeds improve the satiety of these snacks.
Dietary restrictions dictate your choice of fats and binders. Vegan recipes replace honey with maple syrup or agave. Gluten-free versions require certified oats to avoid cross-contamination. If you need low-calorie options, use applesauce to reduce the fat content. Always consider the storage environment when choosing a style. No-bake bars soften in heat. Baked, crunchy bars survive better in backpacks or cars. Choose the design that fits your specific logistical and nutritional goals.
Four Types Of Granola Bars Every Home Baker Should Know
Baked, No Bake, Soft Set, And Pressed: Breaking Down The Four Core Types
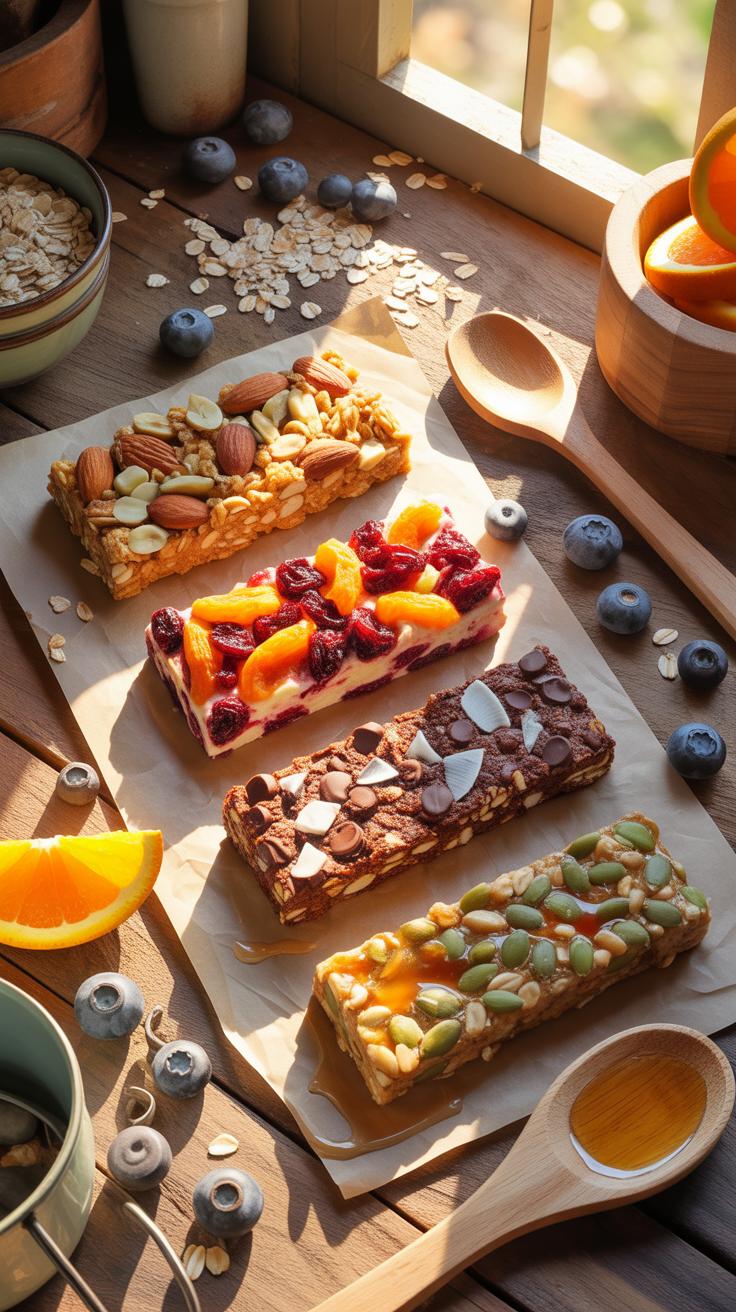
Baked bars use heat to toast grains and activate binders like egg whites or flour. This process creates a crunchy texture and deep flavor through the Maillard reaction. No-bake bars rely on chilling to solidify fats like coconut oil or nut butters. These bars remain raw and keep their nutrient density. They are fast to make and require zero oven time for the home cook.
Soft-set bars use liquid sweeteners like honey or brown rice syrup to create a chewy pull. You boil the syrup to a specific temperature before mixing it with dry oats. Pressed bars require high physical force to bond ingredients without extra binders. These often feature dried fruits like dates or figs that act as a natural glue. Each method changes how the bar handles room temperature.
Which Granola Bar Type Best Suits Your Snacking Needs And Kitchen Setup
Choose baked bars if you need a long shelf life and a sturdy crunch. They survive well in backpacks and lunchboxes because they do not melt. Use these for high-intensity hiking or long work days. They require an oven and baking pans but offer the most consistent results. You can store them in airtight containers for weeks without losing their structural integrity or flavor profile.
Select no-bake versions if you prioritize speed and raw ingredients. These bars work best for post-workout snacks kept in a refrigerator. They will soften at room temperature, so they suit home consumption better than travel. Pressed bars are ideal for clean eating goals because they eliminate processed sugars. Use a heavy weight to compress the mixture into a solid block before cutting for the best results.
Core Ingredients Behind A Homemade Granola Bars Recipe Healthy Enough To Eat Daily
The Wholesome Base Ingredients That Hold Every Granola Bar Together
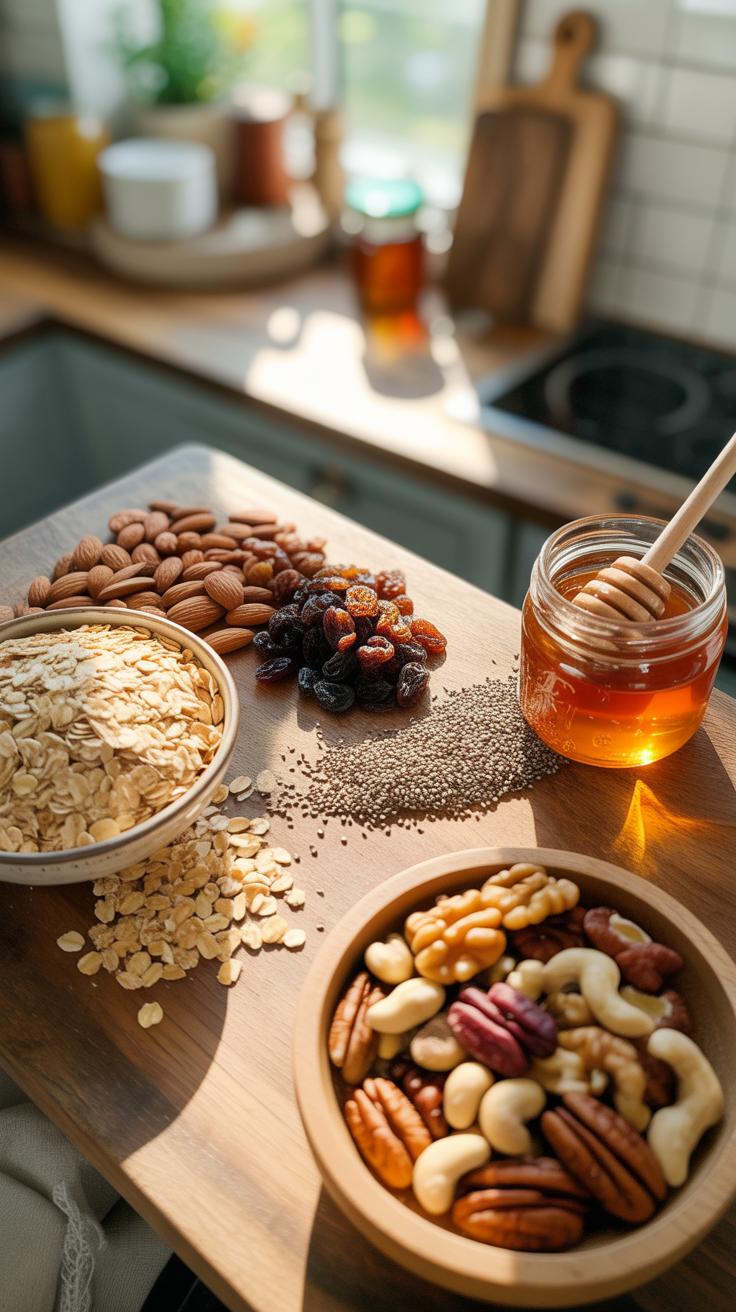
Oats serve as the structural foundation for most granola bars. They provide complex carbohydrates and essential fiber. Use old-fashioned rolled oats for a firm texture. Heat them slightly before mixing to release their natural oils. This step improves flavor and helps the dry mix absorb the liquid binders. Raw oats can taste chalky and lack the structural integrity needed for portable bars.
- Rolled Oats: These provide the primary structure and chew. They undergo steaming and flattening during processing. This makes them ideal for absorbing liquid binders without turning into mush. Avoid instant oats if you want a firm bar.
- Nuts and Seeds: These add density and healthy fats. Walnuts, almonds, and sunflower seeds provide textural contrast. They also increase the protein content per serving. Chop them into uniform sizes to ensure even distribution throughout the final mixture.
- Puffed Grains: Ingredients like puffed rice or quinoa lighten the density. They create air pockets within the bar. This prevents the final product from becoming too hard to bite. Use these to balance the heavy weight of the oats and nuts.
- Milled Flaxseed: This ground seed acts as a secondary structural stabilizer. It fills the small gaps between larger oat flakes. It provides omega-3 fatty acids and improves the nutritional profile. It also helps thickened liquids grip the dry base.
- Dried Fruit: Small pieces of fruit provide concentrated flavor and chewiness. Use raisins, cranberries, or chopped apricots. These ingredients must be moist to prevent them from drawing too much hydration away from the oat base during the storage phase.
Dry ratios determine the final snap and shelf life of the product. Keep the ratio of oats to add-ins at three to one for best results. This balance ensures the bars do not crumble when sliced. High-density ingredients like seeds increase the caloric load but improve satiety. Always toast your nuts and seeds to enhance the aromatic profile of the bar.
Natural Sweeteners And Binding Agents That Keep Things Clean And Nutritious
Binding agents transform loose grains into a cohesive snack. Nut butters provide the necessary fat and protein to glue the dry ingredients together. Use natural varieties without added palm oil or sugar. These oils stay liquid at room temperature and penetrate the oats effectively. This creates a soft set that remains flexible enough to eat without shattering.
Sweeteners must serve a dual purpose as a structural cement. Liquid options like honey or maple syrup work best because they coat every surface area. Boil these liquids briefly to reduce their water content before mixing. This creates a stickier consistency that hardens as it cools. Proper heat application ensures your bars stay together at room temperature without requiring constant refrigeration.
How To Make No Bake Granola Bars Easy Enough For Any Skill Level
Step By Step Guide To Making No Bake Granola Bars Without An Oven
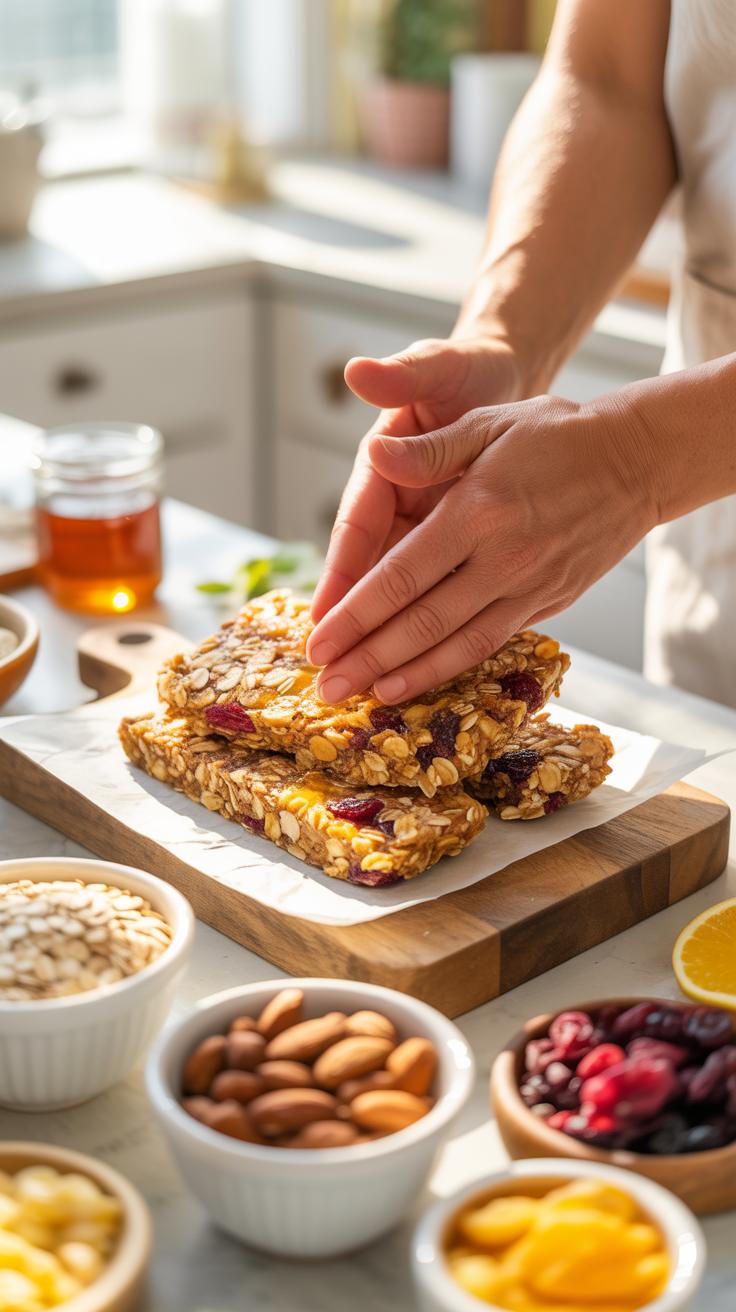
No-bake granola bars rely on thermal binding and refrigeration instead of oven heat. This method preserves the nutrients in raw ingredients and saves time. You must create a liquid binder using fats and sugars to hold the dry base together. Efficiency depends on prepping all components before you start mixing. Success requires a firm press into the pan to ensure structural integrity.
- Prepare the Binder: Heat honey and nut butter in a small saucepan over low heat. Stir until the mixture reaches a smooth and liquid consistency. Do not boil the liquid or you will create a hard candy texture.
- Combine Dry Ingredients: Place rolled oats and chia seeds in a large mixing bowl. Add any nuts or dried fruits at this stage. Ensure the dry mix is uniform so the binder coats every surface evenly during the next step.
- Incorporate Liquid: Pour the warm honey mixture over the dry oats. Use a sturdy spatula to fold the ingredients together. Work quickly before the binder cools and thickens. Every oat must be fully coated to prevent the bars from crumbling.
- Press and Pack: Transfer the mixture into a parchment-lined square pan. Use the bottom of a heavy glass or a flat measuring cup to apply firm pressure. Compact the mixture into every corner of the pan to create a dense layer.
- Chill and Set: Place the pan in the refrigerator for at least two hours. Cold temperatures solidify the fats and sugars to lock the ingredients in place. Do not attempt to slice the bars while they are still at room temperature.
Once the mixture feels firm to the touch, lift the parchment paper out of the pan. Use a sharp chef knife to cut the slab into uniform rectangular bars. If the edges fray, your compression was too weak. Store the finished bars in an airtight container within the refrigerator. Maintaining a cool temperature prevents the binder from softening and falling apart during storage.
Common Mistakes To Avoid When Making No Bake Granola Bars At Home
The most frequent error is using quick-cook oats instead of old-fashioned rolled oats. Quick oats lack the surface area and fiber structure needed for a chewy texture. They often turn into a mushy paste when hit with liquid binders. Standard rolled oats provide the necessary rigidity to hold shape. Always verify the oat type on the packaging before starting your recipe.
Another critical failure involves the ratio of liquid to dry ingredients. Too much honey creates a sticky mess that never sets properly. Too little binder results in a dry mix that shatters when sliced. Accuracy in measurement is more important than speed. Use standardized measuring cups and level off your ingredients. If your bars crumble, increase the nut butter or honey in your next batch.
Discovering The Variety Of Homemade Granola Bars You Can Customize
Add Ins And Mix Ins That Transform A Basic Granola Bar Into Something Special
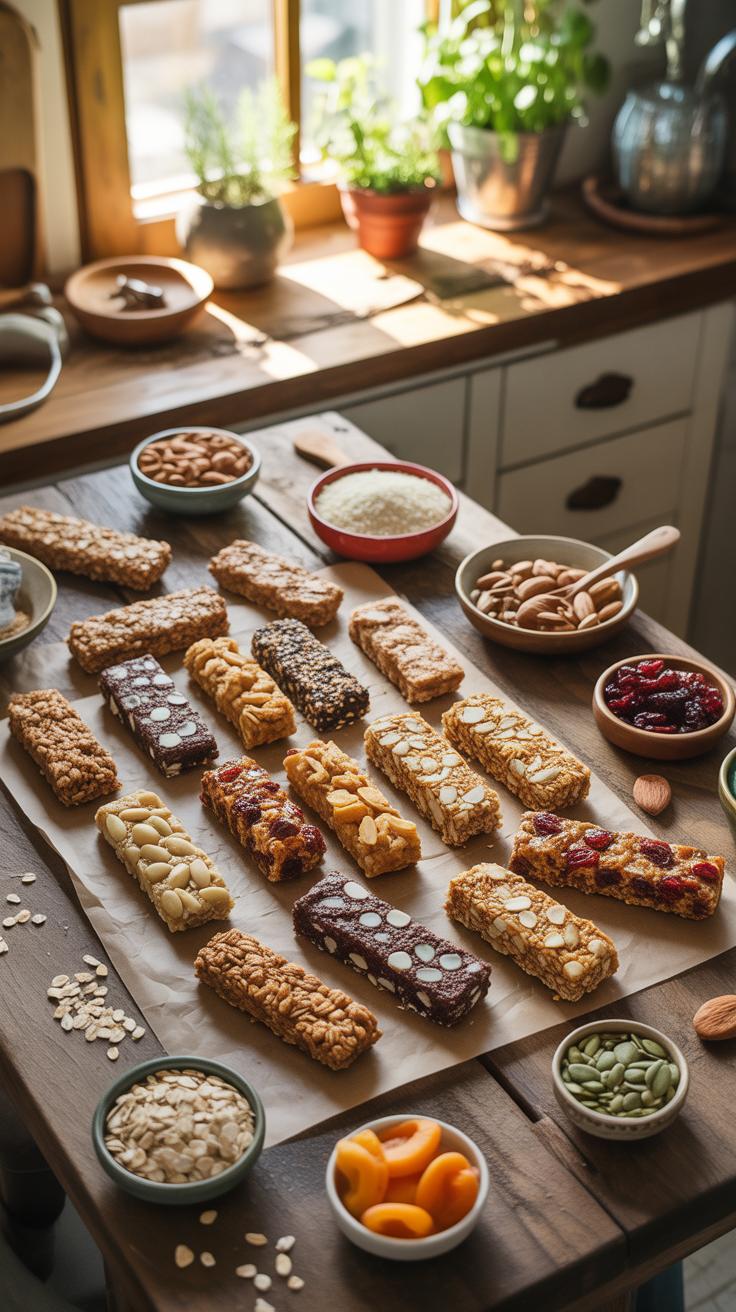
Texture and flavor profiles depend on the ratio of dry inclusions to the binder. Use dried fruits like cranberries or apricots to add moisture and acidity. These balance the heavy fats in the nuts. Chop larger fruits to ensure every bite stays cohesive. Small pieces prevent the bar from falling apart. Consistent sizing keeps the structural integrity of the final snack high.
Incorporate seeds like chia or flax for crunch and stability. These small items fill gaps between larger oats and nuts. This creates a denser bar that travels better. Use dark chocolate chips or cacao nibs for bitterness. Toast your nuts and seeds before adding them to the mix. Toasting releases oils and deepens the flavor profile without adding extra sugar.
The smell of toasted oats and honey in the kitchen is the simplest way to turn a house into a home. These handmade bars are a sweet reminder that the best fuel for our bodies is always made with love.
Dietary Friendly Variations Including Vegan, Gluten Free, And High Protein Options
To make bars vegan, replace honey with maple syrup or brown rice syrup. Brown rice syrup acts as a superior binder because it is very viscous. This prevents the bars from crumbling at room temperature. Use coconut oil instead of butter to maintain a solid state when chilled. These substitutions ensure the bars remain plant based while keeping the necessary chewy texture.
For gluten-free versions, use certified gluten-free oats to avoid cross-contamination. Many standard oats process in facilities with wheat. Increase protein content by adding whey or pea protein powder to the binder. Do not add too much powder or the bars will become dry and chalky. Balance the powder with extra liquid sweetener or nut butter. This keeps the bars moist and edible.
Homemade Granola Bars No Bake Style The Best Recipes Using Minimal Heat
Why No Bake Methods Preserve More Nutrients In Your Granola Bar Ingredients
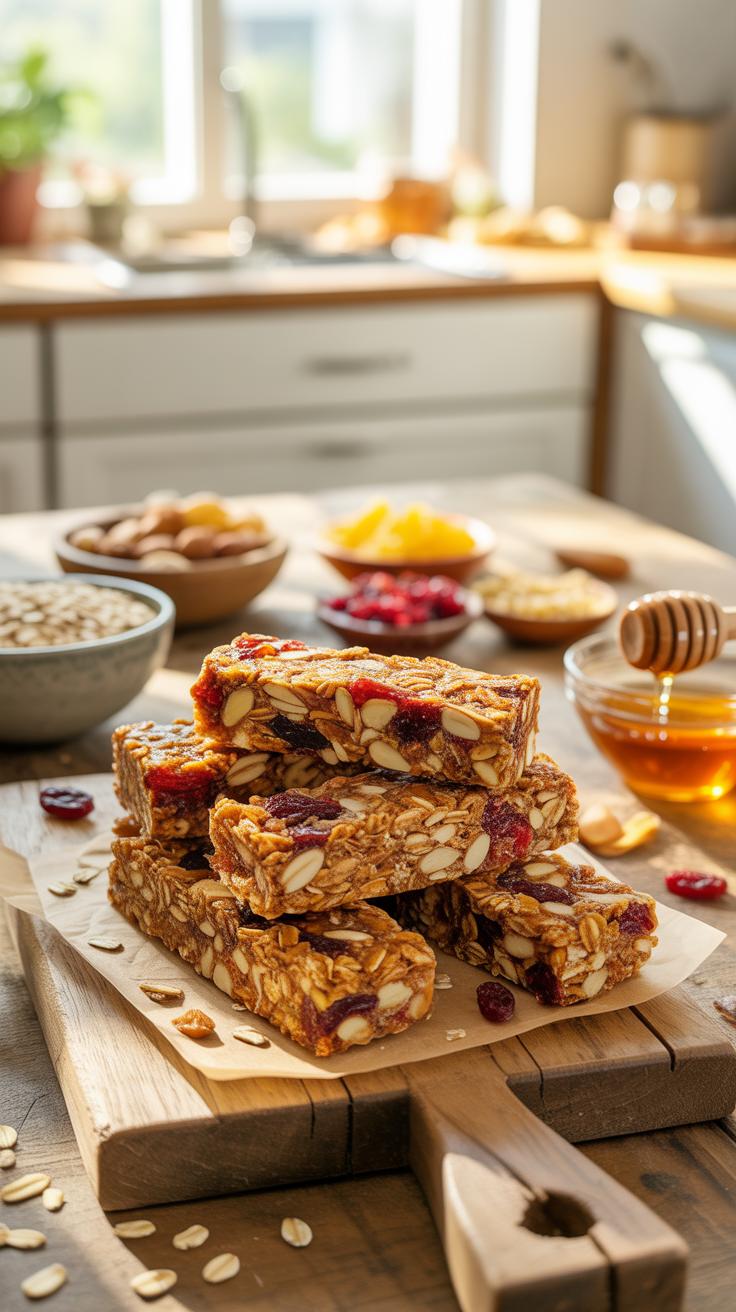
High heat destroys heat-sensitive vitamins and enzymes in raw ingredients. No-bake methods protect the integrity of cold-pressed oils and raw honey. Excessive roasting can oxidize delicate polyunsaturated fats found in flax and chia seeds. By avoiding the oven, you keep these essential fatty acids stable. This process ensures the nutritional profile remains as close to the whole-food source as possible for better health outcomes.
The lack of heat also prevents the formation of acrylamide. This chemical compound can develop in starchy foods during high-temperature baking. Standard bars often lose moisture and water-soluble vitamins like B and C through evaporation. Cold-pressing the mixture preserves the natural moisture and nutritional density of the oats. This tactical approach yields a bar that functions as a superior fuel source compared to traditional baked alternatives.
Top Flavor Combinations That Work Exceptionally Well In No Bake Granola Bars
Successful no-bake bars rely on a balance of fat and sugar to create a structural bond. Dark chocolate and sea salt provide a classic profile that stabilizes well at room temperature. Almond butter paired with dried cranberries offers a tart contrast to the dense nut base. These combinations work because the ingredients have compatible melting points. They remain firm without the need for an egg-based binder or oven heat.
Tropical flavors like coconut and dried mango perform well in unheated recipes. Coconut oil acts as a powerful binder that hardens when chilled. Adding pumpkin seeds or hemp hearts provides a necessary crunch without requiring a toasted texture. These ingredients maintain their structural integrity and flavor intensity without thermal intervention. Use high-quality extracts to enhance the profile without adding excess liquid volume to the final mixture for better results.
At Home Granola Bars Tips For Storing Cutting And Keeping Them Fresh

Best Practices For Cutting And Shaping Granola Bars Without Them Crumbling
Temperature control dictates the structural integrity of your granola bars. You must chill the mixture in the refrigerator for at least two hours before attempting any cuts. Heat softens the binding agents like honey or brown rice syrup. Cold temperatures solidify these sugars and fats into a stable matrix. Pressure also matters. Use a heavy object to compress the mixture firmly into the pan corners.
Use a sharp chef knife or a bench scraper for the actual cutting process. Avoid using serrated blades because they tear the delicate oat fibers and create excess crumbs. Press the blade straight down through the chilled slab in one decisive motion. Do not use a sawing action. If the bars begin to stick to the metal, wipe the blade clean and apply a thin layer of neutral oil.
How Long Homemade Granola Bars Last And The Ideal Storage Conditions
Room temperature storage works only for short durations. Place the bars in an airtight container with parchment paper separating each layer. This prevents the bars from fusing together into a single block. At standard room temperature, most recipes stay fresh for five to seven days. Exposure to oxygen degrades the fats in nuts and seeds. This causes the oils to go rancid and ruins the flavor.
Refrigeration extends the shelf life to three weeks. Cold environments keep the binders firm and prevent the bars from becoming sticky or soft. For long term storage, wrap each bar individually in plastic wrap and freeze them. Frozen bars remain safe and tasty for up to three months. Thaw them at room temperature for fifteen minutes before eating. Always inspect for moisture buildup to avoid mold growth.
Easy Peasy Granola Bars Simplified Recipes For Busy People And Families
Quick 5 Ingredient Granola Bar Recipes That Come Together In Under 20 Minutes
Efficiency requires a reliable base of oats and a liquid binder. Use old fashioned rolled oats for texture and honey or maple syrup for adhesion. Nut butter provides the necessary fat and protein to hold the structure. Mix these three core items in a large bowl. Heat the sweetener slightly to lower its viscosity. This ensures every oat grain receives an even coat.
Add two dry mix-ins like chocolate chips or crushed nuts for flavor. Press the mixture into a parchment-lined pan with heavy pressure. Firm pressing prevents the bars from crumbling after they cool. Place the pan in the freezer for ten minutes to accelerate the setting process. Slice them into rectangles immediately. This method eliminates baking time and reduces cleanup for the operator.
Kid Friendly Granola Bar Ideas That Are Fun To Make And Nutritious To Eat
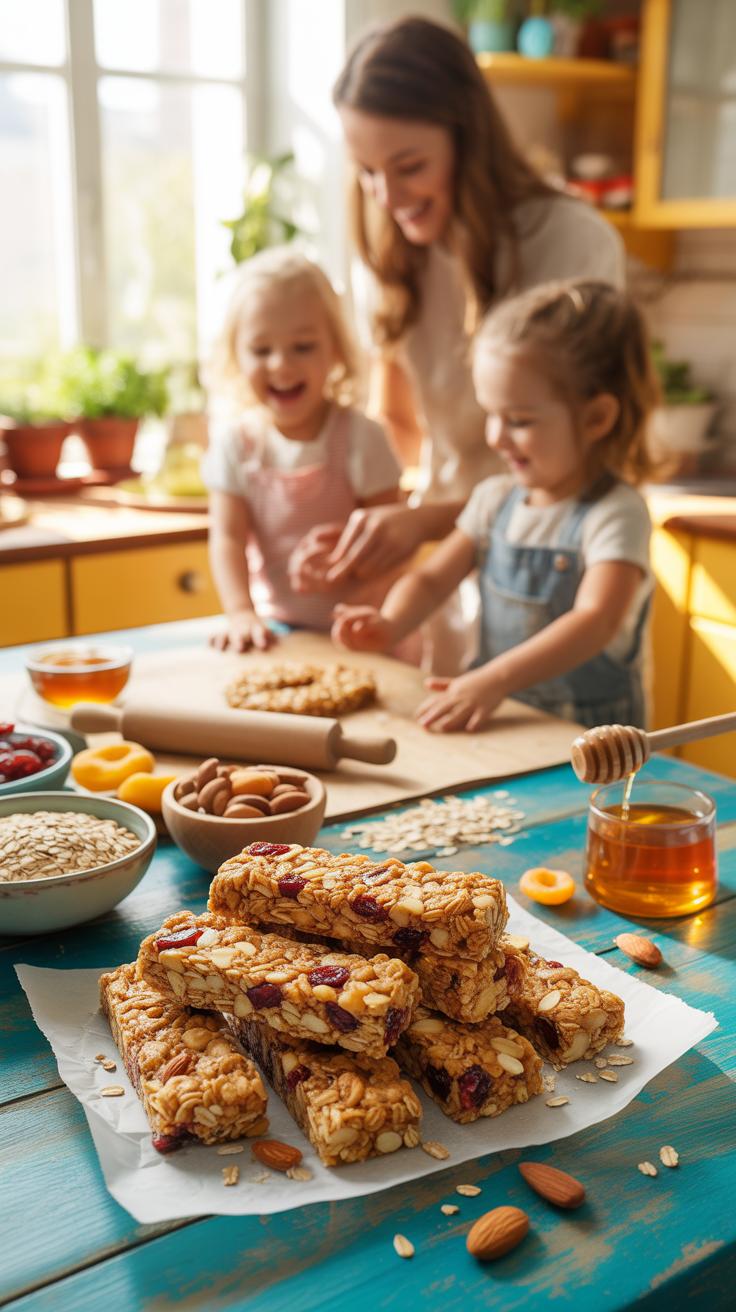
Engaging children in production increases the likelihood of consumption. Use colorful ingredients like dried cranberries or sunflower seeds to create visual interest. Replace refined sugars with mashed bananas or applesauce for a natural sweetening agent. These fruit bases provide fiber and essential vitamins. Let children mix the dough by hand to improve their tactile connection to the food.
Nutritional density is the primary goal for growing bodies. Incorporate flax seeds or chia seeds for omega-3 fatty acids without altering the flavor profile. Form the mixture into small bite-sized squares or spheres for easier handling by small hands. Store these snacks in reusable containers for quick access during school hours. Consistent preparation schedules ensure a steady supply of healthy fuel for the family.
Non Bake Granola Bars And The Role Of Oats As The Foundation Of Every Recipe
Why Rolled Oats Are The Gold Standard Base For Non Bake Granola Bars
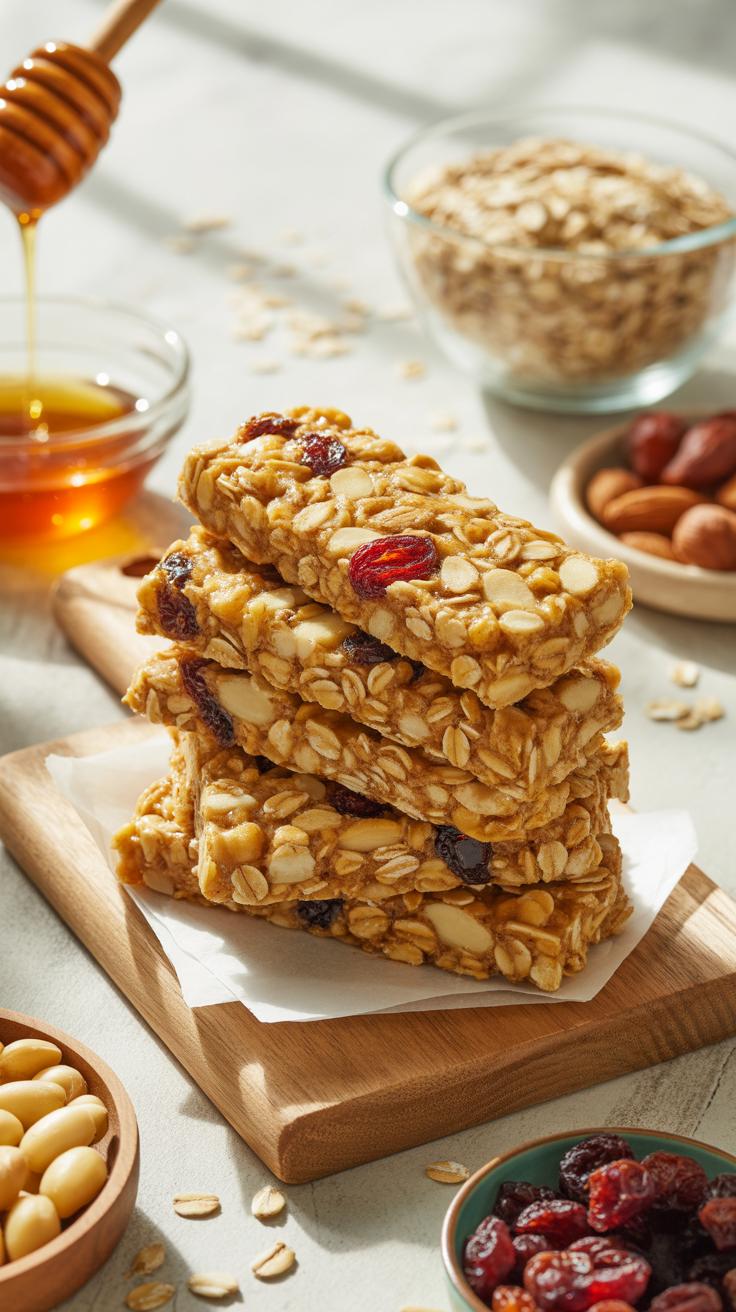
Old-fashioned rolled oats provide the structural integrity required for no-bake bars. They undergo a steaming and rolling process during manufacturing. This creates a flat surface area that absorbs liquid binders like honey or nut butter effectively. Without this surface area, the bars will crumble. Rolled oats remain chewy when cold. They act as the primary dry substrate that stabilizes the entire recipe.
Tactical success depends on using the correct grain density. Rolled oats offer a neutral flavor profile that does not overpower other ingredients. They contain beta-glucan fiber which helps the mixture set firmly in the refrigerator. This fiber creates a slight natural stickiness when it meets moisture. Choose these oats to ensure your bars hold their shape during slicing. They provide a consistent and predictable result every time.
How Oat Varieties Affect The Texture And Nutritional Profile Of Your Granola Bar
Steel-cut oats are unsuitable for no-bake recipes. These are whole oat groats chopped into pieces. They are too hard to eat without long cooking times in simmering water. Using them in a raw state creates a gritty and unpleasant texture. They lack the flattened surface needed to bond with sweeteners. Avoid them if you want a professional result. Stick to rolled varieties for proper mechanical binding.
Instant oats offer a different functional outcome. Manufacturers process them further by pre-cooking and drying. This makes them thinner and faster to absorb liquid. Using instant oats results in a softer and more compressed bar. It lacks the distinct bite of traditional rolled oats. Nutritionally, all oat types provide similar levels of protein and iron. The difference lies entirely in the final mouthfeel and the physical stability of the snack.
Frequently Asked Questions

Why are homemade granola bars better than store-bought options?
Making your own homemade granola bars allows you to control exactly what goes into your snacks. Most store-bought versions are packed with refined sugars, high-fructose corn syrup, and artificial preservatives. By preparing them in your own kitchen, you can prioritize nutrient-dense ingredients like whole oats, raw nuts, and natural sweeteners. This ensures a wholesome, fiber-rich snack that provides sustained energy without the unwanted additives found in processed commercial brands.
How do I prevent my homemade granola bars from falling apart?
The secret to ensuring your homemade granola bars hold their shape is the binding agent and proper chilling. Use a sticky liquid sweetener like honey or brown rice syrup combined with a nut butter to create a “glue.” Once you press the mixture firmly into your pan, refrigerate it for at least two hours before slicing. This setting period allows the fats and sugars to solidify, creating a sturdy, portable snack.
Can I make healthy granola bars on a tight budget?
Absolutely! You can create delicious snacks using affordable pantry staples like rolled oats, sunflower seeds, and raisins. Buying ingredients in the bulk section significantly reduces the cost per serving compared to buying pre-packaged bars. Using simple vegetable oil or peanut butter as a base keeps expenses low while still providing a high-quality nutritional profile. You don’t need expensive superfoods to enjoy a batch of fresh, crunchy, and satisfying treats.