
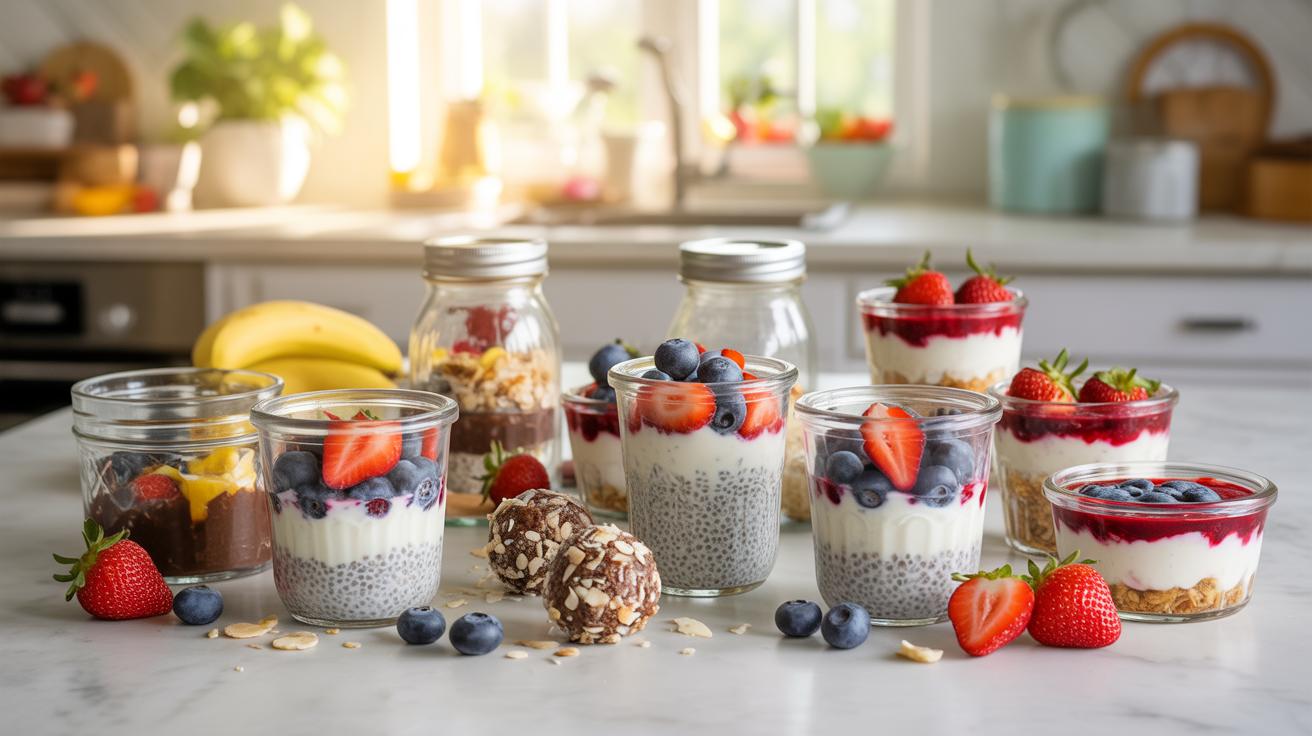
What Makes No Bake Healthy Desserts Perfect For Meal Prep
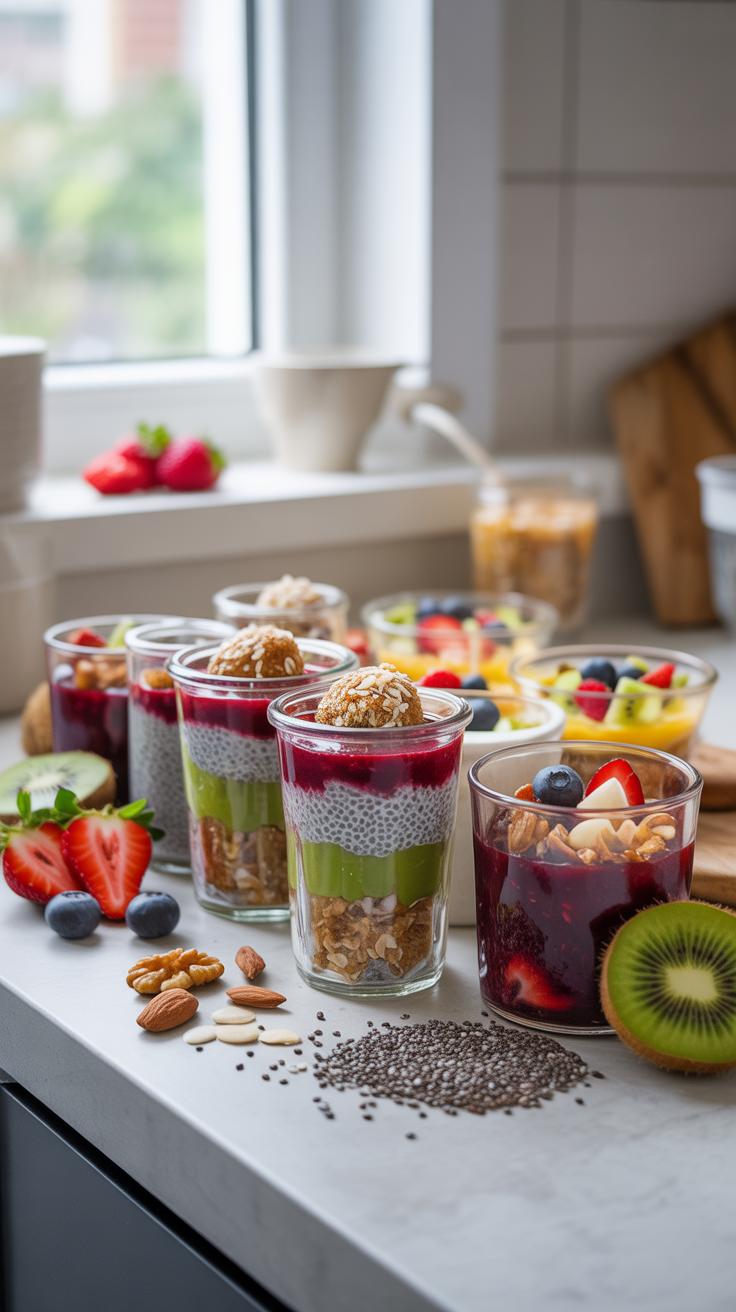
The Time Saving Benefits Of Preparing Desserts Without An Oven
Eliminating the oven removes the preheating phase and the cooling period required for structural integrity. Most baked goods require precise temperature control and specific durations to reach the desired texture. No bake recipes rely on refrigeration or freezing to set ingredients. This shift reduces active kitchen time. You avoid the risk of burning batches while multitasking other meal prep requirements.

Standard baking involves chemical leaveners and high heat to create rise. No bake methods use binding agents like coconut oil, nut butters, or dates. These ingredients solidify quickly at low temperatures. You can assemble multiple portions in a single bowl and transfer them directly to storage containers. This process streamlines your workflow and minimizes cleanup. It allows for high volume production in short time blocks.
How No Bake Desserts Help You Maintain A Balanced Diet Throughout The Week
Raw ingredients retain more heat sensitive nutrients compared to cooked alternatives. Using whole foods like seeds, oats, and raw cacao provides sustained energy levels. These components have a lower glycemic index than refined flour and processed sugar found in traditional pastries. Portioning these items during meal prep prevents impulsive snacking on low nutrient convenience foods. You control every gram of fat and fiber.

Preparation in advance ensures consistent nutritional intake despite a busy schedule. Having a pre portioned healthy dessert ready stops the cycle of sugar crashes. It stabilizes blood glucose by pairing natural sweeteners with healthy fats. These desserts serve as functional fuel rather than empty calories. Tactical planning allows you to meet your macro goals without sacrificing flavor. This discipline supports long term adherence to a clean eating plan.
Essential Ingredients For Your Healthy Bars Recipe Meal Prep
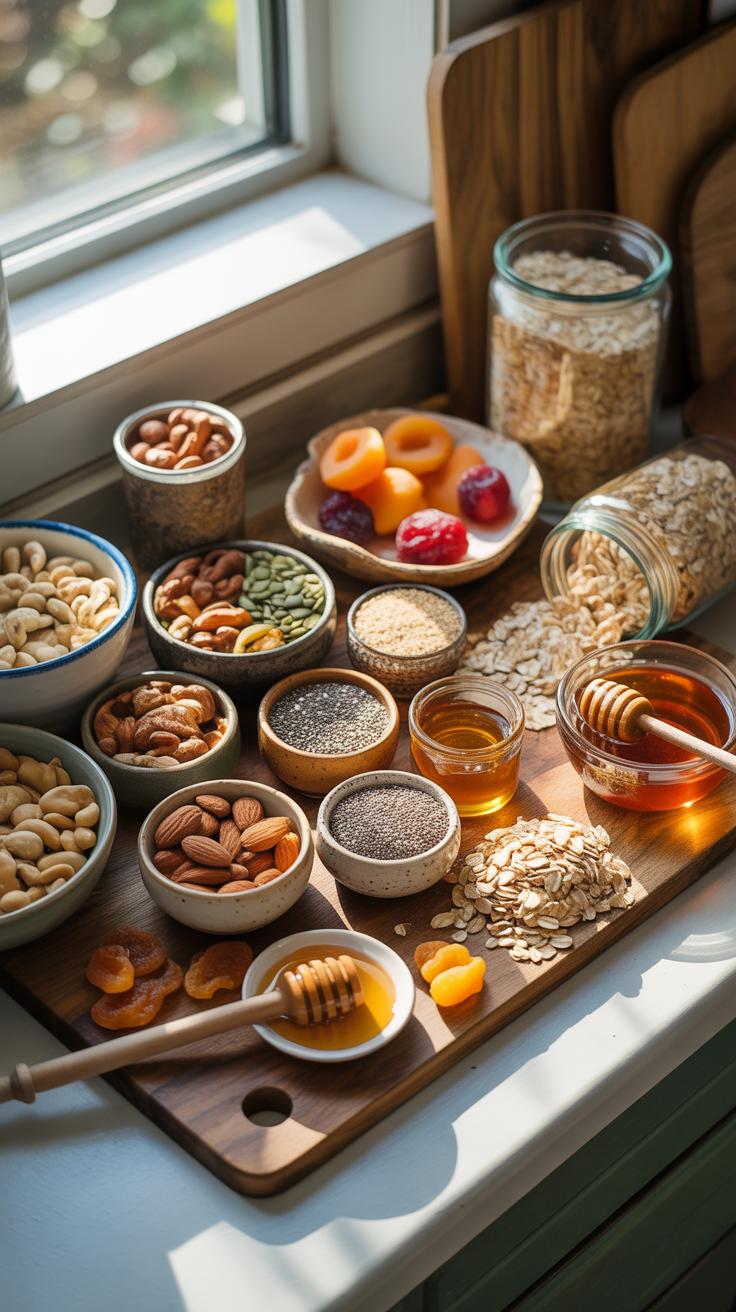
Whole Food Pantry Staples That Form The Base Of Every Healthy Bar
Successful bar foundations rely on complex carbohydrates and healthy fats. These dry ingredients provide the structural integrity needed for refrigeration. Raw materials must offer density to survive the meal prep cycle without becoming soft. Choosing high-fiber bases ensures the bars stay firm at room temperature. You need low-moisture staples that absorb binders effectively while providing a consistent texture across every batch.
- Rolled Oats: Use old-fashioned oats for the best texture. They provide a sturdy frame and absorb excess moisture from liquid binders. Avoid instant oats because they turn gummy when stored.
- Raw Almonds: Process these into a coarse meal or use them slivered. They add necessary crunch and healthy fats. Almonds remain stable under refrigeration and do not go rancid quickly in prepared bars.
- Chia Seeds: These seeds act as a dry structural agent. They absorb liquid to create a gel-like bond within the dry mix. This helps the bars hold their shape after you slice them.
- Hemp Hearts: These provide a soft texture and high protein content without needing heat. They mix easily into any base. Hemp hearts offer a mild flavor that does not overpower other primary ingredients.
- Flax Meal: Ground flaxseeds serve as a secondary stabilizer. They fill small gaps between larger grains and nuts. This creates a more cohesive bar that will not crumble when you pack it for transport.
Select your base based on the final desired texture. Coarse ingredients require more pressure during the pressing stage. Fine powders like oat flour create a dough-like consistency that mimics traditional baked goods. Balance your dry ratios to ensure the bars do not fall apart. Correct dry-to-wet ratios prevent the common meal prep failure of soggy or brittle snacks.
Natural Sweeteners And Binders That Replace Refined Sugar In Healthy Bars
Binders act as the glue for no-bake recipes. Traditional bars use corn syrup or refined sugar glazes to hold ingredients together. Healthy alternatives use the natural viscosity of fruit fibers and nut lipids. These substances create a tacky surface that grips dry particles. You must choose binders that solidify when cold to ensure the bars maintain their rectangular shape.
Medjool dates and natural nut butters provide the most reliable hold. Dates offer a high sugar-to-fiber ratio which creates a sticky paste after processing. Nut butters contribute fats that harden in the refrigerator. This transition from liquid to solid state is critical for portability. Use room temperature binders for mixing to ensure even distribution throughout the dry base ingredients before chilling.
How To Make A Vegan Gluten Free Tart With A No Bake Crust
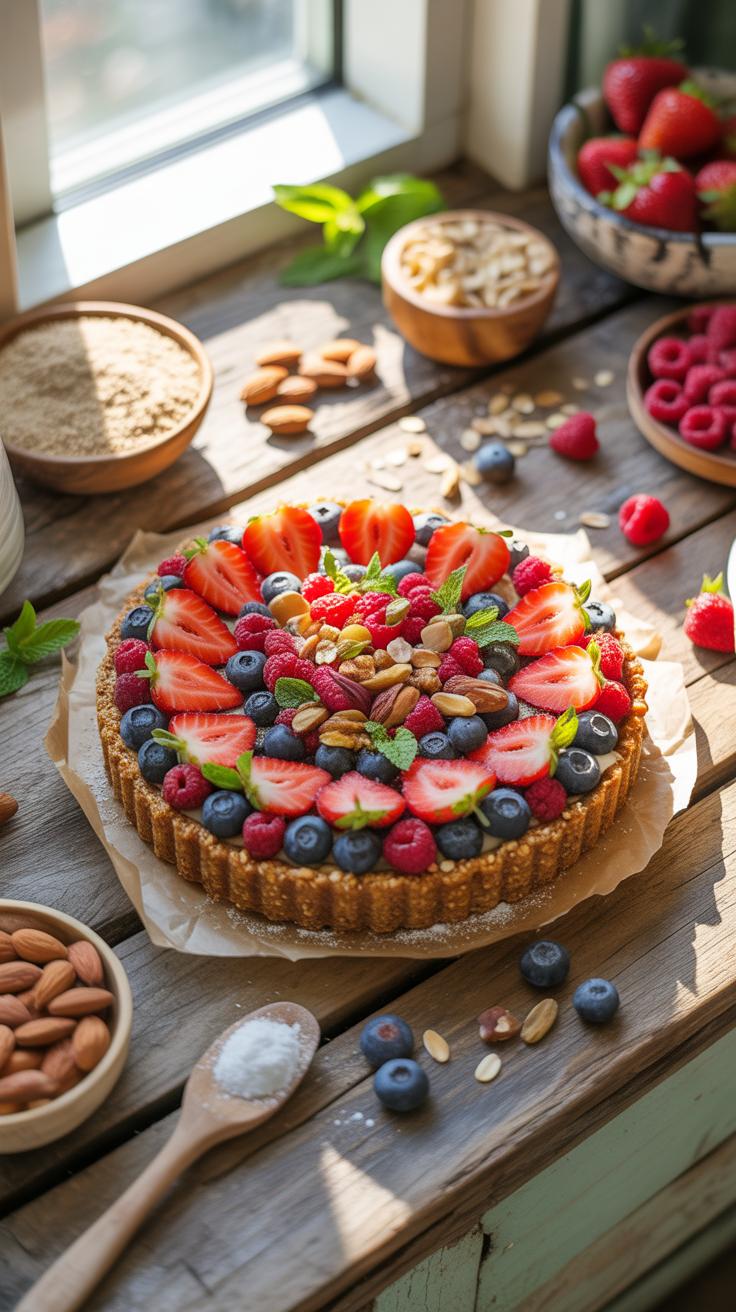
Choosing The Right Gluten Free Nuts And Seeds For A Firm No Bake Tart Shell
A stable no bake crust requires high fat content to bind properly when chilled. Walnuts and pecans contain the highest oil concentrations and offer a soft texture that integrates well with binders like dates. Almonds provide structural integrity but require a finer grind to prevent crumbling. Ensure all nuts are raw and unsalted to control the sodium profile of the final meal prep product.
Mechanical processing determines the final durability of the shell. Pulse the nuts until they reach a coarse sand texture before adding sticky agents. Over-processing releases too much oil and creates nut butter which ruins the structural snap of the tart. Use sunflower seeds or pumpkin seeds for nut-free requirements. These seeds contain enough protein and fat to mimic the density of traditional flour-based pastry shells perfectly.
Filling Options That Keep Your Vegan Gluten Free Tart Creamy And Nutritious
High quality vegan fillings rely on emulsion and temperature control. Soaked cashews serve as the industry standard for creamy textures due to their high starch and fat content. Blend them with coconut milk or cacao butter to ensure the filling sets firmly in the refrigerator. This method avoids the need for refined thickeners. It provides a dense nutrient profile that sustains energy levels better than sugar.
Alternative bases include silken tofu or avocado for lower calorie density. Silken tofu provides a neutral flavor and significant plant protein while maintaining a smooth mouthfeel. Avocado offers monounsaturated fats and a rich green color ideal for lime or matcha flavors. Both options require a stabilizer like agar agar or coconut oil to maintain shape at room temperature. These ingredients ensure the tart remains sliceable during service.
Step By Step Guide To A Dairy Free Chocolate Tart You Can Meal Prep
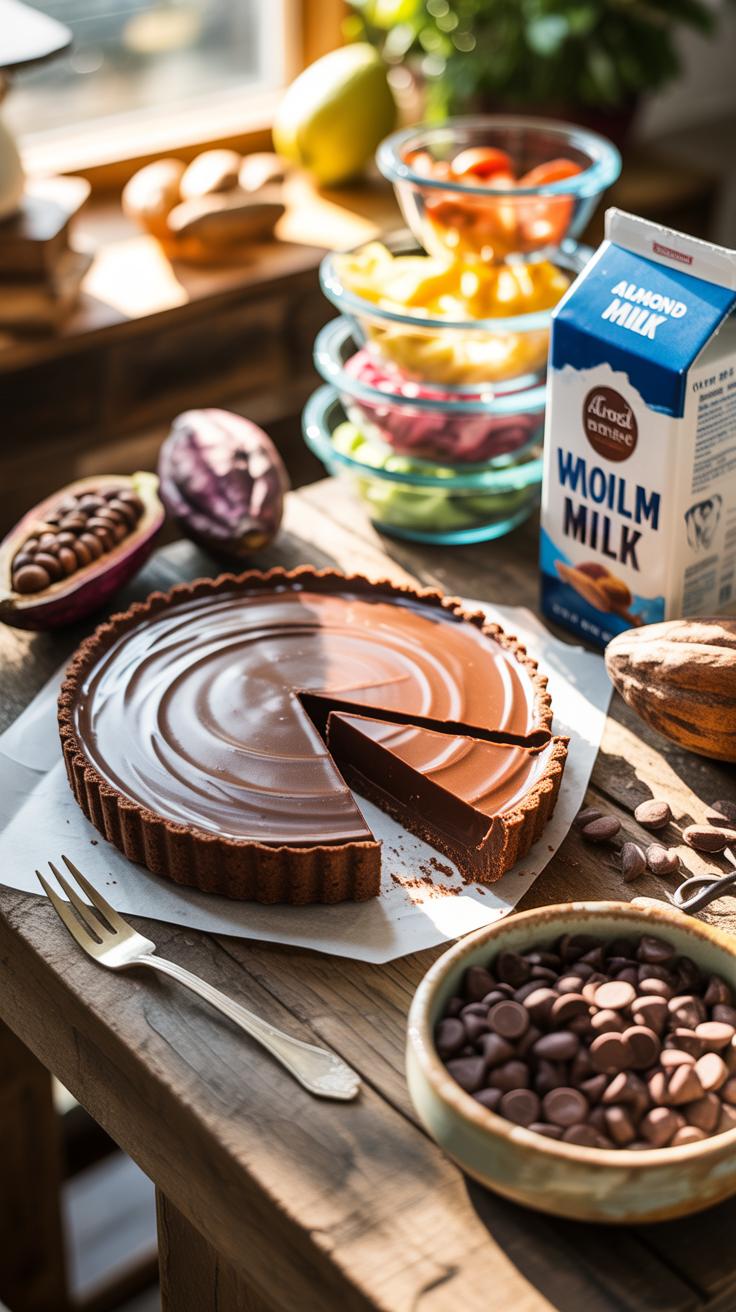
Building A Dairy Free Chocolate Ganache Using Coconut Cream And Dark Chocolate
A stable dairy free ganache requires a specific ratio of fat to liquid. You must use full fat canned coconut cream rather than carton milk. Heat the cream until it reaches a gentle simmer but do not let it boil. High heat breaks the emulsion and causes oil separation. Pour the hot cream over chopped dark chocolate containing at least seventy percent cocoa solids.
Let the mixture sit for five minutes before stirring. This allows the heat to melt the cocoa butter evenly. Stir from the center outward in small circles to create a smooth emulsion. Adding a pinch of sea salt enhances the flavor profile without adding sugar. Pour the finished liquid into your prepared nut crust immediately. The ganache sets as it cools in the refrigerator.
How To Store And Portion Your Dairy Free Chocolate Tart For The Week Ahead
Proper storage prevents the crust from becoming soft and the ganache from absorbing fridge odors. Slice the tart into individual portions while it is cold and firm. Use a sharp knife dipped in hot water for clean cuts. Place each wedge into an airtight container. Use parchment paper between layers if you must stack them. This keeps the presentation professional and prevents sticking.
Keep the tart refrigerated at all times to maintain structural integrity. Coconut oil and cocoa butter soften at room temperature. This dessert stays fresh for up to seven days when sealed correctly. You can also freeze individual slices for long term meal prep. Thaw a slice in the refrigerator for two hours before eating. Cold storage preserves the dense texture and prevents the fats from turning rancid.
How To Make Vegan Chocolate Tart A Healthy Chocolate Tart Recipe Breakdown
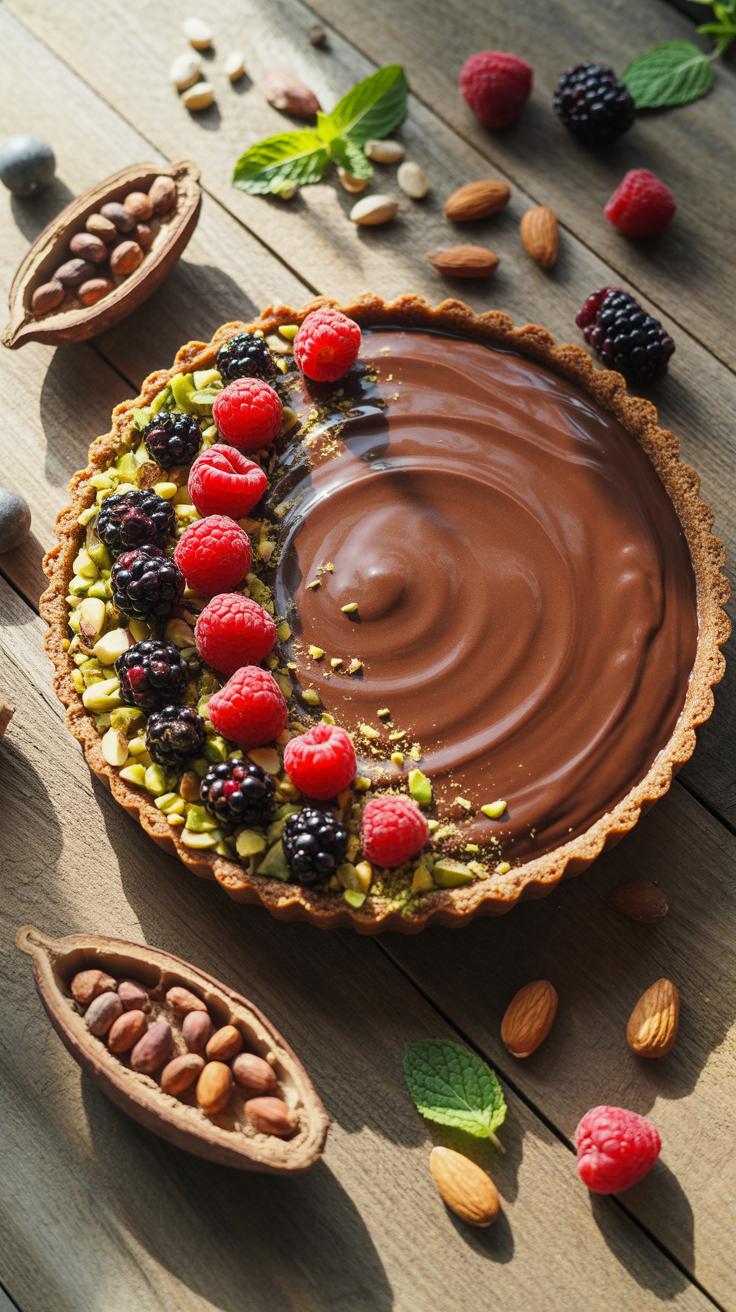
Crafting A Rich And Fudgy Filling For Your Healthy Chocolate Tart Without Eggs Or Dairy
Traditional chocolate tarts rely on heavy cream and egg yolks for structure. To make a vegan version, you must use high-fat plant bases. Full-fat coconut milk or cashews provide the necessary lipid profile for a dense texture. Combine these with high-quality dark chocolate containing at least seventy percent cocoa solids. This ensures the filling remains firm at room temperature while delivering a deep flavor.
Temperature control is your primary tool for achieving a smooth consistency. Melt your chocolate slowly using a double boiler to avoid graininess. Gradually whisk in your room-temperature fat source rather than cold liquids. This prevents the chocolate from seizing or separating. Sweeten with maple syrup or dates to maintain a natural profile. These liquid sweeteners integrate better into the emulsion than granulated sugars.
Tips For Getting The Perfect Set On A Vegan Chocolate Tart Recipe Every Time
Natural thickening agents are essential for a stable no-bake tart. Without heat-activated eggs, you must rely on the cooling properties of fats and specific gelling agents. Refrigeration is not just for storage; it is a critical chemical step. The fat molecules must crystallize to create a sliceable dessert. Always allow at least four hours of cold setting time before attempting to remove the tart from the mold.
- Full-Fat Coconut Milk: Use only the thick cream from the top of the can. This component contains the saturated fats required to solidify the filling once chilled in the refrigerator.
- High Cocoa Content: Select chocolate with high cocoa butter levels. Cocoa butter is solid at room temperature. It provides the structural integrity necessary for a clean, sharp slice without using gelatin.
- Coconut Oil Integration: Add a small amount of refined coconut oil to the mixture. It has a low melting point but becomes very firm when cold. This helps the tart hold its shape.
- Soaked Cashew Base: Blend raw cashews until they reach a completely smooth state. The natural starches and fats in the nuts act as a thickener. This creates a creamy mouthfeel similar to traditional ganache.
- Agar Agar Powder: Use this seaweed-derived substance if you need a heat-stable set. It acts as a vegan substitute for gelatin. It ensures the tart does not melt if left out during a meal.
Proper equipment selection improves your final results significantly. Use a tart pan with a removable bottom to ensure you do not break the crust during de-molding. Run a warm knife along the edges before releasing the ring. If the center feels soft, return it to the freezer for twenty minutes. This flash-chilling technique firms the exterior fats and makes the tart much easier to handle.
Plant Based Chocolate Tart Variations To Keep Meal Prep Exciting
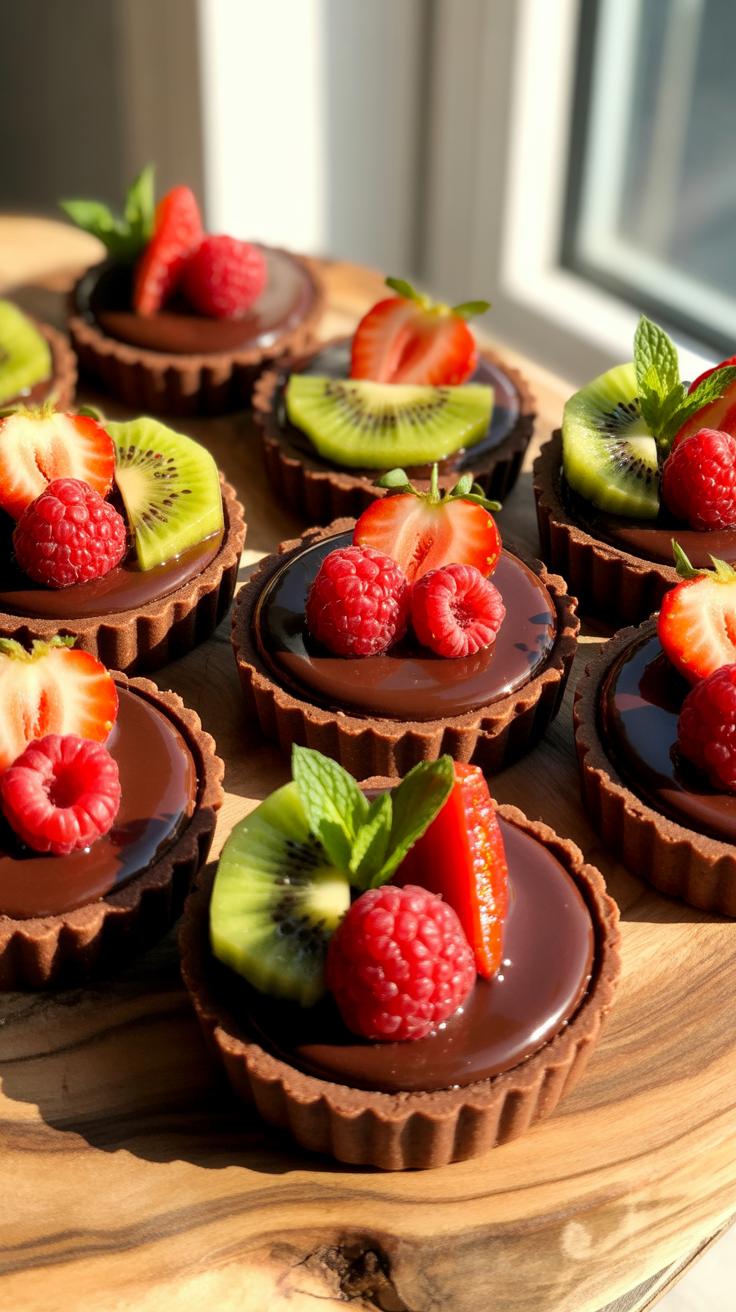
Flavor Boosts You Can Add To A Plant Based Chocolate Tart Like Espresso And Orange Zest
Adding espresso powder enhances the natural profile of cacao without making the tart taste like coffee. Use one teaspoon of fine powder for every cup of chocolate. This technique relies on the chemical interaction between caffeine and cocoa solids to deepen the savory notes. It works best in tarts using dark chocolate bases. Espresso helps balance the fat from coconut milk or avocado binders.
Orange zest provides a citrus oil contrast that cuts through heavy fats. Grate fresh zest directly into the filling during the blending phase. Avoid the white pith to prevent bitterness. This addition shifts the flavor profile toward a traditional European profile. It increases the complexity of the tart without adding extra sugar or liquid. Use organic fruit to ensure the zest is free from wax.
True hospitality consists of giving the best of yourself to your guests, and keeping the sweetness of a home-cooked treat ready in the fridge preserves those memories for days.
Seasonal Toppings That Elevate Your Plant Based Chocolate Tart Presentation
Fresh berries provide acidity to balance rich chocolate fillings. Raspberries contain fiber and water that refresh the palate during consumption. Arrange them in concentric circles to improve the visual structure for meal prep containers. Use firm fruit to prevent bleeding into the chocolate surface over several days of storage. High moisture fruits should be added right before serving to maintain the tart integrity.
Toasted nuts add a necessary textural element to soft fillings. Use dry heat to toast almonds or walnuts for three minutes until fragrant. This process releases natural oils and increases the crunch factor. Chopped nuts provide a structural contrast that appeals to different sensory preferences. Sea salt flakes also serve as a functional topping. Salt suppresses bitterness and enhances the perception of sweetness in plant based fats.
Vegan Coconut Chocolate Tart A Tropical No Bake Dessert For Meal Prep
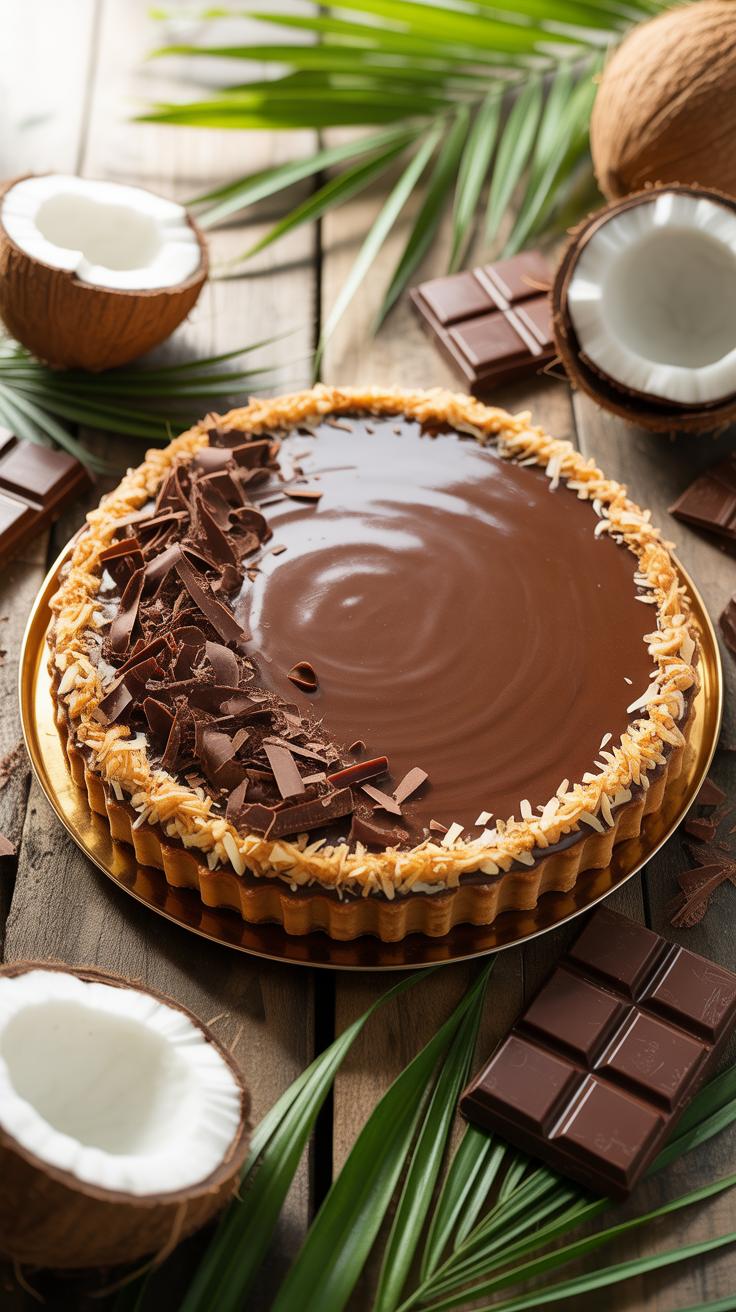
Why Coconut Cream And Coconut Oil Are The Secret To A Silky Vegan Coconut Chocolate Tart
Coconut cream provides the fat content necessary for a stable ganache without using dairy. You must use the thick part at the top of a chilled can. This fat emulsifies with dark chocolate to create a smooth texture. It stays firm at room temperature but melts quickly on the tongue. This replaces the need for heavy cream in traditional recipes.
Coconut oil serves as a secondary hardening agent. It has a melting point of seventy six degrees Fahrenheit. This allows the tart to set firmly in the refrigerator. Use refined coconut oil if you want a neutral taste. Use unrefined oil for a stronger tropical flavor profile. This combination ensures the filling does not weep or lose its shape during meal prep storage.
How To Layer Coconut And Chocolate Flavors For A Balanced And Indulgent No Bake Tart
Balance requires contrasting high fat content with salt and acid. A crust made of shredded coconut and nuts provides a textured base. Press this mixture firmly into the pan to prevent crumbling. Add sea salt to the chocolate filling to sharpen the cocoa notes. This prevents the coconut fat from dulling the overall flavor profile of the dessert.
Control the temperature during the layering process. Pour the chocolate ganache over a chilled base to ensure clean lines. You can add a thin layer of coconut butter between the crust and filling for extra definition. Store the finished tart in an airtight container to prevent it from absorbing fridge odors. Slice the tart while cold to maintain professional and clean edges.
Meal Prep Storage Tips To Keep Your No Bake Healthy Desserts Fresh All Week
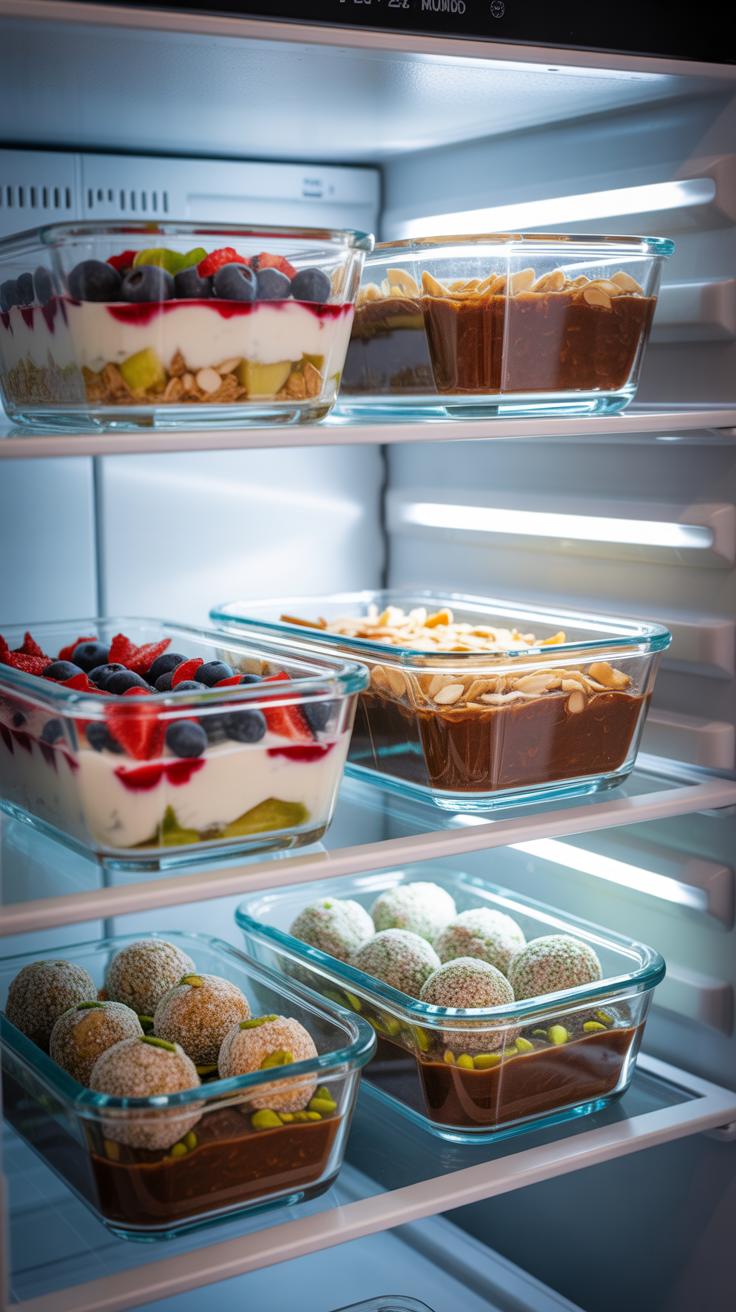
Best Containers And Wrapping Methods To Preserve Texture And Flavor
Air exposure destroys the texture of no bake treats. Use glass airtight containers to prevent moisture loss and odor absorption from other fridge items. Silicon seals provide the best protection against oxidation. If you use plastic, ensure it is BPA free to avoid chemical leaching into fats. High fat ingredients like coconut oil and nut butters absorb surrounding scents quickly.
Place parchment paper between layers of bars or cookies to prevent sticking. This technique maintains the structural integrity of soft treats. For individual servings, wrap each piece tightly in beeswax wrap or foil before placing them in a container. Double bagging in freezer safe silicone bags adds an extra layer of defense against ice crystals. Proper sealing ensures your snacks remain firm and flavorful.
How Long No Bake Healthy Desserts Last In The Fridge Versus The Freezer
Most refrigerated no bake snacks maintain peak quality for five to seven days. Cold temperatures keep binders like honey or maple syrup stable. Beyond one week, moisture migration causes crusts to become soggy and nuts to lose their crunch. Store date based energy balls in the main compartment of the fridge. Avoid the door area as temperature fluctuations compromise food safety and texture.
Freezing extends the shelf life of these desserts to three months. This method is ideal for bulk meal prep sessions. Flash freeze individual pieces on a tray for one hour before transferring them to a permanent container. This prevents the treats from freezing into a solid block. Thaw your servings in the fridge for thirty minutes before eating. Cold storage preserves the vital nutrients in raw ingredients.
Frequently Asked Questions

What are the benefits of choosing no-bake options for healthy meal prepping?
Choosing no-bake healthy desserts is a fantastic way to simplify your weekly meal prep while maintaining a nutritious lifestyle. These treats preserve the heat-sensitive vitamins found in raw ingredients like nuts and seeds. Since they require no oven time, they are much faster to assemble, helping you avoid processed snacks throughout the busy work week. Plus, their dense nutrient profiles provide lasting energy without the typical sugar crash associated with traditional baked goods.
How should I store my no-bake desserts to keep them fresh all week?
To ensure your no-bake healthy desserts stay delicious, storage is key. Most recipes involving oats, nut butters, or dates should be kept in an airtight container in the refrigerator to maintain their shape and texture. If you are prepping for the entire month, many of these treats are freezer-friendly; simply thaw them for five minutes before eating. Using glass containers helps prevent moisture buildup, keeping your snacks perfectly firm and ready to enjoy.
Can I make affordable meal prep desserts without expensive superfood ingredients?
Absolutely! You do not need pricey powders or exotic fruits to create satisfying snacks. Budget-friendly staples like rolled oats, peanut butter, cocoa powder, and bananas form the perfect base for many recipes. Buying these ingredients in bulk significantly lowers your cost per serving compared to store-bought bars. By focusing on simple, whole-food pantry staples, you can consistently enjoy delicious treats that support both your physical health and your monthly grocery budget.