
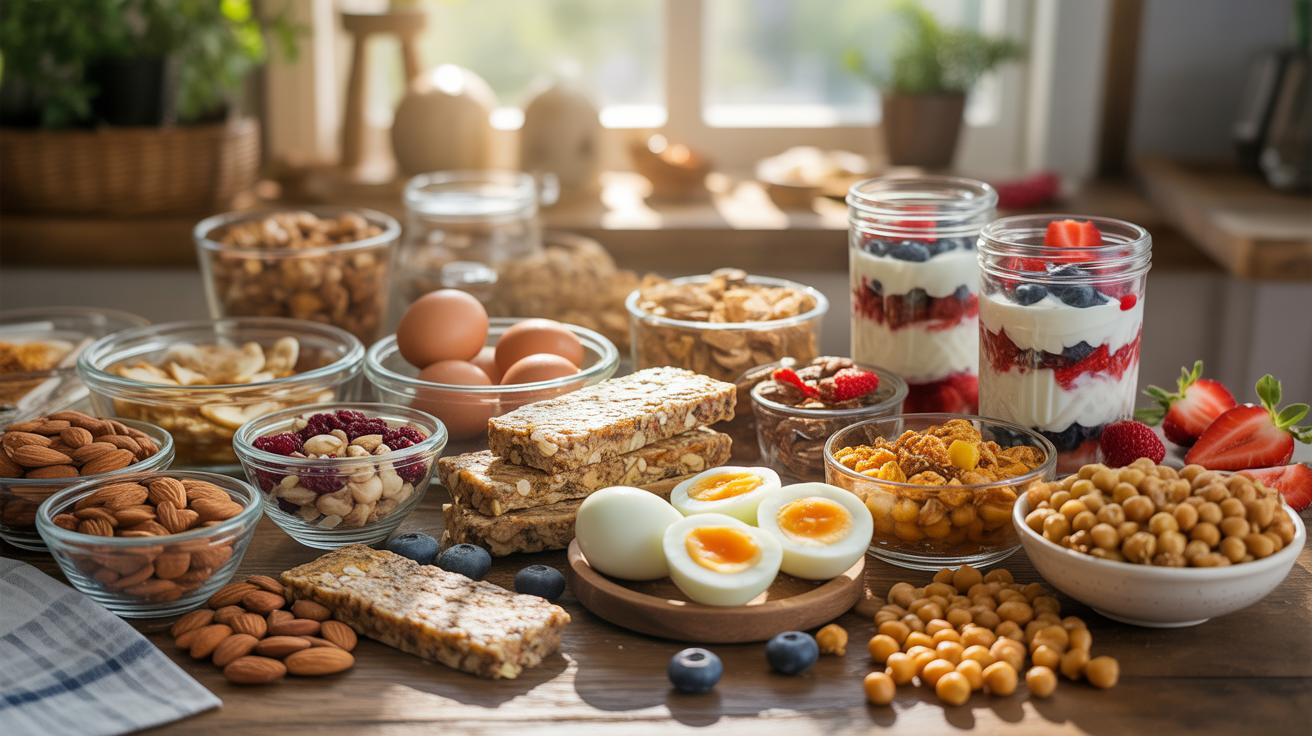
What Makes A Snack High In Protein Understanding The Basics Before You Batch Cook
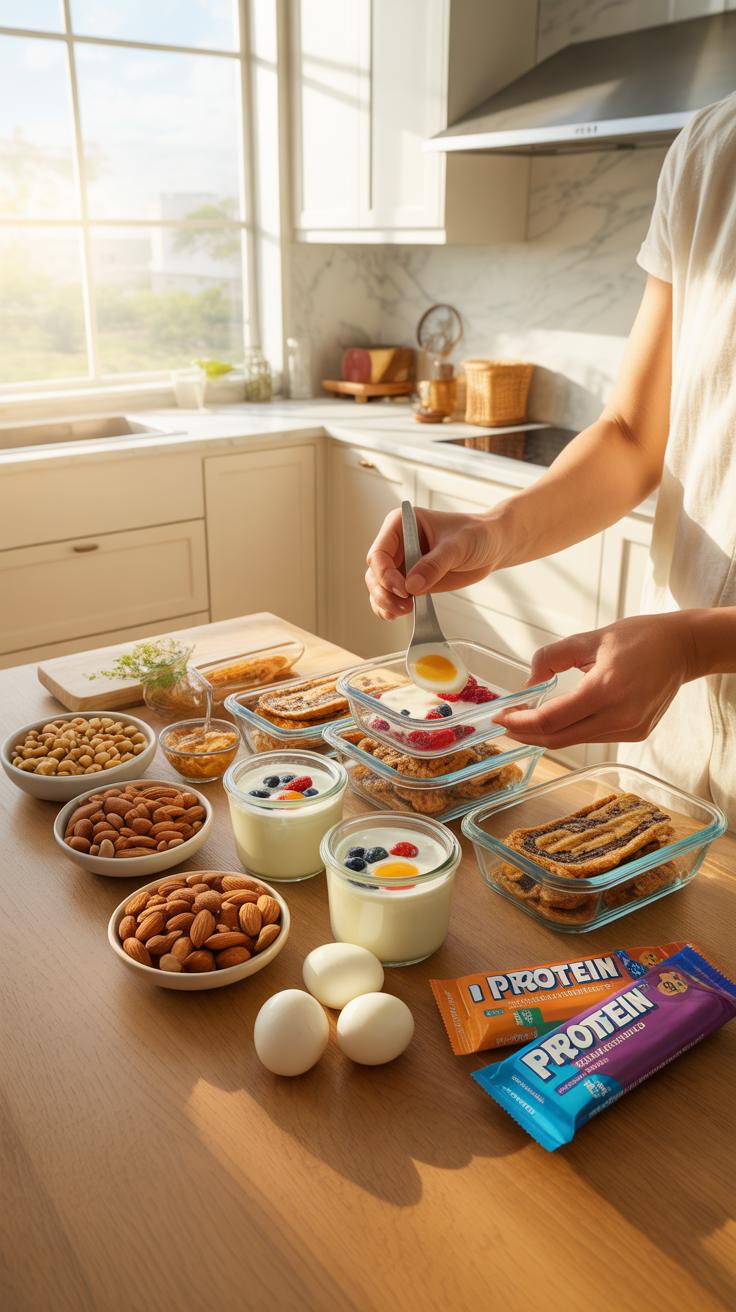
How Much Protein Does A Snack Actually Need To Qualify As High Protein?
A snack must provide at least ten grams of protein to be effective for muscle synthesis and satiety. Marketing labels often use the term high protein loosely to sell products. You should ignore the branding and look at the macronutrient ratio. Aim for a snack where protein accounts for at least twenty percent of the total calories. This ratio ensures you are not just consuming empty carbohydrates.
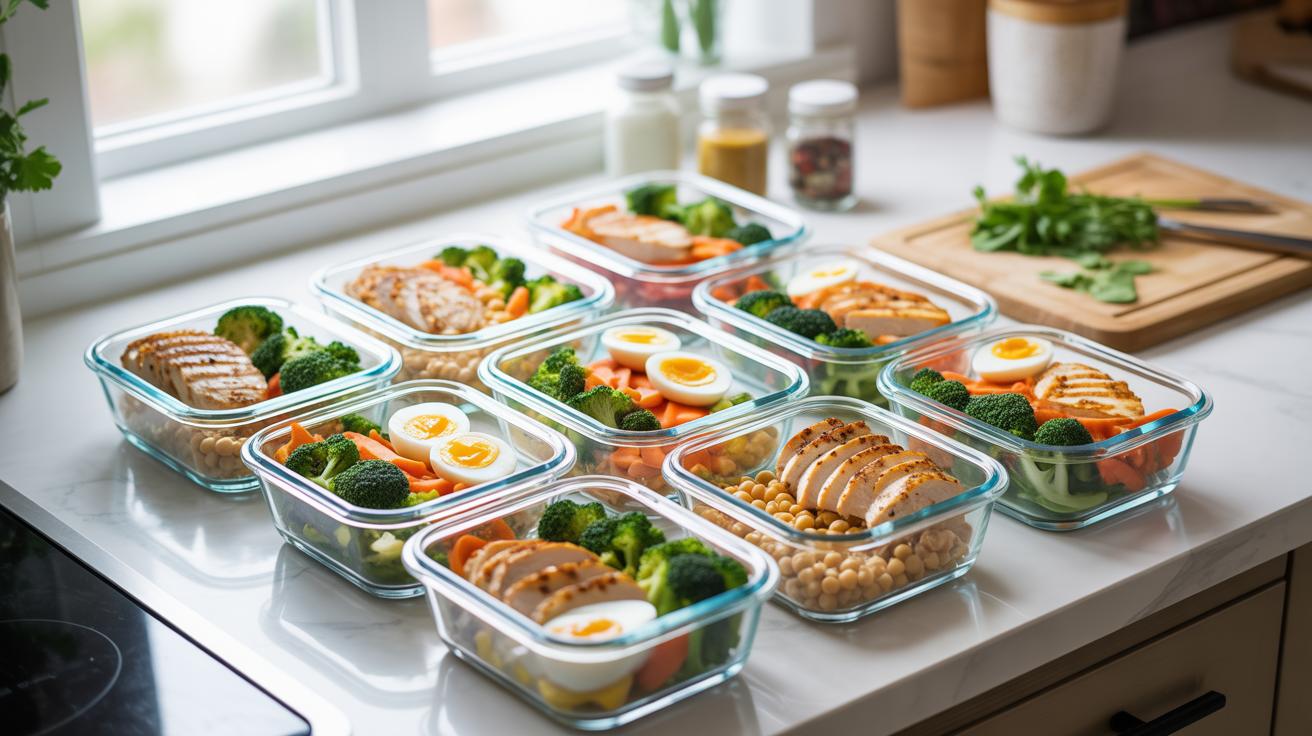
Strategic snacking prevents blood sugar spikes and keeps your metabolism active between meals. Consuming twenty to thirty grams of protein per serving is the optimal range for most active adults. Exceeding this amount in a single snack often leads to diminishing returns as the body has a limit on hourly protein absorption. Focus on hit-rate and consistency. Your goal is a dense protein delivery without excessive added sugars.
The Best Whole Food Protein Sources To Build Your Homemade High Protein Snacks Around
Greek yogurt and cottage cheese are the strongest foundations for refrigerated snacks. These dairy products provide casein and whey proteins which offer a sustained release of amino acids. They are versatile and allow for both sweet and savory applications. When you buy these in bulk, you reduce the cost per gram of protein significantly. Check labels to ensure no thickeners or added sugars are present.
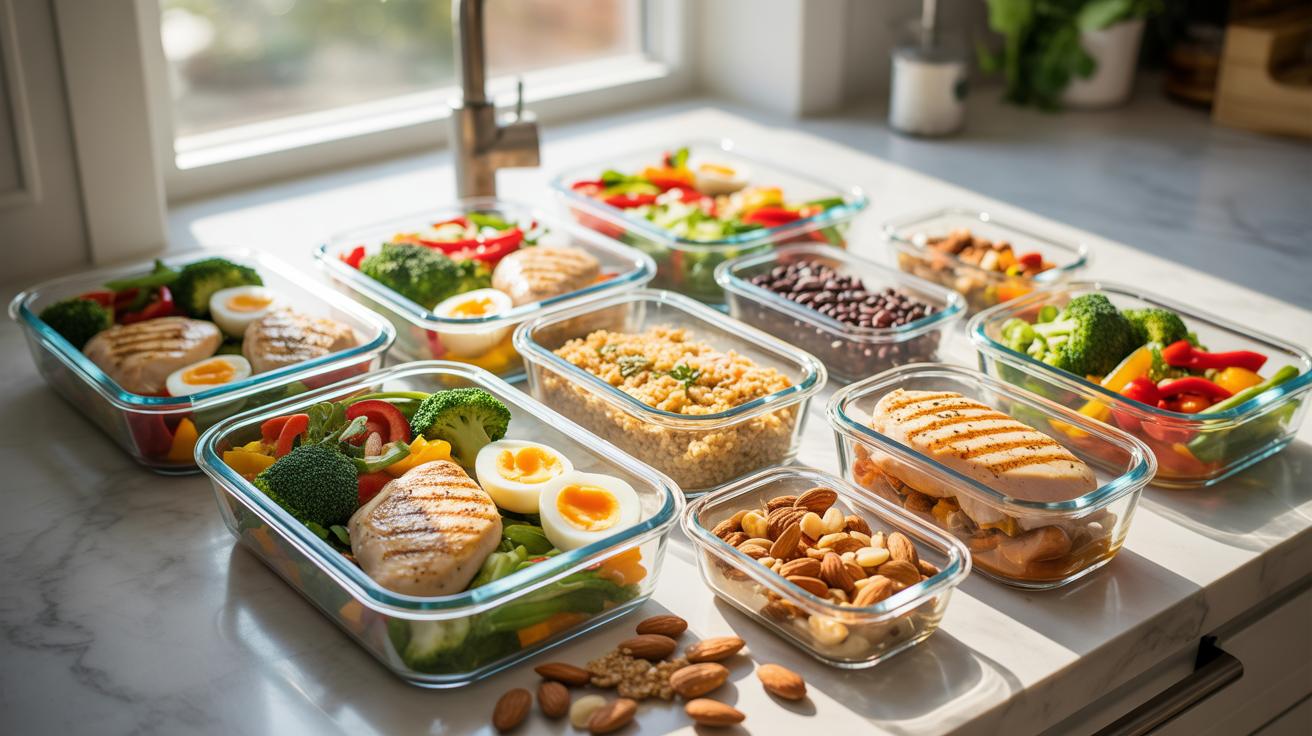
Plant-based options like lentils, chickpeas, and pumpkin seeds provide fiber alongside protein. These ingredients are shelf-stable and work well for dry batches like roasted snacks or energy bites. Egg whites are another tactical tool for volume cooking. You can bake them into muffins or bars to increase the protein count without adding much fat. Choose ingredients that survive the storage process without losing their nutritional integrity or texture.
Homemade Protein Bars The Ultimate Bulk Snack For Busy Weeks
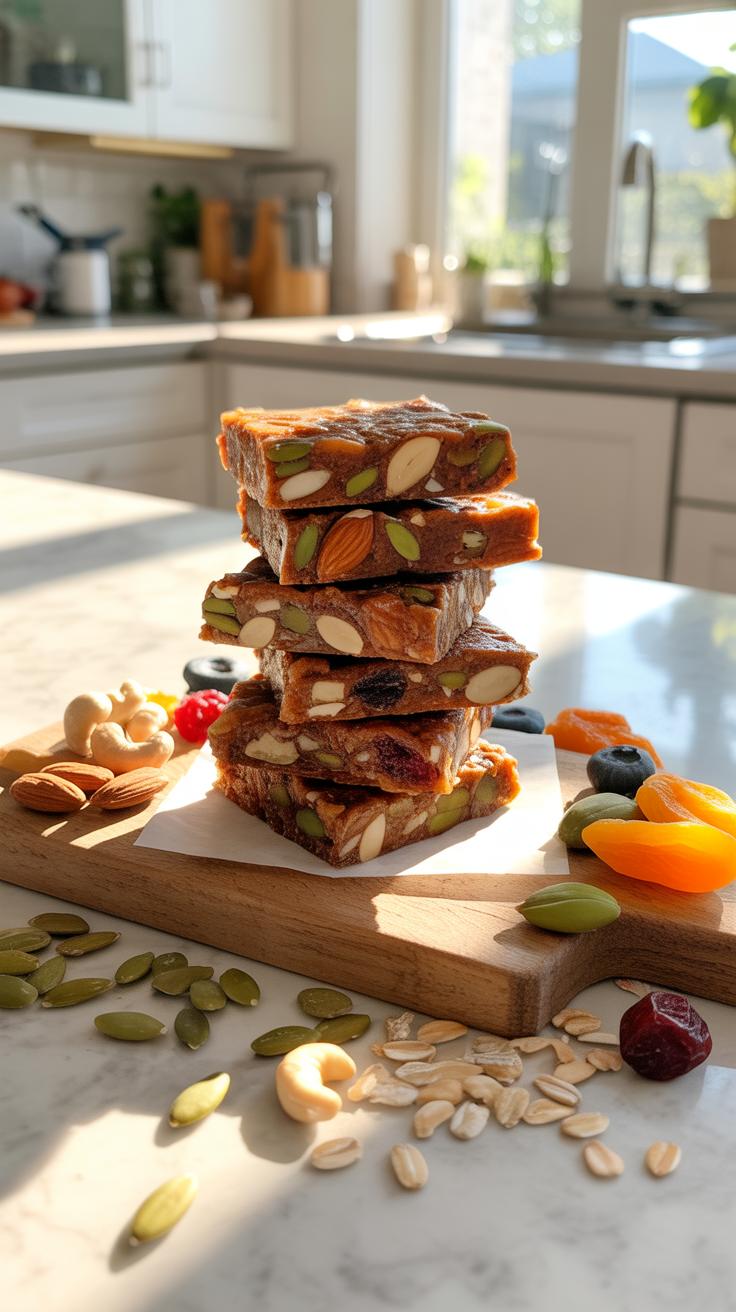
What Goes Into A Great Homemade Protein Bar And Why Store Bought Bars Often Fall Short
Store bought bars rely on cheap binders and preservatives to survive long shipping cycles. Manufacturers use high fructose corn syrup or sugar alcohols to maintain a soft texture over months of shelf life. These additives cause digestive distress and blood sugar spikes for many active users. You lose control over ingredient quality when you buy off the shelf. Homemade options eliminate these fillers completely.
A superior homemade bar balances fast digesting proteins with slow burning fats. You control the macronutrient ratio to match your daily activity levels. Use whey isolate for rapid absorption or plant based proteins for sustained satiety. High fiber binders like oats or nut butters provide the structural integrity required for bulk storage. This approach yields a dense snack that powers you through long work days.
Core Ingredients You Need On Hand To Batch Make Protein Bars At Home Every Week
Efficient batch cooking requires a pantry stocked with versatile raw materials. You must select ingredients that offer both nutritional density and structural stability. These components ensure your bars hold their shape without crumbling during transport. Focus on dry bases that absorb moisture and liquid binders that solidify at cold temperatures. This foundation allows you to swap flavors while keeping consistent macros.
- Protein Powder: This serves as the primary nitrogen source for muscle repair. Use high quality whey or casein for a smooth texture. Each scoop adds twenty to twenty five grams of protein to your batch. Ensure the powder is third party tested to avoid unwanted heavy metals or impurities often found in bargain brands.
- Rolled Oats: Oats provide the complex carbohydrates needed for steady energy release throughout the afternoon. Pulse them into a coarse flour to create a tighter crumb structure in the bar. They contain beta glucan fiber which slows down the digestion of simple sugars and keeps you feeling full until your next scheduled meal.
- Natural Nut Butters: Almond or peanut butters act as the glue and the healthy fat source for your recipe. Choose varieties that contain only nuts and salt to avoid inflammatory seed oils. These fats are essential for the absorption of fat soluble vitamins. They also provide a creamy mouthfeel that mimics expensive processed dessert bars.
- Liquid Sweeteners: Raw honey or pure maple syrup provide the necessary stickiness to bind dry ingredients. These natural sugars offer a lower glycemic response than the corn syrups found in commercial products. They act as a natural preservative when stored in the refrigerator. Use just enough to hold the mixture together without making it overly sweet.
- Chia or Flax Seeds: These seeds add structural integrity through their mucilaginous properties when they meet moisture. They provide essential omega three fatty acids which help combat systemic inflammation. Adding these seeds increases the total fiber count of the bar. This prevents the rapid insulin spikes associated with high protein snacks that lack sufficient fiber.
Organize your workstation before you begin the mixing process to save time. Measure all dry ingredients into a large bowl first to verify quantity. Add liquids slowly to reach the desired consistency for pressing into your pan. Line your containers with parchment paper to prevent sticking and ensure clean cuts. Consistent preparation turns this weekly task into a quick routine that guarantees performance.
No Bake Protein Bar Recipes High Protein Snacks Without Turning On The Oven
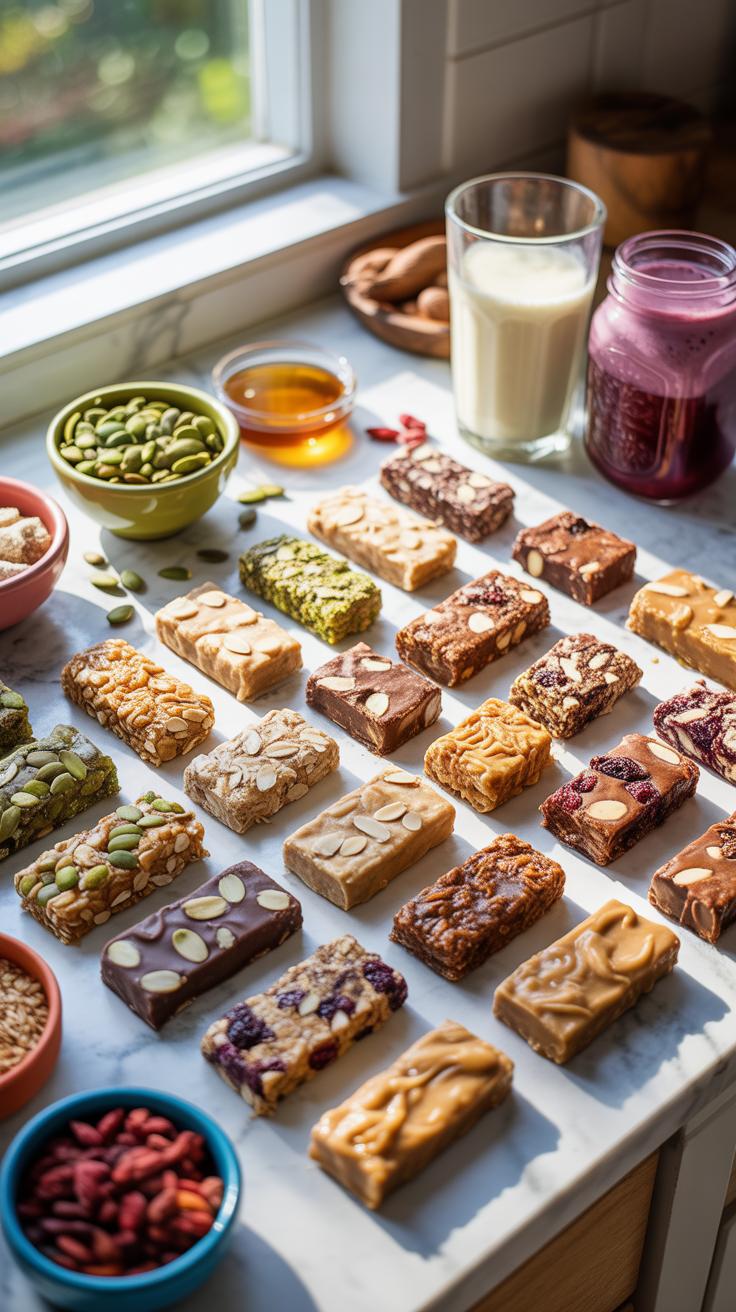
Why No Bake Protein Bars Are One Of The Most Practical Bulk Snack Options You Can Make
No bake protein bars eliminate heat. Heat alters the texture of whey and plant proteins. Many powders turn rubbery or dry when you bake them. Cold processing keeps the nutrients intact and preserves the flavor profile. You save time because you skip the preheating and cooling phases. This method allows you to produce twenty bars in the same time it takes to bake ten.
Batch prep works best with no bake methods. You use one bowl and one pan. This reduces cleanup time significantly. These bars stay stable in the fridge for two weeks. You can freeze them for months without losing quality. Most store bought bars use cheap fillers and soy isolates. Making them at home gives you total control over the macronutrients and ingredient quality.
Preparation is the doorway to freedom, allowing you to fill your pantry with the same wholesome strength our grandmothers once gathered. Batching your nourishment today ensures your future self is always well fed and ready for any journey.
— Maya Angelou
How To Build A Reliable No Bake Protein Bar Recipe Using Simple Pantry Staples
A functional bar requires a specific ratio. You need a dry base, a protein source, and a binder. Rolled oats or almond flour provide the structure. Use whey isolate or pea protein for the punch. A liquid binder like honey or maple syrup holds it together. Add a healthy fat like peanut butter or almond butter. This fat prevents the bars from becoming brittle or too hard.
Consistency is the most important factor in a no bake recipe. If the dough is too crumbly, add a tablespoon of water or milk. If it is too sticky, add more oats or protein powder. Press the mixture firmly into a lined pan. Use a heavy object to flatten the surface. This compression ensures the bars do not fall apart when you cut them into portions.
Quick Easy Protein Bar Recipes Batch Cooking For People With Limited Time
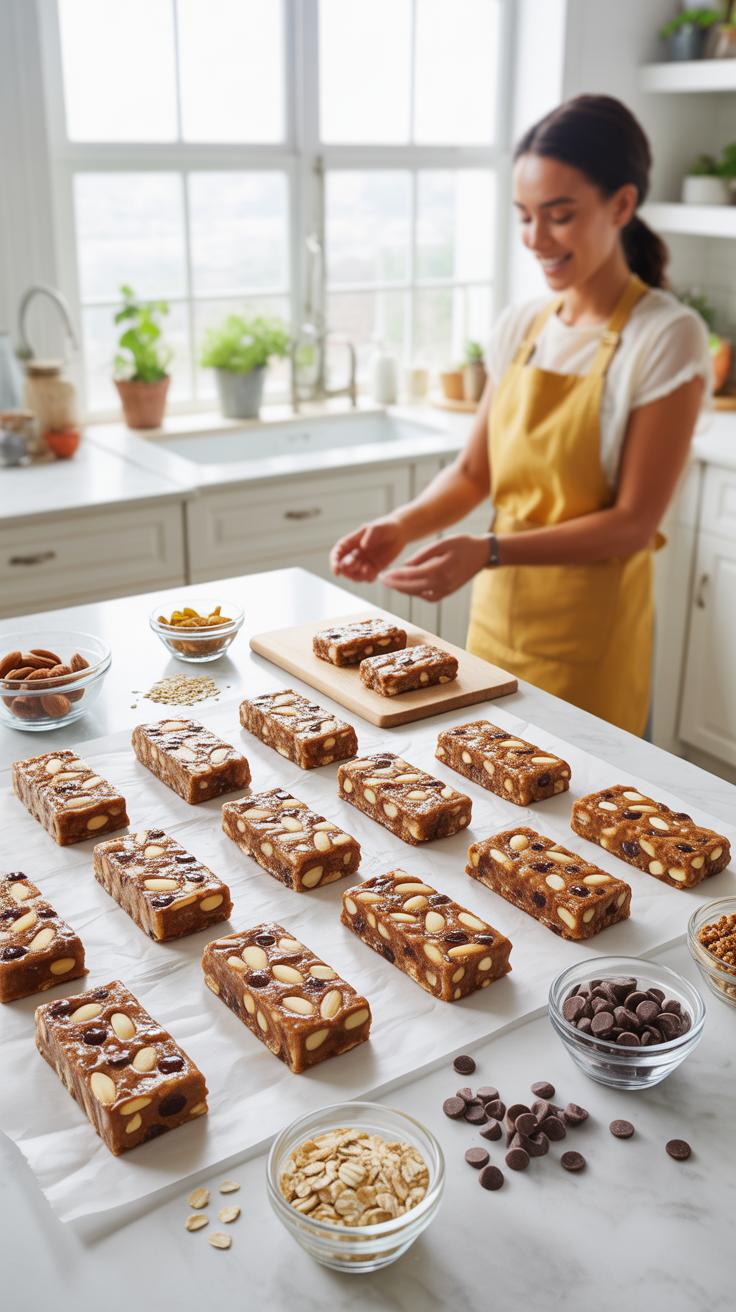
How To Streamline Your Prep So You Can Make A Weeks Worth Of Protein Bars In Under 30 Minutes
Efficiency starts with the no-bake method. Cooking takes time you do not have. Use a high-quality protein powder as your dry base and nut butter as your binder. Skip the oven entirely to save twenty minutes of heat time. Measure all dry ingredients into one large bowl before adding liquids. This strategy keeps your workspace clean and speeds up the mixing process significantly for bulk production.
Use standardized equipment to maintain speed and consistency. A rectangular silicone mold allows for easy removal without greasing or scrubbing. Press the mixture firmly into the corners using a flat spatula or the bottom of a heavy glass. Chill the entire tray for fifteen minutes while you clean your tools. Cut the slab into uniform pieces using a bench scraper or a sharp knife to ensure even portioning quickly.
Smart Storage Tips To Keep Bulk Protein Snacks Fresh And Ready To Grab All Week
Proper storage prevents homemade bars from becoming dry or sticky. Most high protein snacks contain fats and proteins that oxidize when exposed to air. Exposure to oxygen ruins the texture and alters the flavor profile over time. Use an airtight system to maintain the integrity of the macronutrients. Temperature control is the second most important factor for keeping these snacks edible for seven days.
- Parchment Separation: Place small squares of parchment paper between individual bars. This step prevents the snacks from fusing into a single block during storage. It allows you to grab one bar instantly without using a knife or creating a mess in the kitchen.
- Airtight Containers: Use glass or BPA-free plastic containers with locking lids. A tight seal stops moisture loss and prevents the bars from absorbing odors from other foods in your refrigerator. This keeps the taste consistent from Monday morning through Friday afternoon.
- Refrigeration Requirements: Store all bars containing nut butters or dairy-based protein in the refrigerator. Cold temperatures keep the fats stable and maintain the structural rigidity of the bar. It ensures the snack does not melt or become unpleasantly soft when you take it on the go.
- Freezer Strategy: Place extra bars in the freezer if you prepare more than a seven-day supply. Most protein bars remain shelf-stable in the freezer for up to three months. Move a two-day supply to the fridge every Sunday and Wednesday to keep your rotation fresh and ready.
- Vacuum Sealing: Use a vacuum sealer for long-term storage of large batches. Removing all air prevents freezer burn and keeps the ingredients from going rancid. This is the most effective way to preserve the nutritional value and texture of homemade high protein snacks over several months.
Portion your snacks immediately after cutting them. Use individual reusable bags or wraps to create grab-and-go units. This eliminates the need to pack a container every morning. Small logistical wins like this save minutes during your daily routine. Always label containers with the date of production. Knowing exactly when you made the batch ensures you consume the oldest snacks first to minimize food waste.
Protein Baking Homemade High Protein Snacks You Can Pull Straight From The Oven
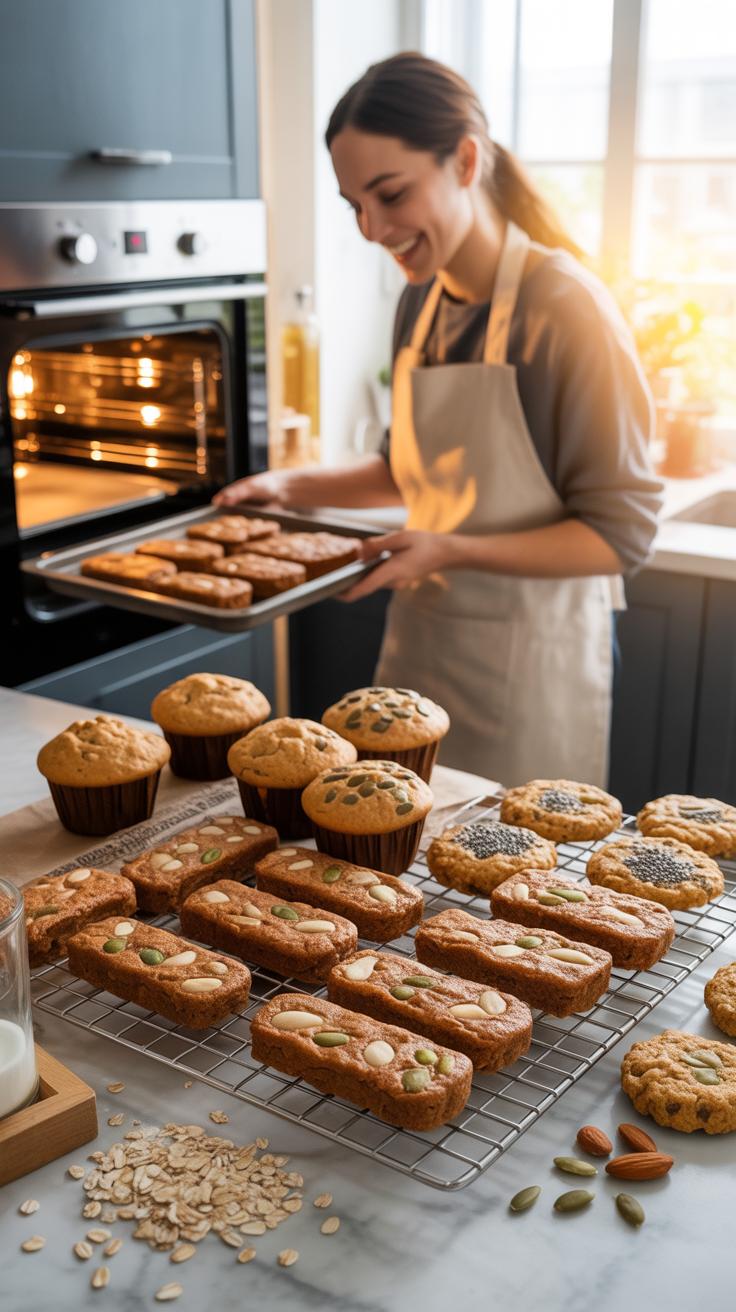
How Protein Baking Differs From Conventional Baking And What Adjustments You Need To Make
Protein powder contains less fat and moisture than wheat flour. High heat causes protein chains to tighten and squeeze out liquid. This reaction turns baked goods dry and rubbery. You must balance the dry powder with fat or moisture sources. Use applesauce, Greek yogurt, or mashed bananas to keep the structure soft. Never swap more than half of the flour for protein powder.
Whey protein dries out quickly during the baking process. Casein or blended powders work better for textures like bread or cake. These powders absorb more liquid and hold their shape under heat. Always lower the oven temperature by twenty five degrees to prevent a hard outer crust. Watch the timer closely because protein snacks overcook faster than traditional treats. Short bake times preserve the moisture.
Baked Protein Snack Ideas That Scale Well For Batch Cooking And Hold Up Throughout The Week
Protein muffins and egg bites are the best options for bulk preparation. You can bake forty eight servings at once using standard muffin tins. These items stay fresh in the refrigerator for five days. They also freeze well without losing their texture or nutritional value. Use silicone liners to prevent sticking and mess. This ensures every gram of protein stays in the snack.
Savory lentil crackers and chickpea flour bread offer a break from sweet shakes. These starch-based snacks provide complex carbohydrates and stable energy. Baked protein bars stay firm at room temperature for hours. This makes them ideal for travel or office storage. Prepare large sheet pans of these snacks on Sundays. Slice them into individual portions and wrap them tightly in foil to prevent air exposure.
Healthy Protein Desserts Satisfying Your Sweet Tooth Without Sacrificing Your Macros
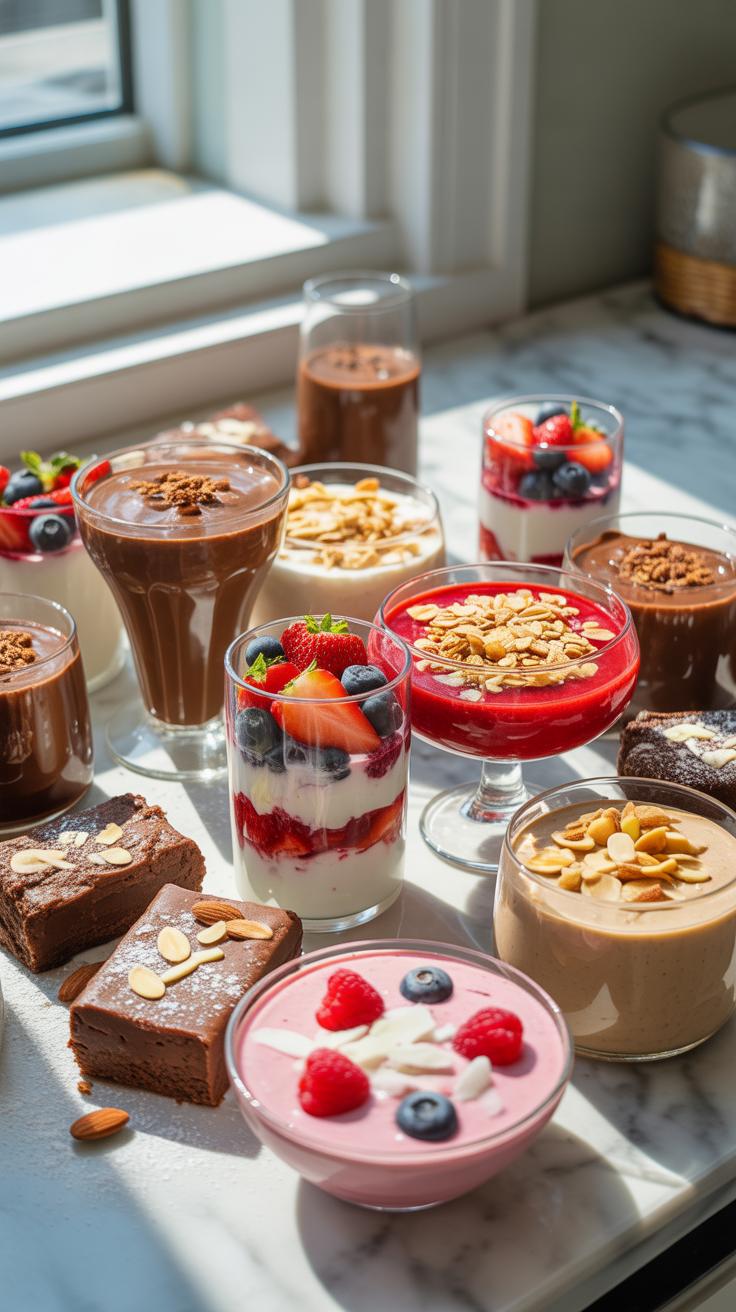
Why Healthy Protein Desserts Are A Legitimate Strategy For Staying On Track With Nutrition Goals
Dessert often causes dietary failure because it lacks satiety. Standard sweets rely on simple sugars and fats. These trigger insulin spikes and quick hunger. Strategic high protein snacks solve this problem. Protein slows digestion and regulates appetite hormones. You satisfy a craving while fueling muscle protein synthesis. This helps you avoid the late-night binge cycle common in many restrictive diets.
Compliance is the most important factor in long-term nutrition success. Total deprivation usually leads to abandonment of the plan. Incorporating protein-dense sweets makes a deficit sustainable. You get the psychological reward of a treat without the physiological crash of a sugar spike. This approach keeps blood sugar stable throughout the day. It turns a potential weakness into a tool for meeting daily macronutrient targets efficiently.
How To Transform Classic Dessert Recipes Into High Protein Versions Worth Making In Bulk
Converting standard recipes requires specific ingredient swaps. Replace refined white flour with oat flour or almond flour for better fiber. Use Greek yogurt or silken tofu to add moisture and lean protein. Whey protein isolate works best for dry mixes like brownies. Casein protein is better for puddings or slow-cooked bars. These substitutions maintain the texture of original desserts while drastically improving the total nutritional profile.
Temperature control is vital when baking with protein powder. High heat can make whey protein rubbery and dry. Supplement your recipes with moisture-trapping ingredients like applesauce or mashed bananas. Batch cooking these items saves time during the week. Freeze individual portions to prevent overeating. This method provides a steady supply of snacks that support your goals. Focus on density and shelf life when selecting which recipes to scale.
High Protein Desserts That Double As Snacks Where Indulgence Meets Function
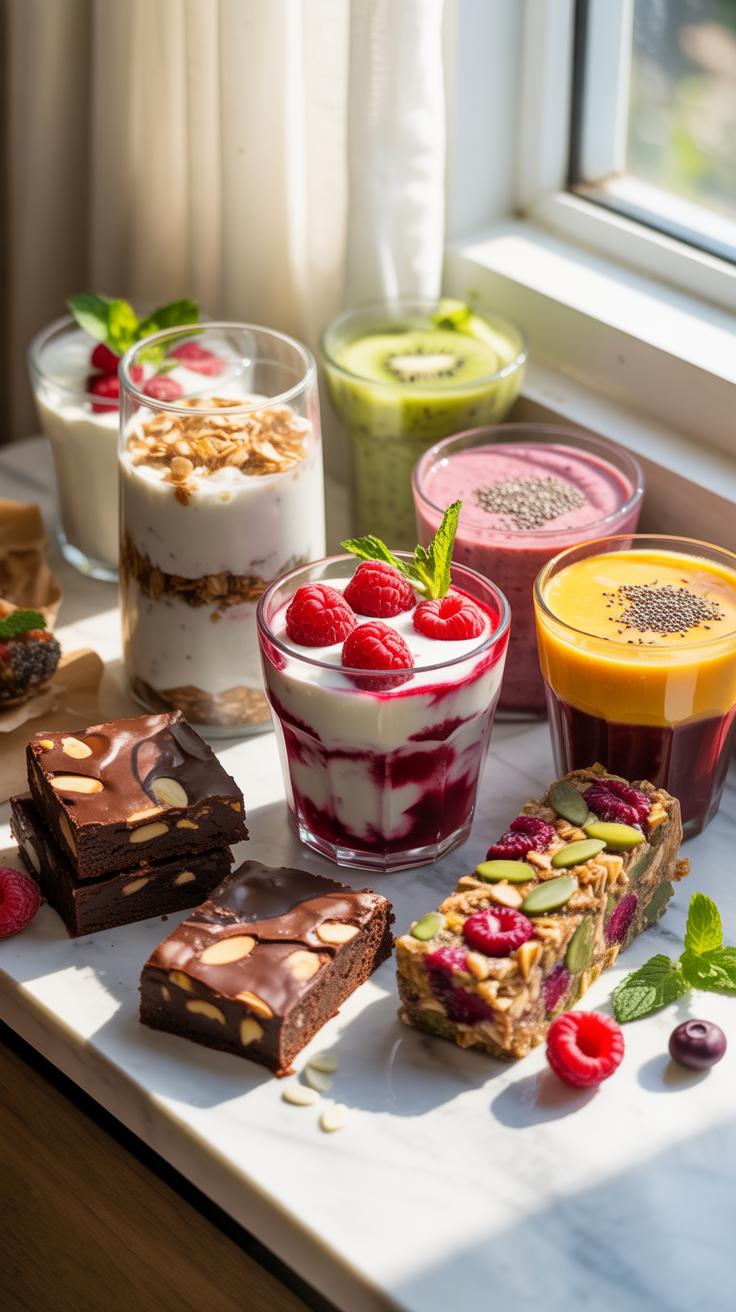
The Difference Between A Protein Dessert And A Protein Snack And Why The Line Often Blurs
Traditional snacks focus on immediate satiety through fiber and complex carbohydrates. Desserts prioritize sugar and fats for flavor. Protein snacks merge these goals by using high protein bases to slow digestion and prevent blood sugar spikes. A successful protein dessert functions as a snack when the macro profile remains balanced. You must ensure the protein content outweighs the sugar to maintain sustained energy.
The line blurs when you swap high calorie ingredients for functional alternatives. Using non-fat Greek yogurt or whey isolate changes the chemical structure of the food. These swaps turn a sweet treat into a tool for muscle recovery. You gain the advantage of satisfying a craving while meeting your daily protein targets. Focus on nutrient density to ensure these treats support your metabolic health and fitness goals.
High Protein Dessert Formats That Are Surprisingly Easy To Make In Large Batches At Home
Cheesecakes and puddings are the most efficient formats for bulk preparation. You can mix large volumes of low-fat cottage cheese or Greek yogurt in an industrial blender rapidly. These bases accept protein powders without texture degradation. Baking high protein brownies in oversized sheet pans also saves time. You simply portion the tray once the product cools and stabilize it in the refrigerator for the week.
Protein doughs provide another tactical advantage for home meal prep. You mix protein powder with nut butters or oat flour to create shelf-stable bites. These require no cooking and resist spoilage when stored correctly. Frozen protein barks made from yogurt and isolate offer a cooling option with minimal labor. Choose formats that allow for vertical storage in airtight containers to maximize your kitchen efficiency and food safety.
Scaling Up How To Turn Any Homemade High Protein Snack Recipe Into A Full Batch Cook System
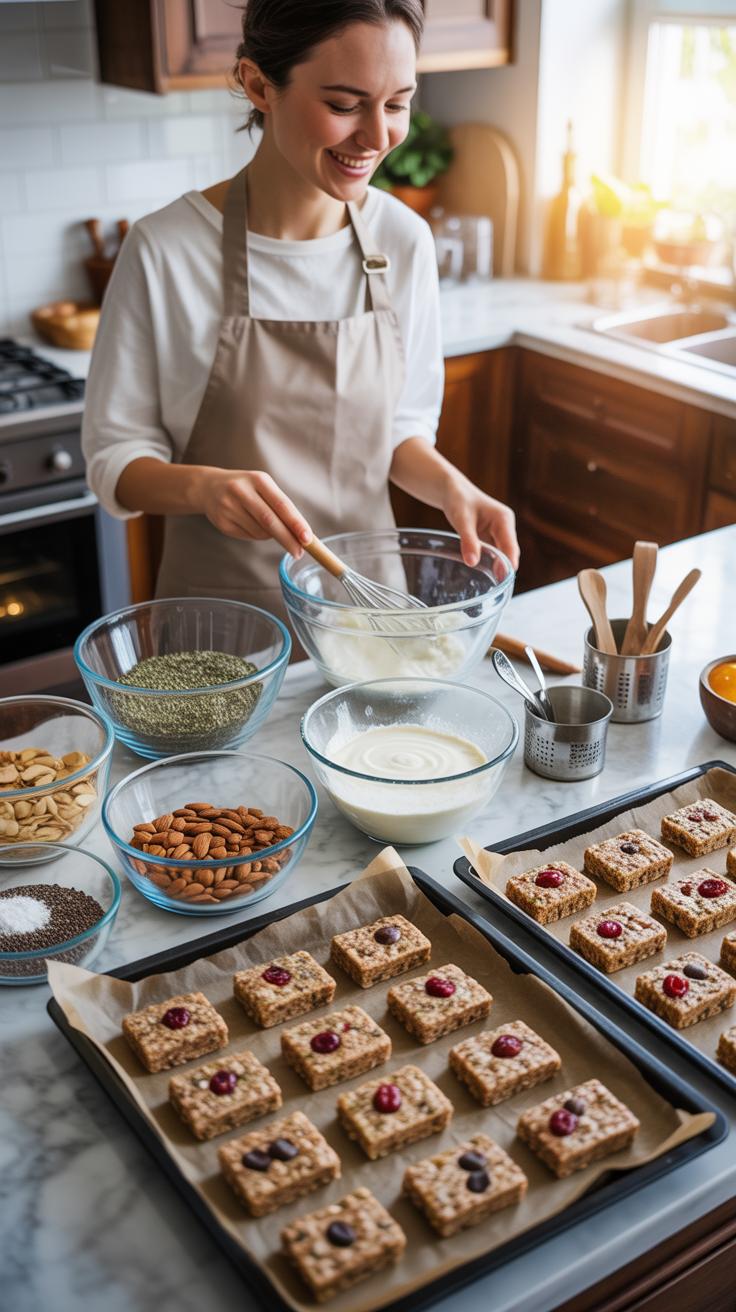
How To Multiply Protein Snack Recipes Without Ruining Texture Taste Or Nutritional Balance
Scaling recipes requires precision with binders and leavening agents. Do not simply triple every ingredient when making protein bars or muffins. Protein powders absorb moisture differently than flour. If you increase the dry protein mass, you must adjust the fats and liquids to prevent a chalky texture. Use a kitchen scale to measure by weight rather than volume. This ensures consistency across large batches.
Heat distribution changes as batch sizes grow. A larger tray of protein flapjacks takes longer to reach the core temperature. Strategic placement in the oven prevents dry edges and raw centers. Use multiple small pans instead of one giant sheet to maintain airflow. This method preserves the structural integrity of the snack. Accurate heat management protects the delicate amino acids in the protein from excessive thermal degradation.
Building A Weekly Protein Snack Prep Routine That Saves Time Money And Willpower
Efficiency depends on a fixed preparation schedule. Dedicate one block of time to process all dry ingredients for the week. Measure your protein powders, oats, and nuts into separate containers before adding wet ingredients. This assembly line approach reduces cleanup time and prevents decision fatigue. Smart prep ensures you always have high protein options available during high stress hours. This habit replaces impulsive snacking with calculated nutrition.
Control your environment to protect your financial investment. Bulk buying protein sources like Greek yogurt, eggs, and whey reduces the cost per serving. Store finished snacks in airtight glass containers to maximize shelf life. Label every container with the date and macro-nutrient count. Knowing the exact protein hit per serving removes guesswork. Rigorous organization turns a chaotic kitchen into a high performance fuel station for your body.
Frequently Asked Questions

Why should I start making my own protein snacks at home?
Making homemade high protein snacks allows you to take full control over your nutrition and ingredient quality. Unlike store-bought bars that are often hidden vehicles for artificial sweeteners and preservatives, DIY versions use whole foods like oats, Greek yogurt, and seeds. By preparing these in batches, you ensure a steady supply of clean fuel that stabilizes your energy levels and supports muscle recovery without any mysterious additives or excessive sugar.
What is the best way to store these snacks so they stay fresh all week?
To keep your homemade high protein snacks fresh, storage is key. For baked items like protein muffins, cool them completely before placing them in an airtight container at room temperature for three days or freezing for months. If you are making raw energy balls or protein bars, wrap them individually in parchment paper and store them in the refrigerator. This prevents sticking and maintains the chewy texture you want for a quick grab-and-go treat.
Can I make high protein snacks on a tight budget?
Absolutely! You don’t need expensive powders or rare superfoods to hit your macros. Ingredients like eggs, canned tuna, lentils, and peanut butter are incredibly affordable staples for bulk prepping. Roasting chickpeas in large quantities or making hard-boiled eggs provides a massive protein boost for just pennies per serving. Focusing on these pantry basics ensures your snack rotation remains both nutritious and cost-effective while helping you reach your daily fitness goals.