Introduction
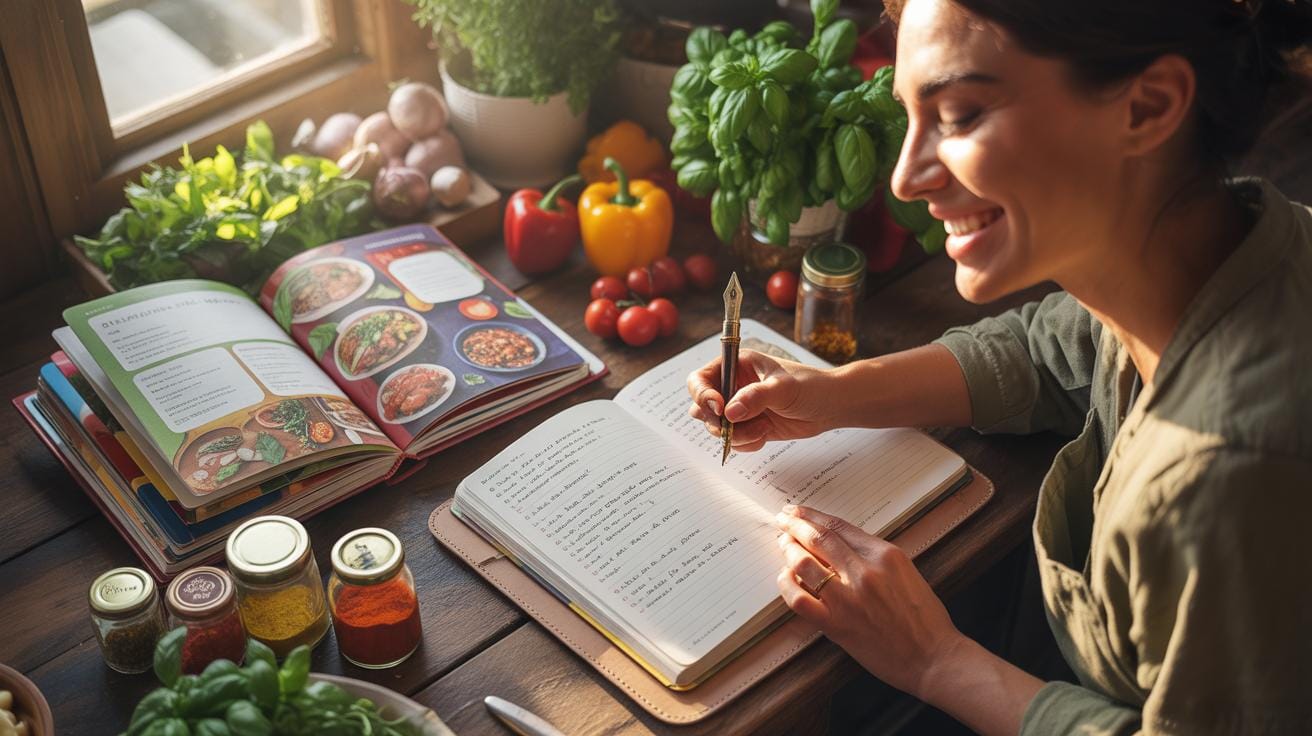
A recipe book is more than just a collection of cooking instructions. It is a personal tool where you record your favorite dishes, cooking tips, and food memories. Simple Recipe Book Design Ideas For Food Journal And Cooking help you build a useful and easy-to-use recipe book tailored to your cooking style and needs.
In this article, you will learn clear steps to create your recipe book, how a food journal can improve your cooking, and avoid common problems in recipe book design. This guide is made for anyone who wants a straight path to organize and enjoy homemade recipes.
Gathering and Organizing Recipes for Your Book
Gathering Your Favorite Recipes
Collecting recipes for your book can be quite a journey. You might start by asking family and friends for their go-to meals – they often have dishes that hold stories or memories. Online sources offer endless options too, but be mindful to pick recipes that you genuinely want to cook or experiment with. Sometimes, your own kitchen trials can turn into favorites; don’t hesitate to include those.
It’s useful to focus on recipes you tend to repeat or ones you’re eager to try. This way, your book becomes both practical and inspiring. While gathering, think about grouping recipes by meal type – breakfast, lunch, dinner – or by key ingredients. It helps you find what you need swiftly when cooking.
Choosing Recipes That Suit Your Needs
Not every recipe you fancy will fit your taste or skills. I often wonder if a dish suits my cooking level or dietary preferences before adding it. Maybe you want quick meals for busy days, or healthier options to stay on track. Special occasion recipes might also make the cut, adding variety.
Here’s a tip: test recipes before including them. Modify seasoning or cooking time until it feels right. This personal touch ensures your recipe book truly reflects what works for you.
Organizing Recipe Types For Easy Use
Sorting your recipes makes the book easy to navigate. Simple categories like breakfast, lunch, dinner, snacks, and dessert can work well. You might also classify by ingredient, such as poultry or vegetables, or by cooking method. For instance, putting all baked dishes together can be handy.
This organization saves time when you’re deciding what to cook or looking for ideas. Sometimes, grouping by dietary needs or preparation time also helps. Try to keep the system straightforward so it feels natural when you use your book.
Designing A User Friendly Layout

When planning your recipe book’s layout, simplicity is key to ease of use. Start by dividing each recipe into clear sections—ingredients and instructions should be separate but close together for quick reference. Usually, placing the ingredient list on the left or top of the page and the instructions right next to or below it works well. This way, you’re not flipping back and forth endlessly.
Font size matters here. Choose something big enough to read at a glance, think around 12 to 14 points for body text, with headings slightly larger to mark out recipe names or sections. Leave enough space between lines and sections to prevent clutter; cooking can be messy, and blurry text is frustrating.
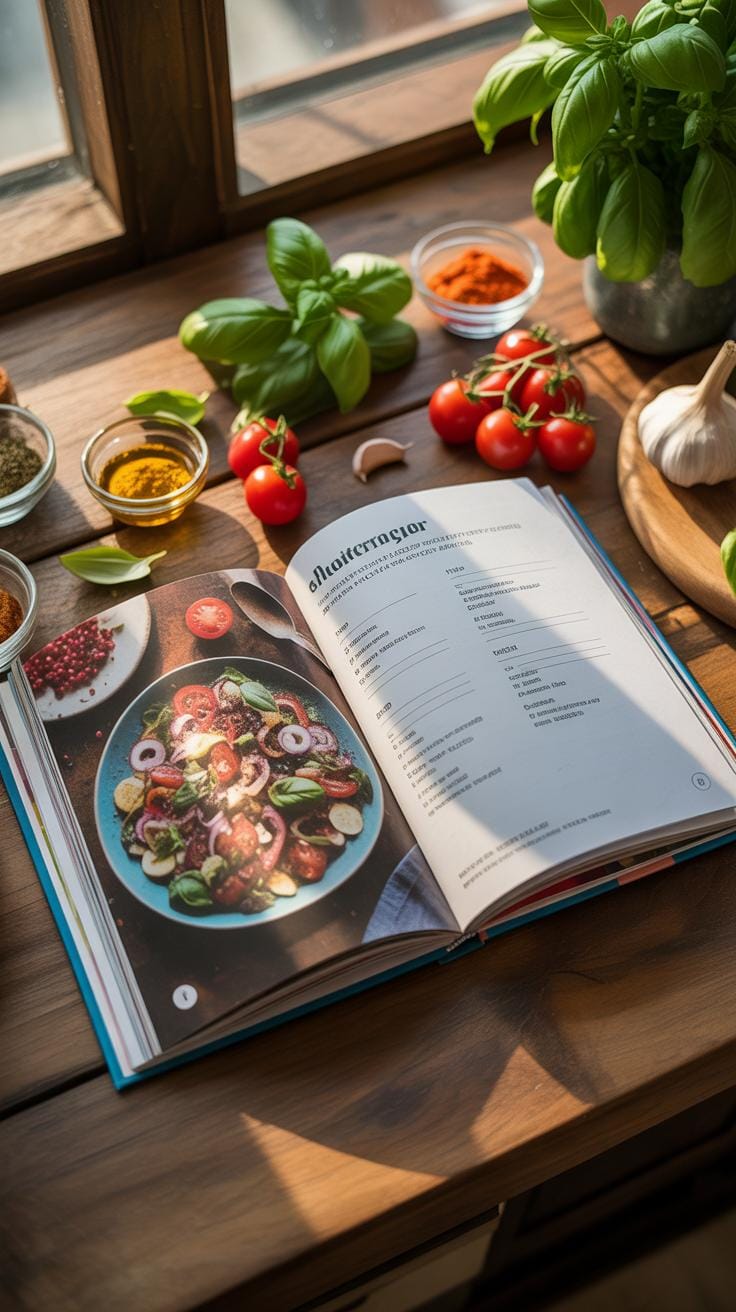
Headings help organize your book. Use consistent styles for titles, subheadings, and notes—this boosts readability. Pictures or sketches alongside recipes are very helpful too. Seeing a photo of the finished dish or a key step can be reassuring—sometimes a quick look saves hours of guesswork. The overall design should remain clean and readable; no one wants to decode a complicated page while trying to cook.
Selecting Fonts And Colors For Readability
Choosing fonts and colors can feel tricky, but kitchen-friendly readability must come first. Avoid tiny fonts, which might look stylish on a screen but disappear under bright kitchen lights or in a hurry. Stick to simple, clear fonts—sans-serif styles like Arial or Helvetica tend to be easiest on the eyes. Fancy or decorative fonts are best reserved for titles, if at all.
Color choice impacts usability too. Bright or flashy colors may seem fun on paper but often strain your eyes and make text harder to read—so maybe skip neon hues unless they serve a specific purpose like warning notes or tips. Soft, contrasting colors for text and background work better. Consistency in these choices also helps you navigate your book; once you know what headings or sections look like, you find things quicker. It’s like training your eyes to know where to look.
Using Visuals To Aid Cooking Steps
Visuals aren’t just decoration; they’re practical tools in your recipe book. Pictures of completed dishes set expectations—what should your effort look like? Shots of key steps, like dough consistency or sautéing color, help you stay on track. Icons can highlight tips, allergens, or cooking times, saving time hunting for that info in text.
If you like photography, consider snapping your own food. It personalizes the book and makes the process more engaging. Drawings work too, especially if a step is hard to photograph but easy to sketch. These visual cues reduce mistakes and speed things up, which is crucial when you’re juggling timers, pots, and hungry guests. They bridge the gap between reading and doing.
Writing Clear And Simple Instructions

When writing recipe instructions, the goal is to make them easy enough for anyone to follow, even if they’re new to cooking. Keep sentences short and to the point. Break down each step clearly without assuming too much knowledge. Avoid cooking jargon that might confuse readers; for example, instead of “julienne the carrots,” say “cut carrots into thin matchstick shapes.”
Make sure to include exact cooking times and temperatures. Also, mention necessary equipment, like the size of the pan or if a blender is needed. These small details prevent guesswork and help cooks plan better.
Don’t forget to test your instructions by actually cooking the recipe yourself or having someone else try it. This helps catch unclear parts or steps that might be missing.
Breaking Down Complex Steps Simply
Sometimes recipes have complicated techniques that can overwhelm. The trick is to split these into bite-sized, numbered steps. Use clear action verbs such as “mix,” “heat,” or “fold.” For example, instead of writing “Prepare the dough and let it rise,” break it into:
- 1. Mix flour, yeast, and water until a dough forms.
- 2. Knead the dough for 10 minutes until smooth.
- 3. Cover with a cloth and let it rise for 1 hour.
This makes the process feel manageable. It eliminates guesswork, making the recipe more approachable.
Including Tips And Variations
Adding tips or alternative ingredients can make your recipe more flexible and appealing. Suggest substitutions for common allergens or ingredient swaps for different diets, like gluten-free or vegan options. For example, you might add “Use almond milk instead of dairy milk for a vegan version” or “Swap out peanuts for walnuts if preferred.”
Include little tricks too, like “toast spices for 1 minute to boost flavor” or “chill dough for easier handling.” These tidbits give readers confidence and invite them to experiment a bit on their own.
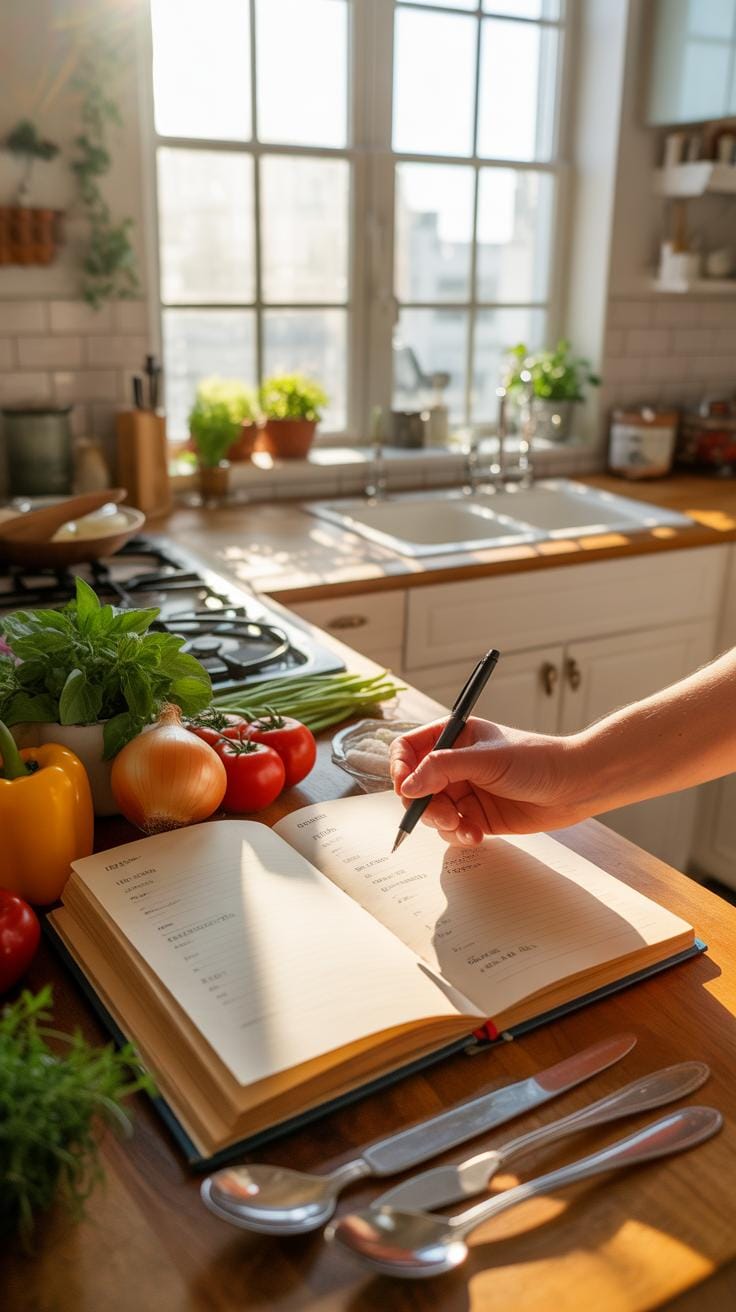
Benefits Of Keeping A Food Journal
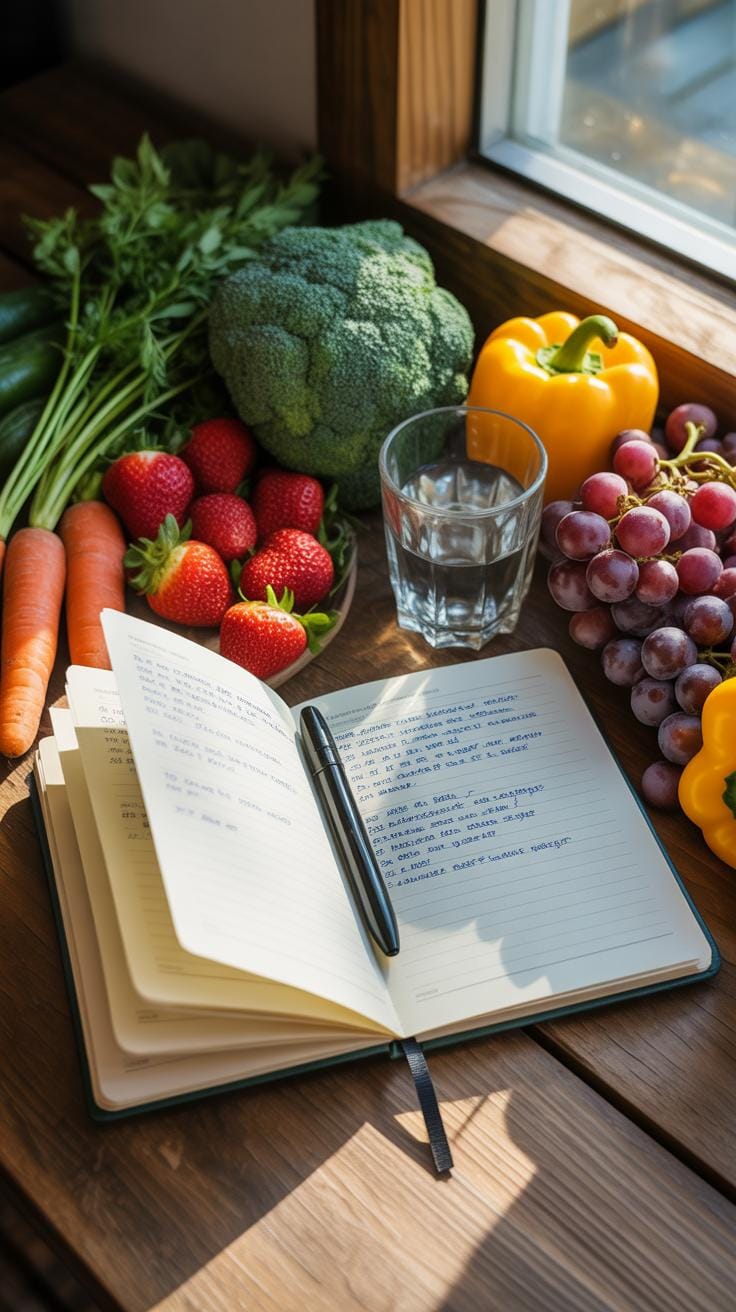
Keeping a food journal works well alongside your recipe book, giving you a place to jot down what you actually eat day by day. This isn’t just about listing meals—it lets you capture your cooking trials, the hits and misses, and moments when you toss in a twist or two. It’s like a running commentary of your kitchen experiments, which, quite frankly, adds depth to your recipe collection.
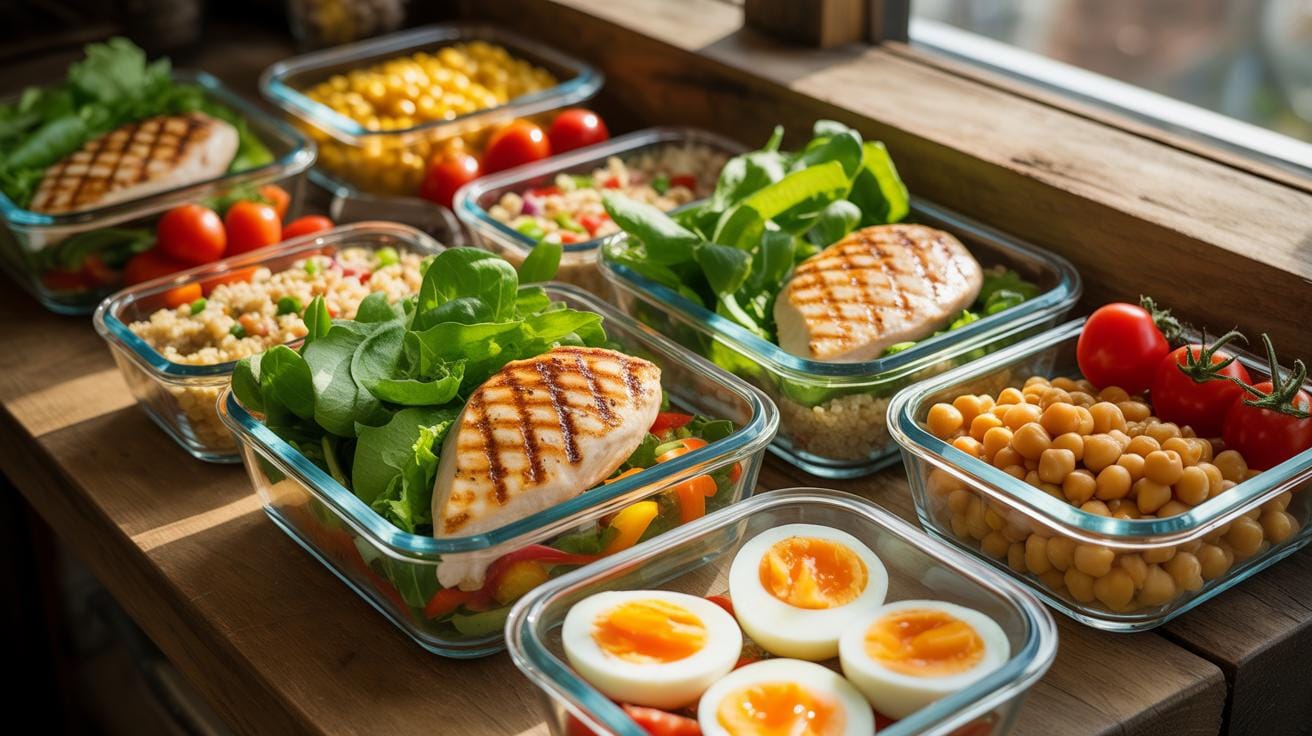
You might find that noting down your meals helps track how close—or far—you are from your nutritional goals. If you’re curious whether that new chili recipe really hits the protein target or if you’re leaning into more veggies, the journal surfaces those patterns. It’s a direct view into your preferences too: are you drawn to spicy, or do you favor milder flavors? That little record nudges awareness.
Formats for a food journal don’t have to be complex. Sometimes just a simple notebook with dates, meal descriptions, and a quick note on how you felt about it does the trick. Some people like bullet points, others prefer short paragraphs. You can keep it right next to your recipe book or even integrate it inside—maybe as a separate section for quick cross-reference. It’s personal; tweak it till it feels natural.
Tracking Meal Results And Preferences
When you cook a recipe, pause and ask: did this work the way I thought? Writing down your impressions about flavor balance, ease of cooking, or how it looked on the plate can reveal what needs tweaking—or what should stay intact. For example, you might note “Too salty, reduce soy sauce next time” or “Children loved the crunchy topping.” These simple comments can save you from repeating mistakes.
Some people develop shorthand codes—a star rating, checkmarks for “would cook again,” or color-coding by how well a dish landed. Others prefer short journal entries like, “Added extra garlic, but made it overpowering,” or “Loved the texture, but felt sauce was bland.” These reflections help shape your future cooking sessions, almost turning trials into lessons.
Planning Future Meals And Grocery Lists
Your food journal is more than memory aid—it’s a planning tool. By reviewing what you’ve cooked and how it went, you can sketch out meal plans for the week that balance variety and simplicity. When you see “leftovers used well” or “needed more spice,” you can adjust meals accordingly ahead of time.
Linking your journal notes back to your main recipe book means quicker references—no need to flip through pages searching for the right version of a recipe. It’s also handy for grocery shopping. Knowing exactly which ingredients you’ll need based on planned meals cuts down on impulse buys or last-minute store runs. A few minutes with your journal can save hours throughout the week.
Avoiding Common Recipe Book Design Mistakes
Recipe books often trip up on a few design basics that can make cooking more of a chore than a joy. Cluttered pages with too much text or images overwhelm readers. Unclear or fancy fonts might look nice but slow down understanding. Missing measurements or vague instructions cause frustration and failed dishes. And when sections aren’t organized logically—say mixing desserts with mains—it’s harder to find what you want quickly.
To fix these, try:
- Keeping pages uncluttered with plenty of breathing space.
- Choosing simple, easy-to-read fonts.
- Double-checking all measurements and instructions before finalizing.
- Grouping recipes in clear, consistent sections.
Good design isn’t just about looks—it helps you follow recipes accurately, reduces mistakes, and lets you enjoy cooking rather than wrestle with confusion. Isn’t that what a recipe book should really do?
Keeping The Layout Clean And Simple

A clean page with enough white space does wonders for readability. You’d be surprised how much easier it is to focus when recipes aren’t drowning in decorative borders, colors, or excessive fonts.
Try to limit designs to a simple font family or two. Remove unnecessary flourishes that distract rather than enhance. White space helps the eyes rest and guides them from ingredient lists to cooking steps smoothly.
It may feel tempting to jazz things up with lots of visuals or colors but sometimes less really is more. Clarity over decoration makes a recipe more usable and friendly.
Checking Accuracy Of Measurements And Steps
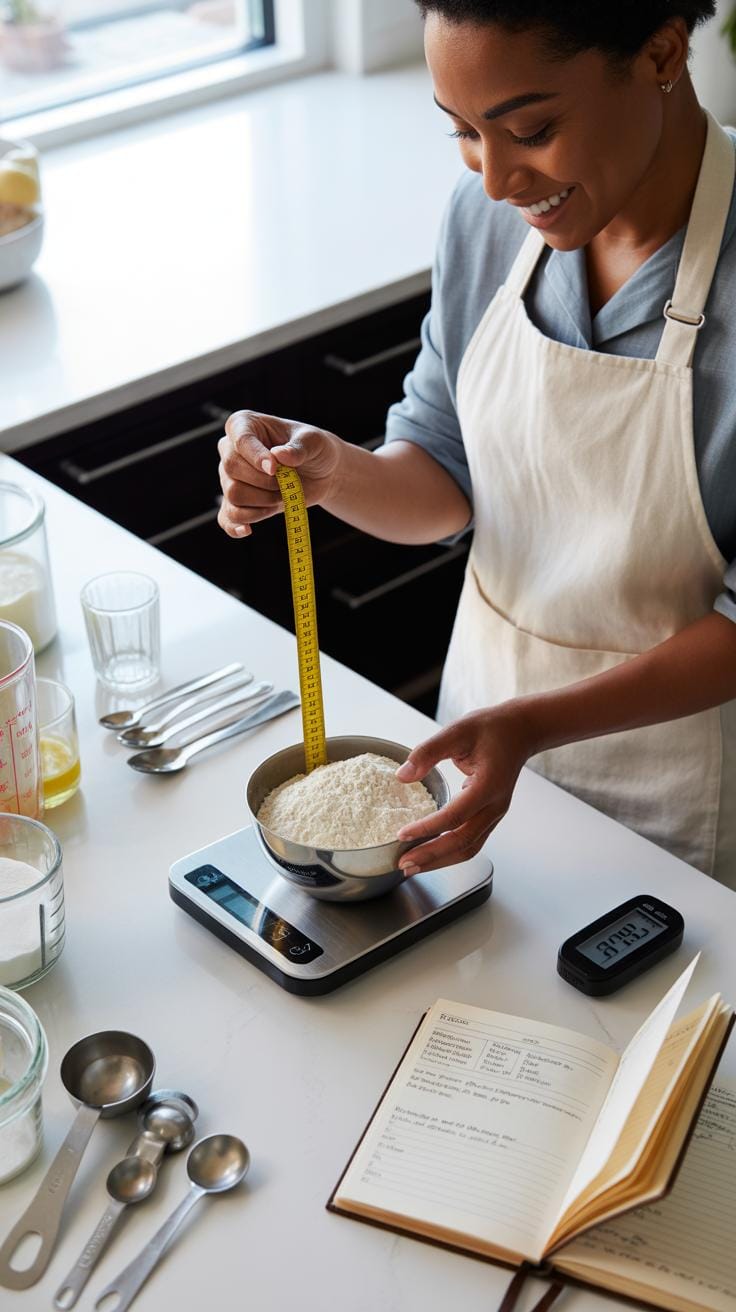
Before you publish your recipes, test everything. Cooking times can vary by oven, ingredient amounts need precision, and even simple instructions might be unclear if not phrased well.
Get feedback by having others try the recipes. Ask if the steps make sense and if any details are missing. Adjust accordingly. Nothing is worse than following a recipe that left out a critical ingredient or skipped a step.
Double-check measurements, ideally in both metric and imperial, to cater to different cooks. Clear and reliable recipes lead to better results—and happier cooks. Don’t underestimate the value of accuracy.
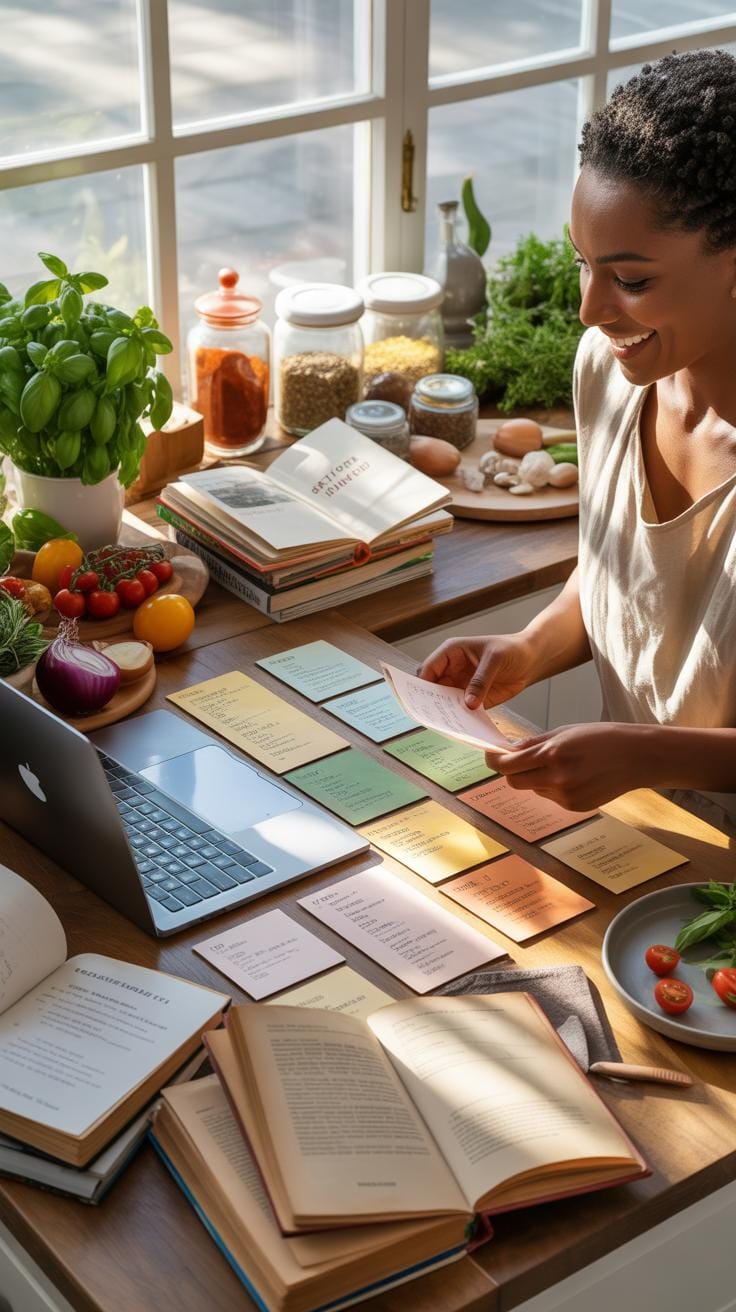
Using Technology To Enhance Your Recipe Book
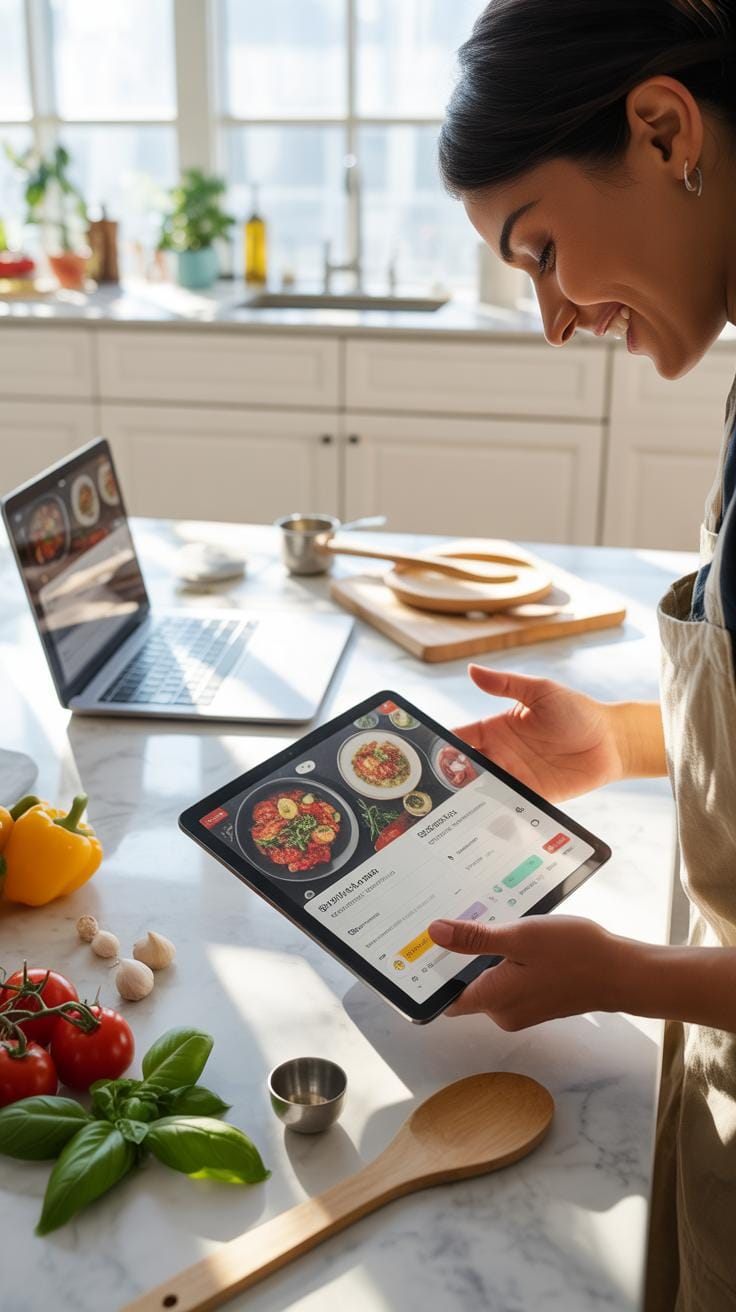
When it comes to creating and organizing your recipe book, technology offers several straightforward options that might make the process easier than you expect. You could start with simple word processors like Microsoft Word or Google Docs, which give you flexible formatting choices. These let you add digital photos of your dishes, which, I think, really brings the recipes to life visually. Apps and dedicated recipe management tools, on the other hand, can offer more specialized features like ingredient auto-sorting and meal planning.
Formatting options in these tools often include different fonts, text sizes, and layout styles, so you can experiment until your recipe book looks just right. Backups of your work—whether on cloud services or external drives—are a solid safety net. Sharing with family or friends becomes quick and seamless, eliminating the hassles of printing and mailing. Have you tried combining photos with your recipes digitally? It’s surprisingly straightforward and rewarding to see your book evolve this way.
Choosing The Right Recipe Software
There are plenty of recipe apps and document programs out there, each with pros and cons. Apps like Paprika or Yummly are popular because they offer easy searchability and tagging—you can find recipes by ingredient or meal type in seconds. Meanwhile, document programs like Google Docs and Microsoft Word let you control the layout better and are great for printing.
Think about what matters most to you. Want to print your book? Maybe go with Word or Pages for precise control over printing layouts. Need search and tagging features with mobile access? A dedicated app might be worth trying. It’s a bit of a personal choice, and you might find using a combination works best. Sometimes, juggling both a digital app for everyday use and a printable document for backups makes sense.
Saving And Sharing Your Recipe Book Digitally
Storing your recipe book online offers practical benefits. Cloud platforms like Google Drive or Dropbox provide easy access from phones, tablets, or computers without worrying about losing files. You can also share a link with family or friends, so they always have the latest copy, which is pretty handy if everyone loves trying your recipes.
When saving, PDFs are often a good choice because they maintain formatting across devices. But don’t overlook formats like EPUB if you want an e-book feel on tablets or smartphones. It’s tempting to think one format fits all, but what works best can depend on how you or your readers prefer to view and use the recipes. Digital sharing, in my experience, makes passing on favorite family recipes much simpler and less formal than paper copies.
Incorporating Nutritional Information
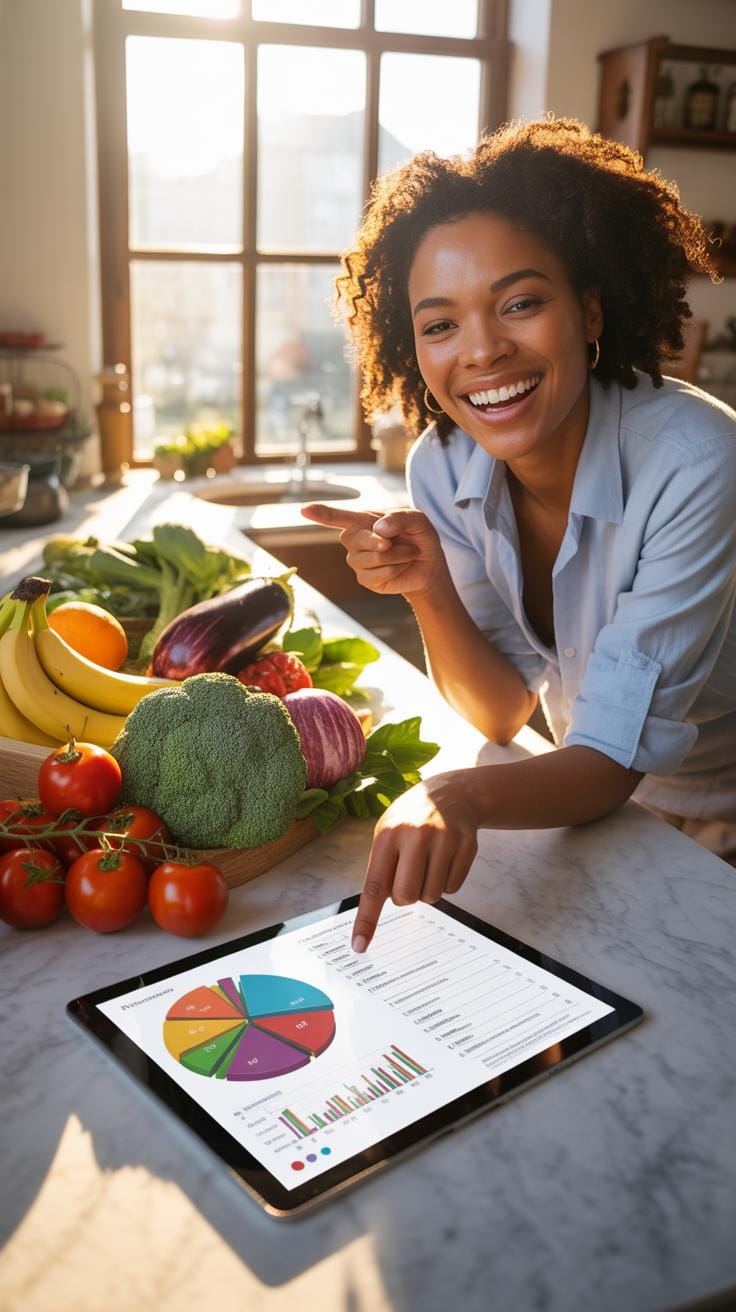
Adding nutritional information into your recipe book can make it more than just a collection of dishes; it can serve as a helpful guide toward your health goals. You might find that knowing the calories, protein, fat, and carbs in your meals keeps you more mindful about what you’re eating. For example, seeing that your favorite pasta offers 400 calories but only 8 grams of protein might prompt you to pair it with a protein-rich side.
The basics are pretty straightforward: calories give you energy content; protein supports muscles; fats are essential but should be balanced, and carbs fuel your body. Sometimes, estimating these yourself is tricky, especially for homemade dishes where labels don’t exist. You can gather data by breaking down each ingredient and referencing nutritional databases or apps that guide you through rough estimates.
How To Calculate Nutrition For Recipes
Calculating nutrition doesn’t have to be complicated. A handy way is to list every ingredient’s quantity, then use online tools or apps like MyFitnessPal or Cronometer to plug in those amounts. For example, if your recipe calls for 100 grams of chicken breast and 200 grams of cooked rice, these tools can sum the calories, protein, fats, and carbs easily. Even simple spreadsheets can work if you input values from reputable sources. It takes a bit of patience, especially for new recipes, but it’s doable.
Using Nutrition Labels Effectively
When dealing with packaged ingredients, nutrition labels are your best friend. Learning how to read them is surprisingly useful. Start by noting the serving size—often, people overlook this and misjudge the intake. Transfer this info to your recipe notes by converting values based on your recipe’s portion size.
Also, consider your dietary needs when labeling recipes. Tags like ‘low-sodium’ or ‘high-protein’ can help you pick meals that fit specific goals. Maybe you’re tracking carbs for diabetes, or keeping fat low for heart health. By incorporating these practices into your recipe book, your cookbook becomes more personalized, functional, and supportive of your health journey.
Setting Up A Routine For Recipe Book Use
Making your recipe book part of your daily cooking routine doesn’t have to feel like a chore. One way is to simply glance through it each morning or while planning your meals for the day. This familiarizes you with what’s inside and might spark ideas you hadn’t thought of—sometimes just a quick look is enough to remind you of a favorite dish or a new recipe to try.
Try to keep your book where you naturally spend time in the kitchen. It doesn’t work well if it’s tucked away in a drawer or a shelf that’s tough to reach. Ideally, keep it open on a stand or on the counter. That makes it easier to jot down quick notes or tweak a recipe as you cook.
Don’t hesitate to add your own comments or twists—this personal touch turns the book into a living document, not just a set of instructions. New recipes keep things fresh; old ones get easier to prepare with each revisit. This slow build-up of knowledge and tweaks makes the routine feel rewarding rather than repetitive.
Scheduling Time For Recipe Book Updates
Setting specific times to update your recipe book can really help. Whether once a week or once a month, having a dedicated slot means you won’t forget to write down those successful experiments or the tweaks you made on a whim. It’s tempting to think you’ll remember, but those details tend to fade quickly.
During these check-ins, skim through your recipes and notes to see if anything needs correction or improvement. Maybe you want to swap ingredients for healthier options, or maybe you’ve discovered new flavor combinations. It’s also a good moment to remove recipes that are no longer relevant or inspiring. Keeping the book current ensures it stays a practical tool, not just a collection of old ideas.
Organizing Your Kitchen To Support Use
Think about the flow of your cooking space. Your recipe book should have a spot close to where you prep or cook, so you don’t have to go hunting for it mid-recipe—it breaks concentration and interrupts your rhythm.
Grouping ingredients, spices, and tools near your recipe stand makes sense too. If you know you’ll be using a lot of garlic, olive oil, or a specific herb in a recipe, keep those within arm’s reach. This setup helps you stay focused and speeds up meal prep, which can otherwise feel tedious if you’re constantly moving around the kitchen.
Having a designated nook for the recipe book also encourages more regular use since it becomes part of the environment instead of an extra task. When you see it every time you step into the kitchen, you might be more inclined to flip through it or add something new.
Conclusions
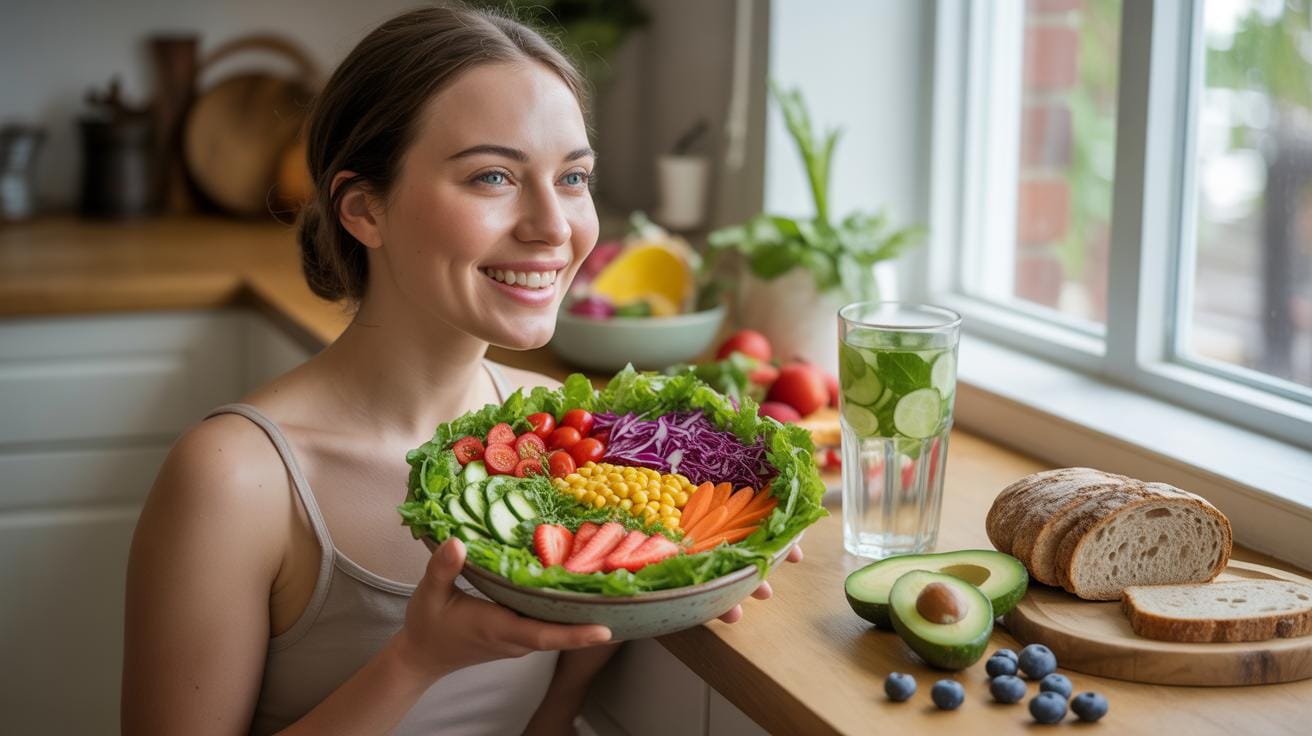
Creating a recipe book with a clear design and purpose can make cooking more enjoyable and organized. Keeping a food journal helps track your cooking experiments and favorite meals, making each dish better over time.
By following simple steps and avoiding design mistakes, you can build a recipe book that serves as a handy kitchen companion. This approach brings clarity and ease to your cooking practice.