
Easy Sweet Snack Recipes at Home
Sweet snacks bring joy to any moment, whether it’s a quick bite or a special occasion. With the right recipes, you can easily create delicious and sweet treats at home without needing complicated ingredients or steps.
This article shares easy sweet snack recipes that anyone can make. From quick mixes to simple baking, learn how to satisfy your sweet tooth without spending hours in the kitchen.
What Makes A Sweet Snack
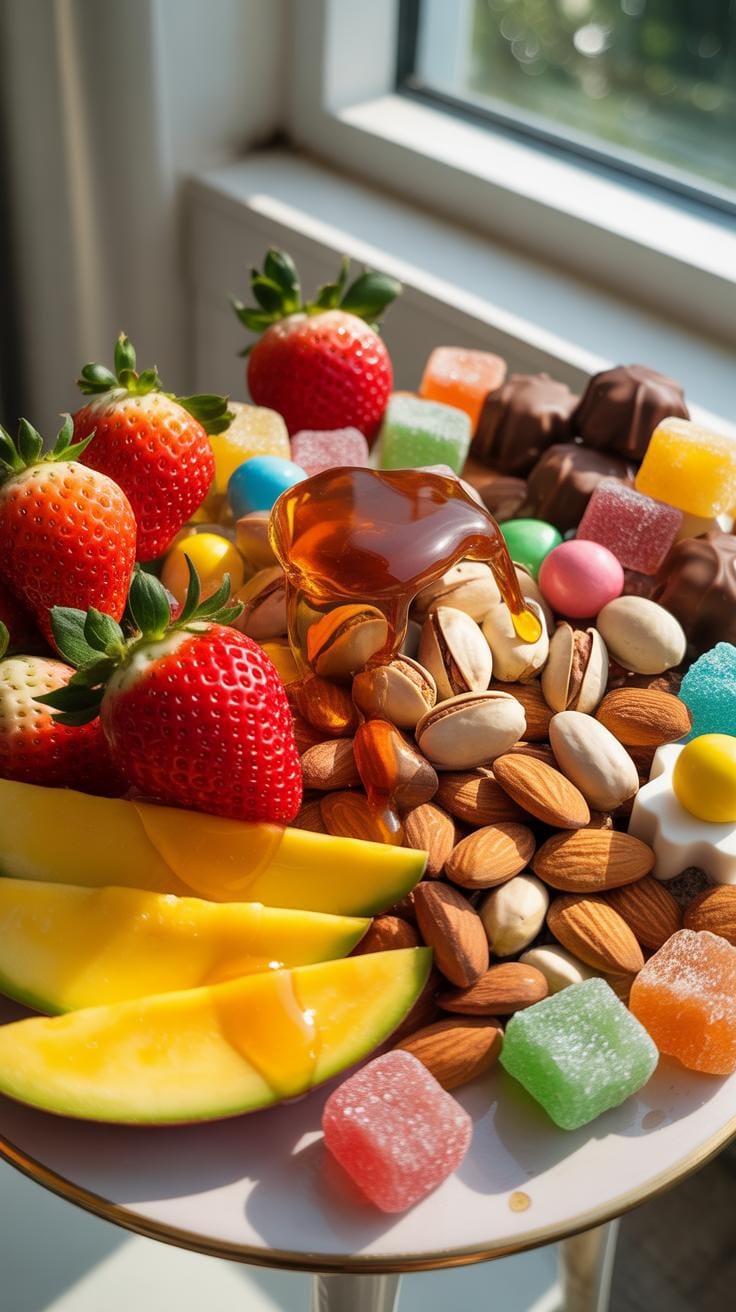
A sweet snack is basically a smaller, quick-to-enjoy treat that satisfies your craving for sugar or something sugary. Unlike desserts that usually follow a meal, sweet snacks are more casual, often eaten between meals or just whenever you want a bite of something sugary without going all out. Common examples would be cookies, fruit bars, or even a handful of candied nuts. Sometimes, a simple piece of chocolate or a granola bar fits in here too.

The defining feature is the balance of flavor and convenience. Sweet snacks often rely on familiar ingredients like sugar, honey, chocolate, or fruit concentrates to bring out their taste. These ingredients are usually mixed into a form that’s portable and easy to eat, like bite-sized pieces, bars, or clusters. They give sweetness but also texture—think chewy dried fruits or crunchy nuts with a bit of glaze.
Common Ingredients In Sweet Snacks
Here’s a rundown of ingredients that pop up in many sweet snack recipes:
- Sugar: The backbone of most sweet snacks. From granulated to brown sugar to syrups, sugar mainly adds sweetness but can also affect texture, making things chewy, crisp, or soft.
- Chocolate: Whether dark, milk, or white, chocolate brings sweetness and richness. It can coat, drizzle, or be mixed into snacks, providing both flavor and a smooth or crunchy texture if there are inclusions.
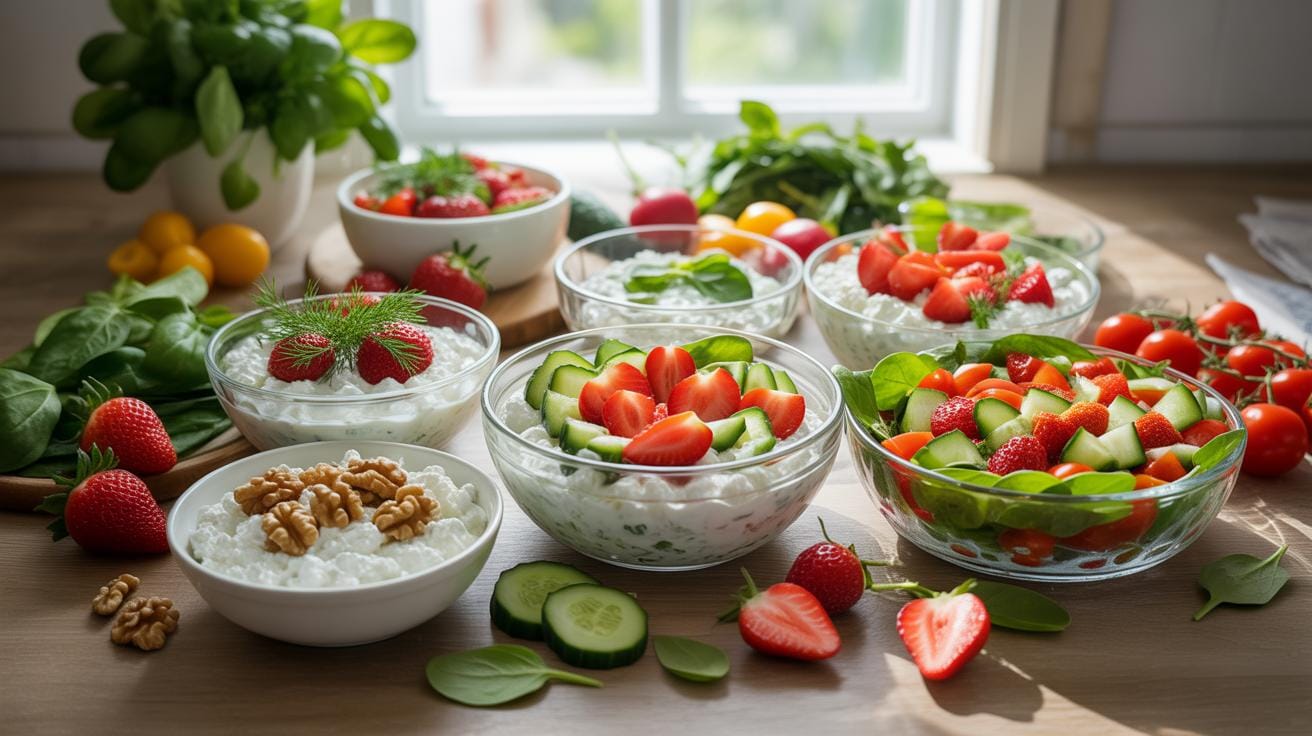
- Fruits: Fresh, dried, or candied fruits contribute natural sugars and moisture. They often add chewiness and balance out the pure sweetness with a bit of tartness or acidity.
- Nuts and Seeds: Not sweet themselves, but they add crunch and contrast that complements sweet ingredients, making the snack more satisfying.
- Spices and Flavors: Vanilla, cinnamon, or even a dash of salt can enhance sweetness without overwhelming the palate.
Each ingredient plays a distinct role, shaping how a sweet snack tastes and feels. For example, dried cranberries add tang and chew, while a sprinkle of sea salt can make chocolate taste deeper. I’ve noticed that sweet snacks with fruit tend to feel less heavy, even if they’re quite sugary.
How Sweet Snacks Differ From Desserts
Sweet snacks and desserts might look similar—but they’re not quite the same thing. For one, portion size usually sets them apart. A dessert is often a full final course: a slice of cake, a bowl of ice cream, or a rich tart. Sweet snacks, on the other hand, are smaller, more like a nudge of indulgence rather than a deliberate end to a meal.
Preparation time also varies. Desserts can take more steps, such as layering, baking, or cooling, which might mean hours in the kitchen. Sweet snacks often come together quickly and with fewer ingredients—sometimes no baking at all.
Ingredient complexity tends to be lower in snacks too. Desserts might call for multiple types of dairy, several flavorings, and delicate handling. Sweet snacks usually stick to a handful of components, focusing on straightforward combinations. But that said, some snacks can feel plenty rich and elaborate, blurring the lines a bit.
Thinking about these differences can help you decide whether you want a quick, simple bite or a more involved treat. Sometimes, all you want is a sweet snack to tide you over—not a full dessert experience. You know what I mean?
Benefits Of Homemade Sweet Snacks

Making sweet snacks at home gives you a kind of freedom that store-bought treats just don’t offer. When you prepare your own recipes, you have full control over what goes in. You can decide exactly how much sugar to add—or even skip it altogether if you prefer something less sweet. And forget about mysterious additives and preservatives that come with many packaged snacks.
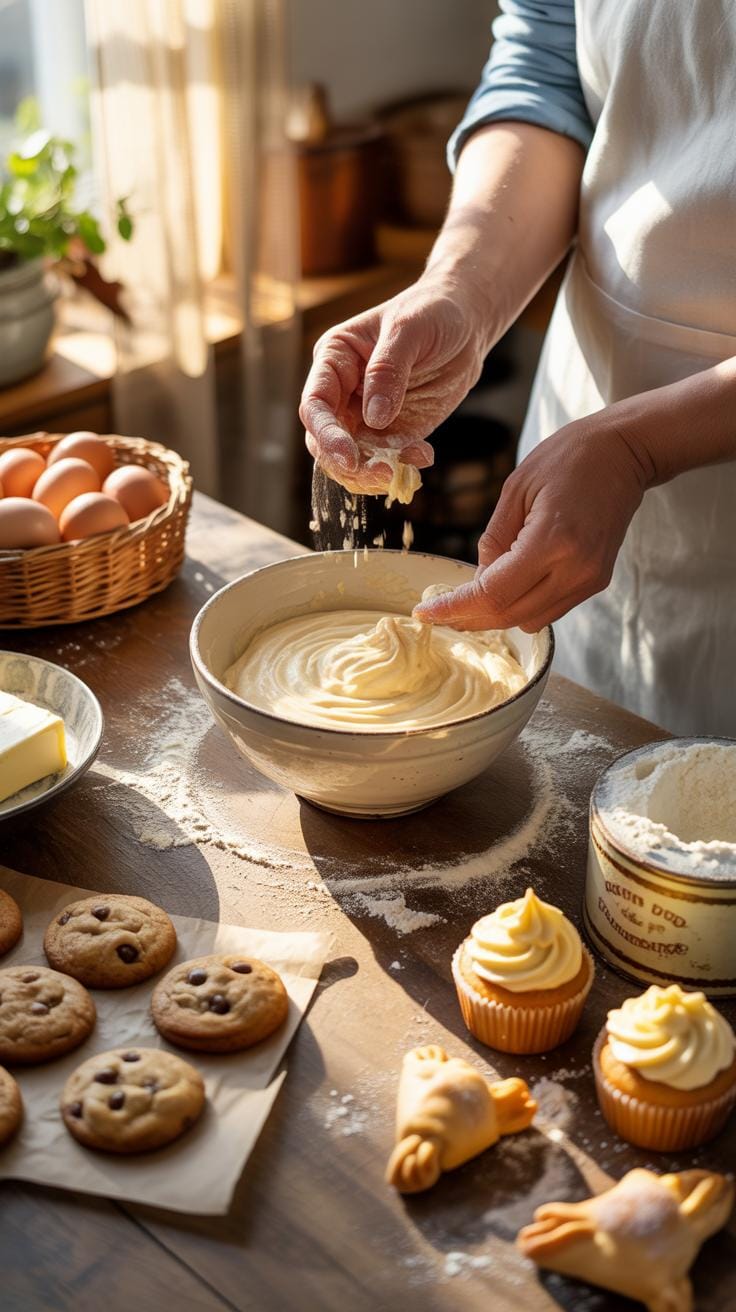
There’s also something about freshness that you just can’t replicate buying pre-made treats. Freshly baked cookies, for instance, have a flavor and texture you don’t get from a box. Sometimes, it feels like the effort pays off in ways beyond taste. Maybe it’s a little rewarding to know you made it yourself.
Your wallet might also notice a difference. Buying ingredients in bulk and making multiple batches tends to cost less than grabbing individual snack packs at a store. Plus, leftovers are easier to repurpose into other dishes, which stretches your budget further. It’s not always cheaper right away—sometimes the time or energy involved feels like a trade-off—but often it works out in your favor.
So, by making sweet snacks at home, you balance control, freshness, and sometimes cost. It’s like having your cake and eating it too, with a side of satisfaction for what you whipped up yourself. Have you ever tried swapping an ingredient or reducing sugar in a recipe? How did it turn out? It’s these little tweaks that make homemade fun and maybe a bit unpredictable—but in a good way.
Choosing Ingredients For Sweet Snacks
When picking ingredients for sweet snacks, ease and availability often matter more than elaborate choices. It’s tempting to hunt down exotic items, but sometimes simple pantry staples work just as well, and you don’t have to make a special trip. Think about what you already have and what can keep well for longer periods—that way, you’re ready whenever a sweet craving hits.
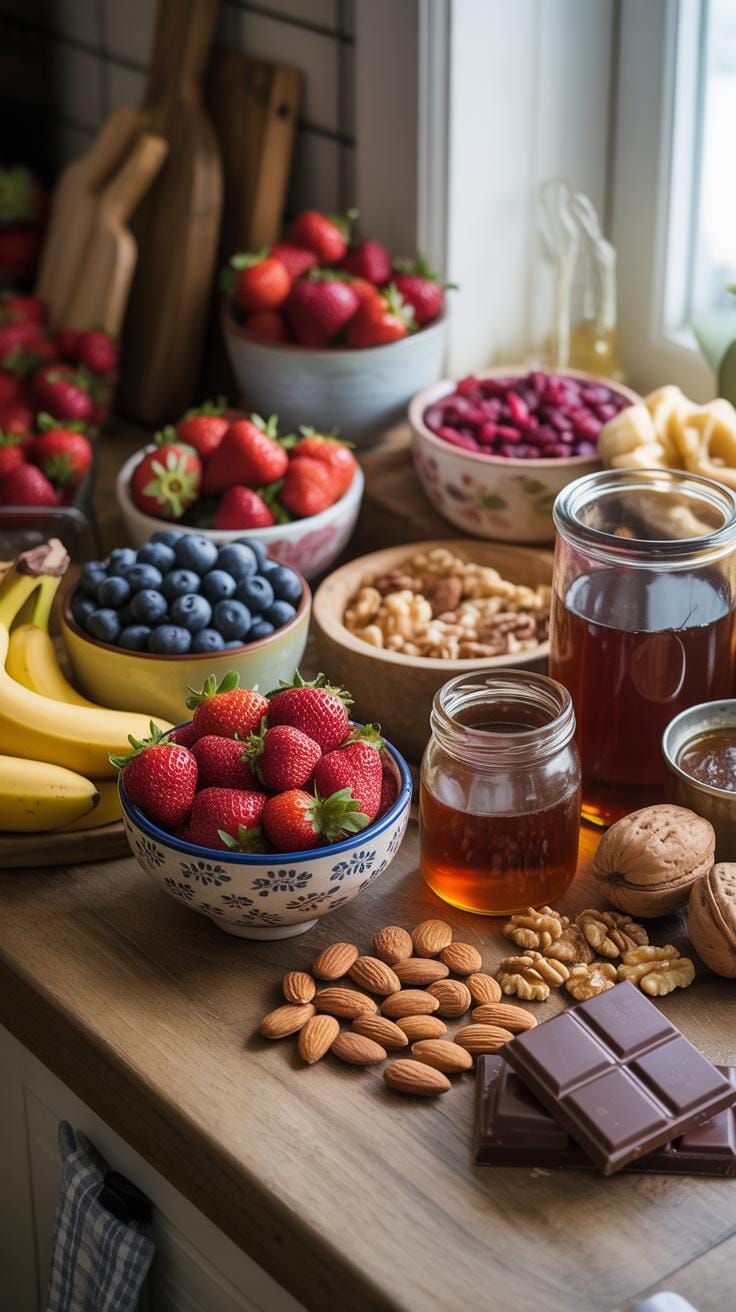
Fresh fruits are usually the go-to for natural sweetness, though they do come with their own challenges. Some fruits, like apples or bananas, are pretty forgiving and usually last several days if stored right. Others, like berries, need quick use or refrigeration since they spoil fast. On the other hand, packaged or dried fruit options tend to last longer and might be more convenient, but they often come with added sugars or preservatives, which you might want to watch out for.
Fresh nuts can be amazing for texture and a little natural richness. Walnuts, almonds, and pecans lend a nice crunch and subtle nutty flavor to sweet snacks. If fresh nuts aren’t easy to grab, roasted or unsalted versions often work fine and can be kept longer. Storing nuts in airtight containers helps prevent them from turning rancid quickly.
Choosing sweeteners is more than just picking sugar. Granulated sugar works well for most baked or cooked snacks, but it can be a bit harsh if you’re aiming for something softer or more natural. Honey adds moisture and a floral note but can affect texture. For a milder, less processed option, things like maple syrup or agave nectar can be interesting to try. Yet, these liquid sweeteners might change your recipe’s consistency, so experimentation is key.
So, what should guide you? If you want quick, straightforward preparation, packaged ingredients often save time. But if you’re after freshness and a bit more control on sweetness and texture, fresh fruits and nuts usually pay off. It’s a balance, really. Sometimes, I find myself mixing both—fresh banana with a sprinkle of dried cranberries, for example—and the result surprises me.
Quick Sweet Snack Ideas To Try

If you want a sweet snack fast, spending more than 15 minutes cooking feels like a waste, right? Luckily, there are some easy ideas that barely need any heat or complicated steps. For instance, you can toss together peanut butter and oat energy balls—just mix oats, peanut butter, a touch of honey, and maybe some chocolate chips or dried fruit. Roll them into bite-sized balls, and you’re done. It doesn’t get much easier.
Or think about slicing up a banana and dipping it in melted dark chocolate, then letting it chill in the fridge for a few minutes. It’s a straightforward treat that feels kind of fancy, even though it’s really just fruit with a touch of chocolate.
One thing that pops into my mind: do you find yourself grabbing packaged sweets because you think homemade takes too long? A lot of these quick ideas take less time than you’d expect. So, next time that sugar craving hits, maybe try one of these simple fixes instead.
No-Bake Treats For Busy Days
No-bake sweet snacks are a lifesaver when your schedule leaves zero room for cooking. Take energy balls again—they rely on mixing, not ovens. You only need a bowl, a spoon, and a fridge. Sometimes, I throw in a pinch of cinnamon or a handful of shredded coconut to change things up, though that’s optional. You don’t have to be precise; just experiment a bit.
Fruit salads are another no-brainer. Mix berries, chopped apples, maybe a squeeze of orange juice or a drizzle of honey, and you have a refreshing snack that changes with the seasons. They’re quick to put together and feel light enough not to weigh you down.
Microwave Desserts For Fast Cravings
Microwave mug cakes come up often when people say they want something sweet—and fast. Honestly, they are a bit of a gamble sometimes, but mostly they hit the spot. Some simple recipes use flour, sugar, cocoa powder, an egg, and oil. Stir everything in the mug and microwave for about a minute. You’ll end up with a warm, single-serving cake that can satisfy without fuss.
There’s also the option of microwave “brownie in a cup” or cinnamon apple mug snacks. They get done so quickly, and you don’t need to dirty multiple dishes. I’ve found that adding a sprinkle of nuts or a spoonful of yogurt on top makes a surprising difference for both taste and texture.
Have you tried any microwave dessert recipes? If not, maybe it’s time to experiment—these microwaved sweets might seem too simple, but they do have a weird charm once you get used to them.
How To Bake Sweet Snacks Simply
Measuring Ingredients Correctly
Getting your measurements right isn’t just a matter of precision; it really shapes the outcome. If you add too much flour, your cookies might turn out dry and crumbly. Too little sugar, and the bars might lack that satisfying sweetness you’re after.
Use measuring cups for dry goods like flour and sugar, but those can be a bit misleading if you just scoop and level off. It helps to spoon the flour into the cup gently, then level it with a knife instead of packing it down. Liquid ingredients call for a clear measuring cup with a spout, so you can see the level at eye height. Small differences can throw off texture and even baking time.
Sometimes I find a kitchen scale a real time-saver. It takes the guesswork out and makes it easier to follow recipes exactly, especially when baking more than a couple of batches. Do you measure by weight or volume mostly? That question can split opinions among home bakers.
Timing Your Baking For Best Results
Baking time isn’t just about setting a timer and hoping for the best. Every oven behaves a bit differently, and factors like altitude or even the thickness of your cookie dough change how long your snacks need. Follow the recipe’s range as a starting point, but start checking a few minutes early.
Look for subtle clues while baking. For cookies, edges might start to firm up and show a hint of golden color, but centers can stay soft. Bars might look slightly pulling away from the pan. If you rely on visual signals alone though, you can sometimes pull your treats out too soon or wait too long.
Sometimes I poke a toothpick in the center—even if it’s just a tiny bit gooey, that’s often perfect for a chewy treat. But maybe you like them crisp all the way through; it’s a personal preference, after all. Have you found any tricks that work for keeping your snacks just how you like them?
Comparing StoreBought Versus Homemade
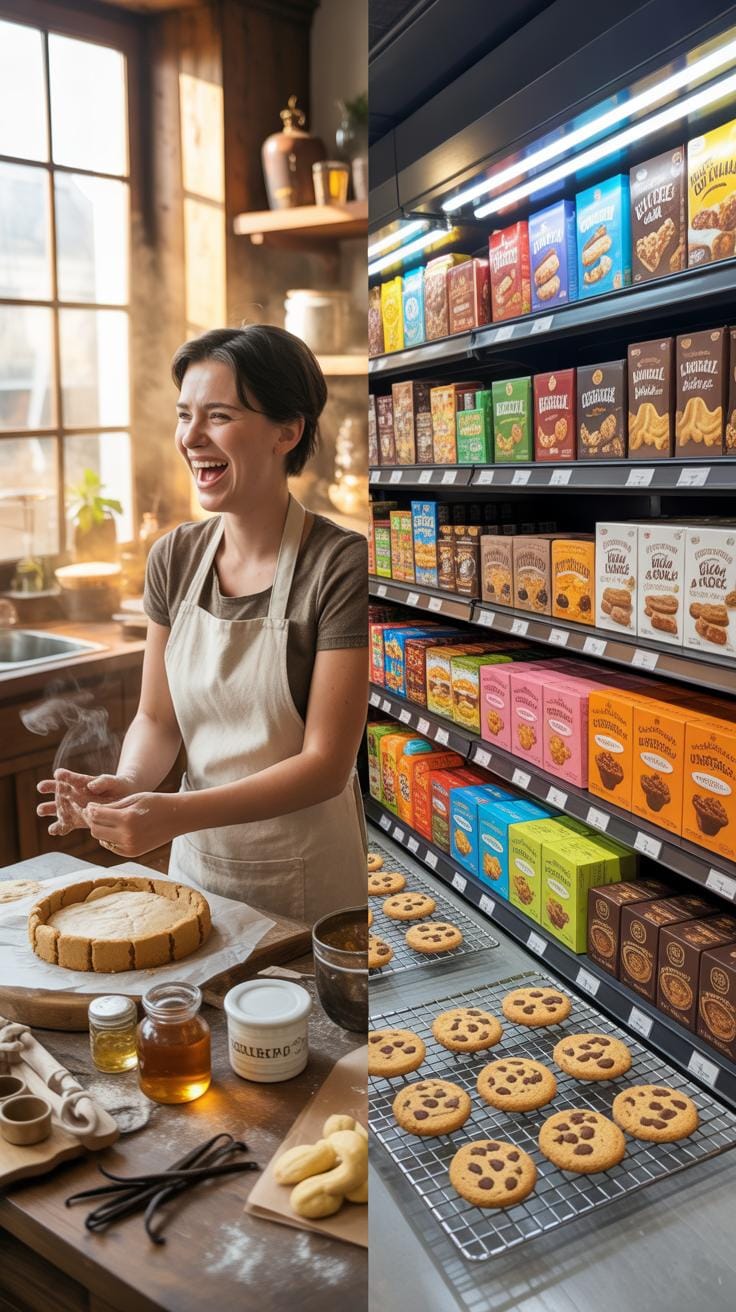
Taste And Texture Differences
When you make sweet snacks at home, the taste often feels fresher. It’s probably because you control the ingredients, and snacks haven’t been sitting on shelves for who knows how long. The texture can be noticeably different too—freshly baked cookies, for example, tend to be softer or crispier in just the right way, depending on how long you cool them or what kind of sugar you use. Store-bought snacks sometimes aim for uniformity, but that can come at the expense of variety in texture or subtle flavor notes.
On the flip side, homemade treats might lack the exact consistency you expect from store-bought ones. You might get some batches that are a bit too chewy or a little dry. That’s part of the charm though, isn’t it? Plus, sometimes the effort you put in makes the difference in enjoyment—even if the taste is only slightly better. There might also be a psychological effect—snacks made with your own hands seem to have more ‘soul.’
Cost Comparison Of Snack Options
Cost is where homemade snacks often shine. Buying a pack of ready-made cookies can easily be two or three dollars for a handful of pieces. Meanwhile, making your own batch from basic ingredients like flour, sugar, and eggs usually stretches a lot further. For example:
- A box of store-bought chocolate chip cookies might cost around $3.50 for 8 cookies.
- Ingredients for homemade cookies that yield around 24 pieces typically come under $5 total.
That’s not just savings, but more snacks per serving. Though, there’s the time investment to consider. Some people might value convenience over cost, which is understandable. Also, sometimes buying in bigger bulk from stores feels cheaper, but it’s easy to overbuy and waste food. At home, you can scale recipes to suit exactly what you need. Still, if you’re pressed for time or not into baking much, the convenience of a quick grab from the shelf might outweigh small savings.
Nutrition-wise, homemade snacks give you a better chance to tweak recipes—less sugar, whole grain flours, or added fruits. Store-bought options are often packed with preservatives and ingredients you didn’t expect, which could influence your choice if nutritional value matters to you. But then, some brands try to cater to health-conscious shoppers, making the choice a bit more complex than just fresh versus packaged.
Steps To Create Custom Sweet Snacks

When making sweet snacks, you don’t have to stick rigidly to a recipe. In fact, tweaking them can often lead to tastier results more suited to your preferences or dietary needs. First, consider what you like—or don’t. Maybe you enjoy less sugar, or perhaps you need a gluten-free option. Adjusting ingredients can feel a bit like trial and error; not every swap works perfectly, but that’s part of the fun.
Start by changing the sweetener. You can cut back on sugar or replace it with honey, maple syrup, or even mashed bananas. Each sweetener behaves differently—some add moisture, some don’t—so you might need to tweak the liquid amounts or baking time slightly. Mixing up sweetness types also lets you control flavor depth and texture better.
Next, think about adding your favorite flavors or textures. Spices such as cinnamon or nutmeg bring warmth. Nuts add crunch, while dried fruits provide chewiness and a pop of natural sweetness. Play around with combinations you like; a snack with toasted almonds and a hint of ginger can be surprisingly good, even if it sounds odd at first.
Substitutions can be straightforward: swap milk for almond milk, or regular flour for oat flour. Keep in mind, though, these swaps might change the outcome a bit. If you want to reduce fat, use applesauce instead of oil—your snack will be moist but a little denser. Feel free to experiment until you find something that really clicks with your taste buds. Have you ever modified a recipe and ended up liking it more than the original? If not, maybe it’s time to start.
Checklist For Safe Snack Preparation
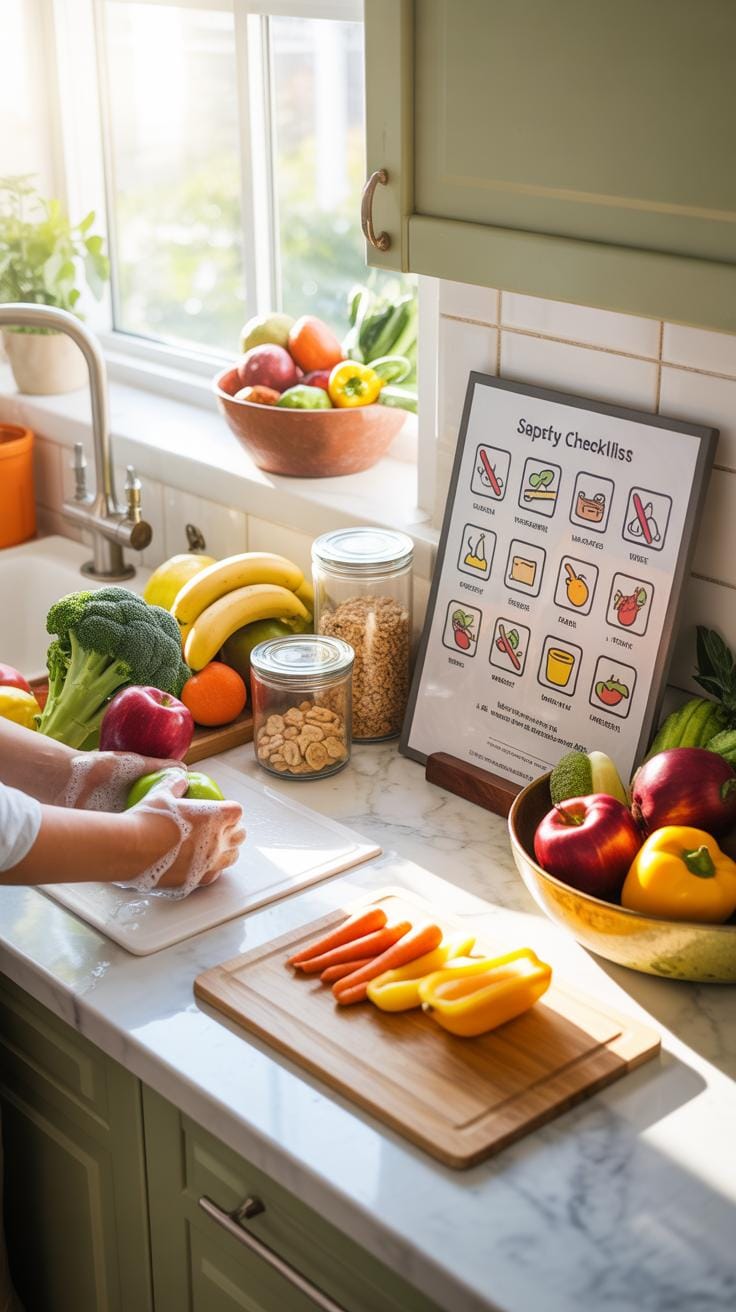
When making sweet snacks at home, keeping safety in mind isn’t just about following a recipe. You want to avoid any mishaps, like cross-contamination or foodborne illnesses, especially if you share with family or friends.
Here’s a simple checklist to help you stay on track:
- Wash your hands thoroughly before handling any ingredients. It’s easy to forget, but it makes a big difference.
- Make sure all your bowls, utensils, and surfaces are clean and dry. Wet or dirty surfaces can harbor bacteria.
- Keep raw ingredients separate from cooked or ready-to-eat ones. For example, don’t use the same spoon for batter and tasting.
- If you use eggs or dairy, be sure they are fresh and stored correctly before use.
- Check ingredient labels if you’re unfamiliar with them; sometimes allergens or expiry dates sneak past.
- Clean spills immediately, especially sugar or syrup residues, to prevent sticky messes that attract pests.
Following these steps makes your kitchen safer—though sometimes, I find myself rushing and forgetting one or two, which isn’t ideal but does happen.
Cleanliness Tips For Your Kitchen
Before you start, take a moment to wipe your countertops with a gentle cleaner or warm soapy water. Sticky sugar or crumbs from earlier can compromise your sweet snack’s quality.
Keep a damp cloth handy to wipe spills right away; it’s easier to clean fresh spots than dried-on bits.
Don’t overlook your hands during preparation. Washing them frequently, especially after touching different ingredients, helps reduce contamination.
Also, think about your tools. Giving utensils a quick wash between tasks is worth the few extra minutes—it prevents accidental flavor mixing or germs moving around.
Though I admit, when I bake often, sometimes I get a bit lazy about wiping things down immediately—but it usually catches up with me in cleanup.
Storing Snacks Properly
Sweet treats can go stale fast if not stored right. Think about the ingredients: do they need refrigeration? Or will they keep well in a sealed container on the counter?
Cookies, for example, usually last a few days in an airtight tin. If you want them crisper, adding a slice of bread to the container helps absorb moisture, an old trick I still use.
For cakes or pastries with frosting or cream, storing them in the fridge prevents spoilage but can make them dry if left uncovered. Wrapping them loosely with plastic wrap helps keep moisture balance.
Sometimes I’ve found that certain snacks taste better after resting a day or so—just be sure to keep them sealed to avoid any odd smells or textures.
Think about labeling containers with dates, especially if you make snacks in batches. It’s a small step, but it helps decide what to eat first, reducing waste.
Tools To Make Sweet Snacks Easier
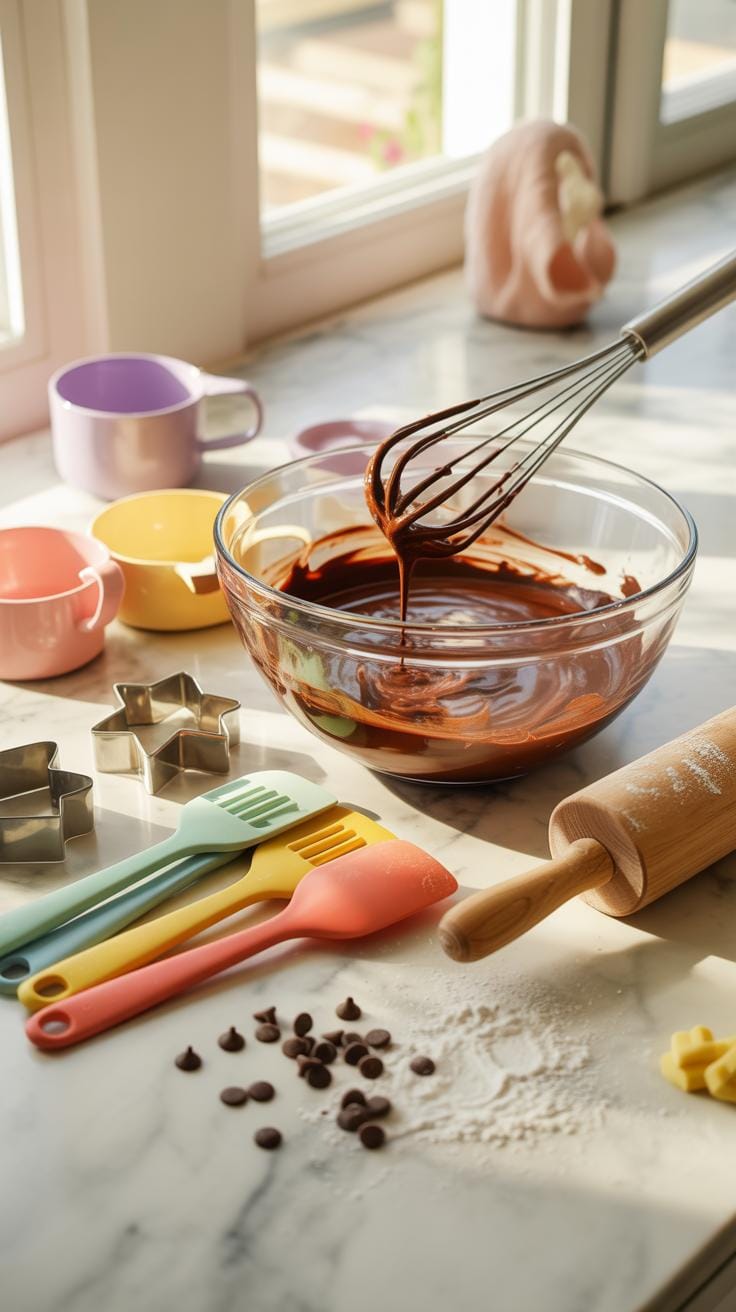
When it comes to making sweet snacks at home, having the right tools can save you a lot of trouble. A stand mixer, for example, can whisk your batter or dough evenly without tiring your arms. It’s not just about speed; it helps create a consistent texture, which matters a lot for treats like cookies or cakes. I remember struggling to get the right batter thickness until I finally gave in and got one. It made a difference, though you can still manage with a sturdy whisk if need be.
Molds are another handy item, especially if you like chocolates or shaped jellies. They give snacks a professional touch with little effort. Silicone molds are flexible and make popping out your creations much easier than rigid plastic ones. Plus, they come in many playful shapes — from hearts to stars, which can be fun if you’re making something for kids or a special occasion.
Of course, these aren’t the only options. Sometimes a simple sieve can make your powdered sugar or cocoa look much nicer when sprinkled on top. It’s amazing how a small, inexpensive gadget can elevate even the simplest treats. You might not think it’s necessary at first, but it’s those little details that count.
Easy Appliances For Beginners
If you’re just starting out, you probably don’t need a kitchen cluttered with complicated gadgets. A basic hand mixer can often do the job well enough. It’s smaller, easier to store, and suited for quick mixing of batters or whipping cream. I’ve used one for years and it’s surprisingly versatile, though it’s not the best if you’re making large batches.
The microwave oven is another simple appliance that deserves attention. You can melt chocolate, soften butter, or even quickly “bake” mug cakes in it without much fuss. Sometimes I find myself underestimating how much it can speed things up because I associate microwaves mostly with reheating leftovers. Well, it’s a handy little helper in sweet snack making, especially when you want something quick and satisfying.
Useful Utensils For Decoration
Decoration might seem like an extra step, but it’s often what turns a homemade snack into something special. Piping bags are a classic tool for this. Filling them with frosting or cream lets you create patterns, swirls, or even write messages if you feel so inclined. You don’t need fancy tips at first; a plain round opening already offers surprising control.
Cookie cutters help shape dough into neat, uniform pieces. They’re practical but also inspire creativity. Sometimes I pick cutters during holidays to fit the mood, which makes baking more enjoyable. If you don’t have cutters, a small glass or jar rim can do the trick, although it won’t produce intricate designs.
These utensils invite you to experiment, often turning routine baking into a more playful process. And let’s face it, even the best-tasting snack feels better when it looks appealing. Why not try some decorating next time? Even a little effort there can lift your sweet snacks from good to memorable.
Examples Of Popular Sweet Snack Recipes

Classic Chocolate Chip Cookies
You’ll want to start with the basics here. For a batch of about two dozen cookies, gather:
- 1 cup softened butter
- 3/4 cup white sugar
- 3/4 cup brown sugar
- 2 large eggs
- 2 1/4 cups all-purpose flour
- 1 teaspoon baking soda
- 1/2 teaspoon salt
- 2 cups chocolate chips
First, cream the butter with both sugars until the mixture looks light and fluffy — this can take a bit longer than you expect. Add the eggs one at a time, mixing well after each. Then mix in the flour, baking soda, and salt slowly, making sure not to overwork the dough. Finally, fold in the chocolate chips.
Drop spoonfuls of dough onto an ungreased baking sheet—spacing is key so they don’t merge. Bake at 375°F for 8-10 minutes until edges are golden but centers remain soft. Let them rest a few minutes before moving, if you can resist trying one immediately.
Fruit And Yogurt Parfait
This one feels quicker and you can easily tailor it to what’s in your fridge. You’ll need:
- Greek yogurt (or any yogurt you prefer)
- Fresh fruits like berries, sliced banana, or diced mango
- Granola or nuts for crunch
- A drizzle of honey or maple syrup for sweetness (optional)
Start by spooning a layer of yogurt into a glass or bowl. Then add a layer of your chosen fruit. Sprinkle some granola or nuts over that. Repeat layering—yogurt, fruit, toppings—until you fill your container or run out of ingredients.
It’s straightforward but feels more like a treat than just fruit on its own. Plus, it’s somewhat healthy, though that honey drizzle might tip the scale a bit. Worth it? I think so, especially when you want something fast but not heavy.
Conclusions
Making sweet snacks at home is a fun way to enjoy tasty treats on your own schedule. The recipes highlighted are simple, needing few ingredients and short prep time, making them perfect for beginners and busy cooks alike.
By trying these recipes, you’ll see that sweet snacks don’t have to be hard to make. You can enjoy fresh, homemade treats anytime with just a few steps and basic ingredients.